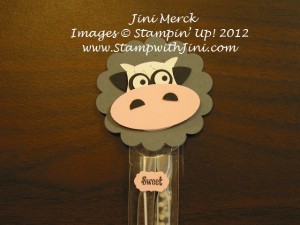
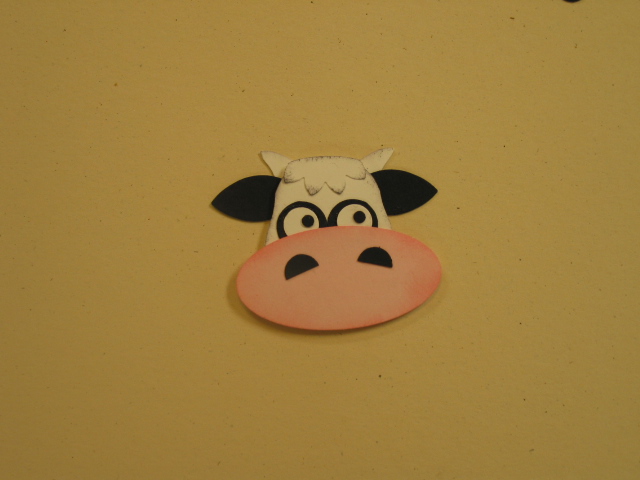
As promised yesterday when I showed you my Got Milk? swap from my friend Cindy, I worked on a tutorial for this cute little guy. If you want to see the whole project you can click HERE to see yesterday’s post.
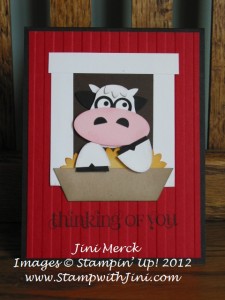
I had the best time yesterday putting together this Cow Punch Art Tutorial for you that even my daughter enjoyed watching the process. As I was putting my little guys together with my fingers covered in my Multipurpose Liquid Glue, I could envision this little feller in one of those great big red barns from my youth. (No, you’re not alone; I’m not the neatest at gluing tiny pieces together either. Especially since I forgot my “sticky stick” Tip! More later about my Sticky Stick and how to make your own.)
So, I was inspired to create this Cow Punch Art card. My son, Johnathan, when he saw the card said “barns are brown Mom, not red”. I guess he’s right whether it is because we live in Georgia or they just don’t build barns like that any more. The ones I remember from my childhood in Wisconsin were red.
What do you think of my card? I think next time I would make the inside window color Basic Grey not Early Espresso that might make my Cow Punch Art pop a bit more, what do you think? Would you leave me a comment and let me know? I’d love to hear from you – and it would make my day to know that someone out there is looking at my new blog…..
Supplies:
Stamp Set: Curley Cute
Inks: Basic Black, Pretty in Pink, More Mustard, and Basic Grey
Paper: Basic Black, Real Red, Crumb Cake, So Saffron, Pink Pirouette, Early Espresso
Accessories: Big Shot, Stripes Embossing Folder, Paper Snips, Owl Builder, Boho Blossoms, Blossom Petals Builder, and Large Oval Punches, Stampin’ Sponges and Multipurpose Liquid Glue
If you love these little guys too – here is my FREE Cow Punch Art Tutorial on how to make them.
Cow Punch Art Tutorial
Supplies:
Whisper White card stock
Basic Black card stock
Pink Pirouette card stock
Basic Grey card stock
Basic Grey Classic Ink
Pretty in Pink Classic Ink
Stampin’ Sponges or Sponge Daubers
Owl Builder Punch
Boho Blossoms Punch
Blossom Petals Builder Punch
Large Oval Punch
2 3/8″ Scallop Circle Punch
Multipurpose Liquid Glue
Dimensionals
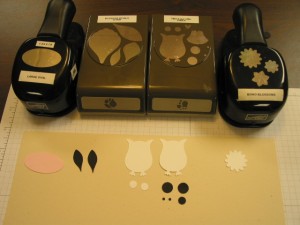
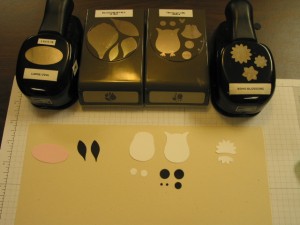
Punch out the following pieces –
Using the Owl Builder Punch and Whisper White card stock, punch 2 bodies and 2 medium circles. Then punch 2 large circles, 1 medium circle, and 2 small circles in Basic Black.
Punch one large flower out of Whisper White card stock using the Boho Blossoms Punch.
Punch 1 Large Oval from the Pink Pirouette card stock.
Finally punch out two of the smallest petals in Basic Black using the Blossom Petals Builder Punch.
You should now have punched out what looks like this:
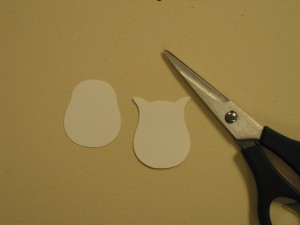
Using the owl pieces trim off the ears from one owl. Then trim off both sets of feet. You can just follow the curve when doing this.
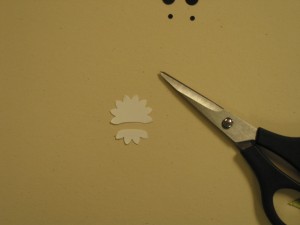
Next take the Boho Blossom and cut off 4 petals. Cut using a slight curve to match the top of the owl’s body.
You should now have what looks like this:
and now you are ready to start assembly on your adorable little feller.
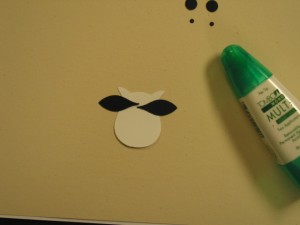
Using the owl body that still has its ears, attach the two Basic Black petals just below the ears on either side. Look mom ears!
Set this aside to dry.
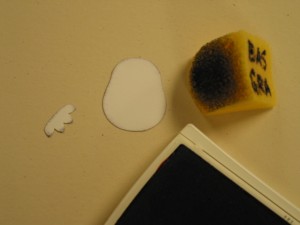
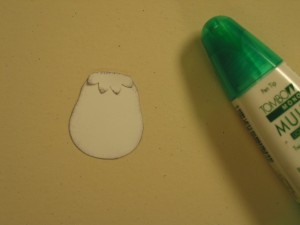
Next, sponge the edge of the cow’s face and Boho Blossom petals using Basic Grey and a Stampin’ Sponge.
Attach Boho Blossom petals to the top of cow’s head.
Voila hair!
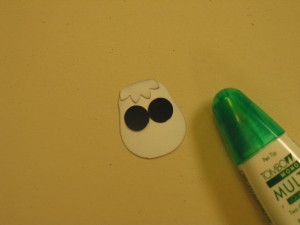
Then attach the large black circles so they touch,
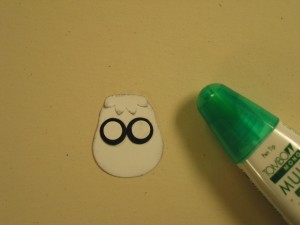
Attach the medium white circles next,
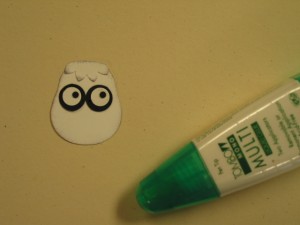
And finally the small Basic Black circles to complete your eyes. Finally the little guy can see!
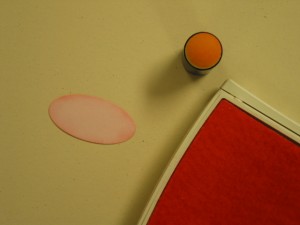
Now for his nose – Sponge the edges of the Pink Pirouette Large Oval piece using Pretty in Pink Ink.
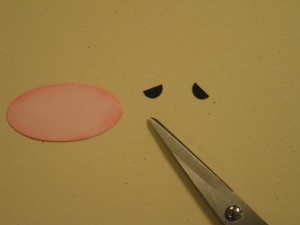
Take the medium Basic Black circle and cut it in half.
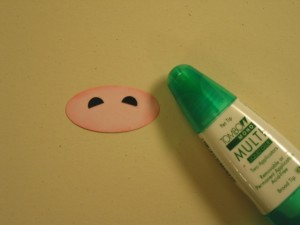
Attach the pieces to the nose.
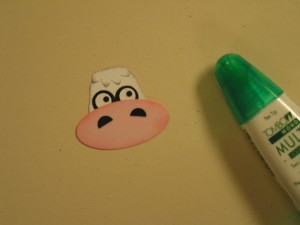
Attach the finished nose to your cow’s face.
Ahhh, take a deep breath. You’re almost done.
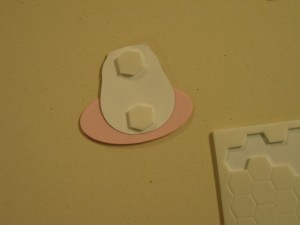
Allow this to dry if needed. Flip the finished piece over and attach 2 Dimensionals to the back.
Then attach this to the top of the piece with the ears – and voila’! You have an adorable little guy to use on your next project.
By the way, here’s a little helpful hint to make things a little less sticky along the way. Make your own “sticky stick”. All you need is a little bit of Multipurpose Liquid Glue, your Silicone Craft Sheet and a tooth pick. Put a little drop of glue on to your Silicone Craft sheet. Roll your tooth pick in it and allow it to dry. Voila’ your very own “sticky stick”.
By the way, in case you didn’t know, our Multipurpose Liquid Glue is a great deal because it is a 2-way glue. When applied wet it adheres with a very strong bond. When allowed to dry first, it acts like a repositioning adhesive. How cool is that?
Did you enjoy this Cow Punch Art Tutorial? Why not join me in my Virtual Club and get exclusive Tutorials every month just for you. Click HERE for more information.
Got to go – it’s almost lunch time. Anyone Got Milk?
Click here to order your Stampin’ Up! Products online 24/7! (US only)


