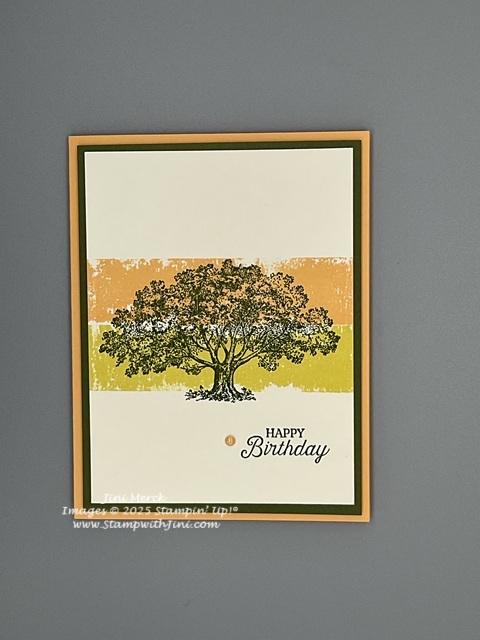
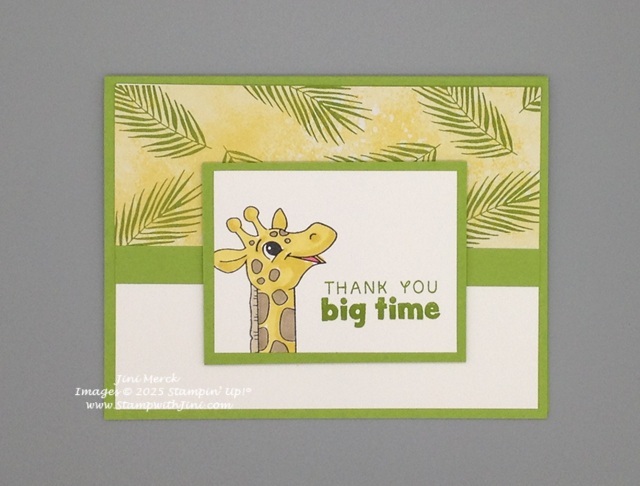
I’m loving the new 2026 In Colors. How about you? There is nothing like new color to freshen up our color pallet and so I find myself reaching for them and trying different combinations. So today’s tutorial uses two of our NEW In Colors Golden Glow and Peaceful Pine to create a Get Well Card for a family friend.
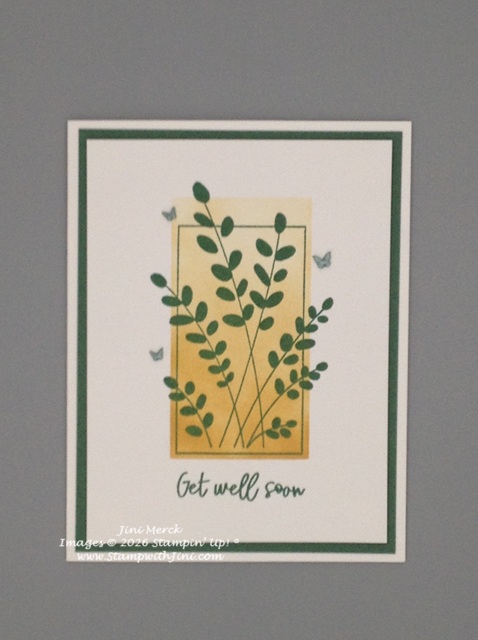
I’ve chosen to pull out the Friendly Foliage stamp set (Online exclusive 167021) and a simple technique for this card. Don’t you just love the sentiments in this set – a little bit of everything that we need to create those special cards.

I’ve chosen to team it up with the now retired Textured Notes Dies for this technique, but you could use any die set you choose or shape for that matter. I wanted a rectangle since it mimicked the outline on the stamped image.
Want to see how I created this card? Why not check out my video tutorial and PDF with a supply list, measurements and more.
Friendly Foliage Masking Technique Card Tutorial PDF
Enjoy!

CLICK HERE to order your Stampin’ Up! products Online 24/7! (US only)