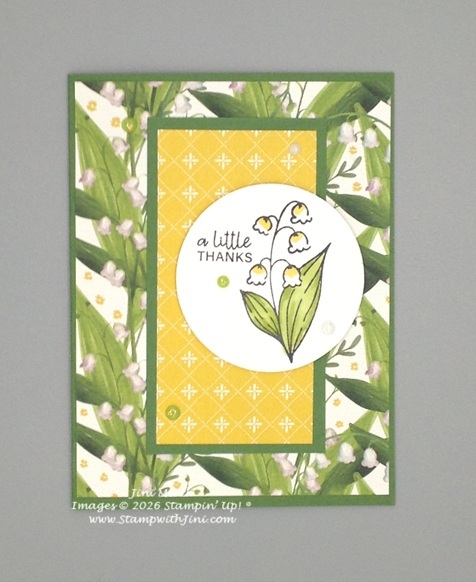
Love the ocean or lakes? If so today’s card is inspired by those every day summer scenes you see while at the waterside. Sail boats majestically sailing on the water or silhouetted by the sunset. Today’s card was inspired by just that my love of those peaceful moments and watching the waves roll in during that magical time.
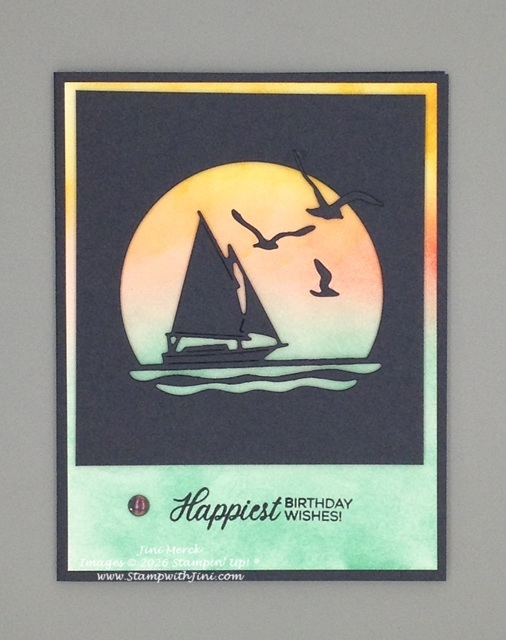
This card background was created with a simple Blending Brush technique and Classic Ink Pads.
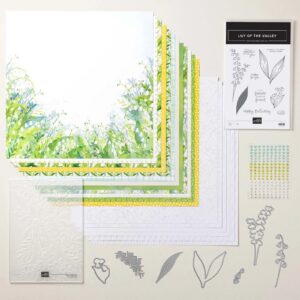
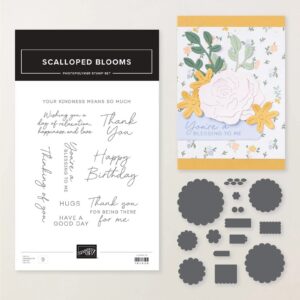
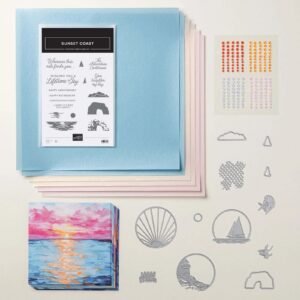
This card was created with the Sunset Coast Dies (167780) which is part of the Scenic Coast Suite (167786). And since I wanted a birthday sentiment I chose the Phrases & Frames Stamp set (167581). I love how we can mix and match Stampin’ Up! products!
I’ve got a quick tutorial for you on how I created this birthday card. Why not check it out?
I’ve also got a PDF tutorial for you too so you can make one with the video link, measurements and supply list.
Sunset Coast Birthday Card Tutorial PDF
Enjoy!

CLICK HERE to order your Stampin’ Up! products Online 24/7! (US only)