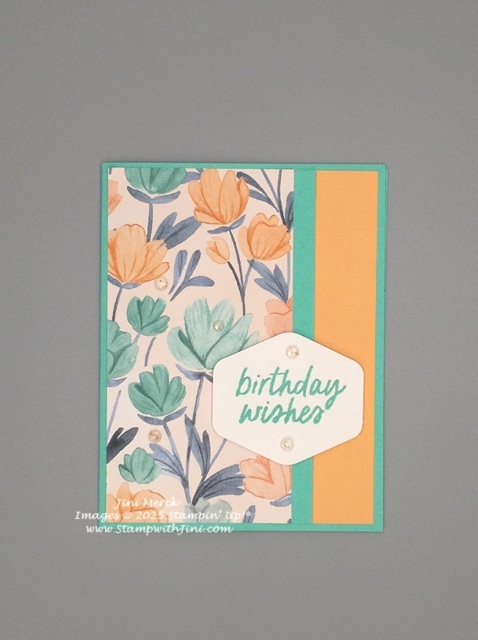
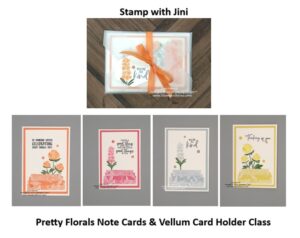
I love a quick and simple card sketch and today’s throw back Thursday uses my Card Sketch #2 that I’ve shared with you earlier. So here is a bright cheerful spring card using the Pretty Florals Designer Series Paper on our Last Chance List.
Clean and simple this layout makes showing off our Designer Series Paper so simple. And I love the fact our papers give us an easy way to see what colors work together simply.
Check out this quick video tutorial I made for this card along with the PDF and PDF for the Card Sketch too!
And if you love this paper and the In Colors I’ve used you’ll want to make sure to get yours before they are gone these products are while supplies last.
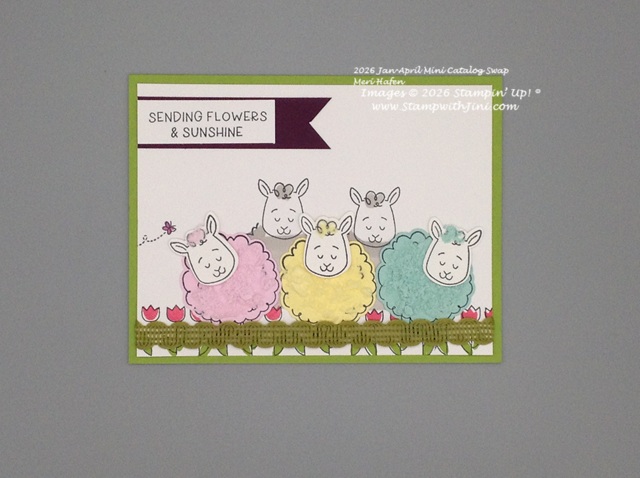
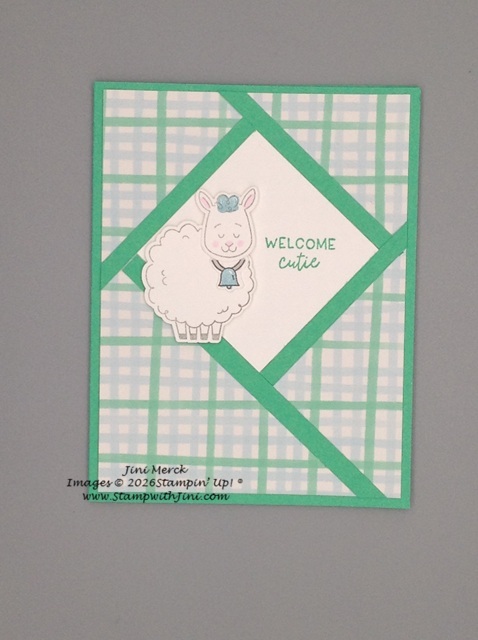
Today I wanted to share a card with you that I received in my swap using the Faux Flocking Technique. It’s so stinking cute! I just love this little lamb in the Woolly Friends Bundle (166888).
While this flocking technique has been around for awhile it’s use on this card drew my attention back to it again. The last time I saw it I was using a little edge Destressing Edge tool that Stampin’ Up! had back in the day. Today’s card uses a cheese grater to create the fluff. How cute right?
While this card has lots of texture and layers it is really quite simple to do. The first two lambs are stamped and colored with a Smoky Slate Stampin’ Blends. While this stamp set is a two step set a mask was created for the lambs face so the body wouldn’t cover it and the blends gives you a bit more control since it has the row of flowers that were stamped along the bottom. You’ll want to cover these also stamping the 2 lambs.
Next the lambs bodies and heads were stamped and punched out. A bit of the card stock fuzz was added and allowed to dry and then added to the card front. The
Adorable right? Who wouldn’t love to get one of these cards? I can’t wait to try this fun technique with my distressing tool and might even pull out my grater to see which I like better, about you?
If you haven’t checked out this Bundle already, why not stop by my Online Store?
Then stop back by and check out my tutorials using this Bundle that I’ve shared with you over the last few months.
Today’s card is perfect for spring and reminds me of my mother who always looked forward to those first flowers popping up in the spring.
This card uses my Card Sketch #2 making it a great way to create quick and simple cards like this one that highlight our Designer Series Paper. I simply did this card in landscape rather than the portrait version.
Here is a quick video tutorial showing you how I created the card and PDF for both the card and Card Sketch.
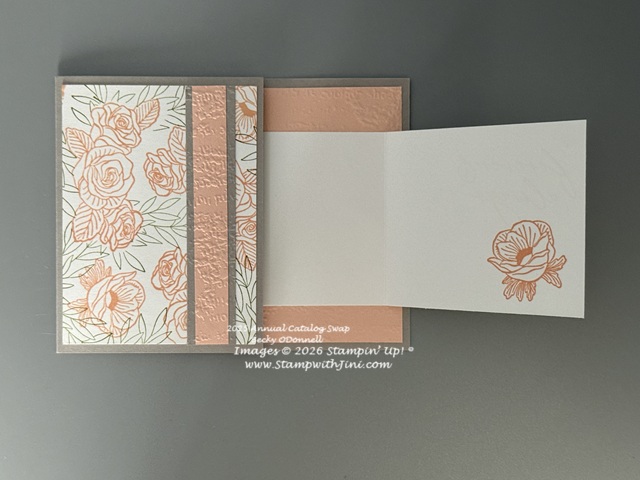
Yesterday I shared a quick and easy monochromatic card with you using the Lifetime of Love stamp set (Last Chance 162574) so today I thought I’d share another card that was created with this stamp set.
Today’s card has a totally different feel to it since it uses our Petal Pink and Gray Granite to create this lovely wedding card along with a simple masking technique.
The flowers were first stamped onto the Basic White Card stock panel and then a simple mask was used to cover the flowers. After the leaves were stamped using Old Olive to create this layered color look. Fun right? Simply stamp the flower image onto masking paper or a sticky note and cut out and you’re ready to go.
This card is also a fun fold called a joy fold card that is so simple to do! This card uses a 8 inch Basic White panel that has been scored at 4 3/4″. It creates a panel large enough to hide the inside sentiment when the outside sentiment is opened.
Here are a couple of photos showing you the flap portion of the card.
Lovely right? Who wouldn’t enjoy receiving this card on their special day?
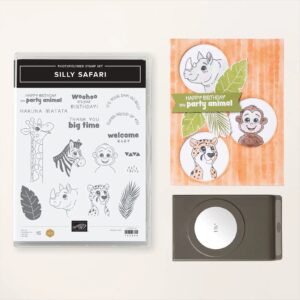
While this set is part of a money saving bundle and includes a circle punch I’m only using the stamp set for this card.
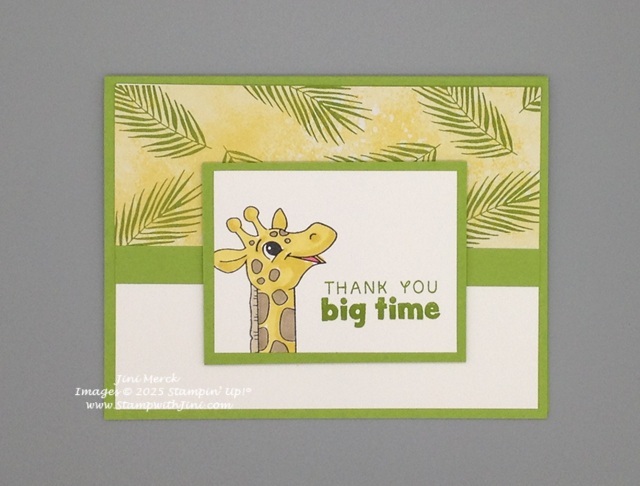
Bright and cheerful it’s perfect any time of year and of course who doesn’t love a giraffe? Do you ever stamp onto your Designer Series Papers? Check out the upper panel of Darling Duckling Designer Series Paper that I’ve used for this card. It’s added not only color and texture to the top of this card but also a great backdrop for the foliage I’ve stamped too! Why not give it a try?
Here is my video tutorial for you and a PDF with the supplies, step by step directions, and even the video link so everything is in one place when you are ready to craft.
As I mentioned this card uses my Card Sketch #13. These Sketches are great when you need a little inspiration. I’ve been sharing them with you for a while and if you’d like to make them as a reference for you’re crafting too I’ve got a hand PDF that gives you the measurements and more. Put them on a ring or make this little crate I’ve shared with you to keep them on your desk and have them at your finger tips.
Use the color combinations listed on the PDF and you will have a reference for color combos too!
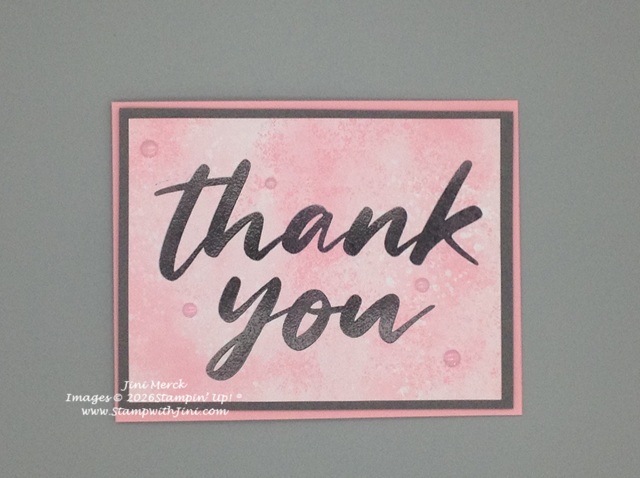
It’s that time of year – as we say goodbye to our 2025 Annual Catalog and 2024-2026 In Colors I thought I shared a card using the New Stampin’ Positioner (available in the May-August Mini) and one of our Last Chance Stamp sets, Thanking You stamp set (Last Chance 163718).
I love this kind of stamp since this big bold image makes creating thank you cards sooo simple! Check out today’s card highlighting this stamp that is leaving.
This card uses a easy heat embossing technique that allows you to have any embossed color that you’d like to heat emboss in. AND the Stampin’ Positioner (167768) makes this technique super easy.
Here is my video tutorial for you sharing this fun little card.
And of course a PDF with the link, supply list, and more!
Today as I wake up to the 30s again after warm sunny days I’m channeling warmer spring weather and thinking about summer fun. So today I’m sharing with you a fun little card using the Silly Safari Stamp set (165254) and some simple stamping.
Today’s card is done in bright cheerful colors and highlights the adorable little giraffes.
Cute, right? I really enjoy using this fun little set since it is great for coloring with our Stampin’ Blends. and has some fun year round sentiments for all ages. And if you have little ones wouldn’t it be a fun set for a birthday party? Kids love zoo animals and I can see all kinds of 3d projects you could create with this set, how about you?
Why not check out my little video tutorial and see how I created this card?
I’ve also got a PDF with the supply list, measurements, link and more!
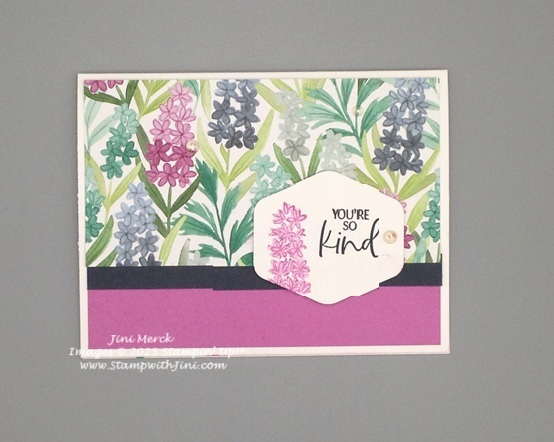
Cold & Flu season isn’t over yet this winter and so I thought I’d share with you another card I created with the Hugs & Healing Stamp set that has been retired. This card uses my Card Sketch #5 which is a versatile sketch that can be used for all kinds of sets.
Done in our soon to be retiring 2024-2026 In Colors Petunia Pop and Pretty in Pink it is perfect for a animal lover this spring.
Here is a quick tutorial for you so you can make this card too.
Today I’m sharing a quick and simple technique to create a fun camera shutter look. This technique is sooo simple but is defiantly a wow technique that I’m sure you’ll want to give it a go too!
I’ve used the Easter Joy Suite (166954) to create this card as it is filled with all kinds of goodies for Easter crafting.
The Easter Joy Specialty Designer Series Paper (166939) is a thicker paper than our regular Designer Series Paper making it perfect for 3d projects too. And the colors are quite wonderful for spring. The package also contains 2 sheets of quick project options as you can see behind the stamp set above.
I’ve used the fun colorful pattern with carrots, eggs, and flowers and chose the coordinating Peach Pie card stock to create the card’s shutter effect with.
I’ve whipped up a video tutorial for you so you can see just how simple this technique is to create!
And of course here is a PDF for you that has the supply list, measurements, and even the link to the video. So why not give this easy little technique a try?
And remember if am Suite or Bundle is in back order you can order the items individually or ask for an email to let you know when the item is back in stock.