Want to see what we did at my FREE Sale-a-bration Celebration Event? This past Sunday I was able to share the NEW Spring Catalog products and some of the things I brought back with me from Stampin’ Up! Leadership in Orlando. What fun everyone had together – it’s one of my favorite parts of stamping.
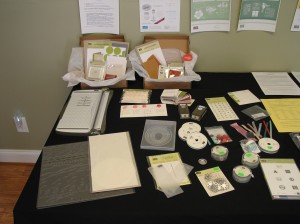
First here are some pictures of my classroom and some of the displays.
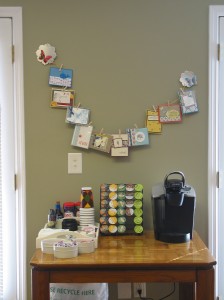
Of course there has to be chocolate – after all what would be stamping without chocolate?
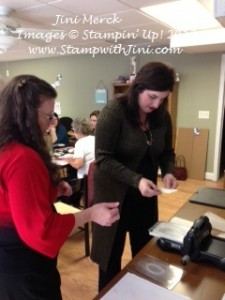
Everyone seemed to have a great time with the two cards they were able to make.
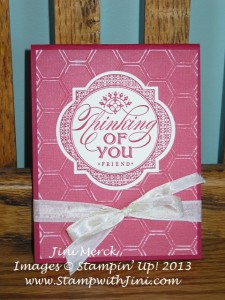
Here is my favorite card that I created for the event using the Just Thinking Stamp from the Spring Catalog. Just Thinking was one of the stamps I just knew I wanted when I saw the Spring Catalog the first time!
Since not everyone was able to come I thought I would share with you a tutorial on how my Just Thinking card was made, along with my very first video tutorial showing you how to use our Core’dinations Card Stock. I just love the Core’dinations Card Stock and think you will too – it’s a lot of fun to work with and very versatile. Better yet you’ll find three Core’dination Card Stock color choices Pool Party (item 129321), Primrose Petals (item 129322), and Real Red (item 129320) in the Spring Catalog on page 12.
Just Thinking Tutorial
Supplies:
Raspberry Ripple Card Stock (item 126842 $6.95): 4 ¼” x 11″; scored at 5 ½” and folded
Primrose Petals Core’dinations Card Stock (item 129322 $6.95): 4″ x 5 1/4″
Very Vanilla Card Stock (item 101650 $8.50): 8 1/2″ x 3 ½”
5/8″ Very Vanilla Seam Binding (item 120999 $6.96): 20″
Honeycomb Embossing Folder (item 129378 $7.95)
Stampin’ Sanding Block (item 129367 $3.95)
Window Frames Collection Framelits Dies (item 129021 $26.96)
2 ½” Circle Punch (item 120906 $16.95)
Multipurpose Liquid Adhesive (item 110755 $3.95)
Dimensionals (item 104430 $3.95)
Instructions:
1. Prepare your Core’dinations Card Stock Layer as shown in the video.
2. Adhere the Primrose Petals Core’dinations Card Stock to your card front using Multipurpose Liquid Adhesive. (I like to use this adhesive on anything that has a heavy texture.)
3. Stamp two images onto Very Vanilla Card Stock using Raspberry Ripple Classic Ink.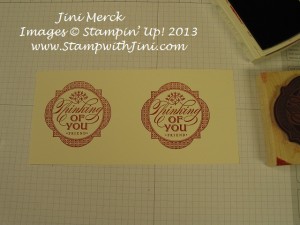
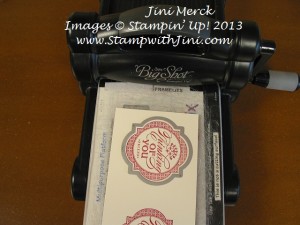
4. Using the Window Frame Framelits Die and Big Shot cut out one of the images.
5. Adhere to the card front.
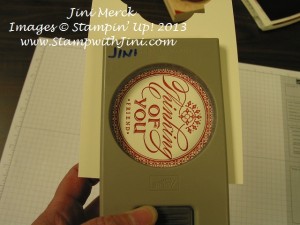
6. Punch the sentiment out of the second stamped image using the 2 ½” Circle Punch.
7. Adhere to the card front using Dimensionals.
8. Loop ribbon around the card front and tie into a bow. Trim ends.
That’s it – now you can send your card to someone you’re thinking about.
You can click here to download a PDF of my Justing Thinking Tutorial
Please leave me a comment and let me know what you think of today’s post. I’d love to know what you think of my first video so leave me a comment after you watch it. And don’t worry about the fact you need to use your email when you leave a comment – no one else will see it except me. My blog only asks for your name and email so it knows you’re a real person and not a robot spammer and I’ll only send you email if you have requested my Newsletter.
Click here to order your Stampin’ Up! Products online 24/7! (US only)




what a gorgeous card! thanks for providing the tutorial…now I’m off to watch your video!!!
Thanks Laura, I’m glad you enjoyed the tutorial – hope the video was helpful.
Great job, Jini. Congratulations on your first video! I love that card!
Thanks Kathleen – core’dinations card stock is sooo much fun to work with!
Love this card Jini! and the new coredinations paper. Looking forward to more colors 😉
I’m with you Randy, the 3 colors that are available from the Spring Catalog are great. I’ve already used a ton of the Primrose Petals and Pool Party! I hope Stampin’ Up! will continue to add to the color choices when the 2013-2014 Catalog is released this summer.