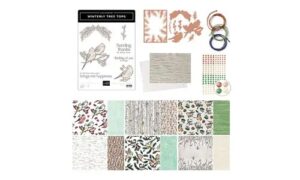
Love birds and nature scenes? I love to watch the bird feeder during the winter and the variety of birds that come to enjoy the food I put out for them. Sunflower seeds, suet, the choices in bird food have really grown since I started to do this at our home. I’ve even grown some sunflowers to share. Birds are always entertaining to watch. So when I saw the Nests of Winter Suite (164072) I couldn’t resist.
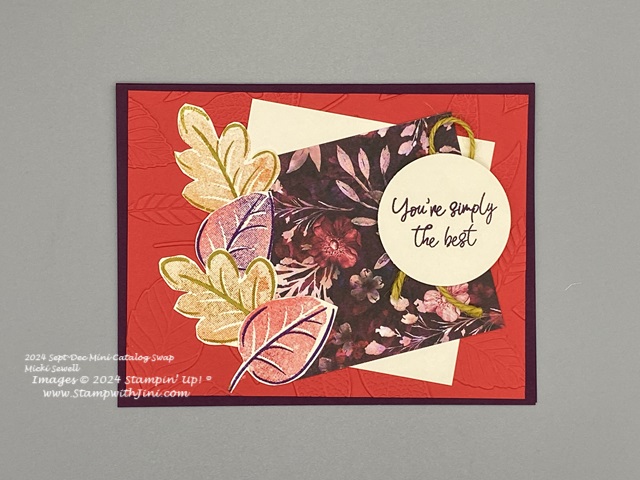
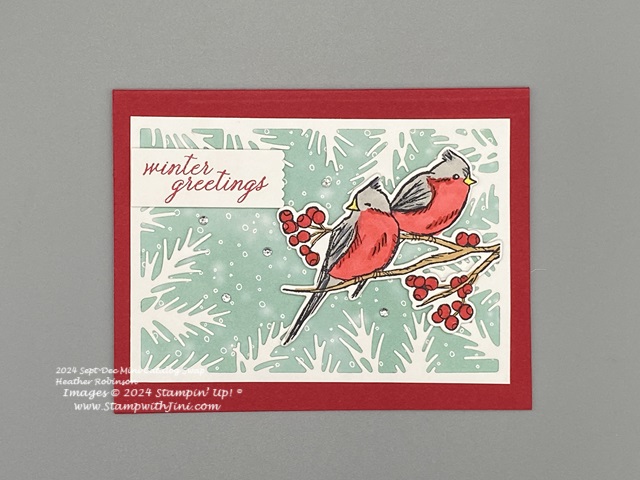
Today I’m going to share some cards with you that I received in my swap highlighting this Suite. This first card uses the die to frame the Nests of Winter Designer Series Paper (164183). Our Stampin’ Blends were used to give the images a bold pop of color and the Happy Labels Pick a Punch (160693) was used to create the tag for the greeting and add a bit more texture to the card front.
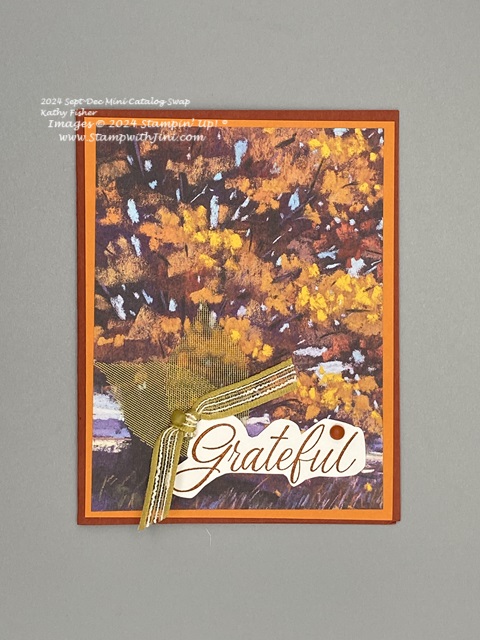
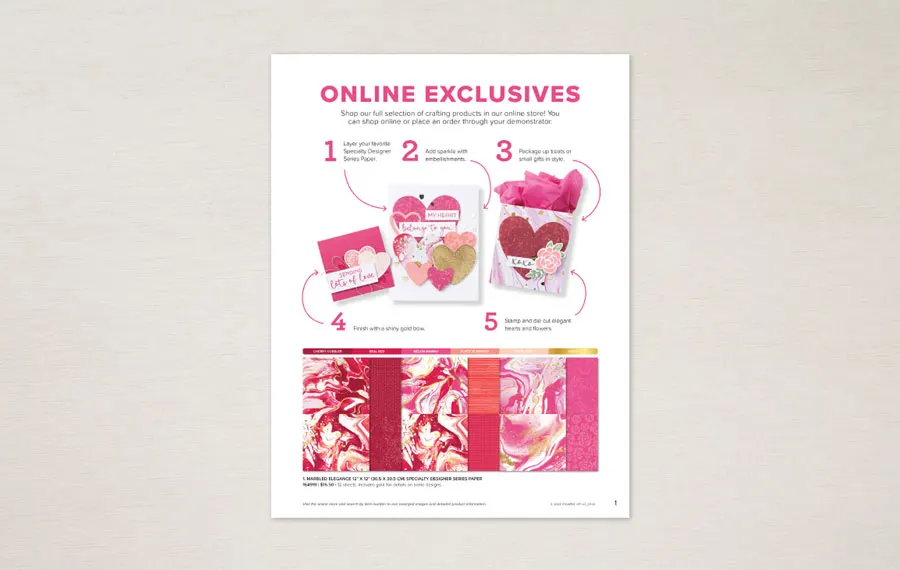
And how about this next card that uses the rich Gold Mercury Vellum Specialty Designer Series Paper (Online Exclusive 164142) and our Metallic Enamel Effects Basics (161610) to give it a rich look.
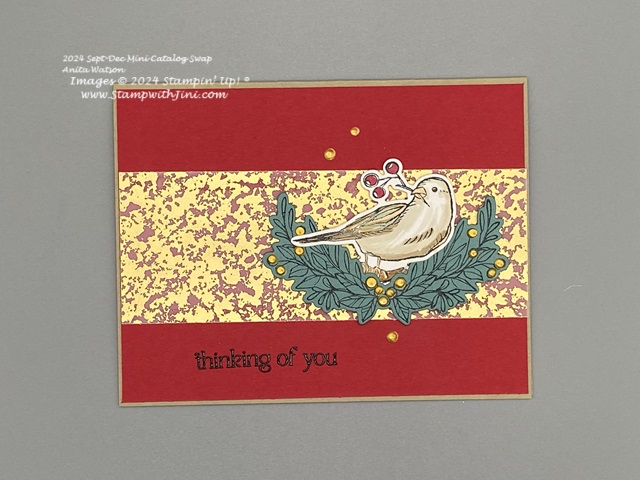
A bit of our black powder from the Basics Wow! Embossing Powder (165679) and heat from our Heat Tool (129053) give has been used on the sentiment to make it shine against the Real Red Card front.
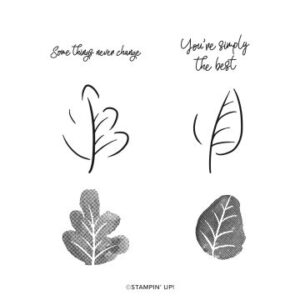
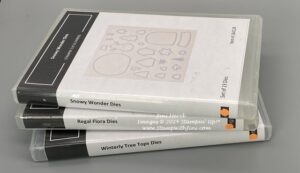
The birds in this set can be colored in different ways to show off your favorite birds and the Designer Series Paper can be cut out with the Winterly Tree Top Dies (164065) which is always fun for easy cards that don’t require any coloring!
Why not stop by my Online store and check out the Nests of Winter Suite (164072) today?
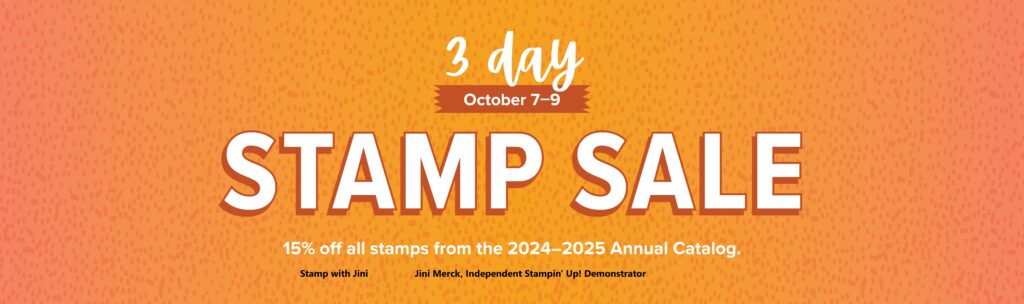
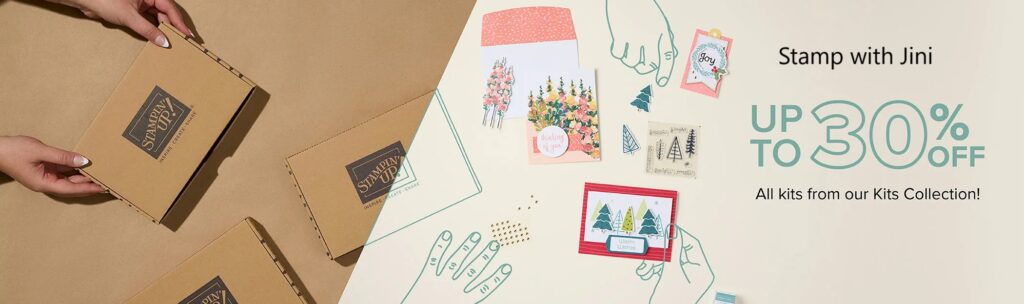
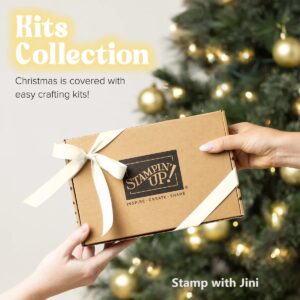
And don’t forget today starts our Seasonal Sale where you can get your favorite products found in the Annual Catalog on Sale!
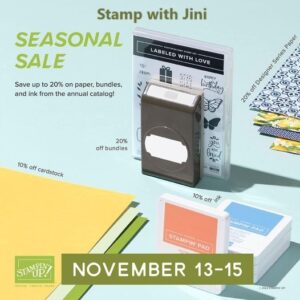
Simply Click on the category link to see them all.

CLICK HERE to order your Stampin’ Up! products Online 24/7! (US only)
Shop at my Online Store and use November Host Code 9HR2WMH9 with a product order of $50 or more and receive a FREE Gift from me; my Card Kit and Otterly Awesome Class! (while supplies last)
If you’re placing an order of $150 or more; no worries. Don’t use my host code so you can get your benefits, you’ll still get my FREE gift