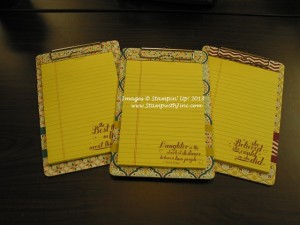
Wednesday I had my TEAM meeting and we made this little Punch Art Scarecrow Notepad together.
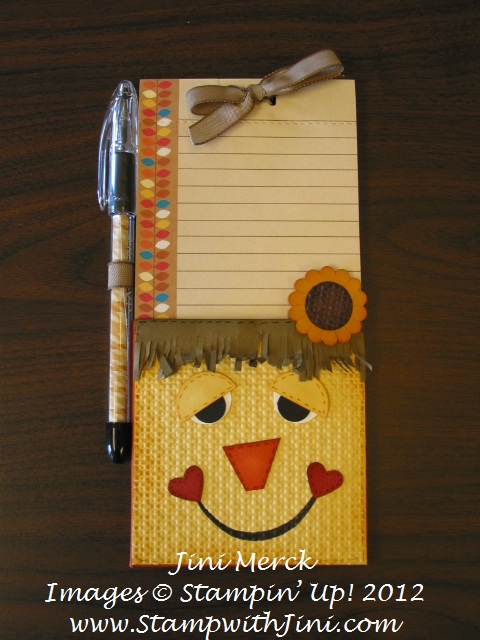
As I mentioned yesterday I received this scarecrow punch art swap at the Chattanooga Regional which was the inspiration for this project and I just tweaked the idea a bit to suit my style. You can click HERE to see my earlier post.
I loved the way this little guy turned out and so did my TEAM members. We had a lot of fun putting these Punch Art Scarecrow Notepads together. I like to make little gifts like this and thought this made a great project to give someone this fall who may not celebrate Halloween.
What do you think? Why not leave me a comment and let me know what you think. I love receiving feedback from you and it makes my day to know you’ve read my post. Sometimes I wonder if I’m the only one out there. Ever feel like that? I’ll try and respond to you when you leave comments too.
So……without further ado…. here is the promised tutorial for my Punch Art Scarecrow.
Scarecrow Punch Art Tutorial
So Saffron card stock
Soft Suede card stock
Riding Hood Red card stock
Tangerine Tango card stock
Whisper White card stock
Basic Black card stock and Stampin’ Write Marker
More Mustard Classic Ink and Stampin’ Write Marker
Cherry Cobbler Classic Ink and Stampin’ Write Marker
Cajun Craze Classic Ink and Stampin’ Write Marker
Early Espresso Classic Ink and Stampin’ Write Marker
Stampin’ Sponges or Sponge Daubers
Small Heart Punch
½” Circle Punch
¾” Circle Punch
1″ Circle Punch
Big Shot
Square Lattice Embossing Folder
Paper Snips
Bone Folder
Multipurpose Liquid Glue
Start by punching out the following pieces –
Riding Hood Red CS and the Small Heart Punch – 2 hearts
Basic Black CS and the ½” Circle Punch – 2 circles
Whisper White CS and the ¾” Circle Punch – 2 circles
So Saffron CS and the 1″ Circle Punch – 1 circle, cut in half with the Paper Snips
Then take a piece of Tangerine Tango CS that is 1″ wide and cut a triangle shape, Cut off the one pointed end to create the nose.
You should now have what looks like this and you are ready to begin. 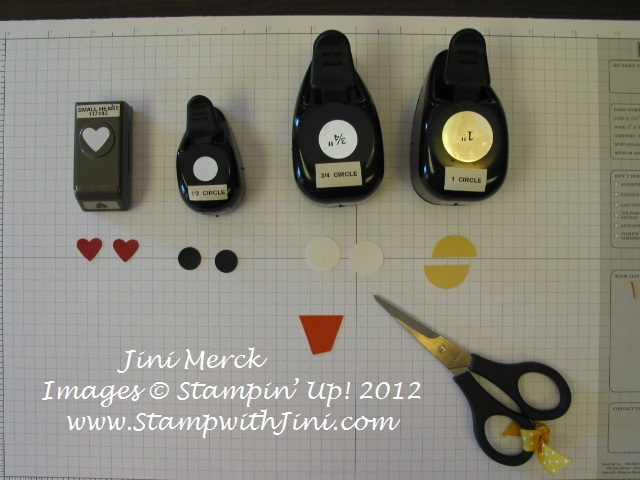
Using the Cherry Cobbler Marker Add Faux Stitching around the outside of both hearts.
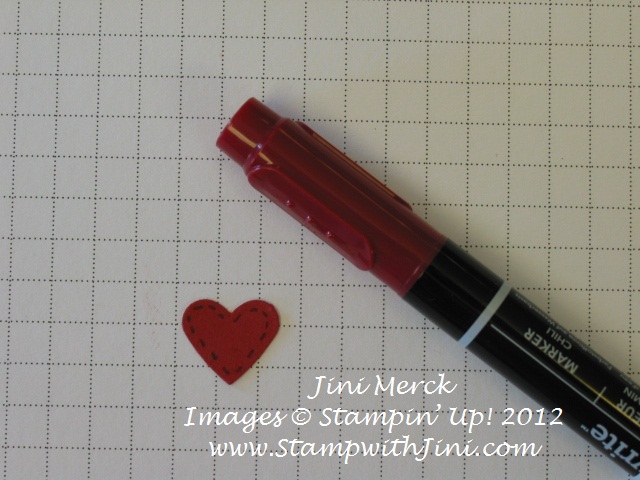
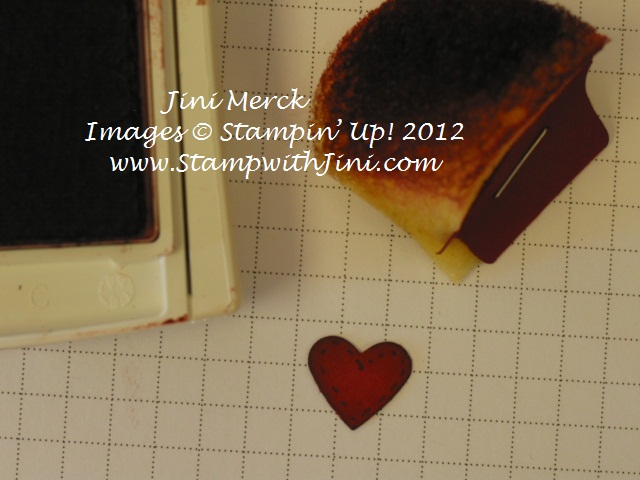
Then sponge both of the hearts with Cherry Cobbler Classic Ink. Set aside for later.
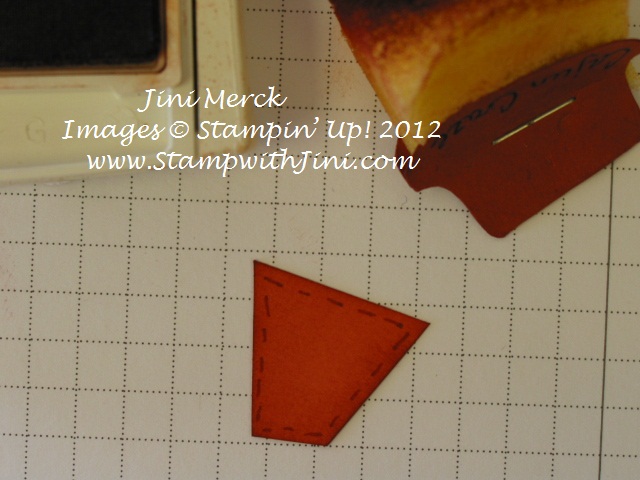
Next add Faux Stitching to your Tangerine Tango triangle with a Cajun Craze Stampin’ Write Marker. 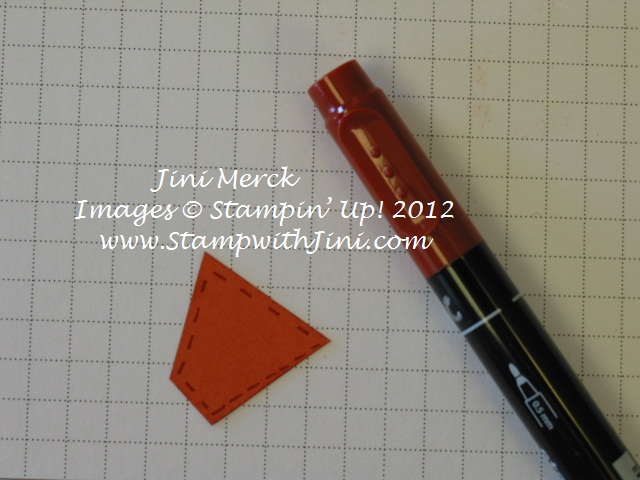
And Sponge the edges using Cajun Craze Classic Ink and set aside for later.
Create more Faux Stitching on the two half circles with the More Mustard Stampin’ Write Marker, 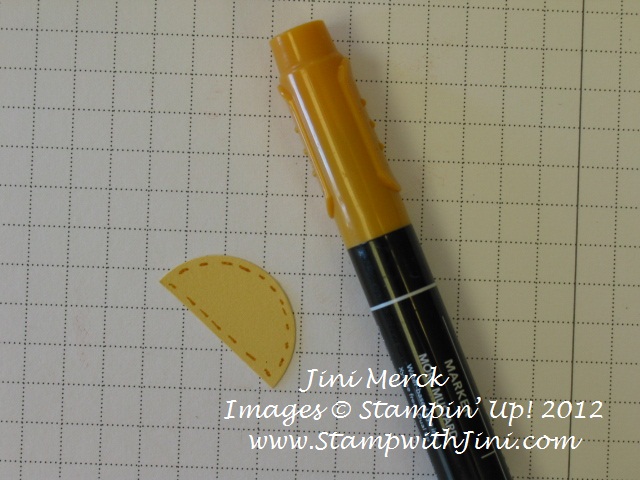
Sponge the outside edges using More Mustard Classic Ink and set aside for later. 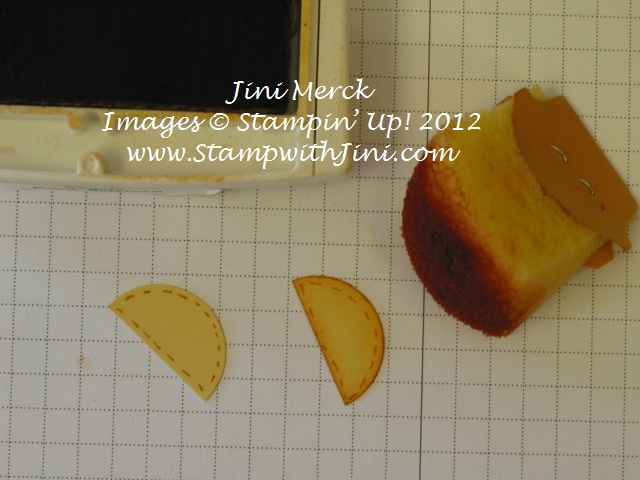
Now take a 3 ½” x 1″ piece of Soft Suede CS and add Faux Stitch using an Early Espresso Stampin’ Write Marker on both short sides and one of the long sides. 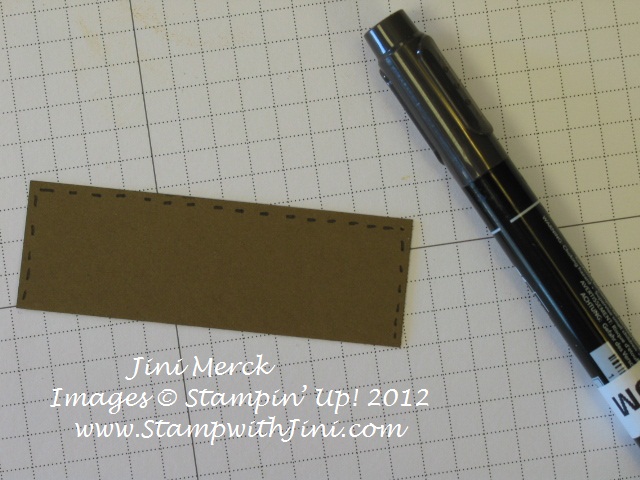
Sponge all four sides on the front and then flip it over and sponge the bottom long edge on the back. 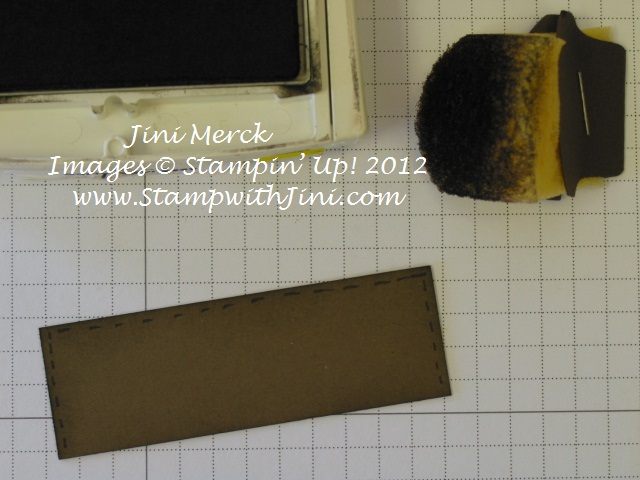
Next take your Paper Snips and cut a fringe on the bottom edge of your Soft Suede CS piece.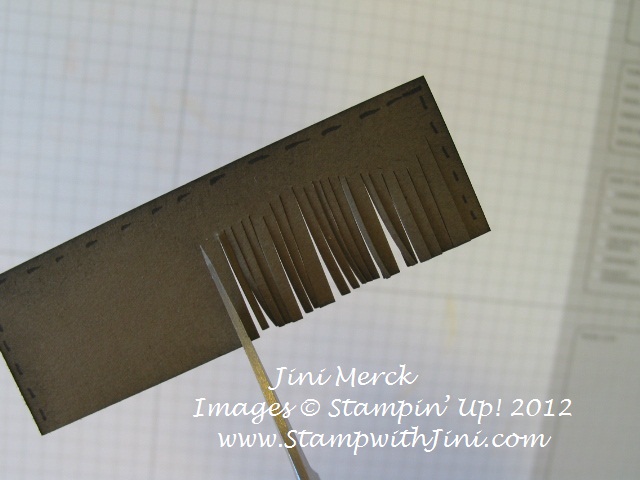
Next add some texture by curling the fringe you just created with your Bone Folder, alternating front and back curls. 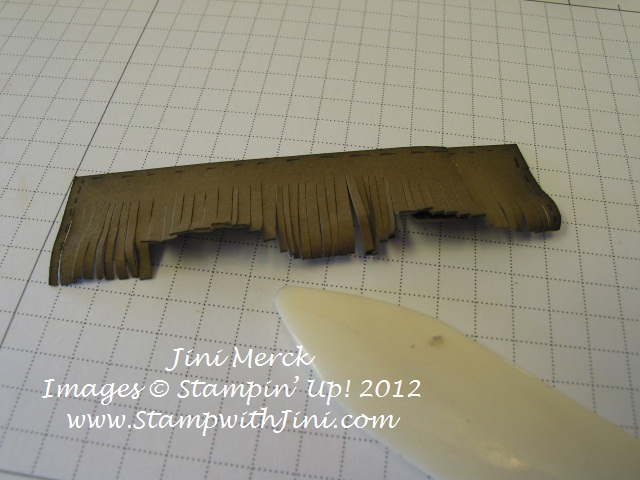
Using a More Mustard Stampin’ Write Marker create Faux Stitching around 3 sides of your 3 ½” x 3 ½” So Saffron piece of CS. 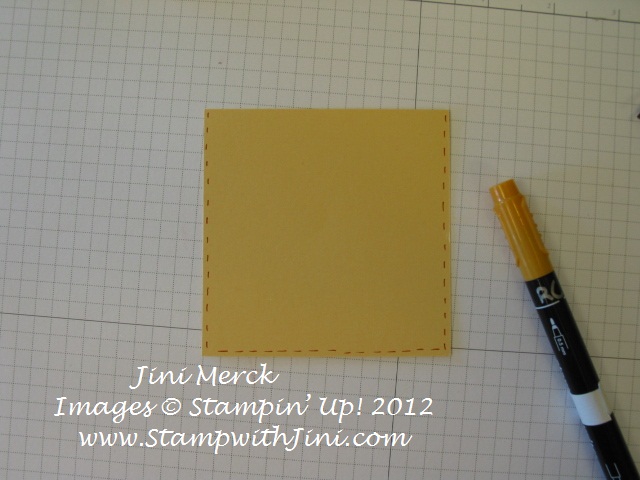
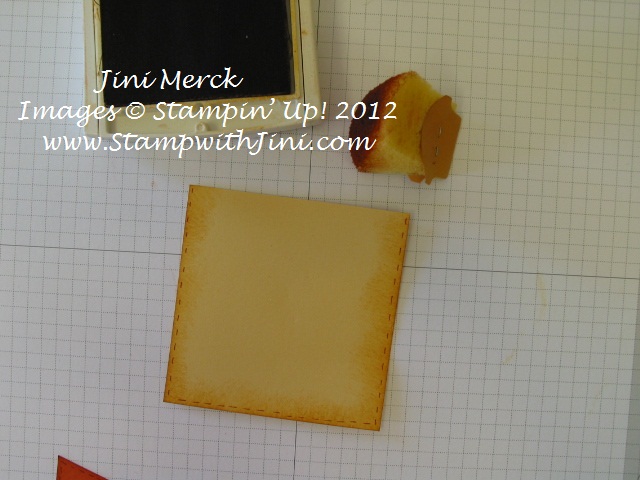
Sponge the edges on the same three sides using More Mustard Classic Ink.
Next give your little guy a smile with a Basic Black Stampin’ Write Marker. I used the flare tip end. (Here is a Tip – Not comfortable free handing this part? Use the edge of a glass or any round shaped item as a guide.) Look you can see his little face already starting to take shape. 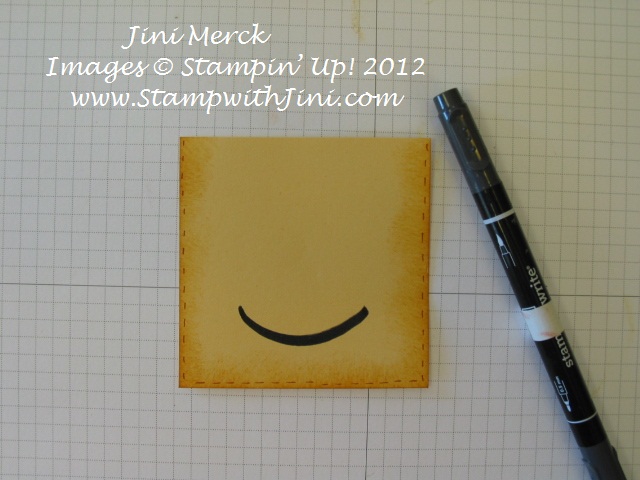
Run this piece through the Big Shot using your Square Lattice Embossing Folder.
Now you’re ready to assemble and you should have what looks like the photo below.
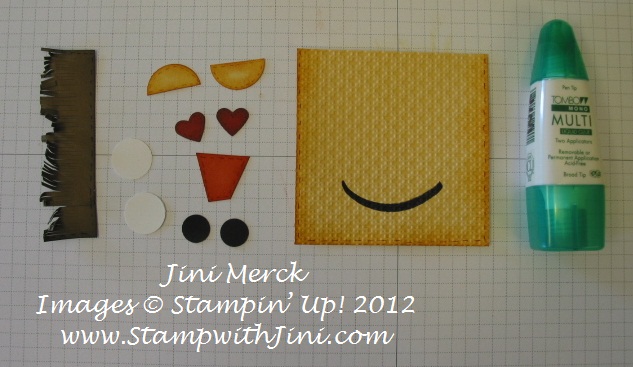
Add a smile to this little guys face by adhering the 2 small hearts to either side of the smile you drew. 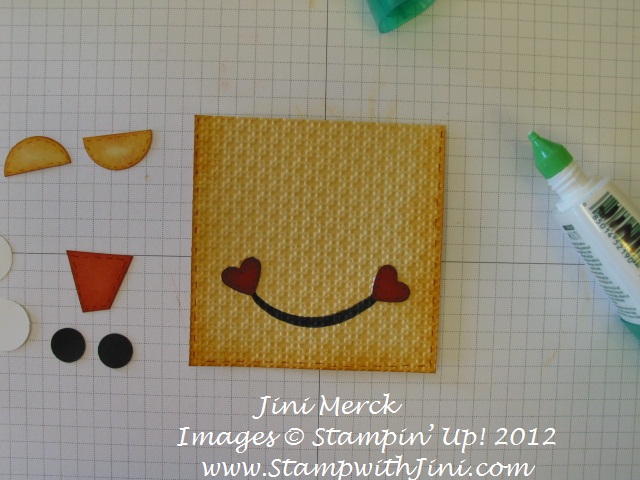
Next add the ¾” Whisper White circles. 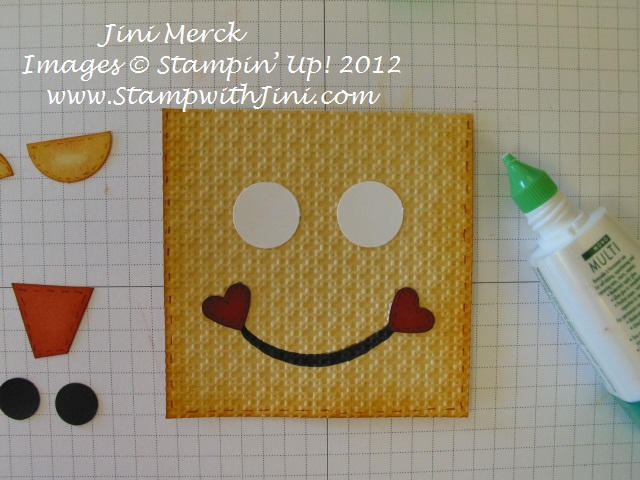
(Just a tip – when using Multipurpose Liquid Adhesive I like to place the glue on the bigger piece of card stock versus the smaller piece that I am gluing on. It is easy to reposition the piece once it is placed onto the project and I seem to stay a little cleaner too!)
And then the ½” Basic Black circle – look mom I can see! 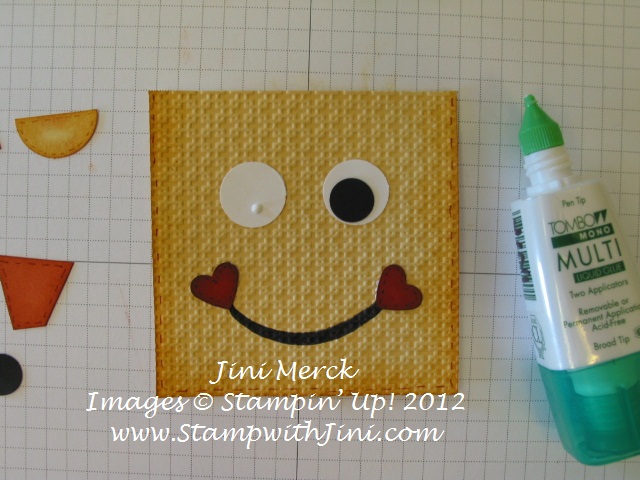
Next add his little Eye lids to make him look a little sleepy and give him some personality. After all guarding those sunflowers is hard work! 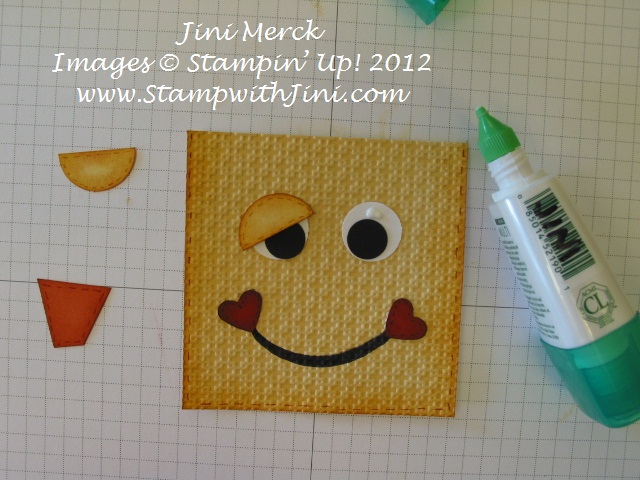
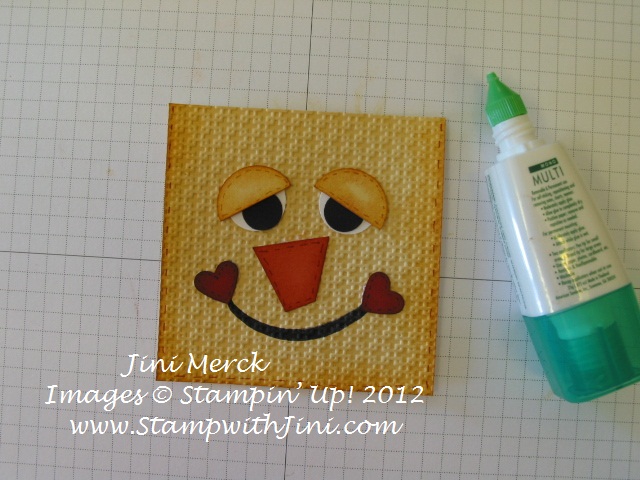
And finally add his little nose so he can smell the sunflowers.
Attach the piece of fringed Soft Suede CS and Voila’ hair! Here’s your little guy – you’re almost done. 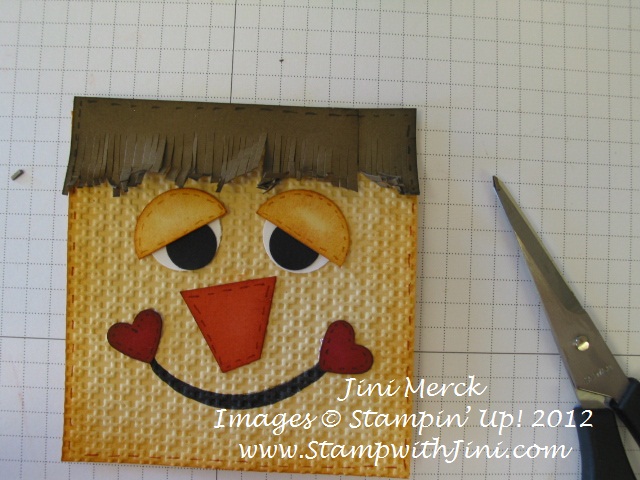
Finally take your Paper Snips and cut at different angles chunks out of his hair. That sponging on the back of the piece earlier is now starting to show a bit. Its ok you’re adding to his personality. You can also fold, bend and crumple it a bit to add a little height and disarray to his do – After all whose hair looks great after standing in the field all day? 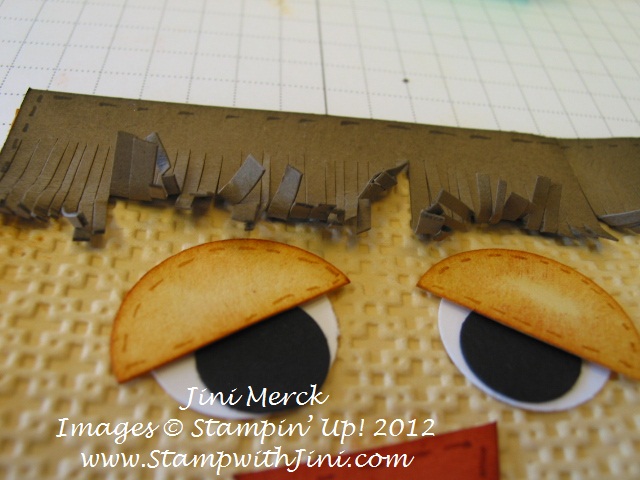
Voila’ you’re finished and isn’t this little guy adorable? Go ahead and attach his little face onto your project!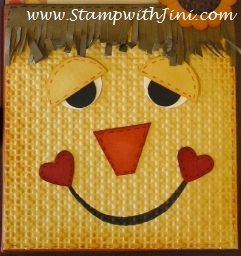
Click here to order your Stampin’ Up! Products online 24/7! (US only)
