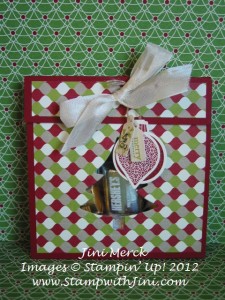
As I mentioned in Wednesday’s post in honor of Black Friday and Cyber Monday I’m offering you my Festive Holiday Treat Kit when you place an order with me! (Click HERE to see post and details on how to earn your free kits!) Don’t forget that my Online Extravaganza items are up to 50% off and can be included in your order too! (My Black Friday and Cyber Monday Promotion ends Monday at Midnight.)
Want Worry free shopping? Place your order directly with me by phone (706 754-7124) or email ([email protected]) as soon as you finalize your list and I’ll take care of the details for you to make sure you get the best deals! But hurry and get it to me as soon as you can so you don’t miss the Online Extravaganza door busters!
Here is the Festive Holiday Treat Kit Tutorial that I promised on Wednesday so you can see just how fun these are to make.
Festive Holiday Treat Tutorial
Gather the following Supplies:
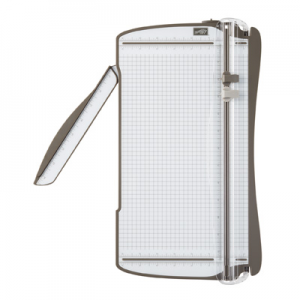
Simply Scored Tool
Festive Collection Framelits
Tiny Tags Stamp Set
Jewelry Tag
Ornament Keepsakes Stamp Set
Holiday Ornaments Framelits
Cherry Cobbler Classic Ink
Early Espresso Classic Ink
Lucky Limeade Classic ink
1/16″ Handheld Circle Punch
Crop-a-Dile
Candy of your choice
Here’s the Dimensions:
Cherry Cobbler CS: 4″ x 10″
Very Vanilla CS: 3″ x 4″
Festival of Prints DSP: 3 ¾” x 3 ¾” and 3 ¾” x ¾”
Very Vanilla ½” Seam Binding Ribbon: 12″
Linen Thread: 6″
4″ x 6″ Cello Bag
1. Lay the longest edge of the card stock against the top of your Simply Scored Tool and score at the 1″, 5″, 5 ½”, and 6″ marks. Fold on the score lines. (Use the 3 score lines to create a W shape.)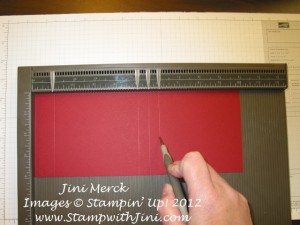
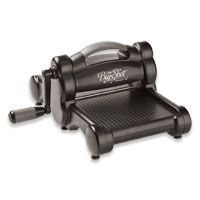
2. Take your Holiday Collection Framelits and center it about ½” up from the bottom of the DSP. You can use a Post-it Note® to hold it in place. Run it though the Big Shot. 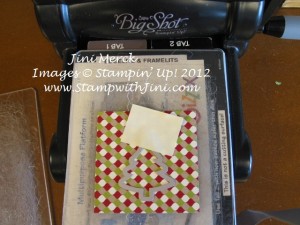
3. Attach the DSP to the CS with Snail. 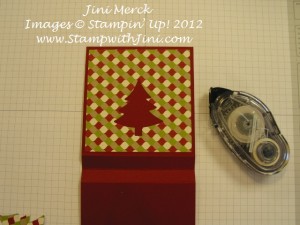
4. Place the Holiday Collection Framelits back in the same place and run it through the Big Shot to cut the CS. 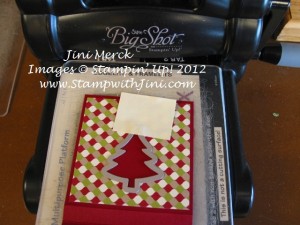
5. Attach the small piece of DSP to the CS to create the top flap. 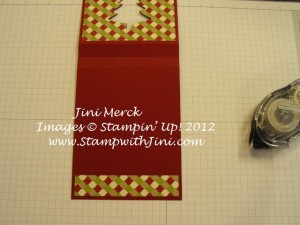
6. Take a small Cello Bag and trim it down to 4 ½” using your Personal Paper Trimmer.
7. Place your treat into the Cello Bag. (I used 6 nuggets in mine. Your favoite candy is great. Of course it’s always a good idea to make sure it tastes good, right?)
8. Place the Cello Bag into your treat holder as shown lining the top of the Cello Bag right below the 1″ score line. 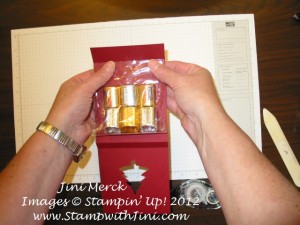
9. Bring the front up to cover the Cello Bag. 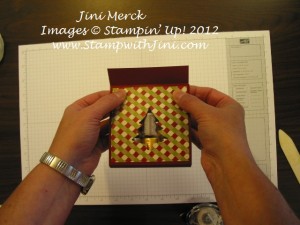
10. Fold the top down and using the Crop-a-dile punch two holes about 1″ apart and about 1 ½” from each side. 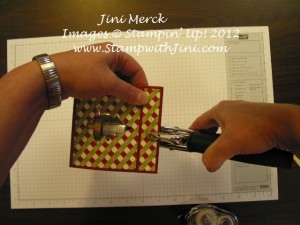
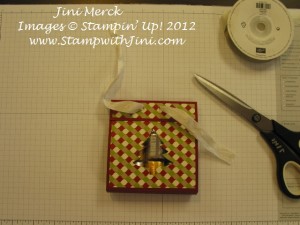
11. Thread 12″ of Ribbon through the two holes to hold everything together. Set aside.
12. Create your tags by stamping small images from the Ornament Keepsakes stamp set onto Very Vanilla CS (I used Cherry Cobbler) and cut them out using the coordinating Ornament Framelits.
13. Stamp tags using Tiny Tags stamp set (I used Lucky Limeade and Early Espresso) and punch out using TJewlery Tag Punch.
14. Punch holes in tags and ornament using 1/16″ Circle Punch.
15. Thread the Linen Thread through holes and tie ends into a knot.
16. Place finished tags onto ribbon and finish by tying ribbon into a bow.
You’re finished!
Your Festive Holiday Treat Kit will contain all the items that you will need to create this great little holiday gift along with a special Tutorial you’ll receive by email.
Your Festive Holiday Treat Kit includes:
- Card Stock
- Designer Series Paper
- 4″ x 6″ Cello Bag
- 12” Ribbon
- 6” Linen Thread
- Kits do not include candy
- (*Kit colors and supplies may vary)
Remember Kits will be included with your order or if you live out of the area they will be mailed by USPS starting on December 5th.
Click here to order your Stampin’ Up! Products online 24/7! (US only)

