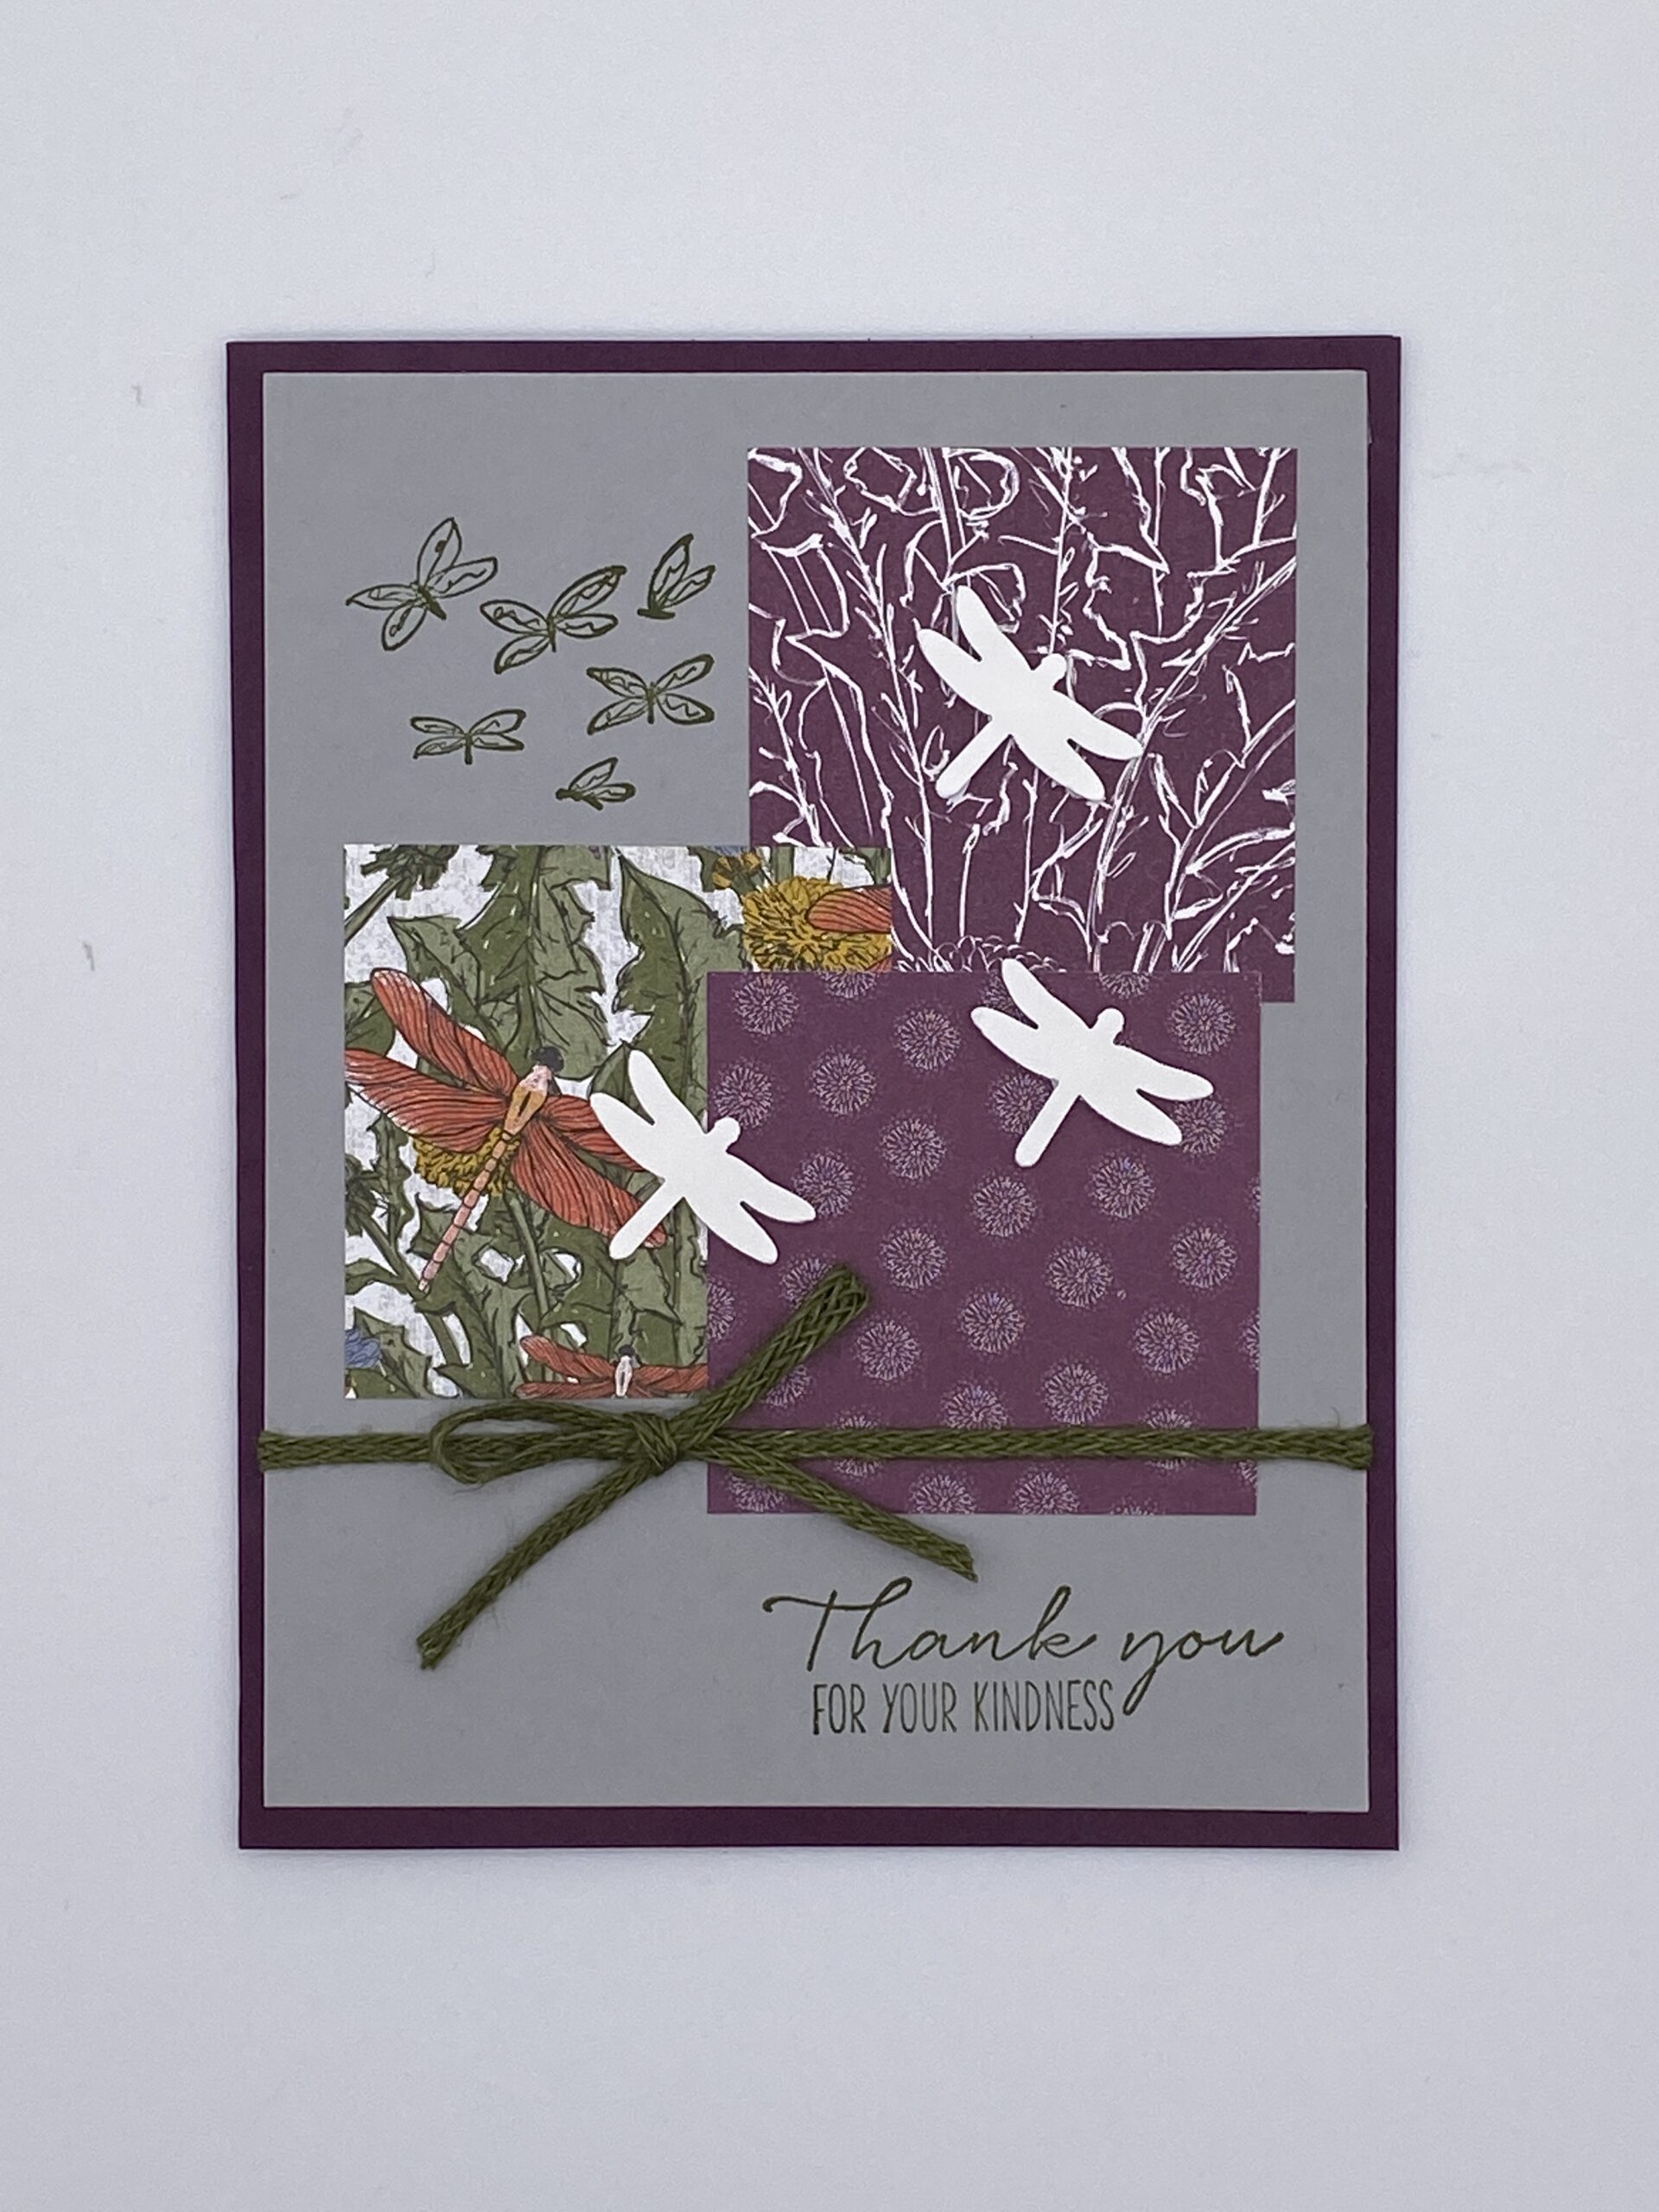
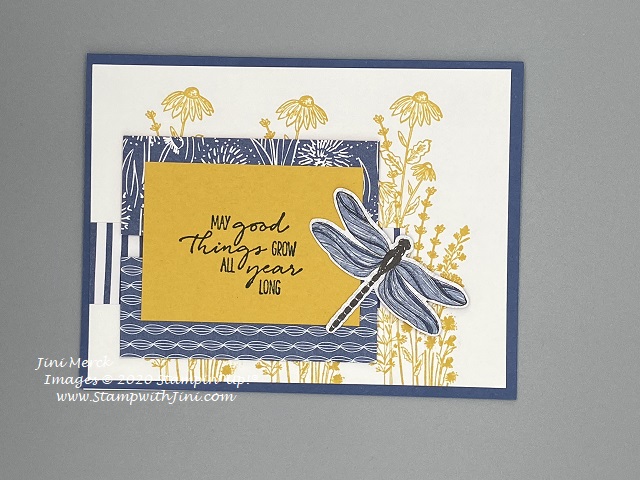
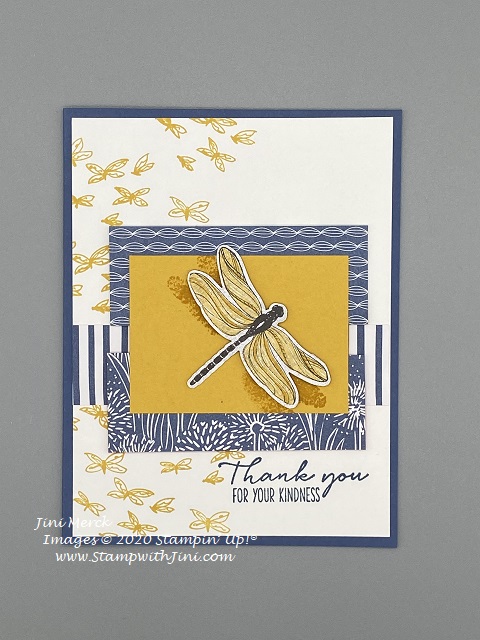
Bring in the beauty of nature with the artistic designs of the Butterfly Brilliance Bundle and coordinating designer series paper, along with textured specialty paper that will put a pop of brilliance on every project.
It’s a breath of spring with its wonderful colors and butterfly wings this Bundle is a sneak peak into our upcoming 2021 Annual Catalog.
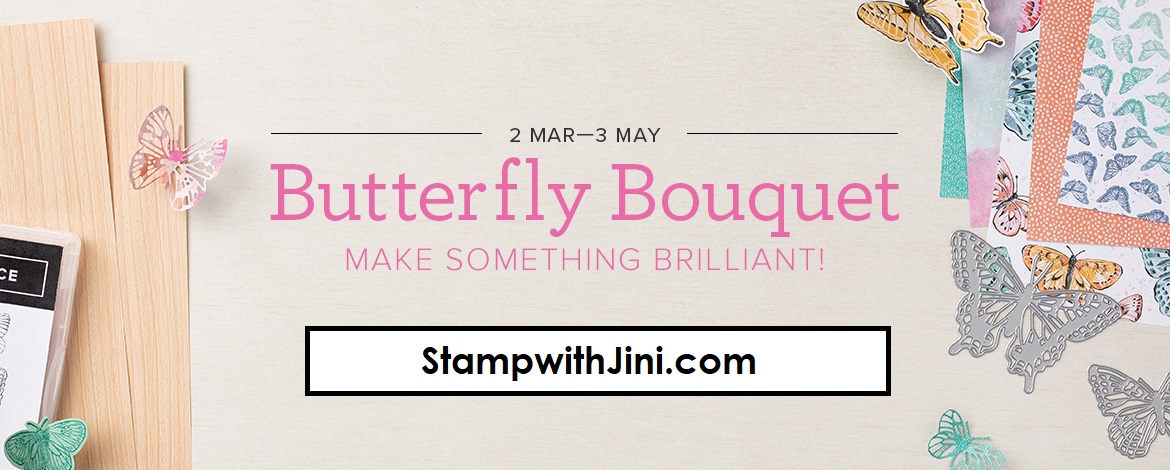
For a limited time, you can also get the Butterfly Bijou Designer Series Paper and the Natural Touch Specialty Paper to coordinate with your Butterfly Brilliance Bundle. The Designer Series Paper includes bright tones and airy landscapes, perfect for these fluttery friends. One sheet even coordinates directly with the die so you can line it up and cut six butterflies at once!
And did you know that large stamps work great with the Stamparatus! With my Getting Started with the Butterfly Brilliance Video Tutorial you can easily ink this image and stamp with nice, even pressure every time.
Check out my Getting Started Video with tips for making great images that you can cut out easily.
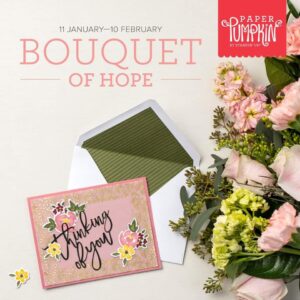
Want to learn more about this great new option and be one of the first to get products from the 2021-2022 Annual Catalog?
Check out this flyer for your convenience with all the information

Click HERE to see the PDF with all the details
Click here to order your Stampin’ Up! Products online 24/7! (US only)
Shop at my Online Store and use Host Code YUKYBZBG
Click Here to learn more about using the Hostess Code If you order Online make sure your profile information is up to date and you’ve allowed me to send you your free gift, a FREE Class using the Butterfly Brilliance Bundle