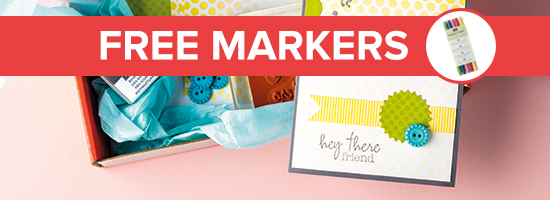
Great news! The release of the Stampin’ Blendabilities Markers are just a few days way! You’ll be able to order you own Stampin’ Blendabilities Markers on
Tuesday, July 1st! Whoo hoo!
So today I thought I would share with you a project that I made using the Stampin’ Blendabilities Markers that will be available on Tuesday to purchase.
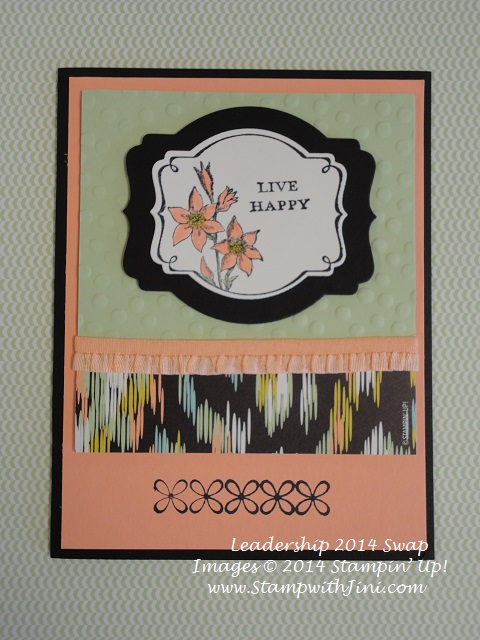
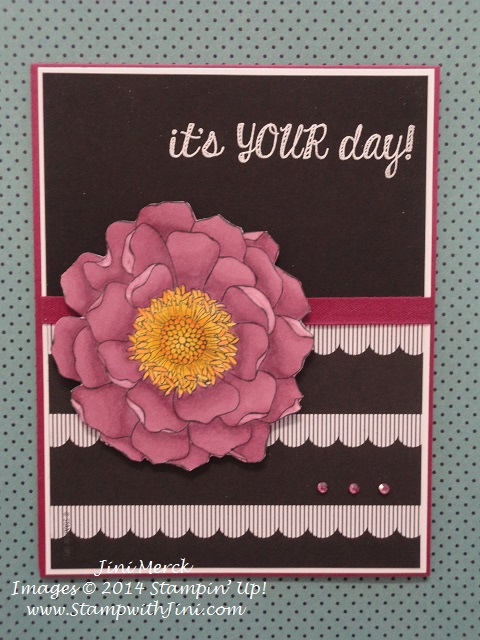
My card is made using the Blended Blooms stamp (135906) from page 167 of the NEW 2014-2015 Catalog. It is one of our single stamps that are available and work well for coloring.
And, I have to say with our NEW Blendabilities Markers it’s a lot of fun to color. I have to be honest and say I was a bit skeptical at first about them since I’m not a big colorer (is that a word?), but by my second image I was hooked. I find coloring with the Blendabilities, well – relaxing. And It is amazing how quiet a room will get with a group of demonstrators using Blendabilities. Ahhh….a Zen moment! LOL
I really wanted to make my flower pop on this card and a black and white combo seemed the way to go, so I chose to use the Back to Black Designer Series Paper.
I started with the Blended Bloom image that I colored using my Rich Razzleberry Blendabilities (131003) and cut the flower out using my Paper Snips. (And it’s ok if your cutting isn’t perfect – when a little of the white showed, I just took my lightest Blendabilities and touched up the edges.)
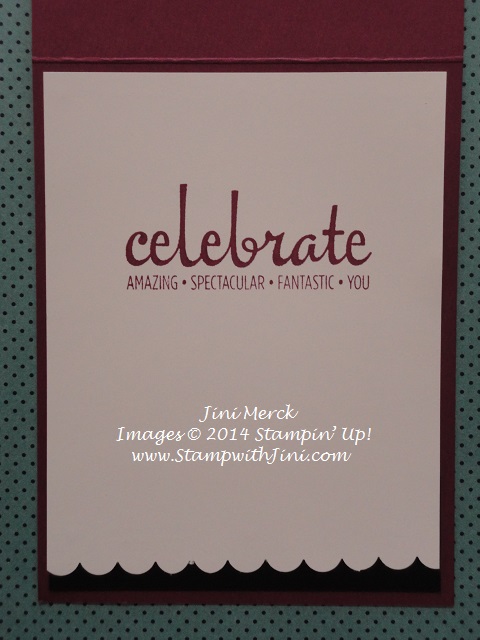
Next I cut a piece of the Back to Black Designer Series Paper (4″ x 2 3/4″) so that the scallop was right against the top edge of it since I wanted to add the strip of ribbon above it. I layered this onto the bottom of my Whisper White Card stock (4 1/8″ x 5 3/8″).
I stamped my sentiment from the Fabulous Four stamp set in Versa Mark on to my Basic Black card stock (cut 4″ x 2 1/2″) and embossed the sentiment in White embossing powder. I was looking for a happy birthday greeting but for some reason this font reminded me of the pattern in the scallop on the Designer Series Paper, so I went with it instead.
I attached the sentiment to the front of the card, added a strip of the 1/4″ Rich Razzleberry Cotton Ribbon (LOVE this ribbon!) and then added it to my Rich Razzleberry card base.
And of course I had to try my Blendabilities on the Rhinestones, right? So I used my darkest marker to color them. Soooooo easy!
And for the inside I decided to use another sentiment from this set that I stamped in Rich Razzleberry. I also added a scallop edge along the bottom with a bit of Basic Black peeking out.
I really like the way this card turned out and think my friend will like it too. I can already see, I’m going to love coloring again and having another coloring choice is great!
Stampin’ Blendabilities Markers on the Horizon
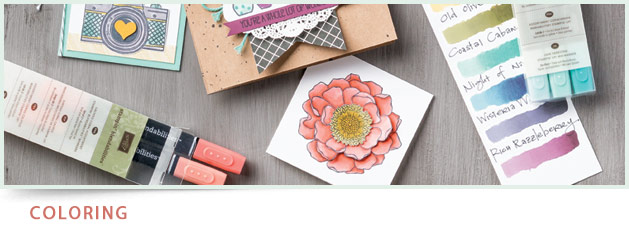
These exclusive alcohol-based marker sets, come in a 3-pack of light, medium and dark shades (of the same color ), and provide your projects a more saturated look with blended colors. Use Stampin’ Up! Whisper White Cardstock with your Stampin’ Up! Blendabilities, or any one of Stampin’ Up! card stocks would work just as well.
On Tuesday, July 1st the following items will be available to order:
- Cherry Cobbler (Item #130995 – $11.95)
- Coastal Cabana (Item #131000 – $11.95)
- Daffodil Delight (Item #130998 – $11.95)
- Old Olive (Item #130999 – $11.95)
- Pumpkin Pie (Item #130997 – $11.95)
- Rich Razzleberry (Item #131003 – $11.95)
- Skin Tone Assortment (Item #129370 – $22.95)
In addition, the following Blendabilities products will also be available:
- Memento Ink Pad (Item #132708 – $5.95)
- Memento Ink Refill (Item #133456 – $4.95)
- Color Lifter (Item #129369 – $4.95)
*On August 1st, the remaining six color assortments will be made available to order.
What Sets Them Apart:
- The Stampin’ Up! rectangular barrel keeps your markers from rolling away!
- Flat storage helps to maintain the life of each marker.
- Each marker comes with a tip on each end: brush and fine.
- Marker tips are made of nylon, which is superior to polyester which can fray.
- Color coded caps.
- Blendabilities Markers coordinate wonderfully with our card stock, and can be used with transparent sheets, rhinestones, and pearls.
|
Want to Learn More about Blendabilities?
|
So what do you think? Want yours right away? No worry – I can accept your order today and place your order on July 1st for you when they go live!
Contact me today.
Supplies:
Stamp Set: Blended Bloom (135906), and Fabulous Four (134171/134174)
Inks: Memento Tuxedo Black Pad (132708), Rich Razzleberry (126950) and Versa Mark Pad (102283)
Paper: Back to Black Designer Series Paper (133700), Whisper White (100730), Basic Black (121045), and Rich Razzleberry (115316)
Accessories: Rich Razzleberry (131003), Pumpkin Pie (130997) and Daffodil Delight (130998) Stampin’ Blendabilities Markers, Rich Razzleberry 1/4″ Cotton Ribbon (134564), Basic Rhinestone Jewels (119246), White Embossing Powder (109132) and Heat Tool (129053), Scallop Edge Punch (119882), and Paper Snips (103579)
Click here to order your Stampin’ Up! Products online 24/7! (US only)
Hostess code BRXTH4XS
Weekly Deals (Special ends Monday, June 30th 2014 at 11:50 p.m. (MT)