If you need a great gift for someone – I’ve got some great ideas just for you! Stampin’ Up! has some wonderful products that are just made for gift giving. What ever the age – I can help you choose the right gift for that special someone in your life.
Check out these great gift items –

Prepaid Paper Pumpkin Subscriptions – You choose how much you want to spend and a fully designed project kit will arrive each month with inks, stamps, and paper! Great for all ages and experience. Paper Pumpkin is a wonderful gift that keeps giving!
And I have to tell you that part of the fun is finding this little red box tucked in your mail box each month – It’s like Christmas year round!
Memory Keeping with Project Life by Stampin’ Up!
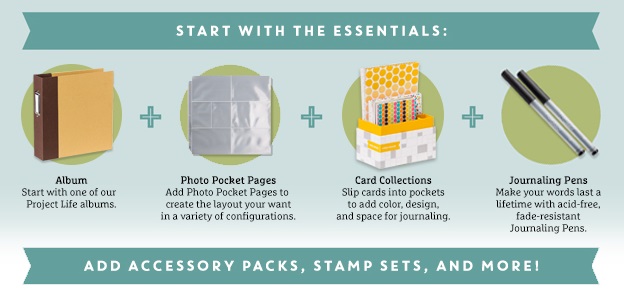
It’s sooo simple, affordable, and fast to create a gift with someone special in mind. Simply pick one of each item from the different groups – album, pages, card collections, and add a pack of Journaling Pens, and voila! You’ve given the gift of memories!
Shhhh…don’t tell, but I’ve got several friends expected babies in December – and I’ll be giving them a easy and fast way to memory keep the first year of their child’s life using Project Life.
Doing a cookie swap or recipe exchange? How about a Project Life album to keep them all nice and neat – what a great idea, right?
Want some more ideas? Ask me about Project Life by Stampin’ Up! today.
KITS, KITS, AND MORE KITS

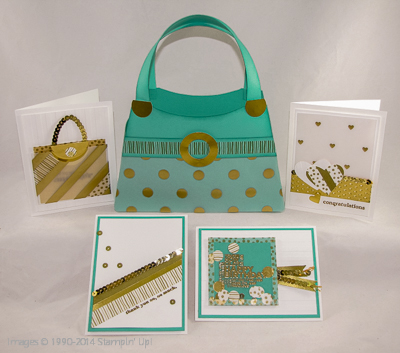
Our kits contain everything you need to create the projects included. What a great gift for someone who hasn’t crafted in a while, a young person, college student, or even an experienced stamper!
This & That Journals

Great for capturing life as it happens, quickly and easily! Simply pick one of our journals and coordinating Designer Stickers and go!
The Gift of Time
Why not treat a friend to a night out? Choose one of my events and treat someone to some girl time and pampering. Ask me about this option.
Can’t Decide? How about a Gift Certificate?
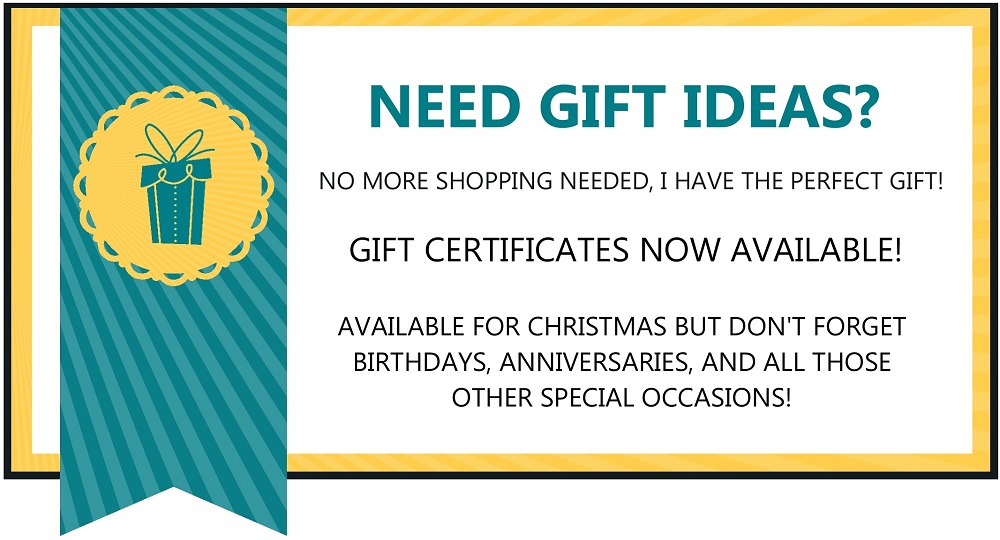
Gift certificates can be used for any occasion and can be purchased in any amount. Just ask me how to get yours!
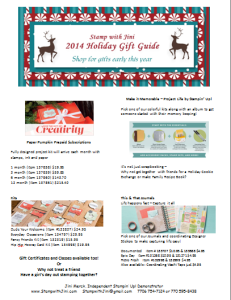
2014 Holiday Gift Guide
Want a copy of my 2014 Holiday Gift Guide that you can print? Click HERE or on the flyer image below for your copy with more details.
And remember our Online Extravaganza – some of these items are included in this week’s sale! Woo hoo gifts at a great price!
Click here to order your Stampin’ Up! Products online 24/7! (US only)
Hostess code C6X6WMXD
Place an Online order with me and use my Hostess Code C6X6WMXD and I’ll send you a FREE Tutorial with instructions to create 4 fun projects using the Bright & Beautiful stamp set!
Click Here to learn more about using the Hostess Code
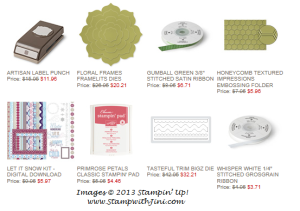
Online Extravaganza (Special ends Monday, December 1st, 2014 at 11:50 p.m. (MT) or while supplies last)
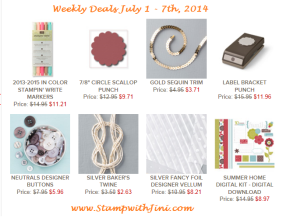
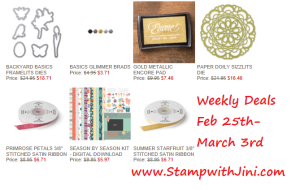
Weekly Deals (Special ends Monday, December 1st, 2014 at 11:50 p.m. (MT)
Holiday Gift Guide (click here for a printable PDF with ideas for your holiday gift giving of all ages)