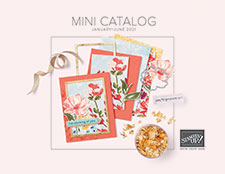
Whoo hoo!!! Can you believe it’s that time of year again? The year end closeout is your last chance to get those Holiday items that may be on your wish list before they are gone!
And of course feel free to give your wish list to family and friends so they can get you something special for the holidays too! I’m happy to keep it on file and they can contact me if you prefer also.
Here is the fine print:
Sale dates: Tuesday, December 8, 2020 Thru January 4, 2021
Discounts up to 50% off!!!
Retiring items are availablewhile supplies last.
Exclusions apply: Carryover items will not be discounted.
No minimum purchase required.
Due to increased shipping times and possible shipping delays during the month of December, we can’t guarantee delivery before Christmas.
It’s starts tomorrow, Tuesday, December 8th
Walk through the catalog with me in my first Mini Retirement list video walk through.
We are visual folks, right? So let me walk you through the Mini and I’ll help you mark the items that are retiring on December 8th so you have a quick easy visual so you can see things at a glance while you create your shopping list for Tuesday! Here is what you’ll want to have:
Highlighters (3 colors, one for each list)
Printed lists (see the 3 links below to print them off if desired)
A comfy place with space to spread out
If you’d like to print the 3 lists to have while we mark our catalogs, I’ve provided them in the links below.
Shop at my Online Store and use Host Code RWCHMDKP
Click Here to learn more about using the Hostess Code If you order Online make sure your profile information is up to date and you’ve allowed me to send you your free gift, a FREE Class using the Tag Buffet Stamp Set found in the Mini Catalog.
Last week I shared the opening day of our Stampin’ Up! OnStage@Home event, as always these 3 days fly by too quickly. And while we weren’t together in person this year the chat rooms, personal messaging, and texts were fast and furious as we shared with each other.
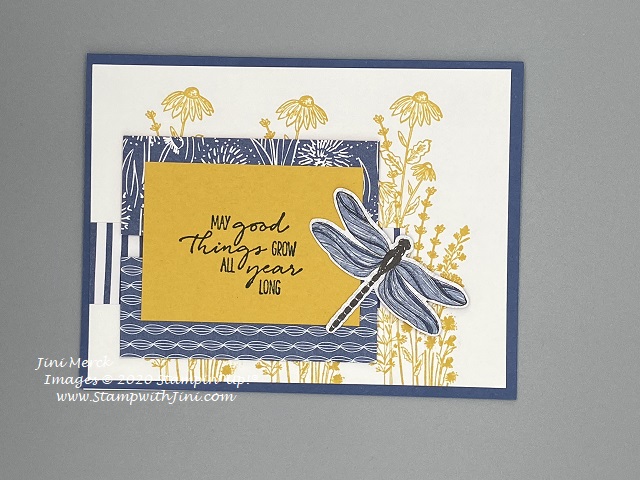
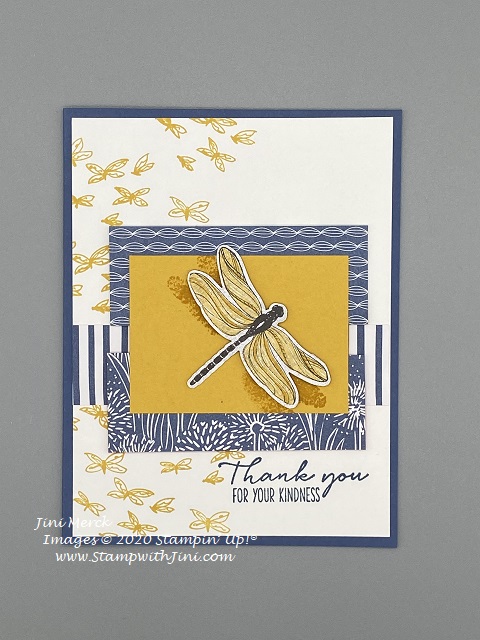
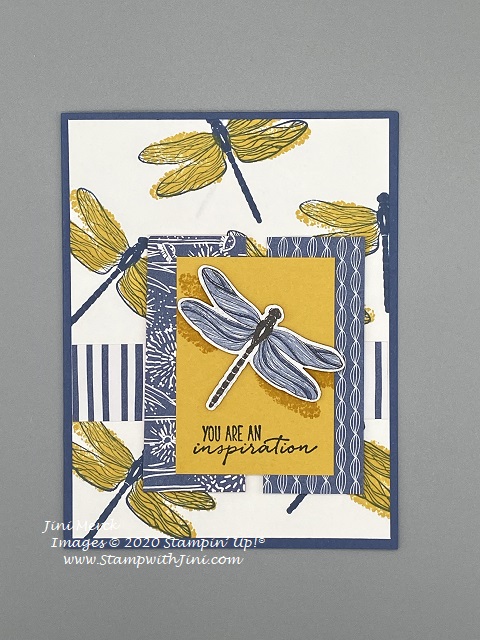
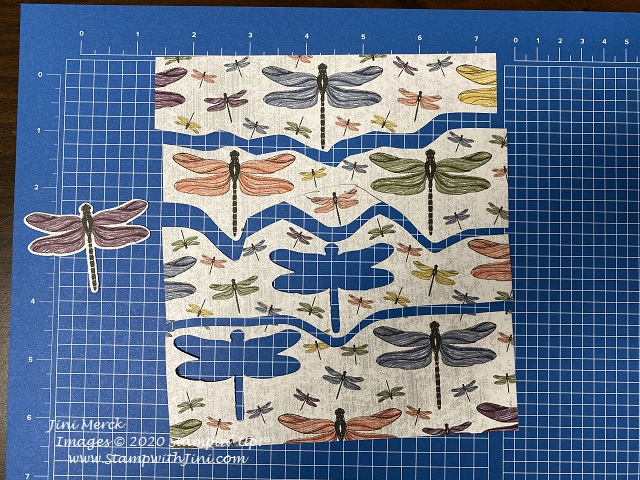
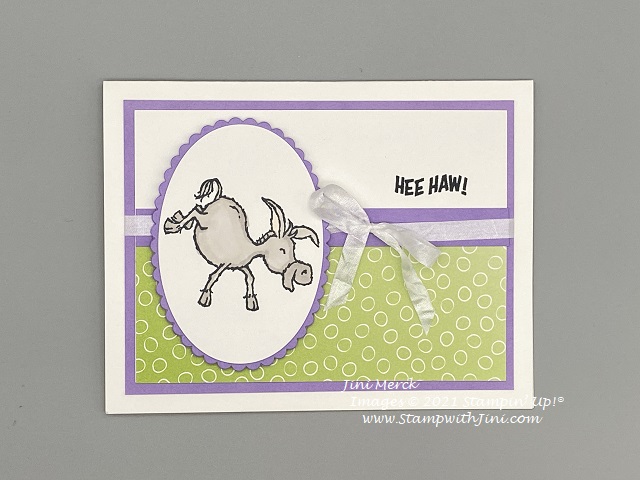
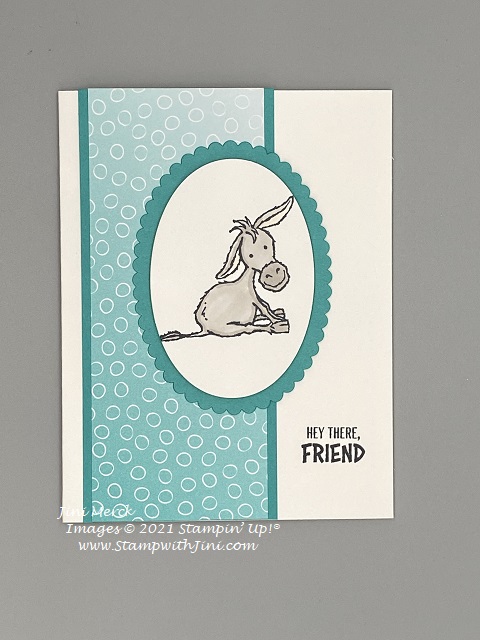
Saturday was filled with creative presentations and break out classes. My head is still spinning with all the great information! In between we did some stamping with the Dragonfly Garden Bundle and products from the Dandy Garden Suite.
These projects were a lot of fun since they were quick and easy – Know that I’ll be sharing some tutorials with you for these cards and others for sure as we get closer to the catalog launch in January 2021!
Sara & Shelli’s closing time together is always one of the most enjoyable portions of the event for me. I love to watch the back and forth between mother and daughter it is filled with laughter and wonderful projects too.
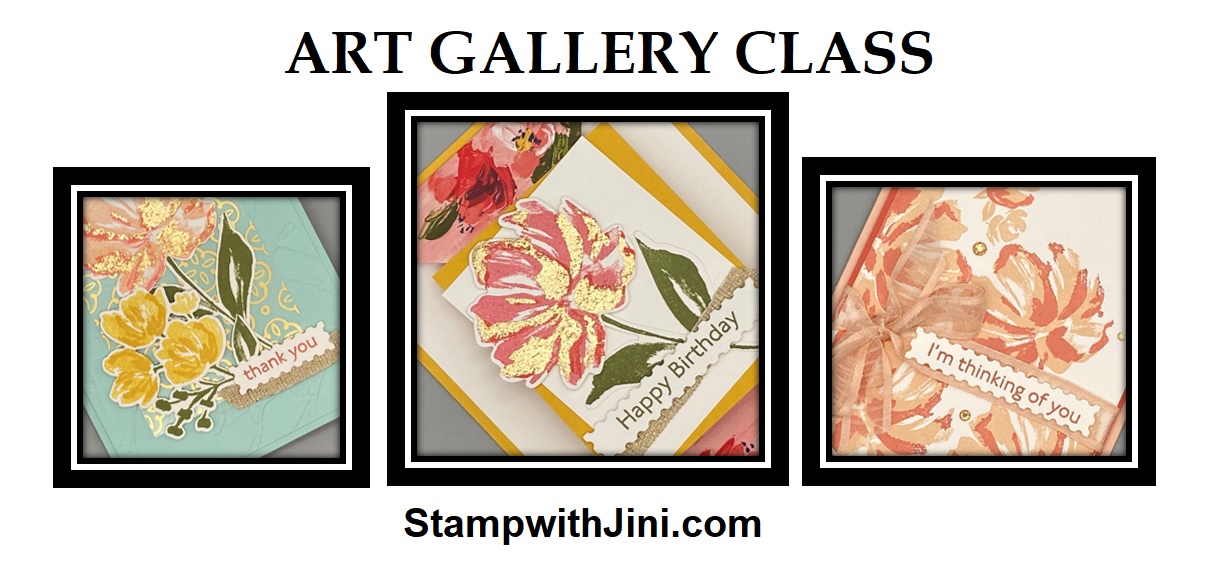
And this OnStage@Home was no different. You could see they were clearly enjoying their time together as they shared some wonderful projects using the Fine Art Floral Suite of products which has a lot of fun elements!
I was sad to say goodbye as we wrapped up the event – but will be looking forward to sharing with my Team this Friday during our OnStage After Party!
One of the perks of attending OnStage@Home was being able to participate in a Product Purchase Premiere. Being the first to receive our copies of the Mini & Sale-a-bration brochure along with stamps and more!
I got my box today and thought I’d share some of the fun with you of the unboxing. The video is not the best angle, my Ipad which is my normal way of videoing is giving me fits and I haven’t been able to figure out why yet. Sigh… the love, hate relationship I have with it! But you’ll get the idea.
2021 January – June Mini Catalog Product Purchase Premiere Sneak Peek
Wow! Right?
So what do you think? Love the new items too? It’s just a peek of what’s inside the 2021 January – June Mini Catalog and Sale-a-bration Brochure! And as I am sure you can guess, being the first to see this new catalog or any of our new catalogs is a very exciting AND a huge perk of being a Demonstrator – after all who wouldn’t want to be first? Right! Add the fact that you’ll receive a discount on all these products and you can’t lose! If you feel this is a good time to join Stampin’ Up! and my team, the Blue Mountain Stampers, you too can be first too!
What are the Blue Mountain Stampers?
That’s the name of our stamping community. I enjoy welcoming new members to our group. We’re from all over. If you’re considering joining Stampin’ Up!, you may have questions about how I would support you as part of my team. I do offer a variety of ways to learn, grow and to have FUN as a Blue Mountain Stamper!
Exclusive Team Resource Page – videos, PDFs and more
Exclusive Face book Group – A great way to share and connect with other team members and share
Monthly Creative Challenges
Swapping Opportunities
Team Retreats
Meetings – both local and online/virtual
Monthly Crafting Day
Monthly Lunch & Learn
Recognition & Incentives
Training available for workshops, clubs, classes and more!
Additional support and business coaching available
We have a very active group that share and answer each other’s questions on our Exclusive face book group. If you’re looking for fun, a place to grow and share with others…You’ll fit right in!
Hobbyists are welcome!
Did you know? 95% of my Blue Mountain Stampers’ areHappy Shoppers – purchasing for themselves, (along with their family and friends.) That’s right…you can just get a discount on products you love!
We welcome the crafter who’s looking to be a “happy shopper” (to save money), as well as those of you that want to build a business (and make money).
Everyone is welcome after all there’s room for both and everyone in between.
It’s the best deal in the Catalog AND there is NO Obligation when you purchase your starter kit – Join the Blue Mountain Stampers and see what it’s all about!
So why not join today? Have access to the NEW 2021 Mini Catalog & Sale-a-bration Brochure right away and then starting December 1st you’ll be able to order products from the 2021 January – June Mini and Sale-a-bration Brochures too!
Got questions? Feel free to contact me I’m happy to answer any questions you may have.
Shop at my Online Store and use Host Code WUJKQ9XP
Click Here to learn more about using the Hostess Code If you order Online make sure your profile information is up to date and you’ve allowed me to send you your free gift, a FREE Class using the Poinsettia Place Suite of Products found in the Mini Catalog.
If your Online order is $150 or more make sure not to use the host code so that you can take advantage of the Host Benefits yourself – No worries, I’ll still send you your free gift. It’s my way of saying thank you for choosing me as your demonstrator!
Whew! The week is flying by and tonight starts the Stampin’ Up! OnStage@Home event. I’m excited about this opportunity to gather with my fellow demonstrators from around the world. It’s sure to be a jam packed 3 days as always and while it is not a live event in Salt Lake as planned originally I’m just happy that I’m able to participate this way from home. Stampin’ Up! never disappoints at these events.
I didn’t want to spoil the surprise earlier this week, but by now everyone should have received their little goodies in the mail. So….. today I thought I’d share with you a fun project that I made as a gift for my team members that will be joining me for the OnStage@Home event. I just love the Quite Curvy Bundle so I started there.
I just couldn’t resist these sweet little birds and the fact that the sentiments curve along the die cut edges! So want to see what I made?
Here you go this soft and sweet note pad holders
I’m really pleased with the way they turned out and I had some sticky notes and flags that I thought went perfectly with this project too!
So what do you think? Want to learn how to make your own? While you may not have the same little flags and sticky notes I’m sure you can find some similar sized for your projects. Or how about a sticky note and mini calendar? The options are endless and I find that one of the fun things about creating a gift like this.
I’ve put together a video tutorial for you. It’s a bit longer than my normal videos, but it shows you the how to from start to finish. And as always I’ve given you a printable PDF with a complete supply list and step by step instructions.
Quite Curvy Note Pad Holder Video Tutorial
I’ve also got this great tip for cutting out your stamped images with our dies. Do you ever miss cut? I really hate that and this quick little tip REALLY helps!
How to Cut Die Cut Images Consistently Video Tutorial
So what do you think? Helpful? Why not give it a try and then leave a comment to let me know if you like doing it this way. Either way I hope this little tip helps you with your crafting too!
And now without further delay here is that printable PDF I told you about with the complete supply list.
To go along with the note book I created a little treat bag to celebrate the event using our fun 3×9 Gusseted Cellophane Bags (151312) filled with a variety of items.
After all who doesn’t appreciate a little treat bag too?
Enjoy!
Stop back by tomorrow when I’ll be sharing some more OnStage@Home fun with you!
Shop at my Online Store and use Host Code WUJKQ9XP
Click Here to learn more about using the Hostess Code If you order Online make sure your profile information is up to date and you’ve allowed me to send you your free gift, a FREE Class using the Poinsettia Place Suite of Products found in the Mini Catalog.
If your Online order is $150 or more make sure not to use the host code so that you can take advantage of the Host Benefits yourself – No worries, I’ll still send you your free gift. It’s my way of saying thank you for choosing me as your demonstrator!
What fun it was using this new stamp set to create this card. This NEW Quite Curvy Variety Bundle (158396) has so many options too! I just love it’s curves and images that tuck right into them.
I’ve whipped up a quick card to share with you today using the Curvy Christmas stamp set along with the Curvy Die Case Insert for your organizational needs too. So you’ll want to read all the way to the bottom.
The Classic Christmas Designer Series Paper in this stack only uses 3 colors Cherry Cobbler, Sahara Sand, and Shaded Spruce so it makes it a great option for beginner stamps since you the 3 ink colors will give you all kinds of options for the holidays. AND the stack has 4 great patterns in all the colors making it easy to create a bunch of cards too.
Want to see how I made this card? I’ve put together a video and pdf for you today
AND if you want a case insert to put these dies into that matches your stamp set and other die case, you’re in luck while this die set will be available in the 2021 January – June Mini Catalog I’ve got one for you today so you don’t have to wait!
Shop at my Online Store and use Host Code WUJKQ9XP
Click Here to learn more about using the Hostess Code If you order Online make sure your profile information is up to date and you’ve allowed me to send you your free gift, a FREE Class using the Poinsettia Place Suite of Products found in the Mini Catalog.
If your Online order is $150 or more make sure not to use the host code so that you can take advantage of the Host Benefits yourself – No worries, I’ll still send you your free gift. It’s my way of saying thank you for choosing me as your demonstrator!
Want a bright cheerful fall thank you card? The Poppy Parade just screens maple leaves to me with it’s bright cheerful color. Team it up with the In Color Bumble Bee and I think you have a winner. Check out this card I made for this month’s Thank You cards.
Makes you smile, right? I’ve whipped up a quick video and pdf tutorial for you so you can bring a smile to someone’s day too! Why not check it out?
Beautiful Autumn Thank You Card Video Tutorial
I love having the measurements printed out so I can refer to them also, so here is a PDF for you. And of course all my tutorials include the link to the video on them for easy reference when you are ready to craft.
Have you ever wondered why I include both the ink pad AND refill number in my PDFs? Well back when I started stamping I only purchased the ink pads and then when I needed the ink refill I didn’t have them. Lesson learned, now I always suggest purchasing them together – no headaches when you need to them and are in the middle of the project your making. AND even more fun there are some great techniques that use those reinkers by themselves too!
Enjoy and you’ll want to make sure to keep reading until the end for the supply list.
OCTOBER CLASSES – SIGN UP TODAY
Snowflake Wishes Card Class
Make 6 cards with envelopes (you’ll make 2 cards of 3 designs)
Date: Thursday, October 22nd
Time: 10 to noon
RSVP and prepay by Friday, October 16th
Choose from my LIVE event or VIRTUAL Class option
Class Fee Only $20 and includes your class PDF & pre-cut supply kit Add On option available for Stamp Set & Dies Email me for Links to Prepay for Class Pick up or add Shipping, its just $8
RSVP and prepay by Friday, October 16th Save your spot today LIVE Class size is limited due to social distancing
Class PDF & Videos (no kit or product included) $15
Snowflake Wishes Stamp A Stack
Date: Saturday, November 14th
Time: 1 – 3:30 pm
Choose from my LIVE event or VIRTUAL option
Class Fee Only $20 (includes your class PDF & pre-cut supply kit for 10 cards, envelopes included)
Additional sets of 10 are just $15 each
Add On option available for Stamps & Dies
Email me for Links to Prepay for Class
Pick up or Shipping just $8
RSVP and prepay by Thursday, October 22nd
Sign up for both my Card Class & Stamp a StackRSVP and prepay by October 16th and get a $5 discount
Save your spot today LIVE Class size is limited due to social distancing
Class PDF & Videos (no kit or product included) $15
Adhesives are not included in class
Need Adhesives? Let me know and I can have some for you at class or add it to your Add On Option if you are taking the Virtual Option.
Sign Up and prepay for my Stamp A Stack in November at the same time and get a discount!
What’s coming up next? Here is a look at my schedule so you can plan and save the date
Card Class – Make 6 cards (3 designs; 2 of each) Cards are clean and simple designs
Fourth Thursday of the month
11/19 – Freezin’ Fun
12/17 – Card Class (more to be announced soon)
RSVP and Payment Needed the second Friday of the month (November is earlier due to Thanksgiving)
Specialty Classes
12/5 Freezin’ Fun Stocking Stuffers
RSVP and prepayment needed the fourth Thursday of the month
Paper Pumpkin Craft Time –
Fourth Tuesday of the month 10 am
10/27, 11/24 and 12/22
RSVP Needed Friday before event so I can save a spot for you
Blue Mountain Stampers Team Meeting-
First Tuesday of the month 1 – 3:30 pm
11/3, and 12/1
Become a Demonstrator and join the fun!
*Got a big Wish List? Why not get a 20% discount on your stamps & a fantastic Kit during September? Ask me how you can save and get a discount on your favorite products!
Again, please let me know if you have any questions. I appreciate your support and feel particularly blessed to have such a wonderful group of crafters who allow me to share my love of stamping.
Shop at my Online Store and use Host Code B74BJ7HF
Click Here to learn more about using the Hostess Code If you order Online make sure your profile information is up to date and you’ve allowed me to send you your free gift, a FREE Class using the Gorgeous Posies Stamp Set found in the Annual Catalog.
If your Online order is $150 or more make sure not to use the host code so that you can take advantage of the Host Benefits yourself – No worries, I’ll still send you your free gift. It’s my way of saying thank you for choosing me as your demonstrator!
Yesterday I shared the Home Decor project that we made at the Peak Princess event this past weekend, today I thought I’d share the little treat item that I made.
They are filled with these fun fall Hershey’s Kisses that I found locally.
I just love the colors of the candy – yes, I do shop for candy that way. (My daughter thinks this is a pretty crazy way to shop for chocolate, but she is always on the hunt for me too!)
These treats were quick and easy to make for everyone. I have whipped up a quick video so you can make some to if you’d like.
Beautiful Autumn Tiny Treat Box Video Tutorial
And of course it’s always fun to have a PDF that contains a complete supply list for projects. So here it is.
I also mentioned I’d share some more photos so here are a couple from the classroom.
This last picture is of the Sweet Potato Crostini I made for the event. The marshmallows spent a bit too much time under the broiler I’m afraid. Don’t you hate that? But they were still quite tasty.
They were a big hit with my guys so I thought you might enjoy the recipe – they are light, tasty and easy to do.
Sweet Potato Crostini
2 T. sugar
1/2 tsp. cinnamon
24 slices 1/4″ thick French bread baguette
2 to 3 T butter, melted
Topping:
2 c. mashed sweet potatoes
1/4 c. chopped pecans
3 T. packed brown sugar
2 T. butter, melted
1 1/4 c. miniature marshmallows, halved
Preheat oven to 350 degrees. Mix sugar and cinnamon. Arrange bread sliced ona baking sheet. Brush with butter; sprinkle with sugar mixture. Bake until lightly browned, 5-7 minutes. Remove from oven; preheat broiler.
Mix sweet potatoes, pecans, brown sugar, and butter; spread over toasts. Top with marshmallows, pressing lightly. Broil 3-4 inches from heat until marshmallows are lightly toasted, 1-2 minutes.
Shop at my Online Store and use Host Code B74BJ7HF
Click Here to learn more about using the Hostess Code If you order Online make sure your profile information is up to date and you’ve allowed me to send you your free gift, a FREE Class using the Beautiful Autumn Bundle.
If your Online order is $150 or more make sure not to use the host code so that you can take advantage of the Host Benefits yourself – No worries, I’ll still send you your free gift. It’s my way of saying thank you for choosing me as your demonstrator!
This past weekend I gathered with my Team, The Blue Mountain Stampers for a special biannual event. This event allows us to gather and celebrate everyone’s accomplishments over the last 6 months. We have a special project, along with prizes, and appetizers. So today I thought I’d share our project that we made.
This project was a lot of fun to make and everyone’s turned out differently since they could decide on which patterns they wanted to use. Here is mine.
I really love the colors and patterns of the Gilded Autumn Suite of Products and so I couldn’t resist making a home décor item with them. I also really love the way the little swirls of copper ribbon finish off this project. They are so easy to make – I bet you are wondering how I made them too!
You’ll need a wooden skewer or dowel along with your heat tool and Heavy Spray Starch. Yep, that’s it! You’ll also need a bit of patience as you make them since it does require some dry time tho. I’m not sure how they would hold up outside, but since I’m planning on using this project inside my home I wasn’t worried about our heavy Georgia humidity of late.
Want to see how we made them? Here is a video for you.
Gilded Autumn Pumpkin Home Decor Project Video Tutorial
Gilded Autumn Pumpkin Home Decor Project Tutorial PDF
I’ve also included a link for the pumpkins and PDF pattern on this Tutorial for you.
Want to make some of these too? Here is the information on the wooded pumpkins for you that I found on Amazon along with a PDF pattern for this pumpkin.
I really love these gatherings we have a lot of fun together and it’s a great time to share what’s been happening in our lives, and relax too. Here are a couple of pictures for you of some of the finished projects.
Have you ever thought about getting a discount on your favorite Stampin’ Up! products? Or join a group of crafters who enjoy crafting together? Then the Blue Mountain Stampers might be right for you!
What are the Blue Mountain Stampers?
That’s the name of our stamping community. I enjoy welcoming new members to our group. We’re from all over. If you’re considering joining Stampin’ Up!, you may have questions about how I would support you as part of my team. I do offer a variety of ways to learn, grow and to have FUN as a Blue Mountain Stamper!
Exclusive Team Resource Page – videos, PDFs and more
Exclusive Face book Group – A great way to share and connect with other team members and share
Monthly Creative Challenges
Swapping Opportunities
Team Retreats
Meetings – both local and online/virtual
Monthly Crafting Day
Monthly Lunch & Learn
Recognition & Incentives
Training available for workshops, clubs, classes and more!
Additional support and business coaching available
We have a very active group that share and answer each other’s questions on our Exclusive face book group. If you’re looking for fun, a place to grow and share with others…You’ll fit right in!
Hobbyists are welcome!
Did you know? 90% of my Blue Mountain Stampers’ areHappy Shoppers – purchasing for themselves, (along with their family and friends.) That’s right…you can just get a discount on products you love!
We welcome the crafter who’s looking to be a “happy shopper” (and save money), as well as those of you that want to build a business (and make money).
Everyone is welcome after all there’s room for both and everyone in between.
And there is NO Obligation when you purchase your starter kit – Join the Blue Mountain Stampers and see what it’s all about!
Right now is a great time to join with our GET & GO PROMOTION
Not only will you receive 2 additional Stamp Sets in your kit and card kits to make things with you’ll also get to choose $125 in product too! AND Shipping is free! That’s almost $200 in product for just $99 plus tax!!!
And there is no obligation
But you’ll want to hurry since there are less than 48 hours left to take advantage of this great promotion!
Shop at my Online Store and use Host Code B74BJ7HF
Click Here to learn more about using the Hostess Code If you order Online make sure your profile information is up to date and you’ve allowed me to send you your free gift, a Beautiful Autumn Class with PDF & Videos.
If your Online order is $150 or more make sure not to use the host code so that you can take advantage of the Host Benefits yourself – No worries, I’ll still send you your free gift. It’s my way of saying thank you for choosing me as your demonstrator!
The 4th of July is this weekend and we have a couple of family birthdays coming up so I reached for the Blossoms in Bloom stamp set and my Stamparatus. I really like this stamp set with it’s bold watercolor feeling images. The set has some great all occasions sentiments in addition to the birthday one I used for this project and since it is 2 step gives me a lot of great options.
Check out this card using the set that I’ve done in red, white and blue so it have a patriotic feel to it.
I love the way it turned out. The fact that this set is a Distinktive set make it soooo easy to create this wonderful card. Check out this quick video I made for you.
Shop at my Online Store and use Host Code U7RMR3W7
Click Here to learn more about using the Hostess Code If you order Online make sure your profile information is up to date and you’ve allowed me to send you catalogs.
If your Online order is $150 or more make sure not to use the host code so that you can take advantage of the Host Benefits yourself
Need a get well card that is bright and cheerful? How about this one using the new 2020-2020 In Color, Magenta Madness – it’s a color that makes you smile when you see it! I teamed this color up with our So Sentimental Bundle (151691) to create a quick and easy card for you today.
Why not take a peek at my video tutorial and see what you think?
Magenta Madness Get Well Card Video Tutorial
.
And of course, another PDF with measurements and a complete supply list for your crafting pleasure.
If you enjoy my video tutorials and PDFs, did you know you can choose one of my Online Card Classes or Specialty Zoom Classes this summer? Yep, you can find the stamp sets that I’ll be focusing on in my Calendar of Events along with details too. Zany Zebras is my first class that is available, but you’ll want to hurry since RSVP ends on June 19th. Click HERE to see more details that I shared earlier this week.
And if you’d like to get my Monthly Newsletter and Class emails you can Sign up HERE for it or get my Blog Posts delivered right to your inbox HERE
Shop at my Online Store and use Host Code FFQ3W3ZV
Click Here to learn more about using the Hostess Code If you order Online make sure your profile information is up to date and you’ve allowed me to send you your free gift.
If your Online order is $150 or more make sure not to use the host code so that you can take advantage of the Host Benefits yourself – No worries, I’ll still send you your free gift. It’s my way of saying thank you for choosing me as your demonstrator!
Today’s card is made with our In Good Taste Suite of products – as soon as I saw this suite I knew it would be one I’d reach for again and again. Not only does the stamp set have some great sentiments in a lovely font, it also has some wonderful collage type stamps which I’m always looking for to build layers of texture and interest on a card.
And the Dies! What can I say…. I love basic shapes that I can use with multiple stamp sets and this set is fantastic with their stitched edges and embossed details.
Today’s card is quick and easy since it uses the In Good Taste Designer Series Paper as a back drop. I love paper like this that has texture and versatility making it great for masculine cards too.
I’m thinking the Bumblebee and wood give this card a rather country feel to it. What do you think? Gingham always reminds me of my childhood summers, so I’m excited to have a couple of gingham options in this catalog.
Here is a quick video for you along with a PDF that includes a supply list and measurements too.
Shop at my Online Store and use Host Code FFQ3W3ZV and receive the 2020-2022 In Color Swatches as a free gift!
Click Here to learn more about using the Hostess Code If you order Online make sure your profile information is up to date and you’ve allowed me to send you your free gift.
If your Online order is $150 or more make sure not to use the host code so that you can take advantage of the Host Benefits yourself – No worries, I’ll still send you your free gift. It’s my way of saying thank you for choosing me as your demonstrator!
Sign up for my June Card Class – Preorder has started