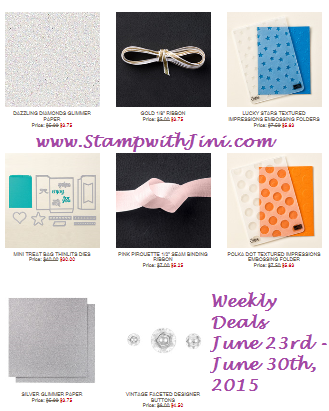
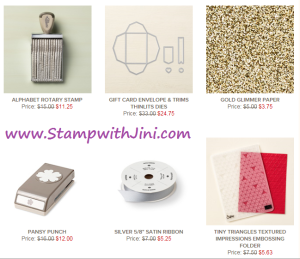
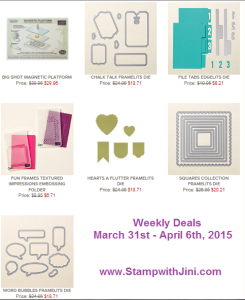
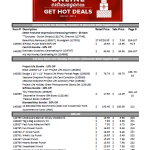
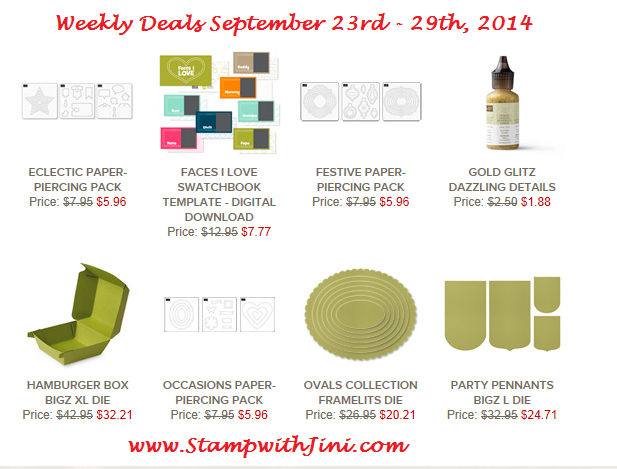
Check out this weeks Weekly Deals. If you love “bling” you’ll love the deal on our Glimmer Paper!
Have you seen Paper Pumpkin this month?
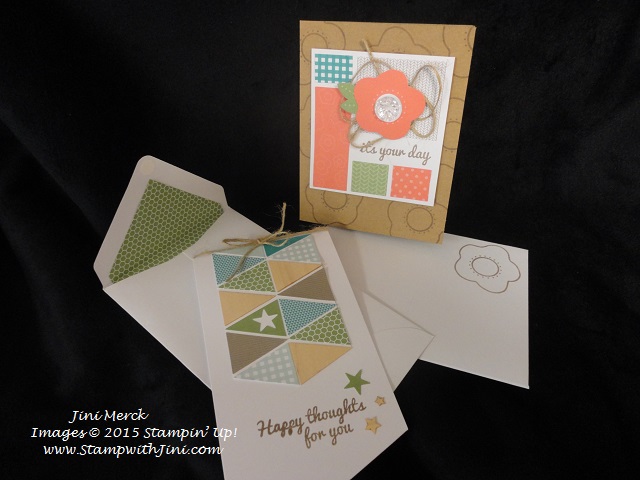
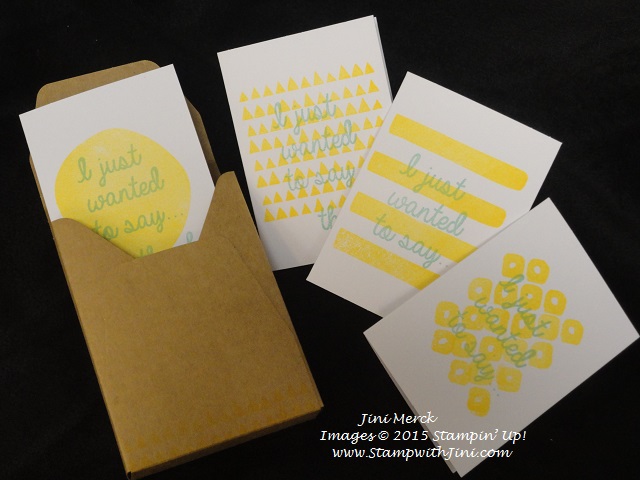
Check out these cute cards I made using the June kit, Happy Thoughts.
Want to see the kit in action? Paper Pumpkin has a video each month highlighting the kit. Why not check out this month’s video below.
Want to learn more about Paper Pumpkin? Why not check out the subscription site HERE or you can purchase a Prepaid Subscription HERE. Still have questions? Contact me today.
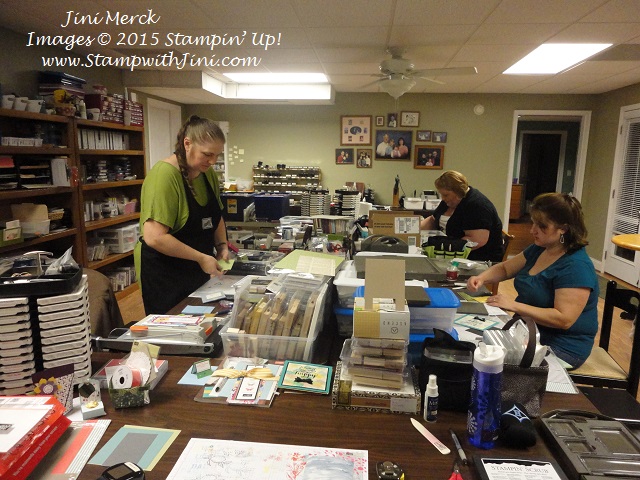
The end of May my friend Anna and I held our first retreat and it seemed to be a hit with those who attended. It’s taken me a bit but today I thought I’d share some pictures and projects from the retreat from May 29th.
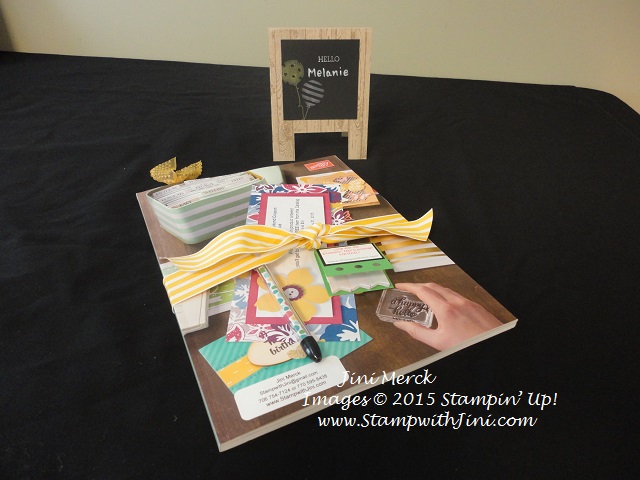
As everyone arrived we had a special name tag on their table along with a New 2015-2016 Annual Catalog, In Color bookmark, flags to mark their pages and a pen decorated with the Cherry On Top Designer Series Paper Stack to use with their wish list and of course a special coupon.
And of course everyone needed a little something chocolate as the night went on. After all we needed to keep our strength up as we crafted into the wee hours of the night. LOL – sounds good at least, after all do we really need a reason for chocolate?
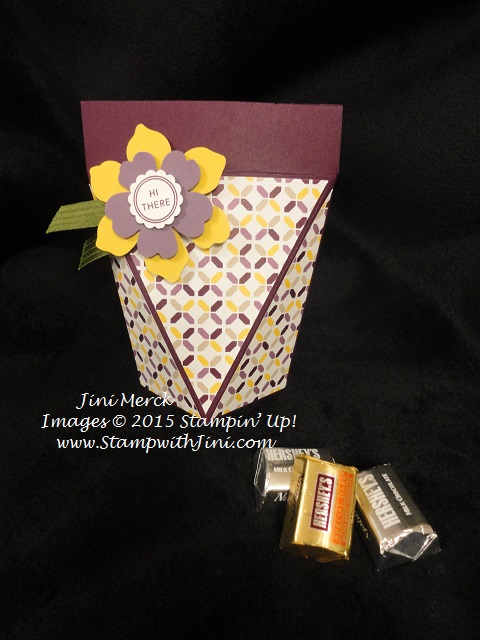
This little bag was a lot of fun to make and they are quick and easy once you know the trick. The Pansy Punch that I used is part of this week’s Weekly Deals.
I’ve made a video tutorial to share how I made these Self Closing Bags using some of our new Cherry On Top Designer Series Paper. Why not check it out? The complete list of supplies used in the tutorial is listed below for you.
Of course, we really enjoyed making these little goodies and pampering our guests and so we’ll look forward to doing another retreat soon. So that’s great news if you missed our first retreat. We’ll be setting a date sometime soon – Just watch for more information coming soon and of course, you can always keep up to date with what’s happing when you join my Monthly Newsletters list.
It’s getting late, so stop on back by tomorrow when I’ll be sharing some more of the projects, photos and another video tutorial for a project from the retreat with you.
Supplies:
Paper: Cherry On Top Designer Series Paper Stack (138443), Cucumber Crush (138335), Watermelon Wonder (138334), Crushed Curry (131199) and Whisper White Card Stock (100730)
Accessories: Cucumber Crush Dotted Lace Trim (138423), Crushed Curry Baker’s Twine (134586), Fun Flower Punch (133785), Pansy Punch (130698), 7/8″ Scallop Circle Punch (129404), and Neutrals Designer Buttons (130031), Simply Scored Scoring Tool (122334), Stampin’ Trimmer (126889), Fast Fuse (129026), Stampin’ Pierce Mat (126199), Multipurpose Liquid Glue (110755) and Bone Folder (102300)
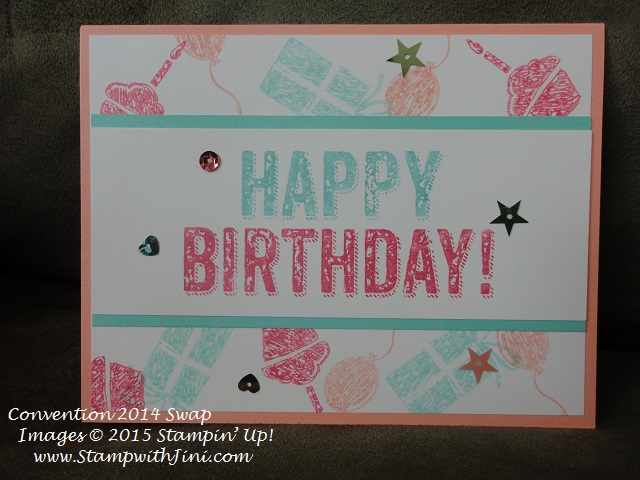
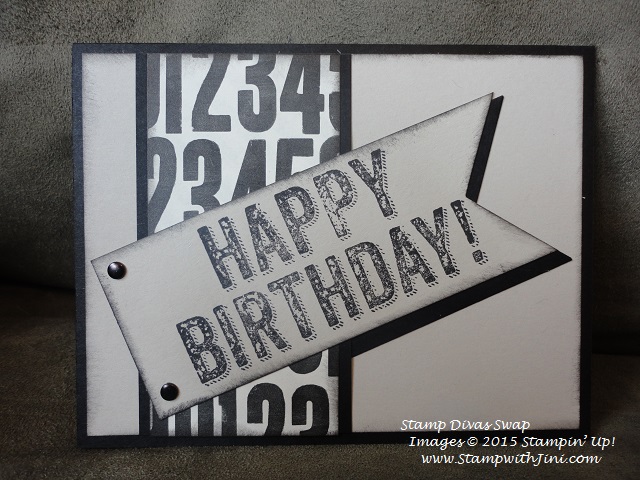
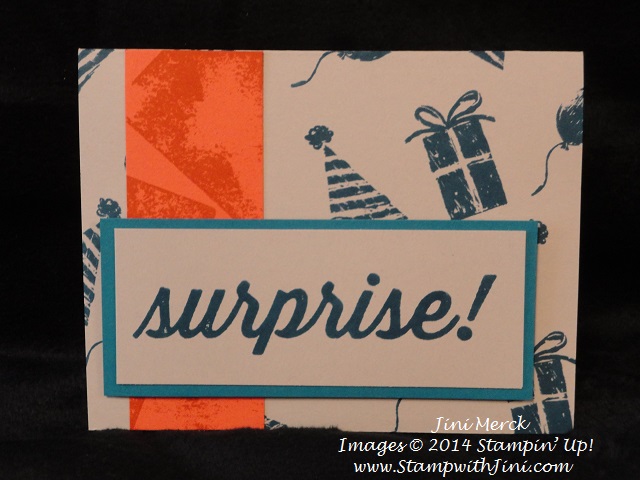
Now that the retirement list has been announced I thought it would be fun to highlight some of the stamp sets that we’ll be saying goodbye to over the next few weeks. Today’s set is Birthday Surprise (134117/134120). A fun set that is great for all ages and has a sketched feel to it which makes it great for all kinds of looks.
Here are 3 cards that have totally different feels to them. This first one uses our retiring 2013 In Colors.
And the Typeset Specialty Designer Series Paper (133704)
And this one adds a pop of bold color with the Tangelo Twist and Island Indigo.
Which is your favorite? Why not leave me a comment and let me know.
MARKER TO STAMP TECHNIQUE VIDEO
And have you noticed that our single selection of Stampin’ Write Markers are on the list? Check out this video and see just how easy it is to add color to images using our Stampin’ Write Markers
Cool, right? Adding color to images is sooo easy and fun since the combinations are endless! Why not check out the Retirement List and Clearance Rack where you’ll find some of our single Stampin’ Write Markers – Of course, you can always purchase our Stampin’ Write Markers by the color family or set.
Want to see a PDF of the Retirement List? Click HERE
Get a FREE Crazy About You Tutorial when you place an order with me!
Wondering How to Get your copy or the NEW 2015 Stampin’ Up! Annual Catalog?
It’s easy:
Are you a frequent customer of mine? (You’ll be the first to get one – sometime mid to late May)
Are you a Club Member? Then you’ll also get one free
Haven’t ordered from me in a while or are new? Place an order with me during the month of April. (If you order Online make sure your profile information is up to date and you’ve allowed me to contact you.)https://stampwithjini.com/wp-content/uploads/2015/04/US_retiredList_ENG.pdfhttps://stampwithjini.com/wp-content/uploads/2015/04/Retirement-MDS_US.xlsx
Looking for that perfect gift for yourself or a friend, try a Paper Pumpkin Subscription. Add one to your next order, they count towards Hostess Rewards. Prepaid subscriptions are the best way to enjoy Paper Pumpkin. Click HERE for more details.
Sign up for my FREE Newsletters to receive stamping tips, ideas, and updates on what is happening with Stamp with Jini. You’ll receive a FREE Pinwheel Tutorial when you do
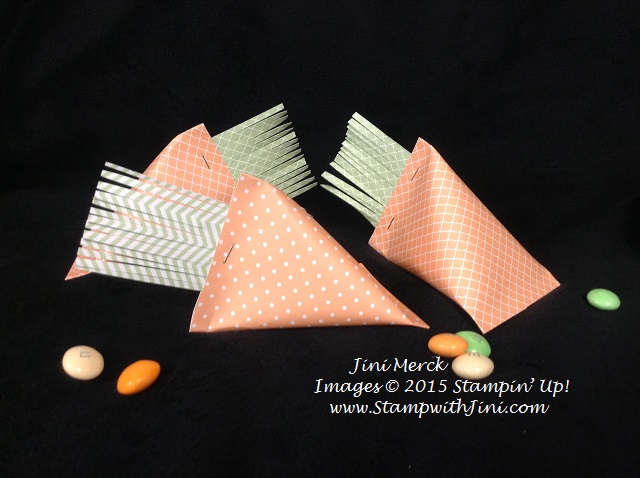
Need a cute treat for Easter? Check out my latest Video Tutorial below. I made these fun little treats for my daughter and her friends at college. Just a little chocolate filled something as a surprise for Easter. Who can resist, right?
These little carrots are sooooo easy to make and when you use our 2013 – 2015 In Color Designer Series Paper Stack (130136) you can make a ton of them! And you can fill them with all kinds of stuff, they really hold quite a bit. I filled mine with some Carrot Cake M&M’s – love them and loved the carrot theme! And of course these M&M’s color coordinate with Crisp Cantaloupe and Pistachio Pudding so what could be better. LOL!!!
Want to see just how easy they are to make? You can watch me make one of these in less than 2 1/2 minutes!
What are you waiting for? Hop on over to your own crafting space and make your own Quick and Easy Carrot Treats to enjoy!
If you are a Paper Pumpkin subscriber you’ve been enjoying your Layers of Gratitude kit that you received last month. If you’re not a subscriber, it’s not too late to join in the fun!
If you are a beginning crafter you’ll enjoy the kit since it comes with instructions and includes everything you need. If you are an experience crafter, you’ll enjoy the coordinating supplies, the exclusive stamps and the fact that everything you need is in the box! Need a gift? Why not share the love of paper crafting?
During Sale-a-bration not only can your try Paper Pumpkin Paper with a Prepaid Subscription – but you can also save $5 AND get a FREE Sale-a-bration product! How great is that? And of course, satisfaction is guaranteed.
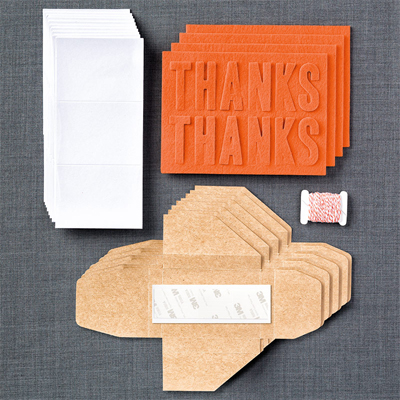
Check out this fun kit:
Love it? When you are a Paper Pumpkin subscriber you can order past kits and refills. So you can make even more of these cute projects. Layers of Gratitude refill kits (139148) are available now.
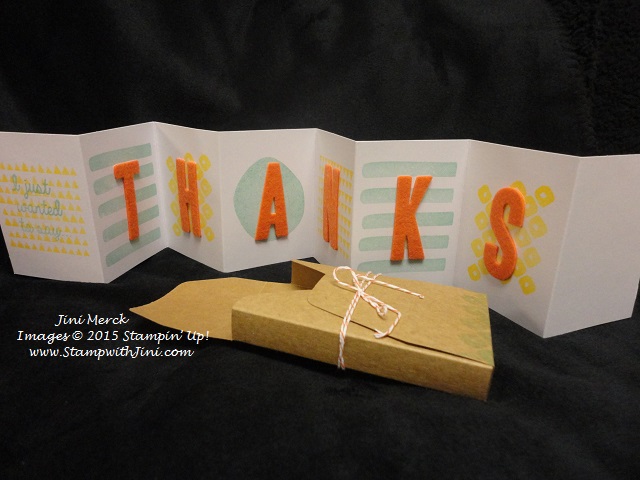
Check out this fun alternate project that I made using the contents of the kit.
I simply cut the accordion card apart to create 4 note cards – easy peasy!
Save & Joinby the end of today – 11:50 p.m. (MT) March 10th to receive your March kit! Get your kit in the mail and enjoy the surprise each month of a fun new project.
Click HERE to go to my Online Store or contact me today to get started!
But hurry since there are only a few hours left to purchase your subscription and set up your account so you receive your March kit!
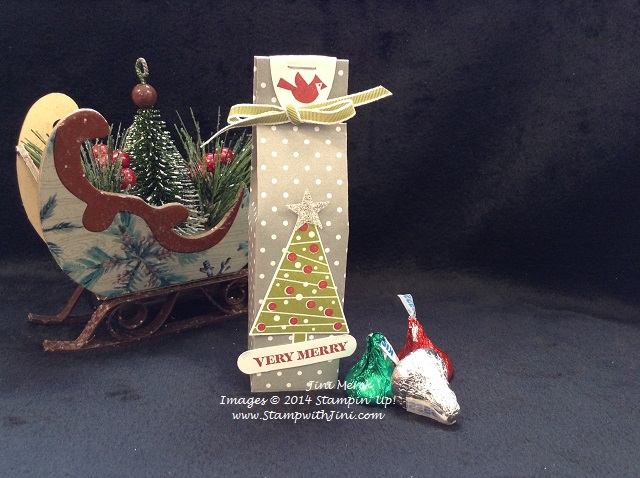
I love Designer Series Paper and so I love to find new fun ways to use it! Check out this adorable and easy to make Skinny Milk Box project that I’ve made using the Festival of Trees stamp set and coordinating Tree Punch (Bundle 137640).
Cute? Yep, and so easy to make! And when you use one of our 12×12 pieces of Neutrals Collection Designer Series Paper like I did here you can make 4 of them! Use the whole stack of 40 sheets and you can make a whopping 160 treats! How great is that?
Want to know how so you can make some of these little Skinny Milk Boxes too? Check out my latest video tutorial.
Of course, I stuffed mine with chocolate – since that is always a hit in my house. But this little Skinny Milk Box will hold quiet a bit so you can get creative with what you put inside.
Place an Online order with me and use my Hostess Code GF6FWPQT and I’ll send you a FREE Tutorial with instructions to create 4 fun projects using the Bright & Beautiful stamp set!
Click Here to learn more about using the Hostess Code
Weekly Deals (Special ends Monday, December 8th, 2014 at 11:50 p.m. (MT)
Holiday Gift Guide (click here for a printable PDF with ideas for your holiday gift giving of all ages)
I don’t know about you but I think that the Santa Stache stamp set and coordinating Mustache Framelit are too stinking cute and I’ve been having the best time creating all kinds of project with the two.
Check out this adorable hot chocolate holder. After all, who doesn’t love cocoa with marshmallows floating on the top! And I found that my grocery store has a large variety of Land O Lakes flavors, including Hazelnut (get it nutcracker – hazelnut cocoa LOL!)
Want to learn how I made this great little stocking stuffer? Check out my Holiday Stache Cocoa Holder Video Tutorial
I’ve also make a printable PDF tutorial for you too since I love this little item. Get your Holiday Stache Cocoa Holder Tutorial by clicking HERE.
Woo hoo!!! Online Extravaganza & DOOR BUSTERS start today!
You’ve got 9 great days of deals starting today – order online or contact me. The choice is yours. Check out this printable pdf list of items below, simply click on the flyer image.
And don’t forget Stampin’ Up! kits make great gifts – there are several on our Online Extravaganza – so why not get some holiday shopping done early?
Accessories: Mustache Framelits Die (133741),Northern Flurry Embossing Folder (1290902),Cherry Cobbler (130995), Night of Navy (131001), Daffodil Delight (130998), and Skin Tone Stampin’ Blendabilities Markers (129370), White Embossing Powder (109132), Heat Tool (129053), Simply Scored Scoring Tool (122334) and cocoa packet
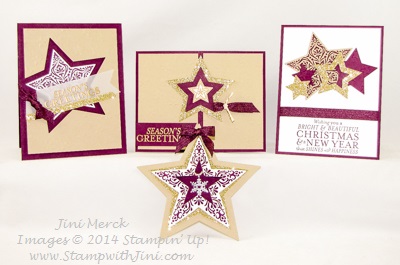
Place an Online order with me and use my Hostess Code C6X6WMXD and I’ll send you a FREE Tutorial with instructions to create 4 fun projects using the Bright & Beautiful stamp set!
Click Here to learn more about using the Hostess Code
Online Extravaganza (Special ends Monday, December 2nd, 2014 at 11:50 p.m. (MT) or while supplies last) Click HERE for a printable PDF Flyer
Weekly Deals (Special ends Monday, November 24th, 2014 at 11:50 p.m. (MT)
Need a Gift? Share the love of crafting with a Prepaid PAPER PUMPKIN Subscription – Contact me today to learn how.
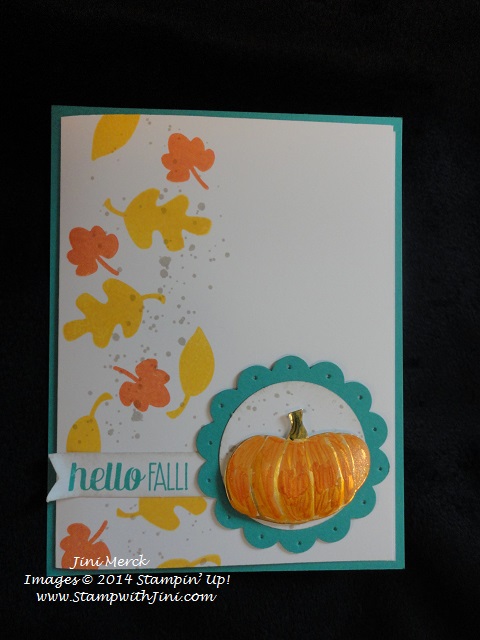
I love to learn new techniques. Do you? Today’s project combines two things I love techniques and the Stampin’ Blendabilities Markers. Whoo hoo! I find myself using my Blendabilities all the time – they are just so much fun to color with and I’m not really a coloring type of person normally. But I’m finding coloring with my Blendabilities is very relaxing and I always feel so accomplished when I’m finish coloring an image LOL.
I’ve used the Fall Fest stamp set and coordinating Fun Fall Framelits that are available in a money saving Bundle (137628) for this project. This is such a great set for the fall, it’s not such for Halloween as you can see.
So wondering what and how I did this? It is sooooo easy and it really gives your project a WOW effect. I’m hoping you can see the wonderful look that this little pumpkin has in my photo.
Want to learn this really quick and easy technique? I’ve made a quick video for you. So without delay – Here is my Marvelous Metallic Pumpkins Video Tutorial.
Love it? All you need is a sold image for this project and you’re set to go – the ideas are endless. I haven’t noticed there is any problem so far with my Stampin’ Blendabilities Markers – The only tip is lighter hand when coloring is better since the StazOn Ink is also alcohol based too much pressure picks up the StazOn. That is why for your regular projects you’ll want to use our Memento Tuxedo Black Pad.
Want to learn more about Stampin’ Blendabilities? I’ve got a Blend with Friends Class coming up in October. Not only will you get to practice with the Blendabilities Markers, but the class includes a bundle of products that will get you started. Sound interesting?
Why not contact me today (706 754-7124 or stampwithjini@gmail.com) to learn more about the Blend with Friends Class or you can click HERE to see my full calendar of events. I think you’ll really love using our Stampin’ Blendabilities Markers once you try them and they are such a great deal too!
Place an Online order with me and use my Hostess Code HKNSYMNZ and I’ll send you a FREE Tutorial with instructions to create 4 fun projects using the Wonderful Wreath stamp set!
Click Here to learn more about using the Hostess Code
Weekly Deals (Special ends Monday, September 22nd, 2014 at 11:50 p.m. (MT)
Do you love the fun and colorful Designer Series Papers that Stampin’ Up! offers? I know that I find I use Designer Series Paper all the time to jump start my creative process – since Stampin’ Up! has coordinated the colors in each package for you it makes projects easier when you aren’t sure which way to go.
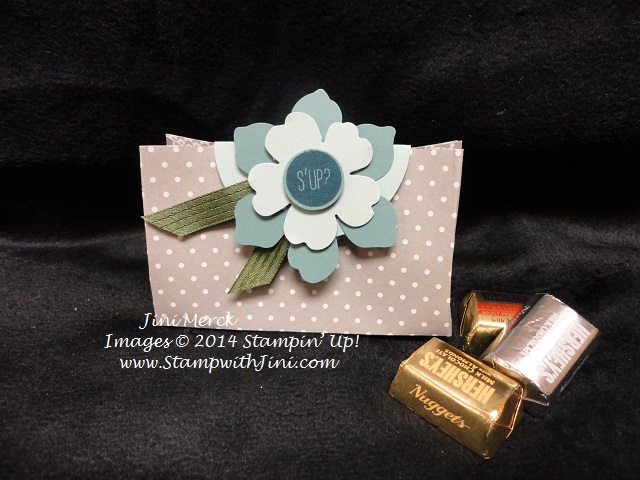
Today’s project is one that I made using our Color Collection Paper Stacks – specifically the Neutrals Collection. There are lots of sheets in this pack, so it is great for all kinds of projects – and this one uses just a quarter of the sheet. So you’ll get 4 little designer bags per sheet -Now you can make one for all your friends! LOL.
This project is one that my group, The Blue Mountain Stampers made last night during our monthly get together. Everyone seemed to have fun creating their own little bag – whether you want to place a gift card or just a little treat, the ideas are endless with this basic little designer bag. If joining our group sounds like fun and you’d like to know more about how you can join us, you can click HERE to learn more details or contact me at stampwithjini@gmail.com
I love the stamp set we used Hi There (134213/134216) is fun and trendy and has 4 great choices to choose from. You can find it on page 18 in the 2014 Annual Catalog.
Want to learn how to make one for yourself? Why not check out my latest video tutorial – Hi There Designer Bag
So what do you think? Why not leave me a comment and let me know what Designer Series Paper you want to use to make your little designer bag.
Place an Online order with me and use my Hostess Code HKNSYMNZ and I’ll send you a FREE Tutorial with instructions to create 4 fun projects using the Wonderful Wreath stamp set!
Click Here to learn more about using the Hostess Code
Weekly Deals (Special ends Monday, September 29th, 2014 at 11:50 p.m. (MT)
I’m loving our Fall Fest Stamp Set and the coordinating Fun Fall Framelit dies that you can find in our Holiday Catalog (Bundle 137628). I’ve been making all kinds of project with it that I can’t wait to share with you.
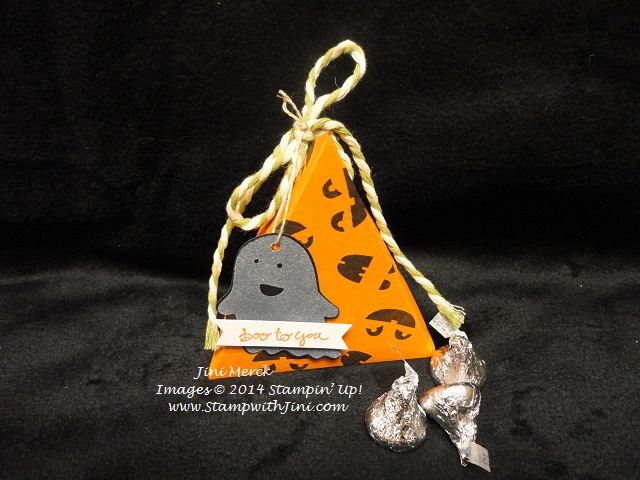
Here is the first project – it’s a Halloween Treat.
Can you see the shimmer on the ghost? To create that effect I simply stamped in Whisper White Craft and then embossed the ghost image using our Dazzling Diamonds and Clear Embossing Powder. Simply mix them in equal parts, and emboss like normal. What a great effect this creates!
So quick and easy I thought you may want to make some of your own, so here is my latest video tutorial, the Fall Fest Triangle Box. Take a look and let me know what you think.
Love the sentiment? It is from our exclusive Good Greetings Hostess Set (135014/135017). Want a set of your own? You can earn this set by hosting a party with your friends AND it is in addition to your regular Hostess Benefits! But hurry you can only earn this set until October 31st – so why not contact me today to choose your party date. Click HERE to see our current promotions.
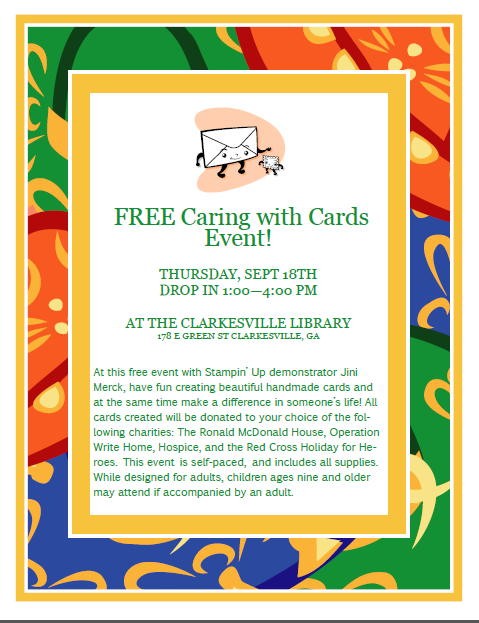
Today is my Caring with Cards Event at the Clarkesville Library – If you’re local I hope you’ll drop by and make a card to donate.