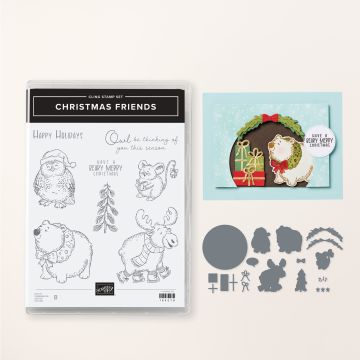
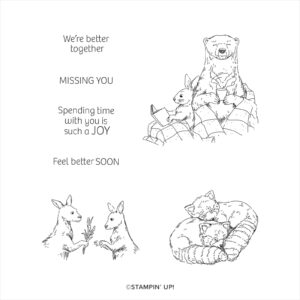
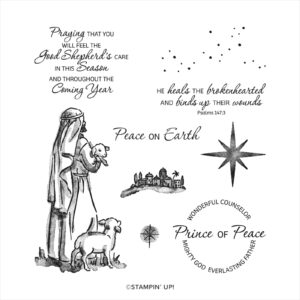
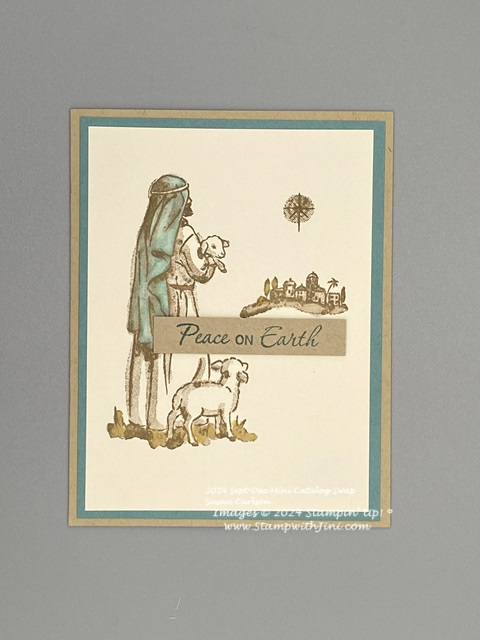
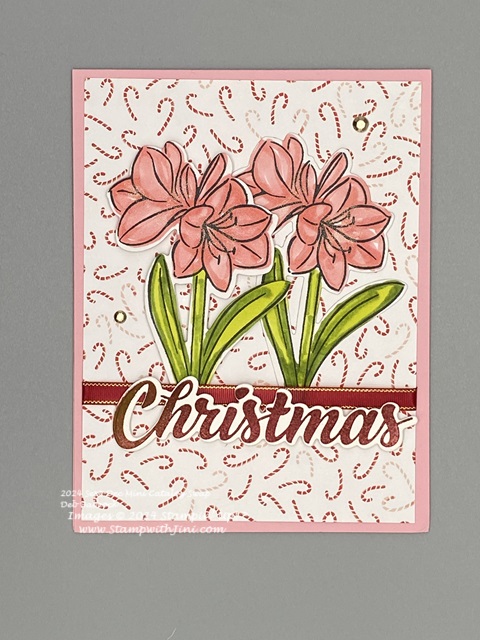
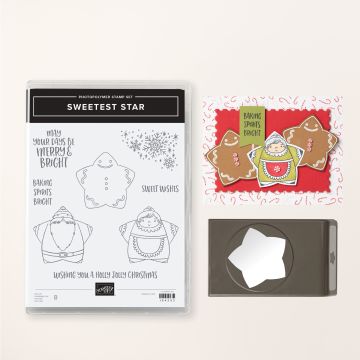
Today’s cards uses the Sweetest Star Bundle (Last Chance 164098) that is a fun way to create cards and gifts.
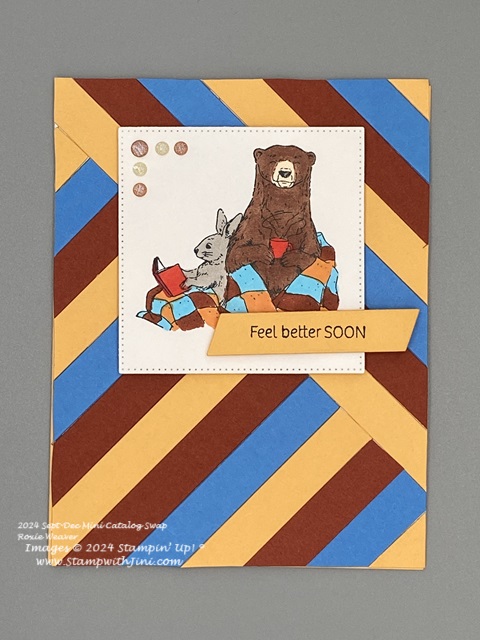
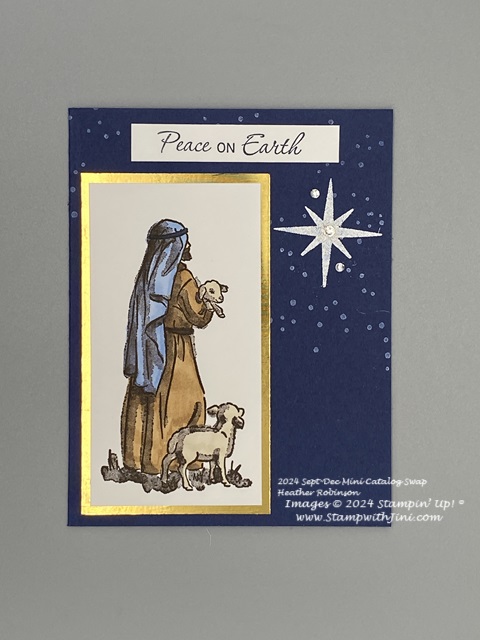
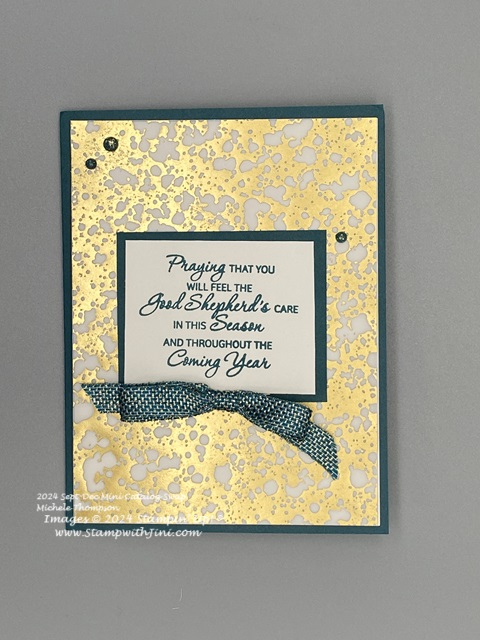
Both of today’s cards use the Santa image from the set and team the image with different sentiments. This first card is quick and simple with a bit of the plaid pattern from the Iconic Celebrations Designer Series Paper (Online Exclusive 164193)
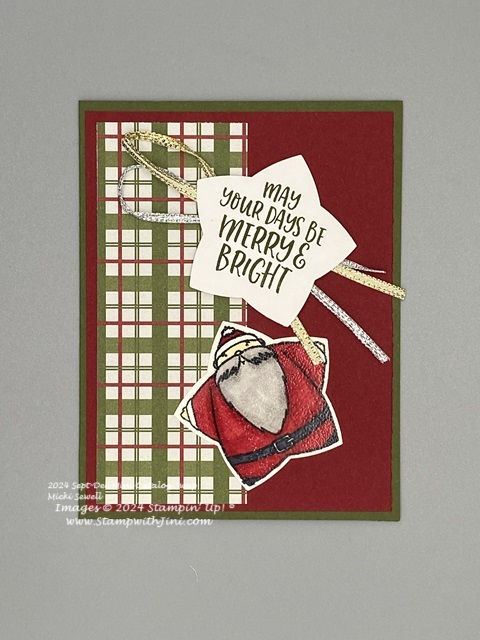
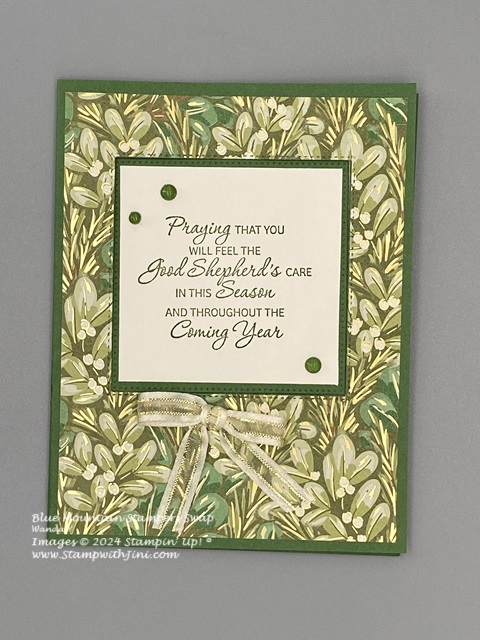
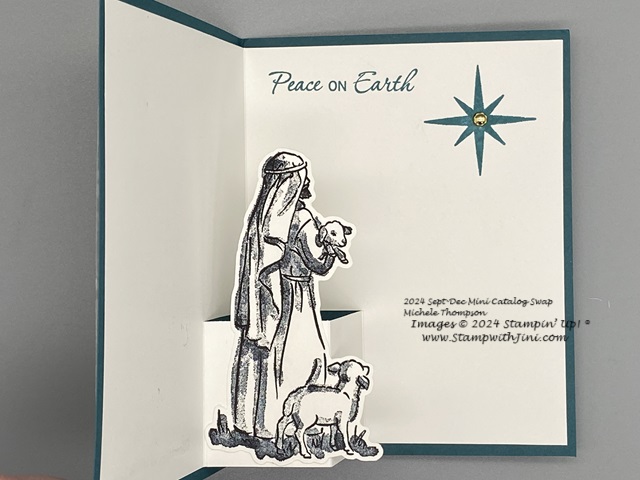
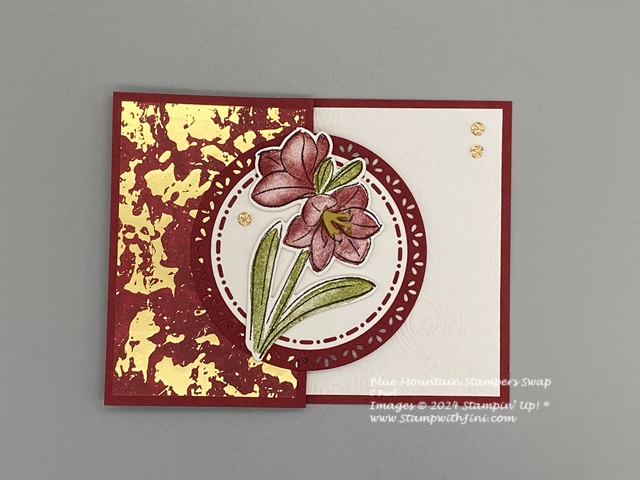
and a bit of shine from using the Gold & Silver 1/8″ Trim Combo Pack (Online Exclusive 161633). Our Stampin’ Blends give the image bold color and are fun to use. This next card is a fun fold card using the Take a Bow 6×6 Designer Series Paper (164309).
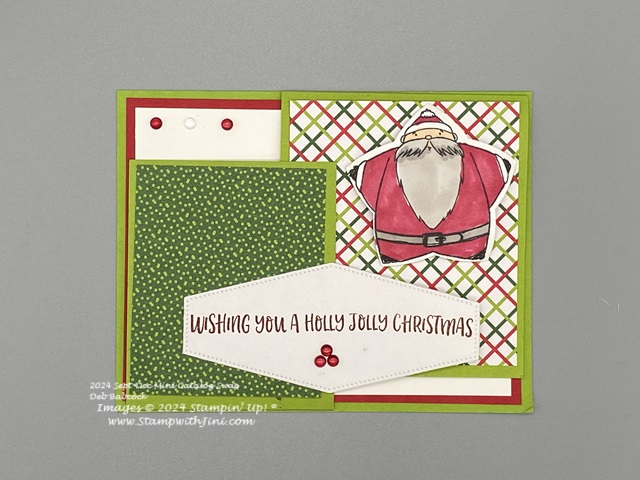
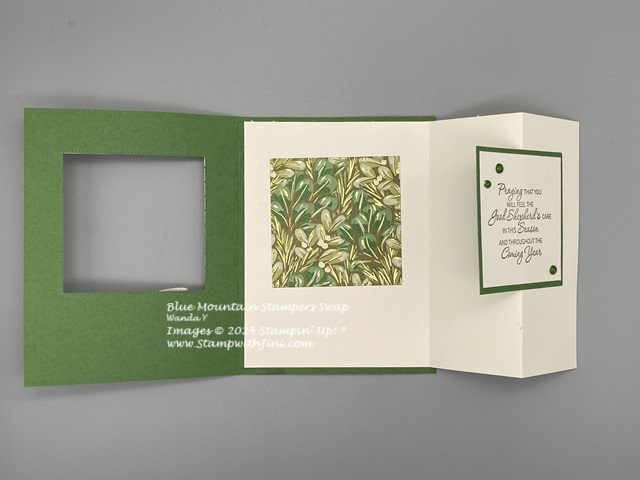
The sentiment was cut out using the Nested Essential Dies (161597) and the Cherry Cobbler & Pearl Adhesive Backed Berries (164119) and a nice little accent. There are two flaps to this card
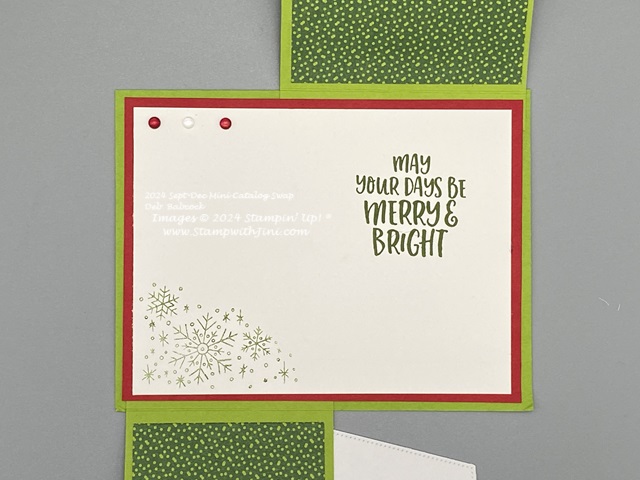
that open. Each allowing you to see a bit of the inside slowly.
As a baker who loves to make Christmas cookies this will make a fun tag for my platters this holiday season,
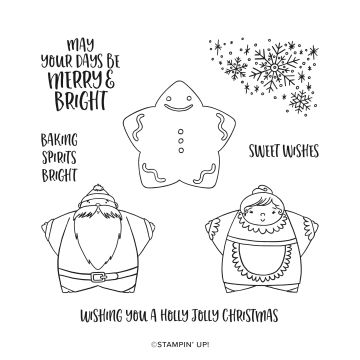
the sentiments are perfect for this I thought when I saw it. And of course the Sweetest Star Punch (164097) makes it so easy and easy! What do you think?

CLICK HERE to order your Stampin’ Up! products Online 24/7! (US only)
Shop at my Online Store and use November Host Code N2WMFVT3 with a product order of $50 or more and receive a FREE Gift from me; my Card Kit and Otterly Awesome Class! (while supplies last)
If you’re placing an order of $150 or more; no worries. Don’t use my host code so you can get your benefits, you’ll still get my FREE gift