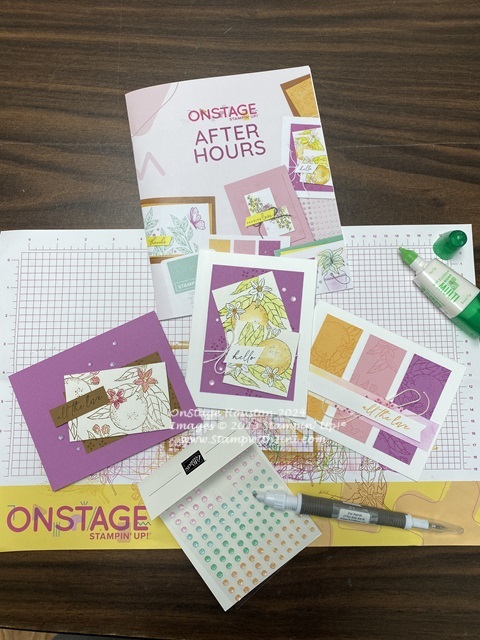
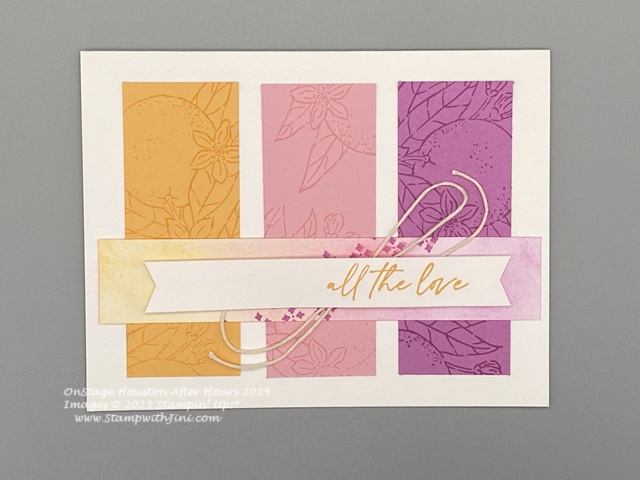
Today I’m going to share with you the final card I made using the Citrus Blooms Bundle (163295) OnStage in Houston during our After Hours event. It’s the third of the three cards that we made during the event with this lovely bundle.

This card is bold with it’s Petunia Pop base and Pecan Pie accents. It once again uses our Water Painters (151298) and the Fluid 100 5×7 Watercolor Paper (149612) to create a different look with the Pecan Pie stamped image and highlighting just the blooms.
You’ll need the following supplies to make this card.
Supplies:
- Citrus Blooms stamp set (163286)
- Pecan Pie Classic Ink
- Petunia Pop Classic Ink
- StazOn Jet Black Ink Pad (101406)
- Water Painters (151298)
- 2024-2026 In Color Shimmer Gems (163781)
- Stampin’ Dimensionals (104430)
- Stampin’ Seal (149699/152812)
- Paper Towel for water coloring
Paper & More
Measurements:
- Petunia Pop Card stock: Cut 5 1/2″ x 8 1/2″; scored at 4 1/4″
- Pecan Pie Card stock: Cut 3 1/2″ x 2 1/4″
- Watercolor Paper: Cut 3 1/2″ x 2 1/4″
- Pecan Pie Card stock: Cut 2 ” x 5/8″
- 2024-2026 In color Shimmer Gems (Petunia Pop): 5 assorted
Assembly:
- stamp the small “diamond” image using Pecan Pie Classic Ink onto Pecan Pie panel randomly.
- Adhere the panel in the lower right hand corner of the card front about 1/2 – 3/4″ from the bottom ash shown.
- Next, stamp the “orange” image onto the Watercolor Paper using Pecan Pie Classic Ink.
- Stamp the sentiment “all the love” onto Pecan Pie Card stock strip using StazOn Jet BlackInk Pad.
- Using your Water Painter color the flower and bud images using Petunia Pop Classic Ink. Allow to dry. (I like to use a clear block as a pallet for my water coloring – simply tap the ink pad onto the clear block to add ink rather than squeezing your ink pad and using the lid)
- Add Stampin’ Dimensionals to the back of the watercolor image and adhere to the card front tilting it to the right as shown.
- Add a Stampin’ Dimensional to the left end of the sentiment and adhesive to the right and adhere to the card front so it is the same height as the water colored image.
- Finally stamp the inside sentiment and envelope as desired.
I hope you’ve enjoyed these quick and easy cards using this bundle that I’ve shared with you this week. This Stampin’ Up! event was so much fun that I’ll hope they’ll do it again at our next OnStage in North Carolina.
If you are enjoying these cards that I’ve shared with you this week from our OnStage After Hours Make n Takes you’ll want to be sure and check out the Mediterranean Blooms Suite (163300)
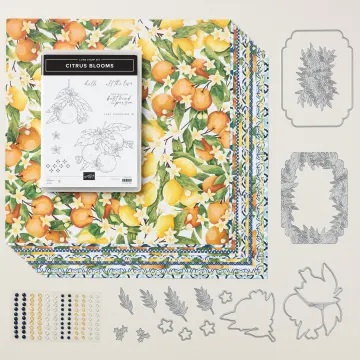
that not only has the Citrus Blooms Bundle (163295) that I used for these cards, but also some wonderful Designer Series Paper and accessories too!
Enjoy! and then stop back by for my regular Friday tutorial tomorrow that includes a video and PDF using the Spotlight on Nature stamp set.

CLICK HERE to order your Stampin’ Up! products Online 24/7! (US only)
Shop at my Online Store and use Host Code XM7XH6F2 with a product order of $50 or more and receive a FREE Gift from me; my Card Kit for my In Color Card Class!