Punch Art Scarecrow Tutorial

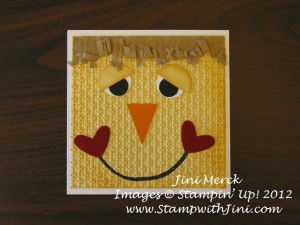
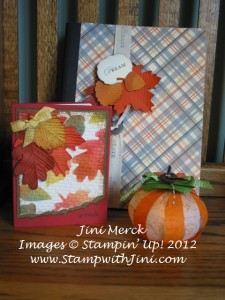
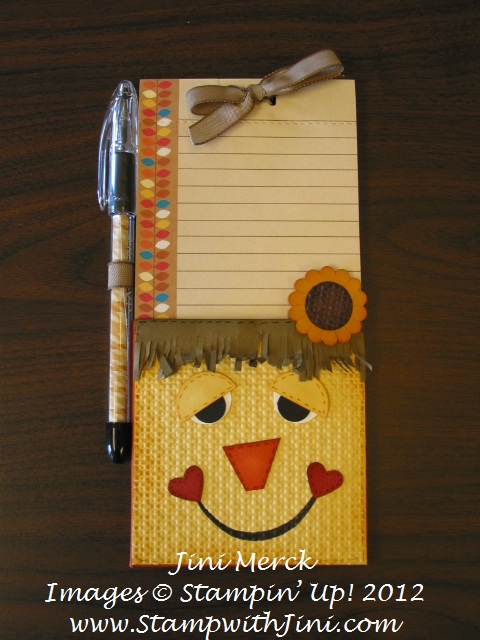
Wednesday I had my TEAM meeting and we made this little Punch Art Scarecrow Notepad together.

As I mentioned yesterday I received this scarecrow punch art swap at the Chattanooga Regional which was the inspiration for this project and I just tweaked the idea a bit to suit my style. You can click HERE to see my earlier post.

I loved the way this little guy turned out and so did my TEAM members. We had a lot of fun putting these Punch Art Scarecrow Notepads together. I like to make little gifts like this and thought this made a great project to give someone this fall who may not celebrate Halloween.

What do you think? Why not leave me a comment and let me know what you think. I love receiving feedback from you and it makes my day to know you’ve read my post. Sometimes I wonder if I’m the only one out there. Ever feel like that? I’ll try and respond to you when you leave comments too.

So……without further ado…. here is the promised tutorial for my Punch Art Scarecrow.

 Scarecrow Punch Art Tutorial

Supplies:

So Saffron card stock

Soft Suede card stock

Riding Hood Red card stock

Tangerine Tango card stock

Whisper White card stock

Basic Black card stock and Stampin’ Write Marker

More Mustard Classic Ink and Stampin’ Write Marker

Cherry Cobbler Classic Ink and Stampin’ Write Marker

Cajun Craze Classic Ink and Stampin’ Write Marker

Early Espresso Classic Ink and Stampin’ Write Marker

Stampin’ Sponges or Sponge Daubers

Small Heart Punch

½” Circle Punch

¾” Circle Punch

1″ Circle Punch

Big Shot

Square Lattice Embossing Folder

Paper Snips

Bone Folder

Multipurpose Liquid Glue

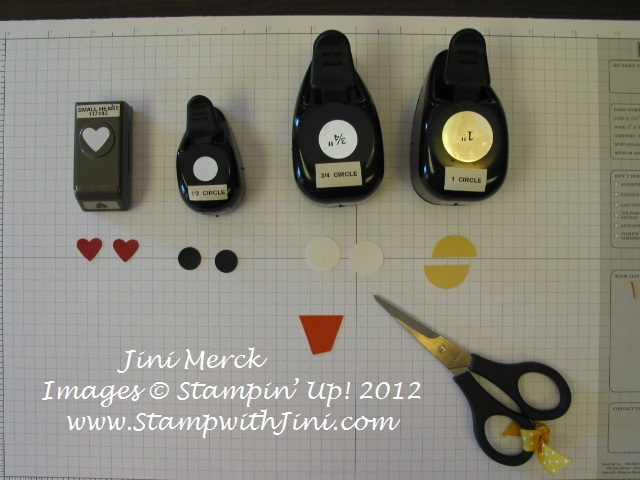
Start by punching out the following pieces –

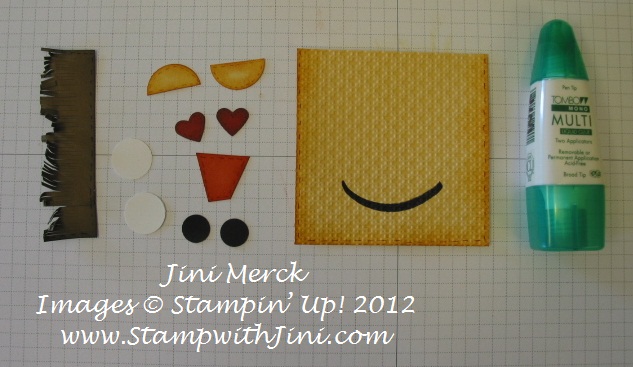
Riding Hood Red CS and the Small Heart Punch – 2 hearts

Basic Black CS and the ½” Circle Punch – 2 circles

Whisper White CS and the ¾” Circle Punch – 2 circles

So Saffron CS and the 1″ Circle Punch – 1 circle, cut in half with the Paper Snips

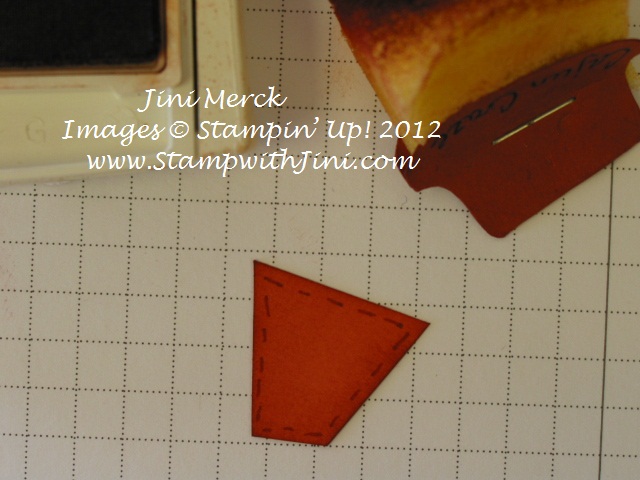
Then take a piece of Tangerine Tango CS that is 1″ wide and cut a triangle shape, Cut off the one pointed end to create the nose.

You should now have what looks like this and you are ready to begin. 
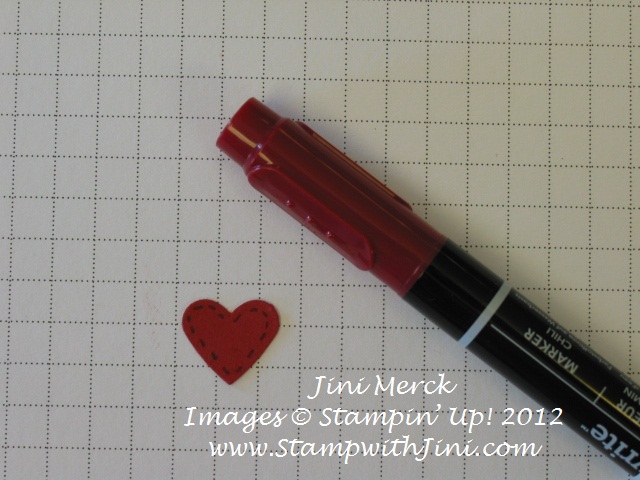
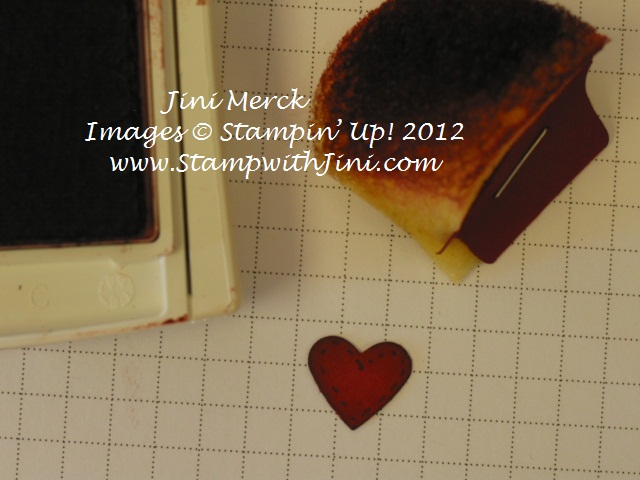
Using the Cherry Cobbler Marker Add Faux Stitching around the outside of both hearts.

Then sponge both of the hearts with Cherry Cobbler Classic Ink. Set aside for later.

Next add Faux Stitching to your Tangerine Tango triangle with a Cajun Craze Stampin’ Write Marker. 
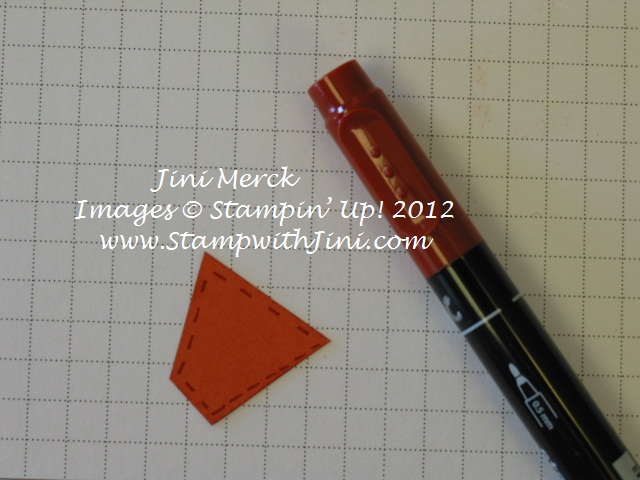
And Sponge the edges using Cajun Craze Classic Ink and set aside for later.

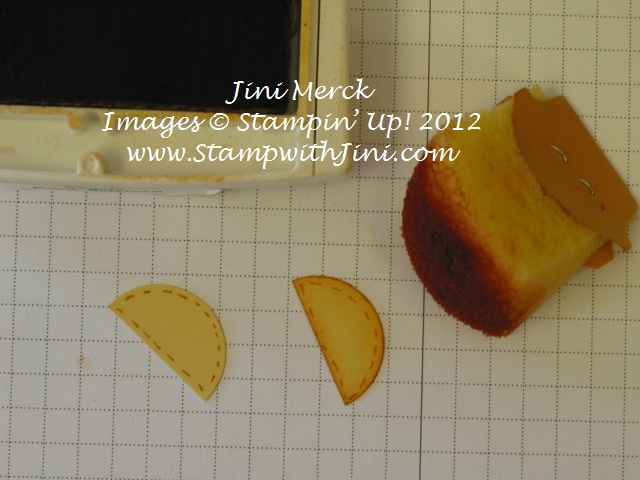
Create more Faux Stitching on the two half circles with the More Mustard Stampin’ Write Marker, 
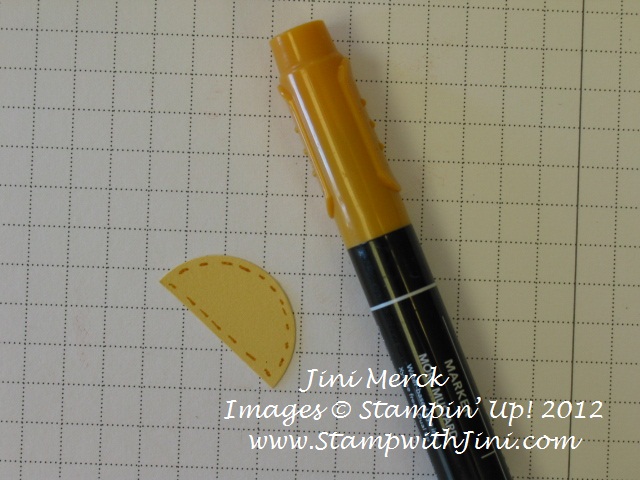
Sponge the outside edges using More Mustard Classic Ink and set aside for later. 
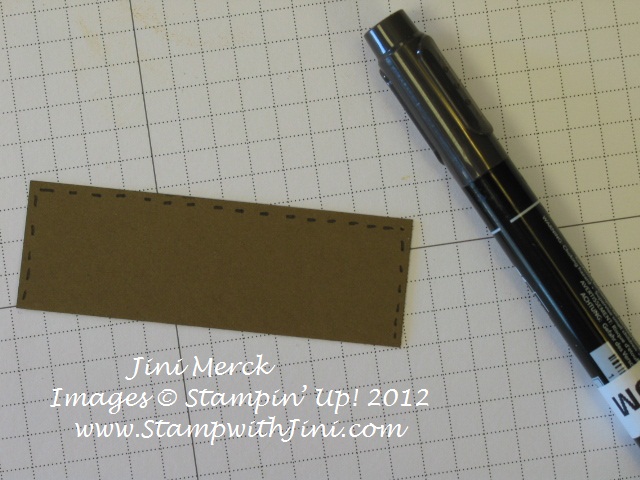
Now take a 3 ½” x 1″ piece of Soft Suede CS and add Faux Stitch using an Early Espresso Stampin’ Write Marker on both short sides and one of the long sides. 
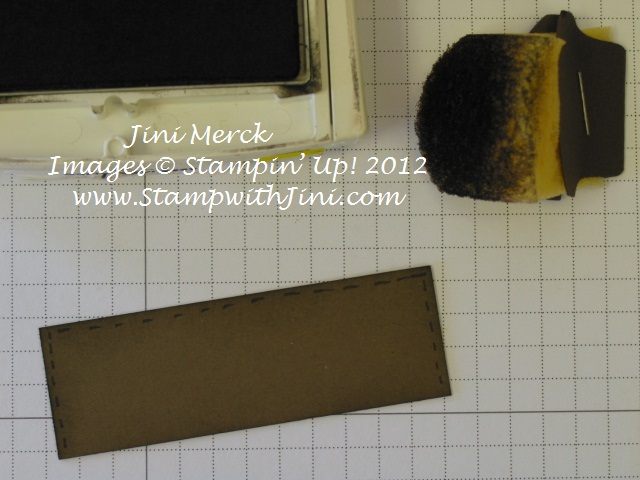
Sponge all four sides on the front and then flip it over and sponge the bottom long edge on the back. 
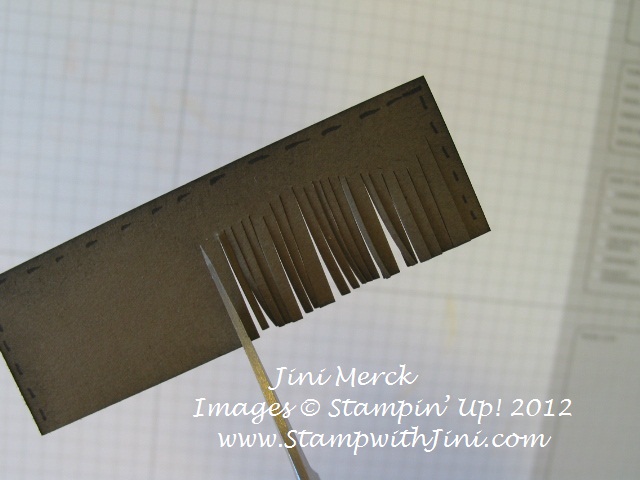
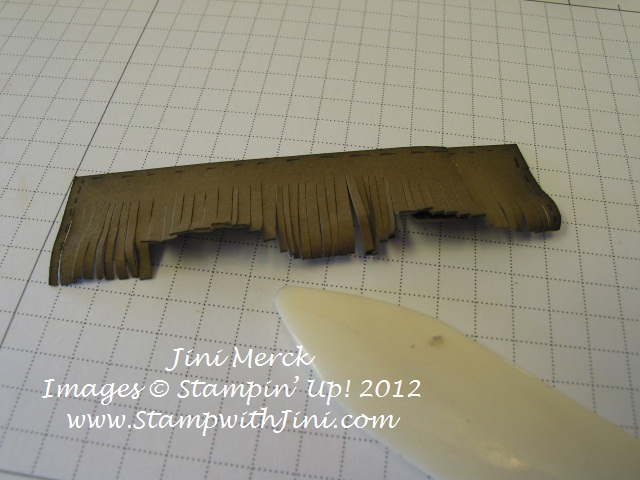
Next take your Paper Snips and cut a fringe on the bottom edge of your Soft Suede CS piece.
Next add some texture by curling the fringe you just created with your Bone Folder, alternating front and back curls. 
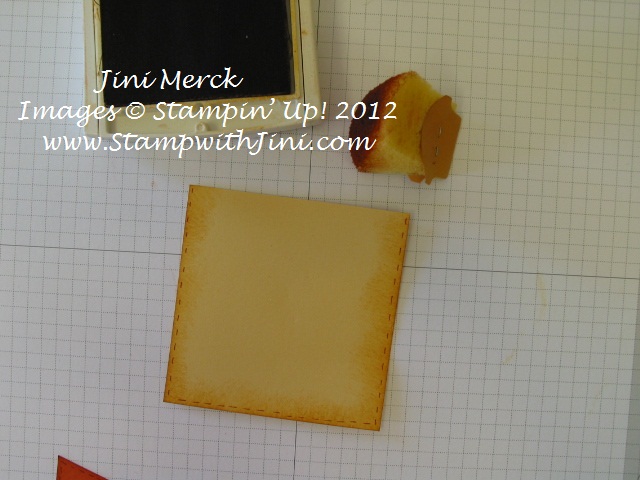
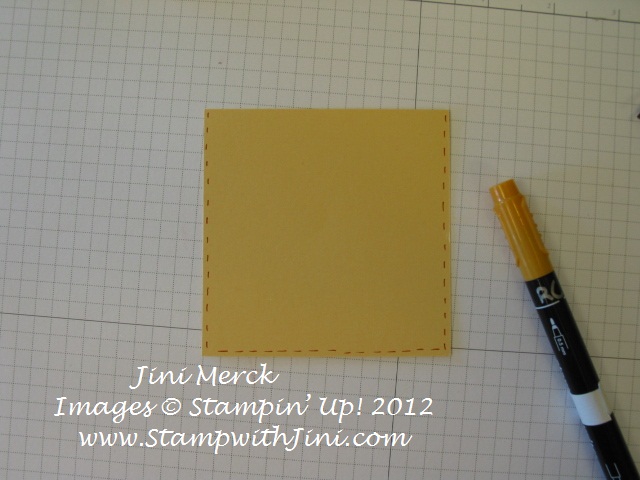
Using a More Mustard Stampin’ Write Marker create Faux Stitching around 3 sides of your 3 ½” x 3 ½” So Saffron piece of CS. 
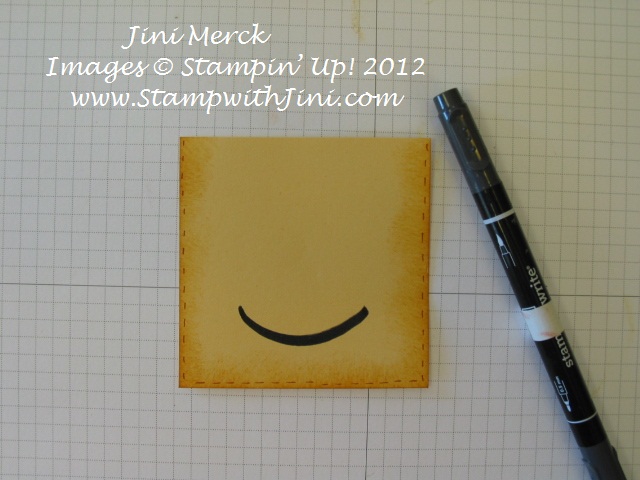
Sponge the edges on the same three sides using More Mustard Classic Ink.

Next give your little guy a smile with a Basic Black Stampin’ Write Marker. I used the flare tip end. (Here is a Tip – Not comfortable free handing this part? Use the edge of a glass or any round shaped item as a guide.) Look you can see his little face already starting to take shape. 
Run this piece through the Big Shot using your Square Lattice Embossing Folder.

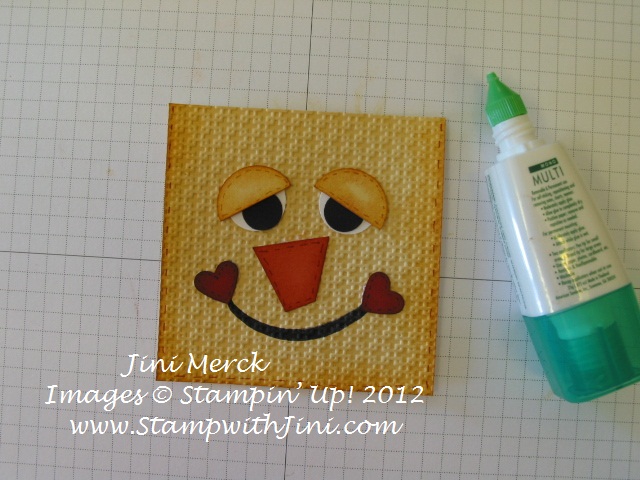
Now you’re ready to assemble and you should have what looks like the photo below.

Add a smile to this little guys face by adhering the 2 small hearts to either side of the smile you drew. 
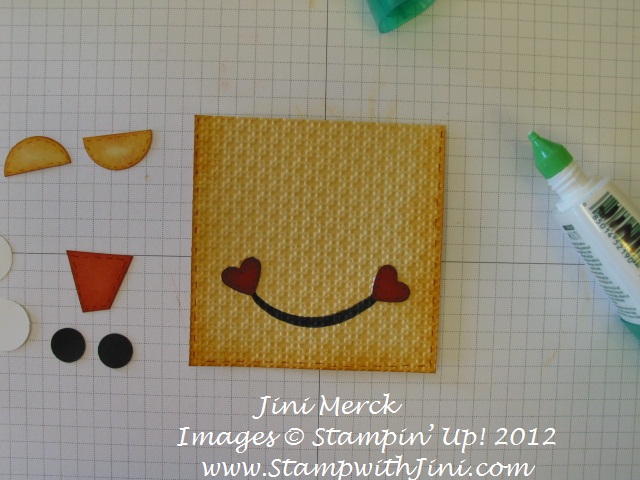
Next add the ¾” Whisper White circles. 
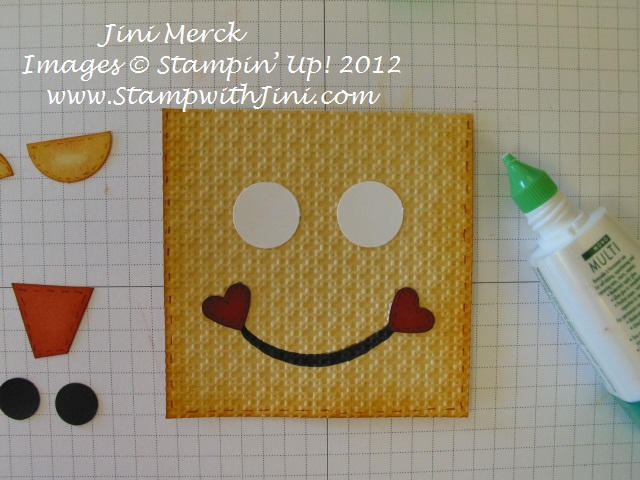
(Just a tip – when using Multipurpose Liquid Adhesive I like to place the glue on the bigger piece of card stock versus the smaller piece that I am gluing on. It is easy to reposition the piece once it is placed onto the project and I seem to stay a little cleaner too!)

And then the ½” Basic Black circle – look mom I can see! 
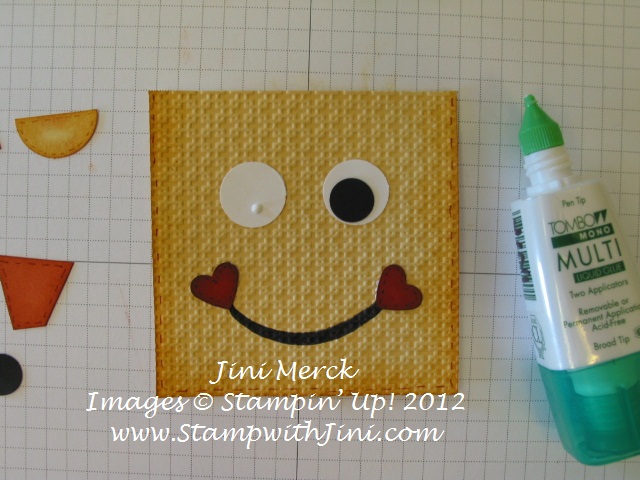
Next add his little Eye lids to make him look a little sleepy and give him some personality. After all guarding those sunflowers is hard work! 
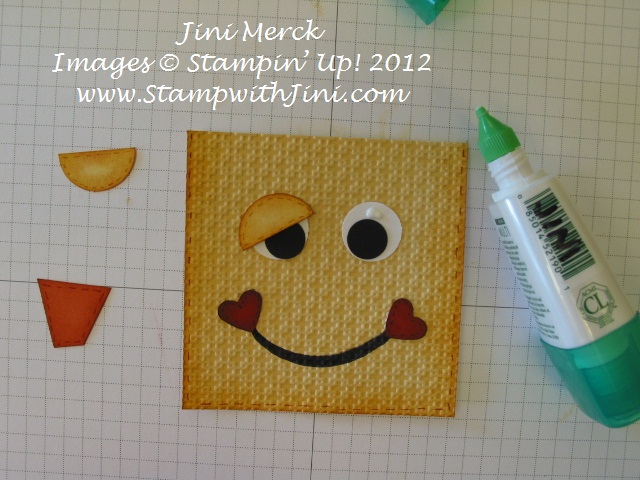
And finally add his little nose so he can smell the sunflowers.

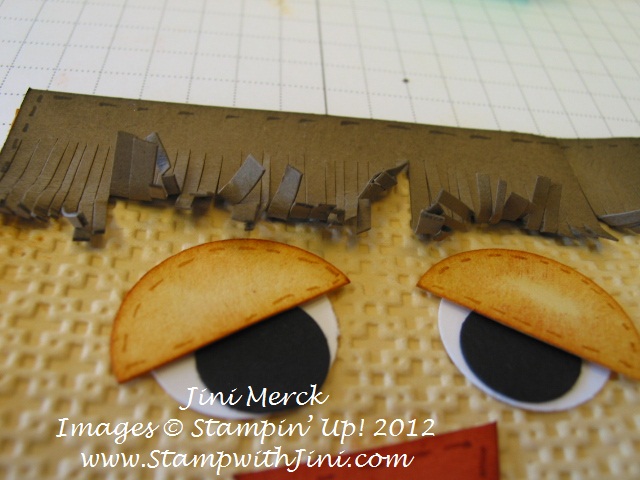
Attach the piece of fringed Soft Suede CS and Voila’ hair!  Here’s your little guy – you’re almost done. 
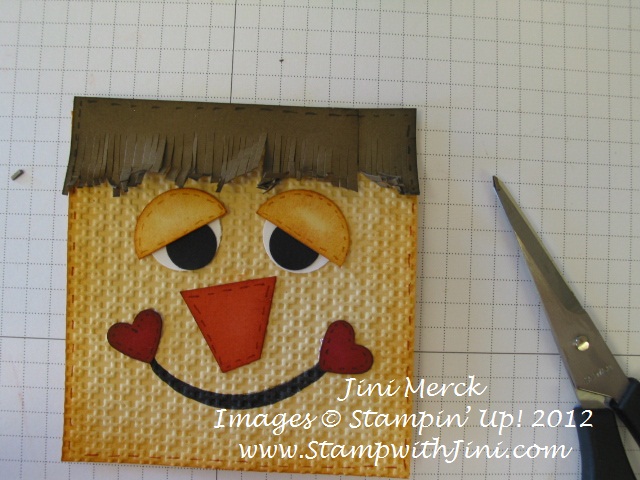
Finally take your Paper Snips and cut at different angles chunks out of his hair. That sponging on the back of the piece earlier is now starting to show a bit. Its ok you’re adding to his personality.  You can also fold, bend and crumple it a bit to add a little height and disarray to his do – After all whose hair looks great after standing in the field all day? 
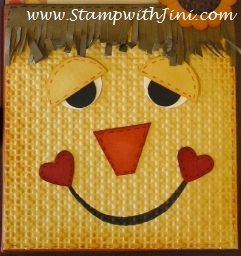
Voila’ you’re finished and isn’t this little guy adorable?  Go ahead and attach his little face onto your project!
Click here to order your Stampin’ Up! Products online 24/7! (US only)

Chattanooga Regional Wrap Up

I’ve been so busy telling you all about the great things going on that I haven’t been able to post my Regional Wrap Up or share any of the great swaps that I received. So I’m going to do that today – Better late than never right?

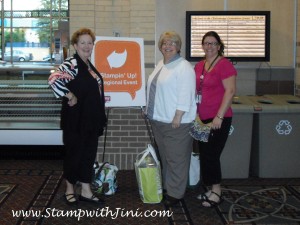
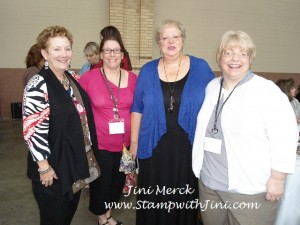
Here is a photo of my TEAM and myself heading into the Regional event. This was Cindy and Janie’s first Regional and we were all excited to start the day.

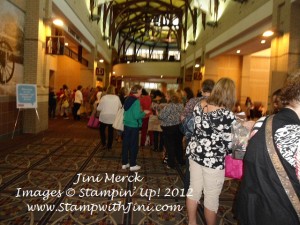
Have you ever wondered what a Regional looks like? Here is a shot from when we first arrived of the hallway and some of us in line “swapping” our cards. It’s so much fun meeting fellow stampers and sharing ideas. I think it’s one of the best parts of a Regional event.

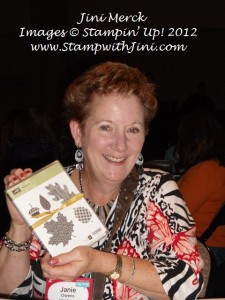
Prize Patrol – lots of fun and Janie was so excited to be in the first group of winners! Everyone received a Wonderfall stamp set from the Holiday Catalog in their choice of wood or clear mount.

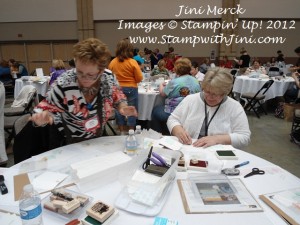
Oh, the Make n’ Takes – What fun it is to stamp together, try new things and learn about new products.

It’s great to meet the staff and those on the other end of the phone in Demonstrator Support during these events. Here the three of us are with Bonnie Thurber.

Little did I know when this photo was taken that I’d be joining Bonnie up on stage later in the event. You can click HERE to read more about that.

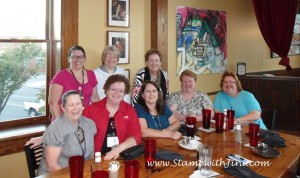
All too quickly the fun was wrapping up at the Chattanooga Convention Center so a group of us took advantage of enjoying a meal together at the Terminal Brewery in downtown Chattanooga before we went our separate ways.

If you ever have a chance to stop by the Terminal Brewery I can highly recommend it. The food was delicious and our waiter was wonderful! He was even sweet enough to snap this shot of our group.

An evening with my TEAM reviewing the day, late night giggles and a great ride through the scenic mountains home the next morning – All in all a wonderful time was had by all.

If this sounds like something that you would enjoy. Why not contact me today and make plans to attend one of my monthly TEAM meetings. See what it’s all about – you won’t regret it!

Oops – I almost forgot. Here is one of the great swaps I received during the Chattanooga Regional. I’m sorry to say there was no name on the back to give credit. So if you know who make this cute little guy please let me know.

Come back tomorrow and I’ll show you the project that I created with the inspiration from this swap and my own little twist on it along with a punch art tutorial.

Click here to order your Stampin’ Up! Products online 24/7! (US only)
Introducing Stamp Sets Gone Single!

Stampin’ Up! is tring something new!  A chance to buy single pieces from 3 stamp sets instead of the whole set! The offer is good until January 2nd, 2013.

Stamp sets being offered as Singles are the following:

Word Play

Perfectly Penned

Seasonal Sayings

Here are the details:

  • These stamps are available on any order type-customer, workshop, or online.
  • You can find the stamp item numbers on the flyers.
  • These won’t be sent to you in our typical cases or packaging; they’ll be packaged in cello bags. If you’d like a case for your stamp, you can buy our Clear-Mount Stamp Cases that come in packs of four (item 119105).
  • This offer is available for clear-mount stamps only.
  • The stamps won’t come with a Clear-Mount Block, and you’ll need to buy a block separately if you don’t already have one. The recommended block sizes can be found on the flyers.
  • There’s no limit on how many pieces you can buy.
  • Remember that this is a pilot program, so take advantage of it while you can!

Click on the Stamp Set below to see the PDF flyer to see items available.

Word Play

Perfectly Penned

Seasonal Sayings

Love alot of the items – why not buy the whole set? There are a great addition to any stampers collection.

Click here to order your Stampin’ Up! Products online 24/7! (US only)
Save More on MDS2 Photobooks, Cards & More – Forever!

Do you love MDS2 like I do? It makes things so quick and easy to create and I love that I can do things to use for both printing and sending out digitally. Hybrid projects are my favorite – how about you?

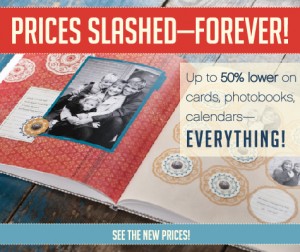
Stampin’ Up! has done it again with just introduced NEW Pricing for MDS2 projects! Now you can Save More on Photo books, cards, & More Forever!

Here is what Stampin’ Up! released yesterday evening –

We’re happy to let you know that we’ve lowered all of our My digital Studio print product prices – permanently! That’s right. Now you can print your photobooks, cards, calendars, and other projects for less. You’ll notice some have been lowered up to 50 percent!

You can see the new print prices HERE.

New Design Features in MDS2 – along with the lower print prices, we’ve added more design features

Click HERE to see all 75+ new design features

Here are today’s NEW Digital Downloads. There is something for everyone.

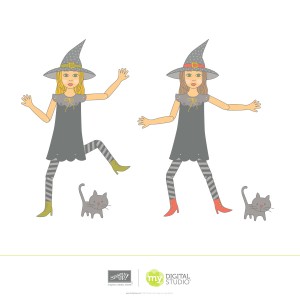
Item # 132266 Any Witch Way Template $4.95


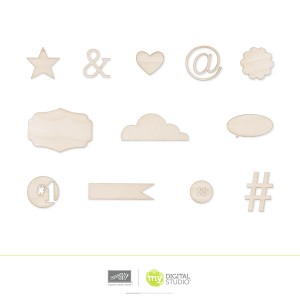
Item # 132191 Everyday Woodcuts $5.95

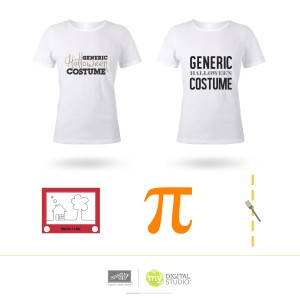
Iem #132267 Quick Whit Costumes Templates $4.95

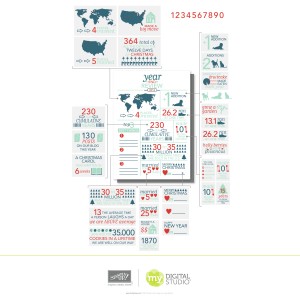
Item #131522 Year End Review Infographic Postcard Template $3.95

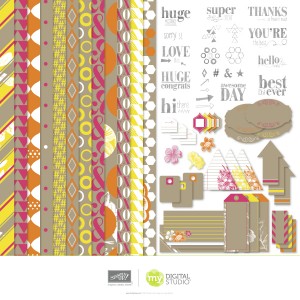
Item #132264 Neon Notes Kit $9.95

If you haven’t tried MDS2 now is a great time to do so. Why not download the trial today. You can click HERE for more information. Don’t forget to keep an eye on my Calendar for special upcoming MDS2 events coming your way soon!

Click here to order your Stampin’ Up! Products online 24/7! (US only)
NEW Festive Fall Fun Stamp Camp Being Offered

Come and learn a new technique while you create 3 fun fall projects along with a Holiday Organizer!

Sunday, October 21st at 2 p.m.

Tuesday, October 23rd at 6:30 p.m.

Wednesday, October 24th at 1 p.m.

Class Fee $33 or RSVP and Prepay by October 7th and pay just $28

Click HERE to see Flyer

I’m offering a new Class Payment option with my classes. Don’t want to mail a check? Click on the button to pay for your class fee and select your choice of day and time.


Class Fee
Choose a Class Date & Time


12 Weeks of Christmas Begins in Just 24 Hours!

Starting Wednesday, October 3rd…….Those of you who are on my mailing list will recieve my 12 Weeks of Christmas Newsletter email once a week for the next 12 weeks.

Each of these special newsletters will contain a exclusive project for a variety of items along with the instructions to make each project. Remember, I will not be sharing the 12 Weeks of Christmas projects on my blog. (These are exclusive projects that only my Newsletter subcribers shall receive.)

Don’t miss out on all the fun – You can sign up in the box below my 12 Weeks of Christmas design in the upper right hand corner of my blog.

It’s that easy! Don’t delay since only those on my Newsletter list receive my 12 Weeks of Christmas Newsletters and you won’t want to miss Week 1!

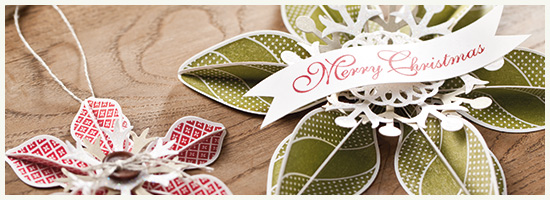
Holiday Keepsakes Ornament Class Updated

A New Bundle Offer for this class is being offered due to the new Bundle Promotion that began October 1st.

Now you really can have it all. Get your Ornament Keepsakes Stamp Set (wood or clear), Holiday Ornament Framelits, our NEW Silicone Craft Sheet, Candlelight Christmas Specialty DSP and a FREE Festive Paper-Piercing Pack in addition to learning how to make these wonderful ornaments during my class! You can even add the fabulous Snow Flurry Die to your class bundle and get a FREE Tutorial for the 2 ornaments above!

There are two days to choose from.

  •  Sunday, November 4th at 2 p.m.
  • Tuesday, November 6th at 6 p.m.

Sound interesting? Want to know the details?

  • First choose which Ornament Keepsakes Stamp bundle you want; Wood or Clear Stamps.
  • Wood Stamp Set Option & DSP $85
  • Clear Stamp Set Option & DSP $77
  • Wood Stamp Set, DSP & Snow Flurry Die Option $112
  • Clear Stamp Set, DSP & Snow Flurry Die Option $103


  • Then email at StampwithJini@gmail, or call me at (706) 754-7124 to pay for your Class order before Monday, October 15th at 8 p.m. so that I can have your bundle here and ready for you at class.
  •  Make sure to let me know which Class time works best for you so I can hold your spot.

That’s it – yes it’s that easy, so why not sign up for the Holiday Keepsakes Ornament Class today!

You can click HERE to see my Calendar of Events with details or click HERE  to see my original Class Post with updates and all the details and Bundle information for this class. If you have any questions please feel free to contact me.

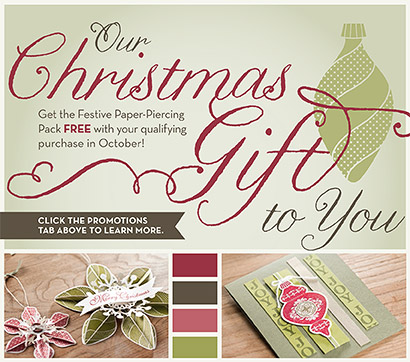
Get Your FREE Festive Paper Piercing Pack

 It’s only October, but Stampin’ Claus is coming to town! Get a FREE Festive Paper-Piercing Pack when you purchase the Ornament Keepsakes Set and Candlelight Christmas Specialty Designer Series Paper.

Choose from the following options:


Item

Description

Retail Value

Special Price

132260

Christmas Gift Pack (wood-mount) Includes Ornament Keepsakes Set (wood-mount), Candlelight Christmas Specialty Designer Series Paper, Festive Paper-Piercing Pack

$55.85

$47.90

132261 Christmas Gift Pack (clear-mount) Includes Ornament Keepsakes Set (clear-mount), Candlelight Christmas Specialty Designer Series Paper, Festive Paper-Piercing Pack

$44.85

$36.90

132262 Christmas Gift Pack (wood-mount bundle) Includes Ornament Keepsakes Bundle (wood-mount), Candlelight Christmas Specialty Designer Series Paper, and Festive Paper-Piercing Pack

$70.85

$62.90

132263 Christmas Gift Pack (clear-mount bundle) Includes Ornament Keepsakes Bundle (clear-mount), Candlelight Christmas Specialty Designer Series Paper, and Festive Paper-Piercing Pack

$63.85

$55.90


The Fine Print

  • See those special item numbers above? You’ve got to use those in order to get your FREE Festive Paper-Piercing Pack.
  • You get your FREE paper-piercing pack by purchasing the Ornament Keepsakes Set and Candlelight Christmas Specialty Designer Series Paper or the Ornament Keepsakes Bundle and Candlelight Christmas Specialty Designer Series Paper. Remember: the bundle gets you an additional 15 percent off the set and the Holiday Ornaments Framelits Dies. So many options!
  • Any order type qualifies for this promotion-customer, workshop, or online.
  • This promotion has no limits-for every bundle you buy, you’ll get a free Festive Paper-Piercing Pack. They make great Christmas gifts!
  • Sorry-hostess dollars don’t count toward this promotion.
  • If you want your free gift, you need to make sure you place your order with me before the deadline October 31st

Click here to order your Stampin’ Up! Products online 24/7! (US only)