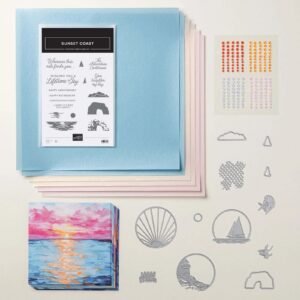
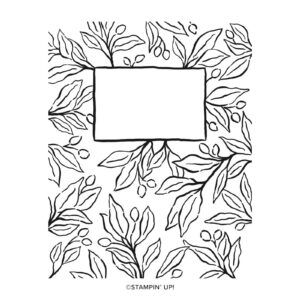
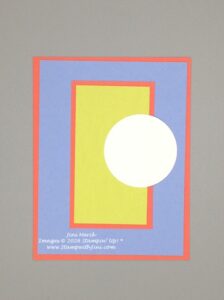
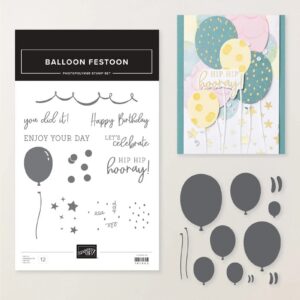
I love monochromatic cards they make an color impact and make creating a breeze. Today’s card uses a Bundle from the Mini Catalog, Exciting Times Bundle (167881).
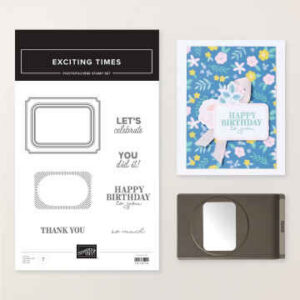
And since this bundle includes a punch it is a great choice when you are starting out as a stamper since punches allow you to stamp and then punch out the image easily by adjusting it. So no worries about stamping things straight. This Rounded Rectangle Punch (167880) is also a basic shape making it very versitile.
Today’s card uses Hydrangea Hue to create this wonderful card that can be used for all ages. Since it is a shade of blue it also can be used for both men and women making it a great one to have on hand when you need a card.
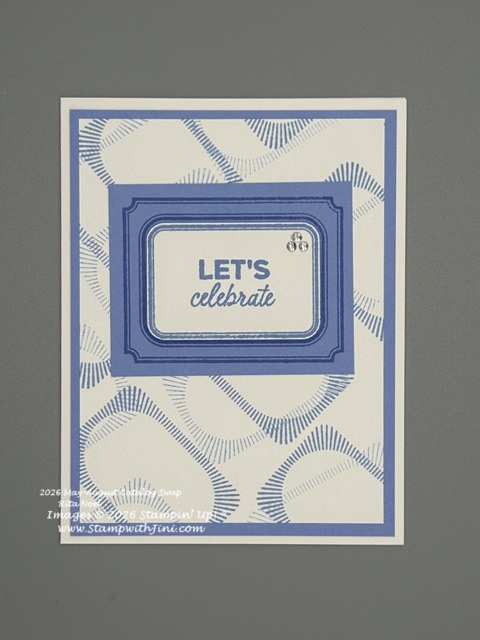
The out line frame image was stamped multiple times in the background using the stamp off method to create different shades of the Hydrangea Hue. Then the frame was stamped using Hydrangea Hue onto the coordinating card stock. Finally the sentiment was stamped inside the frame onto Basic White and punched out. To add a bit of interest and shadow this layer was popped up and a few Rhinestones Basic Jewels (144220). These jewels are a great basic to have on hand since they can be used on all kinds of projects!
Want to learn more about the Exciting Times Bundle (167881)? Why not stop by my Online store and check it out today?

CLICK HERE to order your Stampin’ Up! products Online 24/7! (US only)