Wow, it has taken me a bit longer than I had planned to share this card with you – I can’t believe it is already the 8th and my birthday cards went out earlier this month already. Having everyone home including my adult children has been a crazy, but wonderful to have everyone under our roof again. It just creates a different rhythm to my day. lol
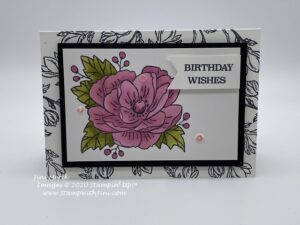
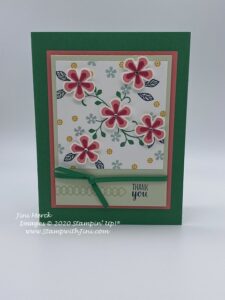
Any how here is the card – I used the bright and cheerful Bermuda Bay and teamed it up with our Daisy Punch and the Daisy Lane stamp set. I think it’s great for spring!

What do you think? Why not leave me a comment?
This card is simple to whip up and easy to make multiples of since our Designer Series Paper Stack has multiple sheets in each color.
Here is a quick video tutorial for you.
#imbringingbirthdaysback April Daisy Lane Birthday Card Video Tutorial
.
And how about a PDF tutorial too? It includes the complete supply list and step by step directions.
#imbringingbirthdaysback April Daisy Lane Birthday Card Tutorial PDF
I’m sending birthday Cards in 2020! Would you like one?
Would you like to receive a birthday card from me in 2020? I’ve started a new list now for 2020 and will be collecting birthdays to add to it starting now through the end of the year for 2020-2021.
So if you want to be one of those who receive a hand stamped birthday card from me, it’s simple just send an email to me at StampwithJini@gmail.com and give me the following information.
Name
Address
Date of birth
(I just need the month and day since we’re all young at heart. But you can include the year if you want to. US only)
(fine print: All info will be kept private and be used only for the purposes of sending you a birthday card)
Enjoy!
Supplies:
Stamp Set: Daisy Lane (149325)
Inks: Bermuda Bay (147096/131156) and Crushed Curry Classic Ink (147087/131158)
Paper: Brights Collection 6×6 Designer Series Paper Stack (149613), Bermuda Bay (131197), and Whisper White Card stock (100730)
Accessories: Daisy Punch (143713), 2″ Circle Punch (133782), Banner Triple Punch (138292), and 1/2″ Circle Punch (119869)

Click here to order your Stampin’ Up! Products online 24/7! (US only)
Shop at my Online Store and use Host Code PYZKS3WY
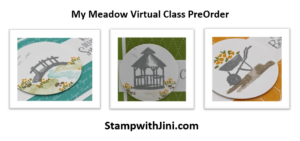
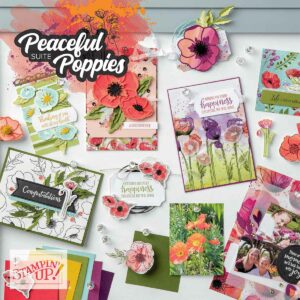
Last 24 hours to PreOrder your My Meadow Virtual Class Kit