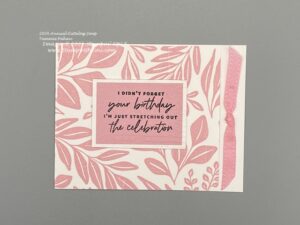
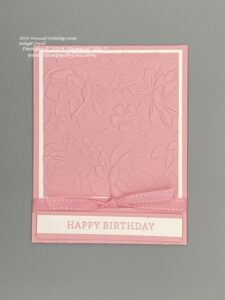
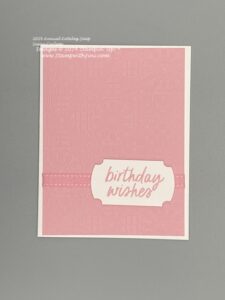
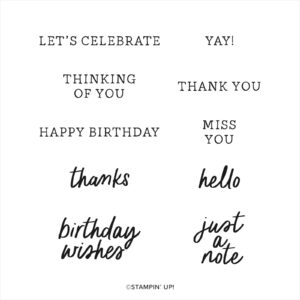
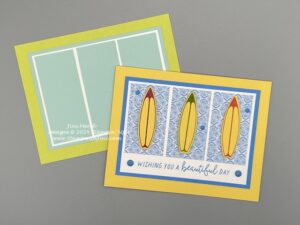
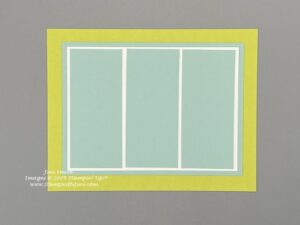
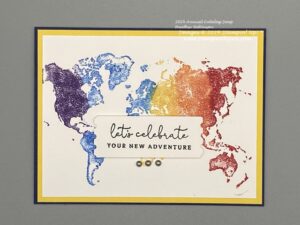
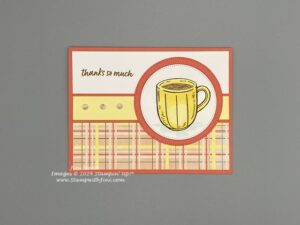
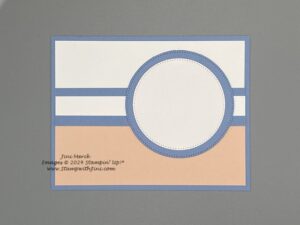
Today’s card uses a quick and easy technique using our Stampin’ Write Markers. It also uses the same sketch that I shared with you last week.
If you’d like to see the sketch and printable PDF you can click HERE and make one for your Sketch collection. I have simply flipped the sketch on it’s side and made it landscape instead of portrait.
Shop at my Online Store and use Host Code XM7XH6F2 with a product order of $50 or more and receive a FREE Gift from me; my Card Kit and my In Color Card Class!
All that is really required is two colors of ink and Card stock to get you started making it a great technique when you start stamping since you don’t have to have a lot of inks yet.
Check out my quick video tutorial that I whipped up for you along with the PDF containing the complete supply list and measurements.
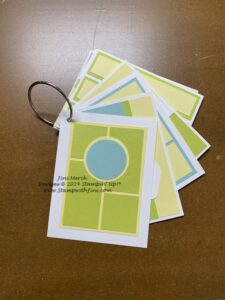
This card uses one of my card sketches too. These sketches are a great inspiration to help you create. I’ve got my on a ring on my work space so it’s with in easy reach for inspiration.
So today I’m sharing another Card Sketch with you and the PDF so you can make one too to add to your designing tools! This is my Card Sketch #6
Shop at my Online Store and use Host Code XM7XH6F2 with a product order of $50 or more and receive a FREE Gift from me; my Card Kit and my In Color Card Class!
Today I’m going to share with you the final card I made using the Citrus Blooms Bundle (163295) OnStage in Houston during our After Hours event. It’s the third of the three cards that we made during the event with this lovely bundle.
This card is bold with it’s Petunia Pop base and Pecan Pie accents. It once again uses our Water Painters (151298) and the Fluid 100 5×7 Watercolor Paper (149612) to create a different look with the Pecan Pie stamped image and highlighting just the blooms.
You’ll need the following supplies to make this card.
Petunia Pop Card stock: Cut 5 1/2″ x 8 1/2″; scored at 4 1/4″
Pecan Pie Card stock: Cut 3 1/2″ x 2 1/4″
Watercolor Paper: Cut 3 1/2″ x 2 1/4″
Pecan Pie Card stock: Cut 2 ” x 5/8″
2024-2026 In color Shimmer Gems (Petunia Pop): 5 assorted
Assembly:
stamp the small “diamond” image using Pecan Pie Classic Ink onto Pecan Pie panel randomly.
Adhere the panel in the lower right hand corner of the card front about 1/2 – 3/4″ from the bottom ash shown.
Next, stamp the “orange” image onto the Watercolor Paper using Pecan Pie Classic Ink.
Stamp the sentiment “all the love” onto Pecan Pie Card stock strip using StazOn Jet BlackInk Pad.
Using your Water Painter color the flower and bud images using Petunia Pop Classic Ink. Allow to dry. (I like to use a clear block as a pallet for my water coloring – simply tap the ink pad onto the clear block to add ink rather than squeezing your ink pad and using the lid)
Add Stampin’ Dimensionals to the back of the watercolor image and adhere to the card front tilting it to the right as shown.
Add a Stampin’ Dimensional to the left end of the sentiment and adhesive to the right and adhere to the card front so it is the same height as the water colored image.
Finally stamp the inside sentiment and envelope as desired.
I hope you’ve enjoyed these quick and easy cards using this bundle that I’ve shared with you this week. This Stampin’ Up! event was so much fun that I’ll hope they’ll do it again at our next OnStage in North Carolina.
If you are enjoying these cards that I’ve shared with you this week from our OnStage After Hours Make n Takes you’ll want to be sure and check out the Mediterranean Blooms Suite (163300)
that not only has the Citrus Blooms Bundle (163295) that I used for these cards, but also some wonderful Designer Series Paper and accessories too!
Enjoy! and then stop back by for my regular Friday tutorial tomorrow that includes a video and PDF using the Spotlight on Nature stamp set.
Shop at my Online Store and use Host Code XM7XH6F2 with a product order of $50 or more and receive a FREE Gift from me; my Card Kit for my In Color Card Class!
Yesterday, I shared the lovely watercolor card I made at OnStage in Houston during our After Hours event. Today I’m sharing the second of the three cards.
I love the linear look this card has and the combination of the 2024-2026 In Colors together.
What do you think? Like the color combination too? I love the soft color behind the sentiment we created with our Small Blending Brushes (160518). Here is how we made this card.
You’ll need the following supplies to make this card.
Stamp the “orange” image onto Peach Pie Card stock using Peach Pie Classic Ink.
Stamp the “orange” image onto Pretty in Pink Card stock using Pretty in Pink Classic Ink.
Stamp the “orange” image onto Petunia Pop Card stock using Petunia Pop Classic Ink.
Adhere the 3 panels to the card front. Adhere the Pretty in Pink panel down first in the center and then space out the other two panels evenly on the right and left sides.
Using your Blending Brush add color using Petunia Pop, Peach Pie, and Pretty in Pink onto 1″ strip of Basic White Card stock.
Then using Petunia Pop Classic Ink and “diamond” image stamp stamp several times at an diagonal across the center of the strip as shown.
Adhere the strip to the card front about 1 inch up from the bottom.
Tie the Very Vanilla Baker’s Twine into a large bow and adhere it to the card front. The sentiment from the next step will cover the adhesive.
Using your Paper Snips cut a banner onto the right and left ends of the Basic White Card stock strip.
Stamp the sentiment “all the love” onto the strip of Basic White on the right end using Peach Pie Classic Ink.
Using Stampin’ Dimensionals adhere the sentiment on the the card front.
Stamp the inside panel and envelope as desired.
That’s it. Then stop by tomorrow when I’ll be sharing the last card we made that night.
Shop at my Online Store and use Host Code XM7XH6F2 with a product order of $50 or more and receive a FREE Gift from me; my Card Kit for my In Color Card Class!
I’ve been wanting to share this bundle with you, but unfortunately it got delayed. So today I’m going to share the lovely little cards that we were able to create during the event in Houston. While I didn’t choose this as my bundle for the event, one of my fellow table mates let me borrow hers.
So over the next few days I’ll be sharing these cards made with the Citrus Blooms Bundle (163295) with you along with how we made them.
Basic White Thick Card stock: Cut 8 1/2″ x 5 1/2″; scored at 4 1/4″
Petunia Pop Card stock: Cut 3 1/4″ x 4 1/2″
Watercolor Paper: Cut (2) 2 1/4″ x 2 1/4″
Basic White Card stock: Cut 2 1/2″ x 5/8″
Baker’s Twine Essentials Pack (white): Cut 12″
2024-2026 In color Shimmer Gems (Pretty in Pink): 5 assorted
Assembly:
stamp the small “diamond” image using Petunia Pop Classic Ink onto Petunia Pop panel randomly.
Stamp the sentiment “hello” onto strip of Basic White Card stock using StazOn Ink Pad.
Stamp orange image onto Watercolor Paper using Stazon Ink Pad. Repeat on second square.
Using your Water Painter color the images using Lemon Lime Twist and Peach Pie Classic Ink. Allow to dry. (I like to use a clear block as a pallet for my water coloring – simply tap the ink pad onto the clear block to add ink rather than squeezing your ink pad and using the lid)
Adhere the first water colored panel to the Petunia Pop panel tilted it to the left as shown.
Wrap a piece of Baker’s Twine around the panel and tie into a bow. Adjust as desired.
Using your Stampin’ Dimensionals add the second water colored panel to the card front, tilting it to the right.
If needed adjust bow and trim ends of twine then adhere the layered panel to the card front.
Using your Paper Snips trim the ends of the sentiment panel at an angle on both ends.
Adhere sentiment to the card front.
Add Pretty in Pink Shimmer Gems to the card front randomly using your Take Your Pick Tool.
Stamp inside panel and envelope as desired.
That’s it. Then stop by tomorrow when I’ll be sharing the second card that night.
Shop at my Online Store and use Host Code XM7XH6F2 with a product order of $50 or more and receive a FREE Gift from me; my Card Kit for my In Color Card Class!
Today I’ll be sharing with you my Die Case Inserts for our coordinating dies. I like the fact that these sit on my shelf with the stamp sets and have the same look. All nice and neat!
If the Die set is large I’ll add a second magnetic sheet to the other side of the case so I have plenty of room.
I simply print these Case Inserts off on Basic White card stock, then trim and insert. Click HERE to learn more about that.
Here are Die Case Inserts for all the Dies found in the 2024 Annual Catalog – If you find an error or there is a problem please let me know.
This PDF also includes last years In Colors. Simply print them out on Basic White Card stock, and punch. A little Mini Glue Dot or other adhesive attaches them to each lid end.
As always if you find an error please let me know so I can correct it. I try my best, but I do make mistakes.
Enjoy! And then stop back by next week when I’ll be sharing some fun projects with you.
Shop at my Online Store and use Host Code XM7XH6F2 with a product order of $50 or more and receive a FREE Gift from me; my Card Kit for my In Color Card Class!
Today I’ve got some wonderful items to help make organizing your craft space easier for you while you’re waiting for those fun new colors and products to arrive. These are items I’ve been using for years and find them really helpful when I’m crafting.
Be sure to add some of our Standard Stamp Cases so that you’re ready to organize your Dies too. I’ll be sharing those PDFs tomorrow.
I’ve done this with each NEW Annual Catalog launch for years (you can find past items by looking under the organization category) and I hope you’ll find them useful too.
First, I’ve created a quick reference for the Designer Series Paper. I like this chart and keep it handy when I’m looking for the colors in the Designer Series Paper. Everything you need is on this one easy chart.
2024 Annual Catalog Designer Series Paper Chart PDF (updated 5/15)
Want a quick way to know what colors you have on the go? I love this purse sized inventory list for keeping my items handy, so I’m sharing it with you. It’s got all of our color families even the two In Color Families. Simply print, score, then fold to create a tri-fold reference chart that you can tuck in your purse. And if you’d like a visual of the color, add a small circle of the card stock for those that you have like I did here with a half inch circle punch above the name. Here is a photo of last years so you can see what I mean with the circles.
Tip: Make sure when you are printing this chart to turn the second side so that it prints upside down. That way both sides will be in the same direction when using.
Labels, Labels, Labels – I love labels and these make things so easy. I like to have everything consistent so with the NEW 2024 Annual Catalog. I have created new labels for my hanging file folders, Refill drawers, daubers, and the bottoms of my Classic Ink Pads.
Stop back by tomorrow when I’ll be sharing my Dies Case Organizational Items with you.
If you haven’t ordered from me for a while, don’t have a catalog and would like one, why not contact me today to find out how to get yours!
And if you like all the news and information about what is happening, why not sign up for my newsletter or have my blog posts delivered right to you? You can click HERE to sign up for one or both. Then remember to click the link in the email you receive to get started.
Shop at my Online Store and use Host Code XM7XH6F2 with a product order of $50 or more and receive a FREE Gift from me; my Card Kit for my In Color Card Class!
Yippie! It’s here now you can get your favorite products from the 2024 Annual Catalog! You’ll be sure to want the NEW In Colors for 2024-2026 they are simply yummy. And you can purchase them individually, in assortments, or as a bundle. The choice is yours.
Shop with me during the month of May and get a special gift as my thank you. See my host code below for more details.
Have a big shopping list? Why not get the best Kit in the catalog, our Starter Kit using the special promotion this month?
I’d love to have you join my Team, The Blue Mountain Stampers. You can learn more more about my Team and it’s benefits HERE or if you already know you want to join click HERE.
Got questions? Just email me and I’m happy to answer any questions you might have. StampwithJini@gmail
And of course if you don’t already have a demonstrator and would like a copy of the catalog email me your name, address, and phone number and I’ll be happy to mail you one.
Shop at my Online Store and use Host Code XM7XH6F2 with a product order of $50 or more and receive a FREE Gift from me; my Card Kit for my In Color Card Class!
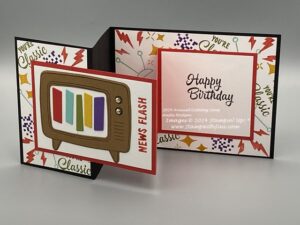
Want to learn how to create a fun Accordion Panel Card? Today’s tutorial shows you not only how to create this fun fold but also a simple technique.
Our Stampin’ Write Markers give you a quick and easy way to add multiple colors to an image.
And this card will stand on its own making it a fun way to display that special card
Check out this video tutorial and PDF to learn more about this card.
Inked & Tiled Multiple Color Accordion Panel Card PDF
Enjoy!
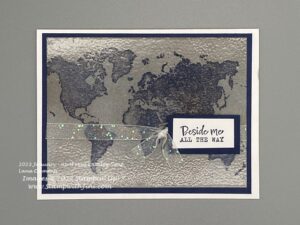
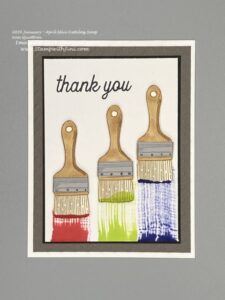
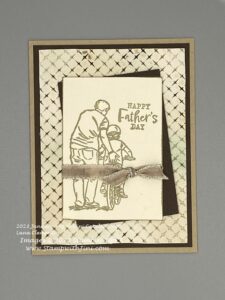
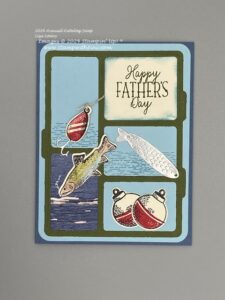
Wow, can you believe it is the last day to order from our 2023 Annual Catalog where I found these products that I used to make this card?
Remember items are while supplies last and after today they’ll be gone. So why not stop by my Online Store and check out these items and more. If the item has disappeared from the store the stock has been depleted. If you are looking at Suites or Bundles remember to check out the individual items. One may be gone but the other is still available. And of course if you have any questions please let me know.
Shop at my Online Store and use Host Code VFNSEWFD with a product order of $50 or more and receive a FREE Gift from me; my Hey Chuck 2023 In Color Card Class!
Tomorrow Wednesday, May 1st starts an awesome starter kit! Not only will you get to fill your kit ($125 in products) with items of your choice, but you’ll also receive the 2024-2026 In Colors and an assortment of products worth over $80!!!!
That’s all for just $99 plus tax, shipping is free with our starter kit. And you’ll receive a discount on your future orders too!
We’d love for you to join our group, the Blue Mountain Stampers
Click HERE to learn more about my team and the benefits you’ll receive as a team member from me.
What are the Blue Mountain Stampers?
That’s the name of our stamping community. I enjoy welcoming new members to our group. We’re from all over. If you’re considering joining Stampin’ Up!, you may have questions about how I would support you as part of my team. I do offer a variety of ways to learn, grow and to have FUN as a Blue Mountain Stamper!
Exclusive Team Resource Page – videos, PDFs and more
Exclusive Face book Group – A great way to share and connect with other team members and share
Monthly Creative Challenges
Swapping Opportunities
Team Retreats
Meetings – both local and online/virtual
Monthly Crafting Day
Monthly Lunch & Learn
Recognition & Incentives
Training available for workshops, clubs, classes and more!
Additional support and business coaching available
We have a very active group that share and answer each other’s questions on our Exclusive Facebook group. If you’re looking for fun, a place to grow and share with others…You’ll fit right in!
Hobbyists are welcome!
Did you know? 90% of my Blue Mountain Stampers areHappy Shoppers – purchasing for themselves, (along with their family and friends.) That’s right…you can just get a discount on products you love!
We welcome the crafter who’s looking to be a “happy shopper” (and save money), as well as those of you that want to build a business (and make money).
Everyone is welcome after all there’s room for both and everyone in between.
And there is NO Obligation when you purchase your starter kit – Join the Blue Mountain Stampers and see what it’s all about!
LAST DAY OF 2023 ANNUAL CATALOG & JANUARY-APRIL MINI
Shop at my Online Store and use Host Code VFNSEWFD with a product order of $50 or more and receive a FREE Gift from me; my Hey Chuck 2023 In Color Card Class!