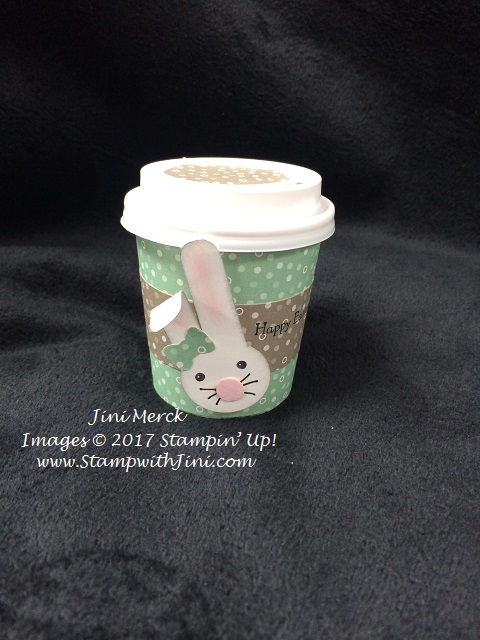
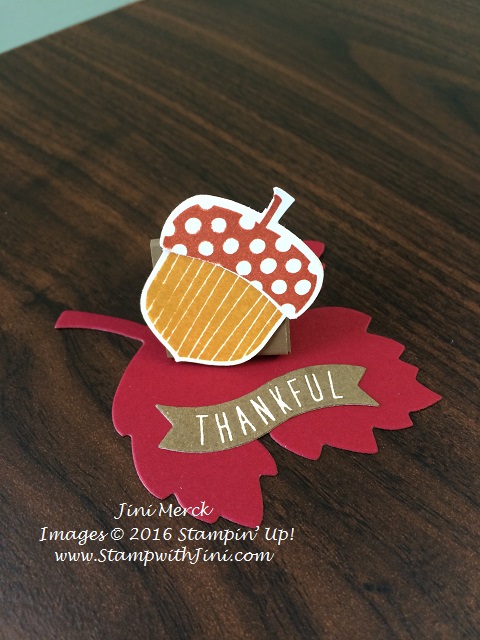
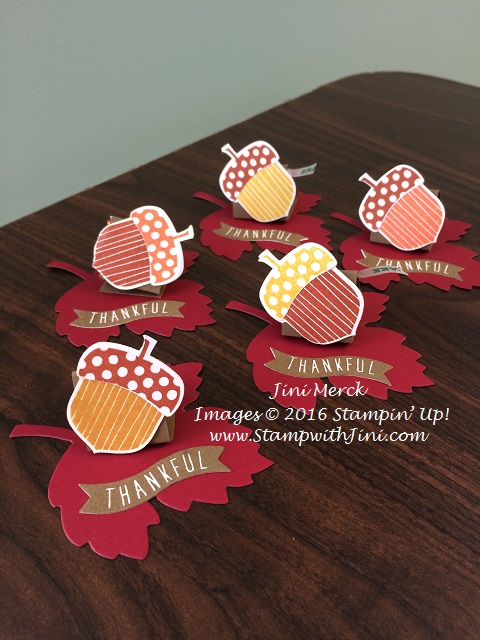
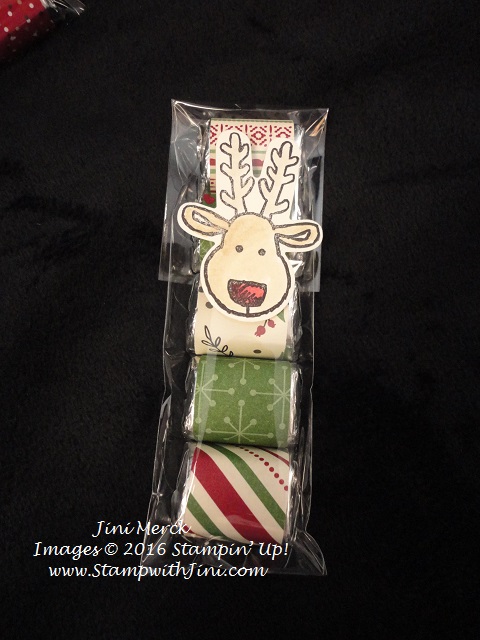
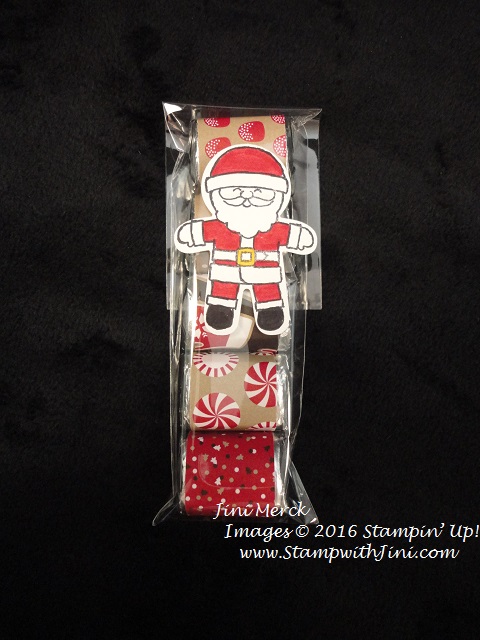
I enjoy making treats for family and friends of all ages, so for Easter this year I pulled out my Envelope Punch Board and created this cute little gum holder.
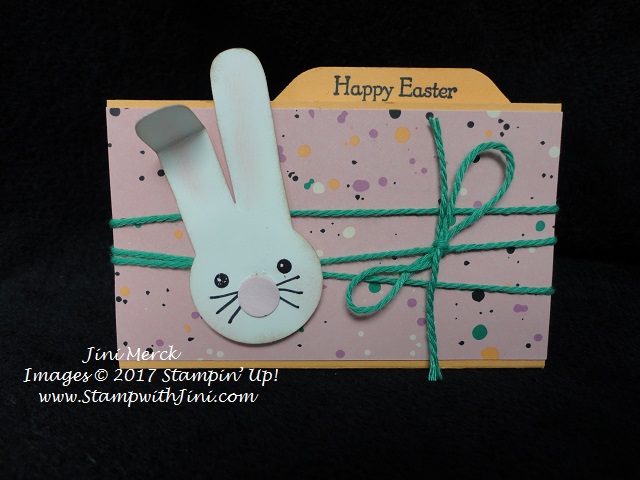
These gum holders were quick and easy to make and I can put everyone’s favorite gum inside. How easy is that!
Want to learn how to make these cute little rabbits? You can click HERE for my video tutorial. Want to learn how to make these cute little file folders? Click HERE for my video tutorial.
Now what are you waiting for? Hop to it and make some for your family and friends! LOL!!! Enjoy!
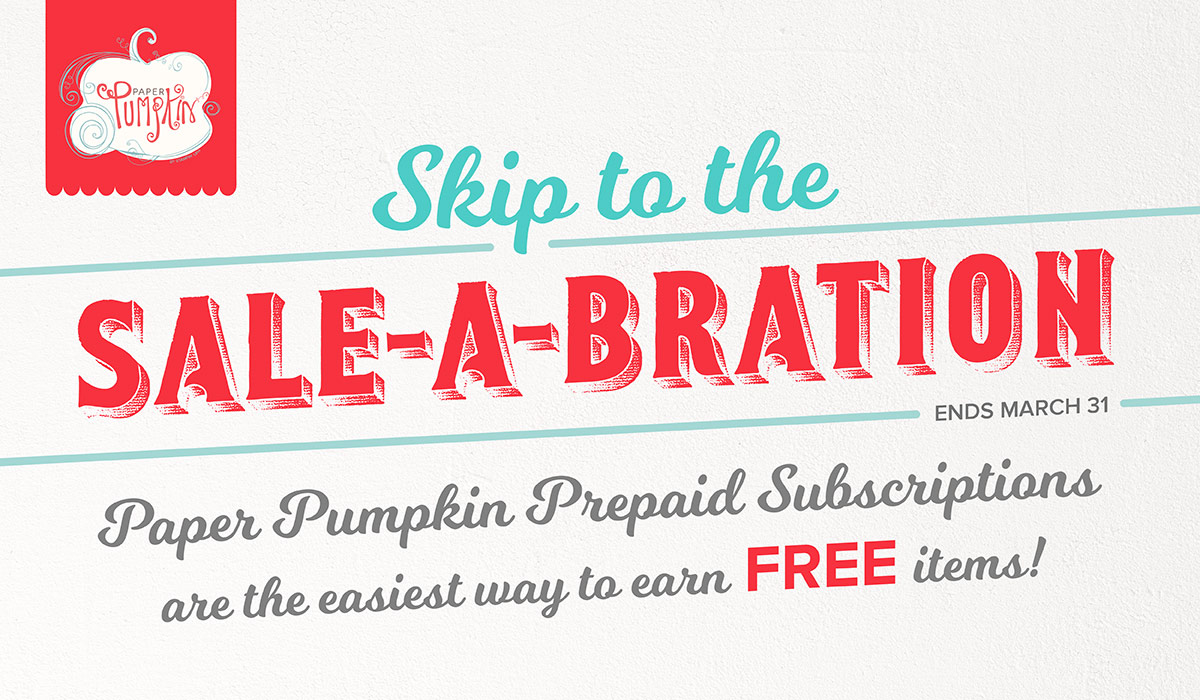
Paper Pumpkin – Sign up today, get March’s kit and in April get a special surprise!
I love the convenience of Paper Pumpkin! Every month an all-inclusive kit arrives in my mailbox with everything ready to go for a fun project. Sign up today so you don’t miss the April kit, designed by Stampin’ Up! CEO Sara Douglass.
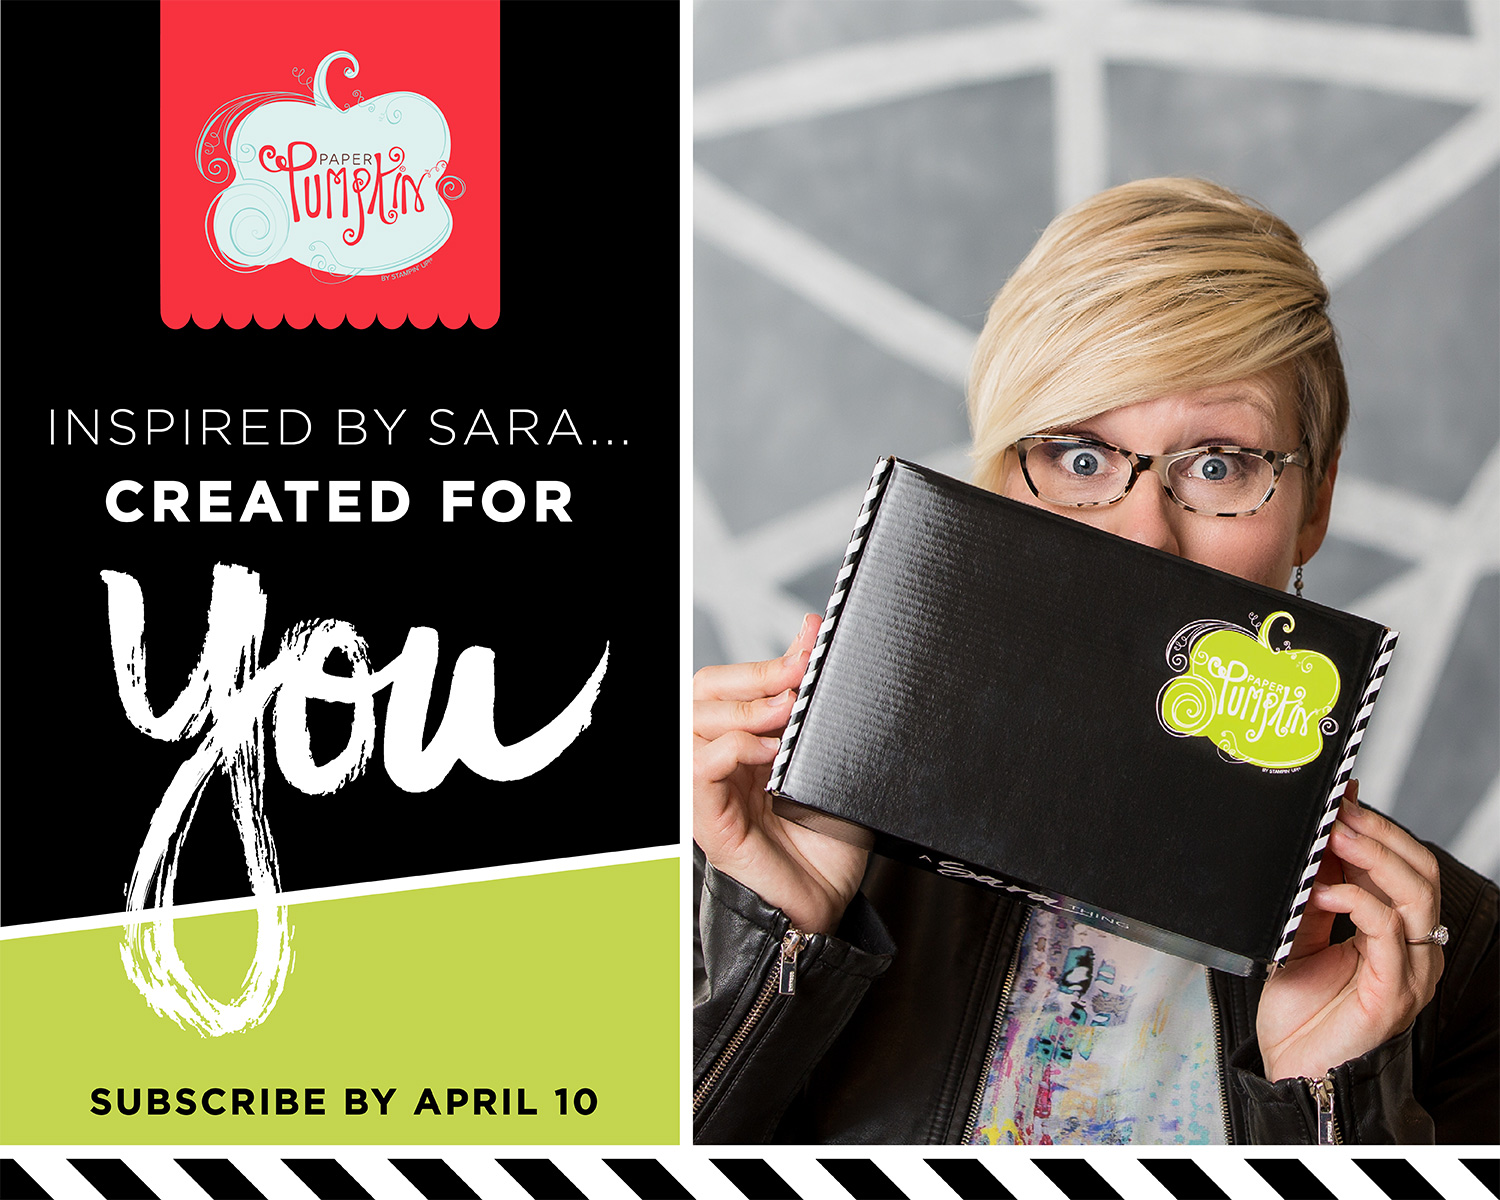
- Inspired by Sara . . . created for Y-O-U! Contact me today to sign up for Paper Pumpkin so you don’t miss Sara’s kit in April.
- Everyone gets a FREE gift from Sara inside their April Paper Pumpkin kit.
- Time is running out! Don’t miss the April Paper Pumpkin kit.
- Sign up by the end of the day on 10th of the Month to get your kit.
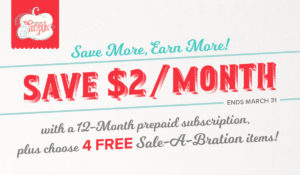
Want FREE Sale-a-bration items? Purchase a Prepaid Subscription CLICK HERE to learn more.
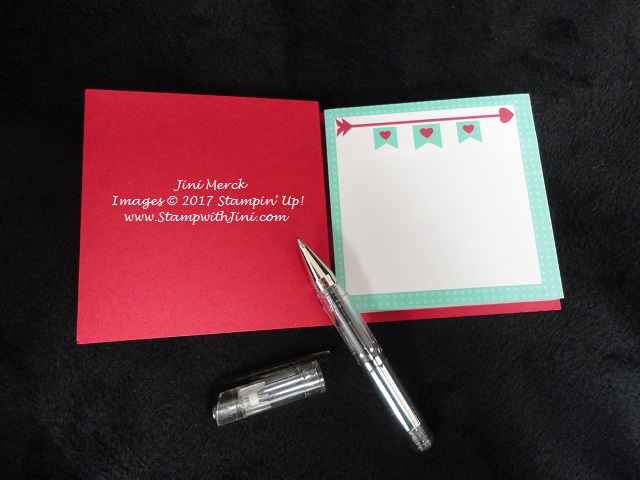
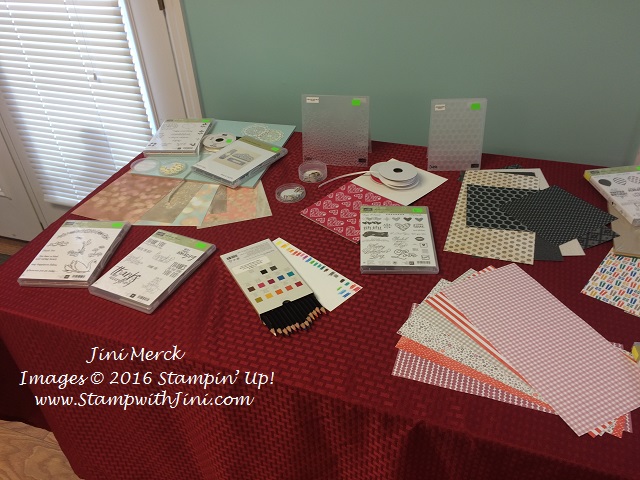
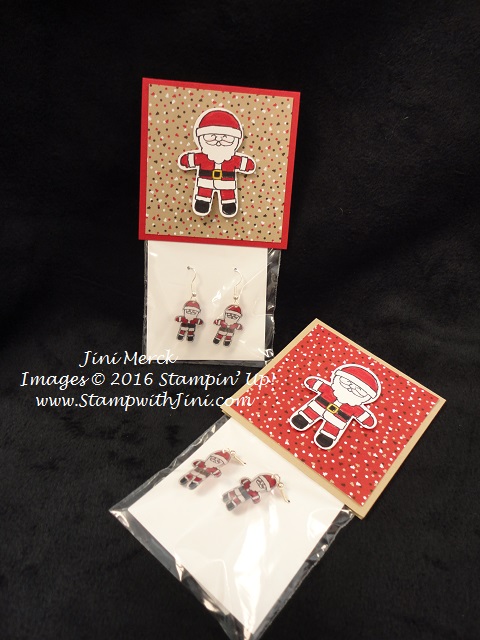
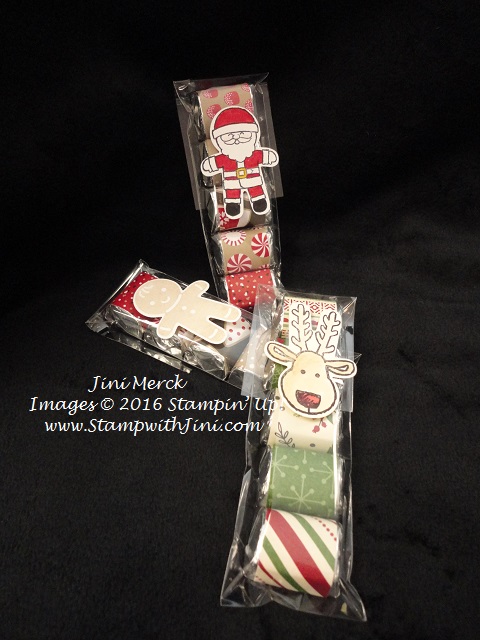
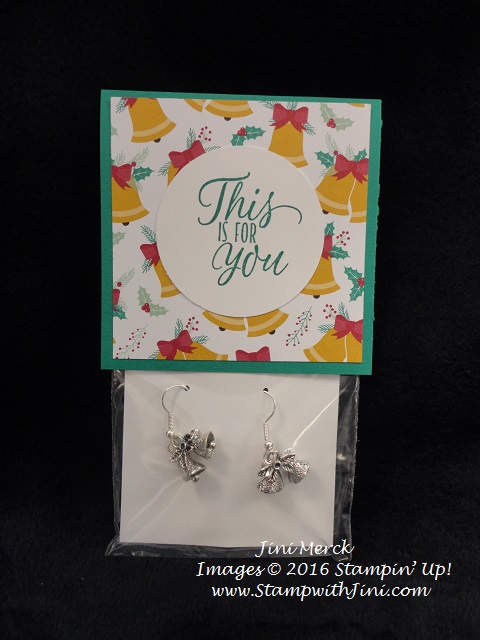
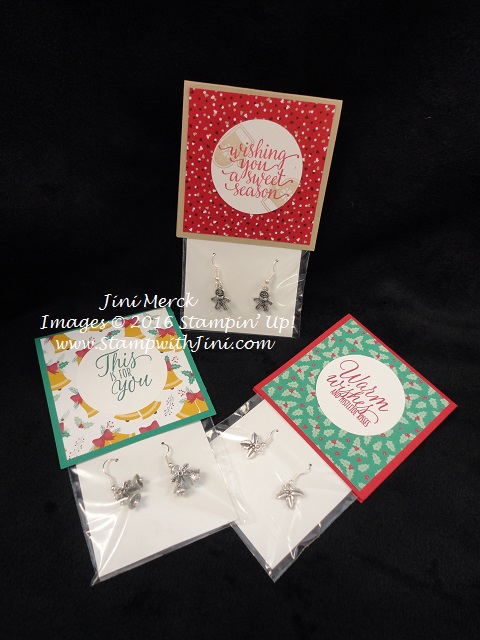
Supplies:
Stamp Set: Cookie Cutter Christmas (142043) and Teeny Tiny Wishes (128748/127802)
Inks: Basic Black Archival Ink (140931), Blushing Bride (131172) and Crumb Cake Classic Ink (120953)
Paper: Playful Palette Designer Series Paper (141657), Peekaboo Peach (141417), Whisper White Card stock (100730)
Accessories: Envelope Punch Board (133774), Cookie Cutter Builder Punch (140396), Emerald Envy Sold Baker’s Twine (141686), Basic Black Stampin’ Write Marker (100082)
Click here to order your Stampin’ Up! Products online 24/7! (US only)
Shop at my Online Store and use Hostess Code GJH39UAM when you order