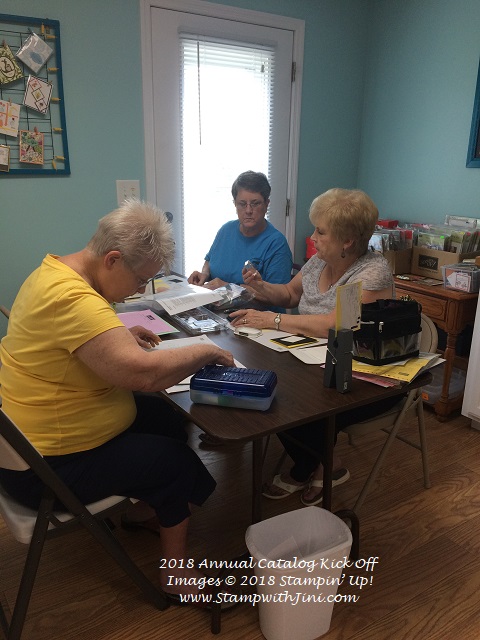
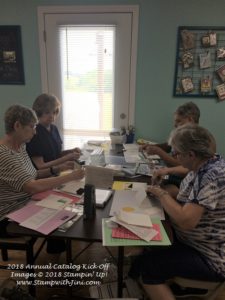
Saturday I held my 2018 Annual Catalog Kick Off and so I thought I’d share some information and photos from the event along with one of the projects too. After all who doesn’t love a tutorial?
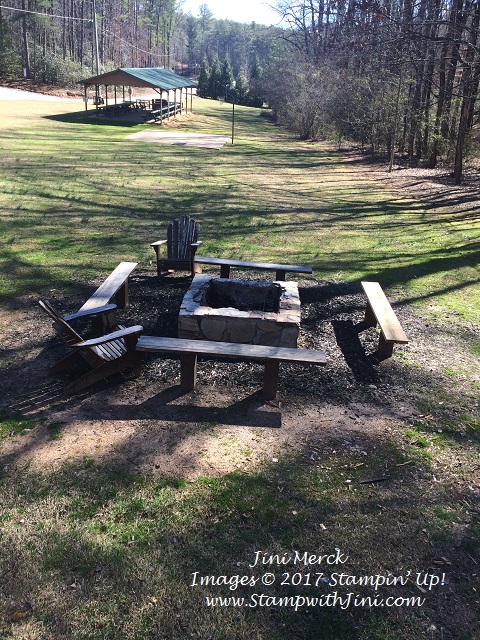
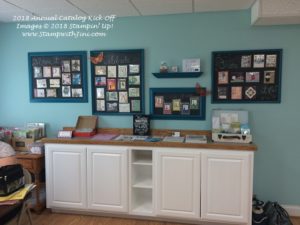
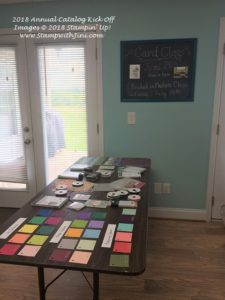
These first photos are of some of the classroom displays, my son recently built this new cabinet for me. It’s still a work in process, but I’m loving it!
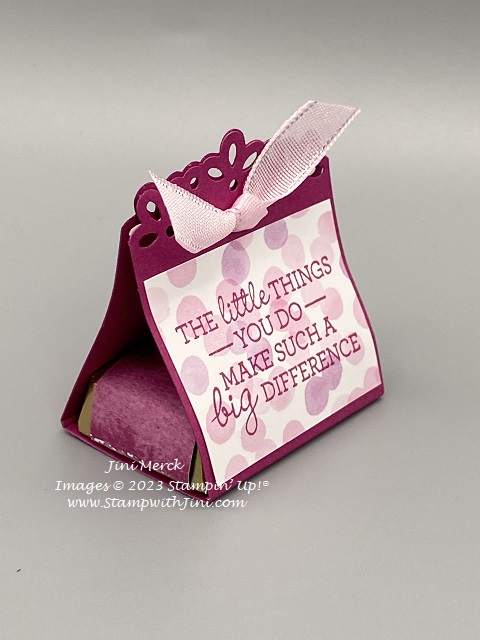
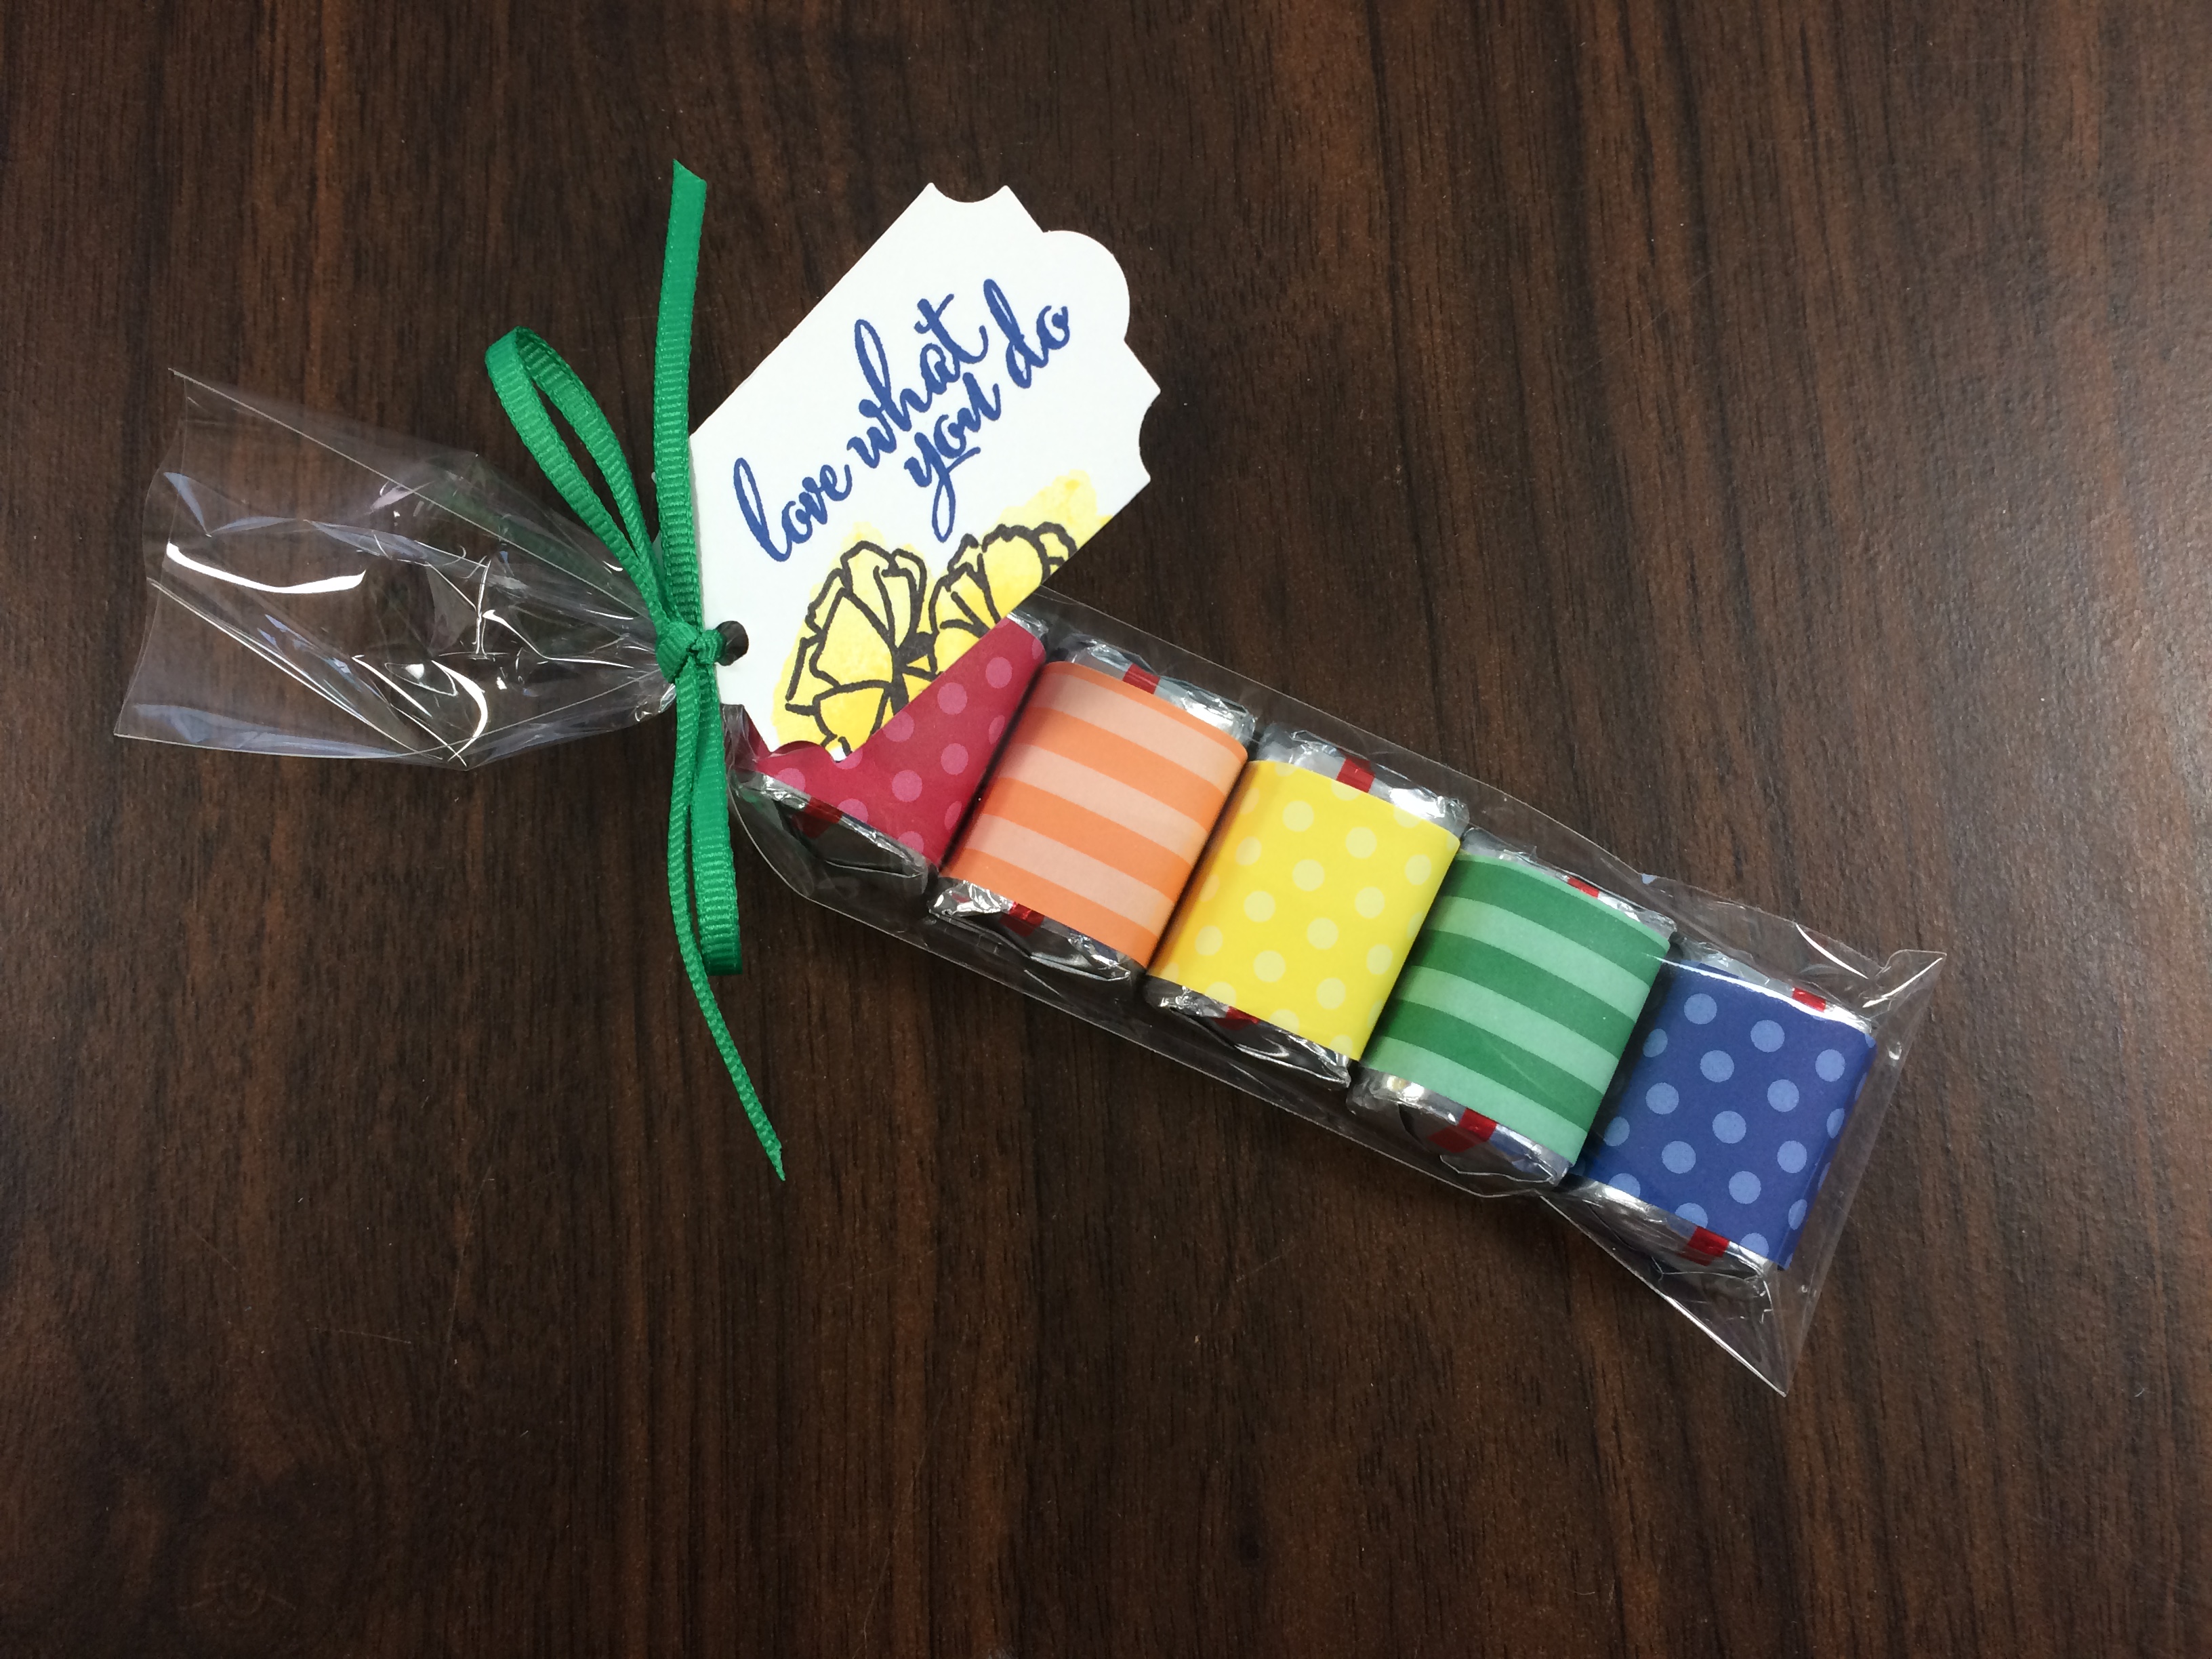
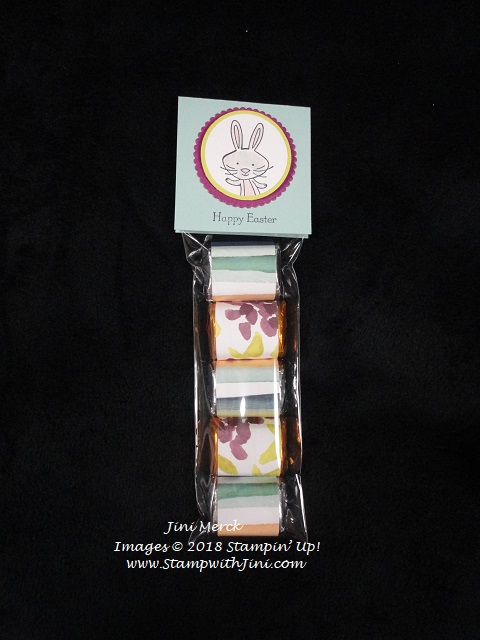
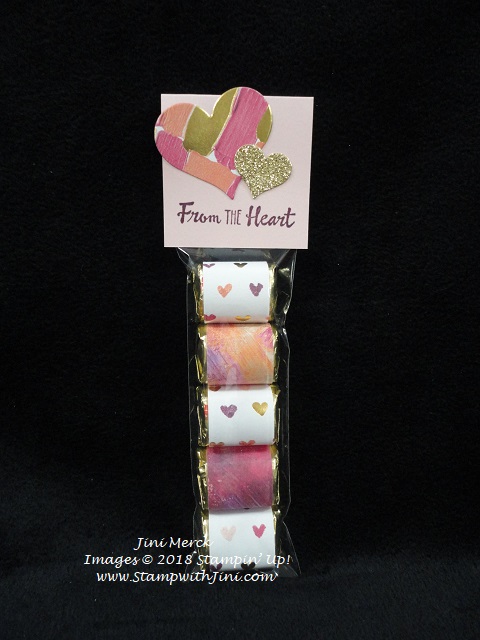
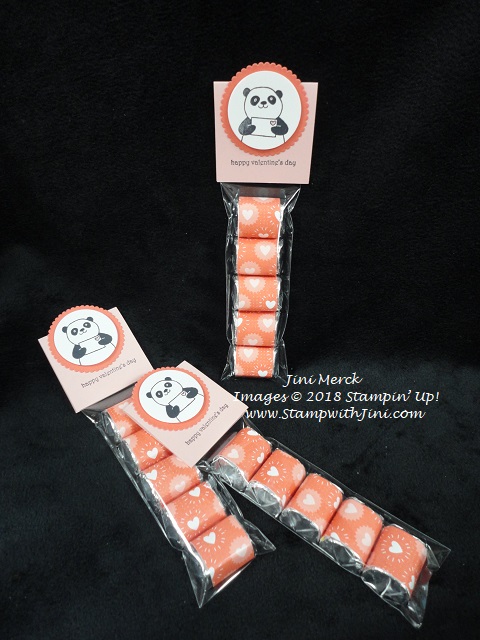
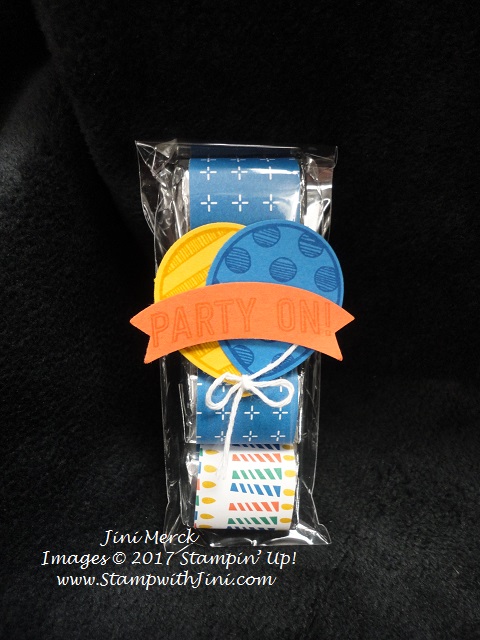
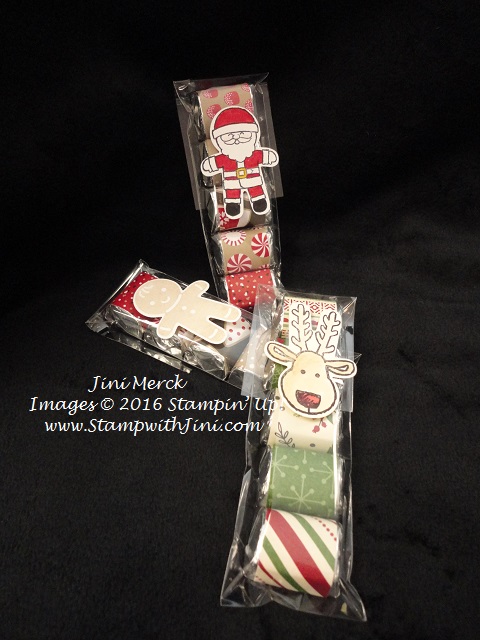
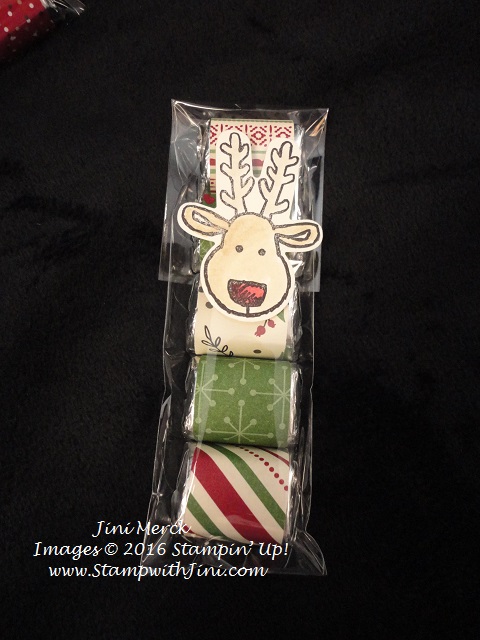
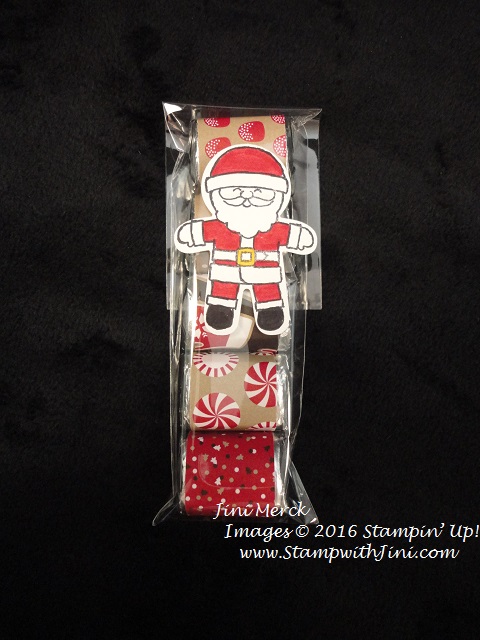
And everyone had a special treat at their place too. These were quick and easy to make with our 2″x 8″ Cellophane Bags (141703)
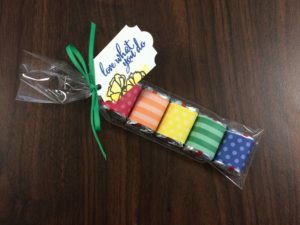
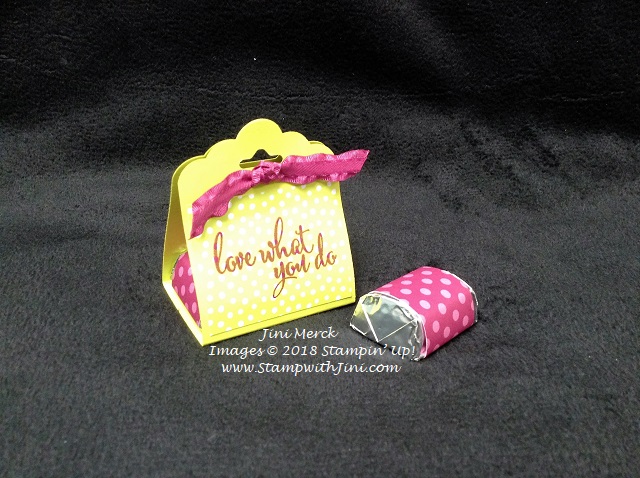
This sweet little nugget treat was made using our NEW 2018-2020 In Color Designer Series Paper (146963) and the Love What You Do stamp set (148042). It’s tied up with a quick little bow made from our Call Me Clove 1/8″ Grosgrain Ribbon (146951).
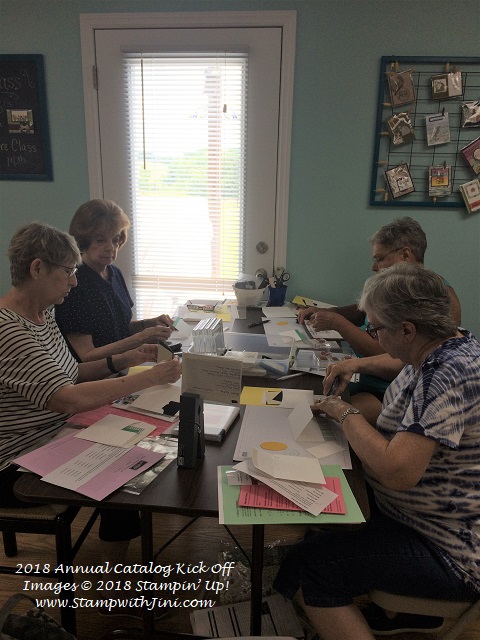
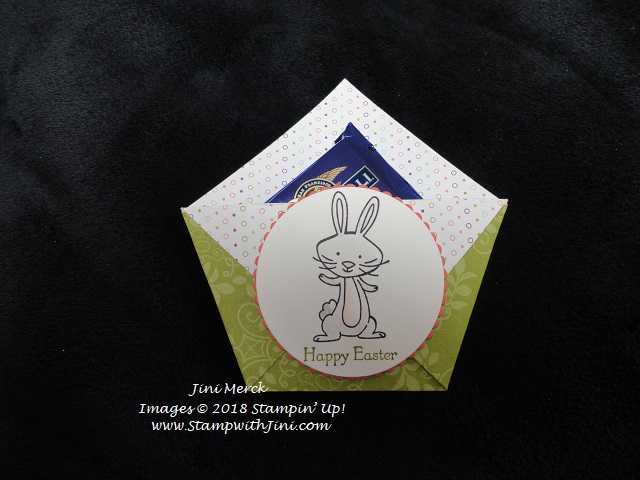
Here is what everyone’s spot at the table looked like

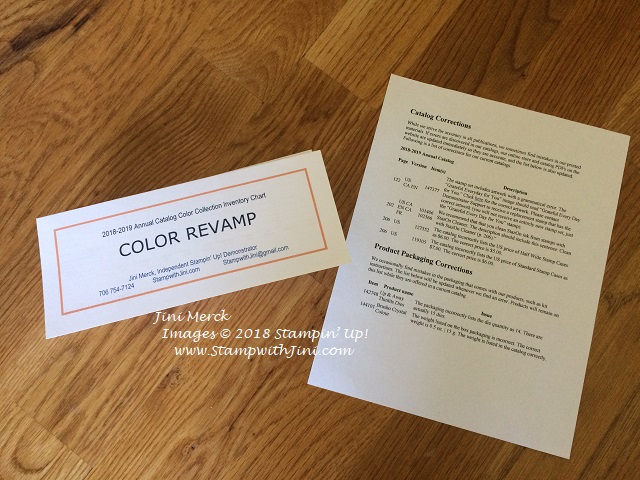
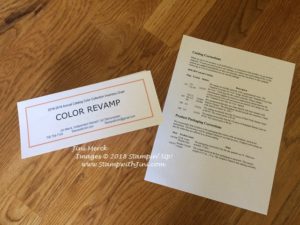
Everyone received a sweet treat, 2018-2020 In Color Book Mark, a Color Revamp Inventory Sheet in addition to a Shopping List, Catalog Corrections sheet, Catalog, and of course their Project supplies.
I thought you might want a couple of these things too. You’ll want to be sure to check out the Catalog Correction Sheet so you can mark your catalogs since there are some wrong prices listed in the 2018 Catalog.
Here you go – So you can print them off for yourself
2018 Annual Catalog Corrections PDF
2018 Color Revamp Color Collection Inventory Chart PDF
This chart includes Ink pads, refills, markers, blends, spots and card stock of both sizes! Simply print this off on a piece of Whisper White Card stock (double sided) and then score at the 3 5/8″ and 7 3/8″ marks along the long edge. It will fold easily into what you see above that way, and you can carry it along with you or tuck into your craft bag.
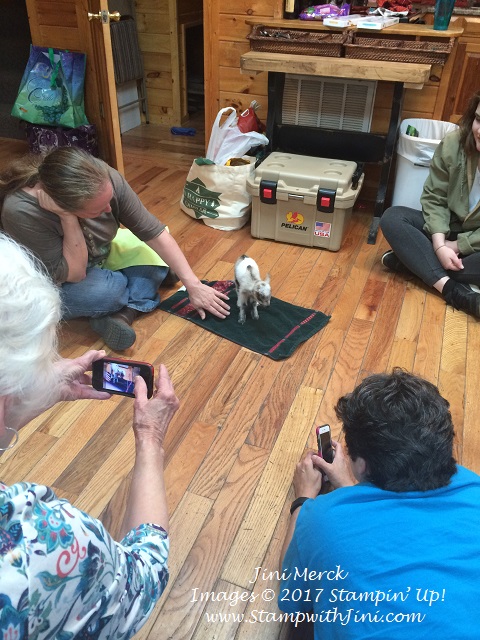
And of course – everyone got to stamp with the new colors and stamps!
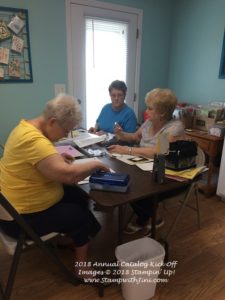
It was a fun afternoon. Everyone seemed to enjoy the projects so much I thought I’d share them with you.
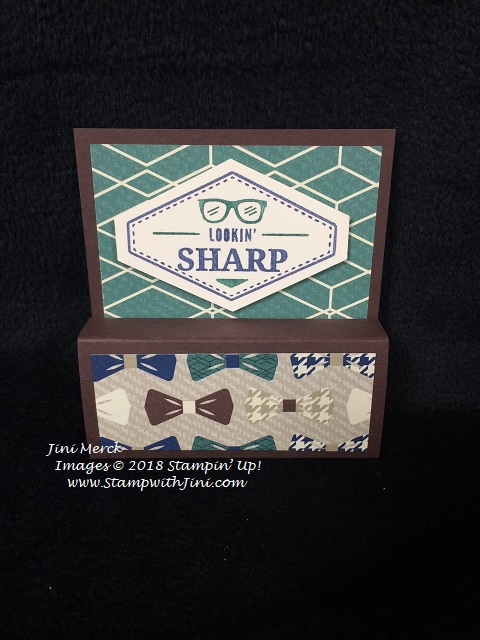
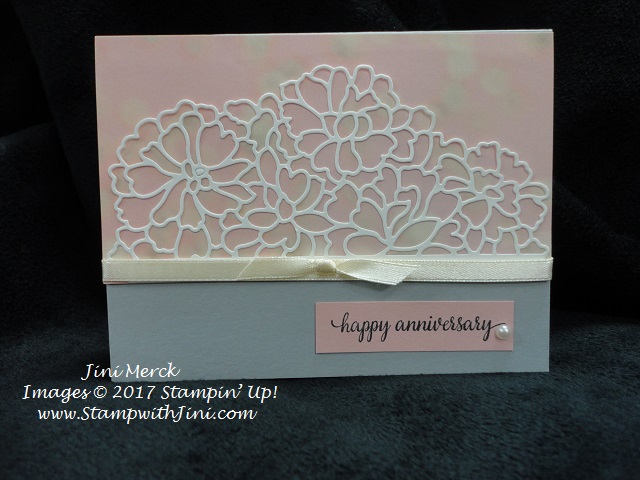
This NEW In Color just makes me smile-
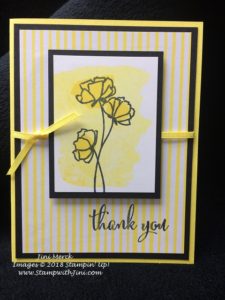
Done in the bright and cheerful Pineapple Punch! How can you not love this cheerful In Color? This card is quick and easy to do. Why not check out my tutorial below and make some yourself?
Love What You Do Card Tutorial PDF
And here is the supply list for you.
Supplies:
Stamps: Love What You Do (148042)
Ink: Pineapple Punch Classic Ink (147141) and Memento Tuxedo Black ink (132708)
Accessories: Pineapple Punch 1/8” Grosgrain Ribbon (146953)
Adhesives: Snail Adhesive (104332) and Stampin’ Dimensionals (104430)

Click here to order your Stampin’ Up! Products online 24/7! (US only)
Shop at my Online Store and use Host Code NKUW9P96, place a qualifying order of $50 and you’ll receive a FREE Gift from me!
Click Here to learn more about using the Hostess Code If you order Online make sure your profile information is up to date and you’ve allowed me to contact you
Sign up for my FREE Newsletter My Newsletters include stamping tips, tutorials, ideas and updates on what is happening with me!
How Do You Get a 2018 Annual Catalog?
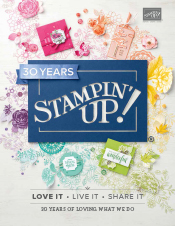
Don’t have a Demonstrator? Email me at StampwithJini@gmail.com include your name, address, and phone number and I’ll be happy to mail you one.