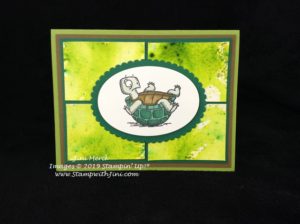
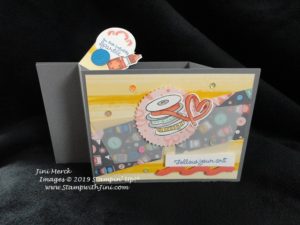
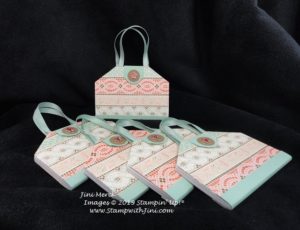
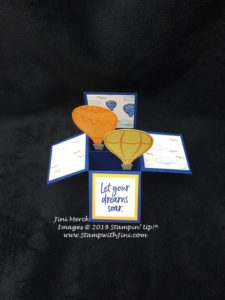
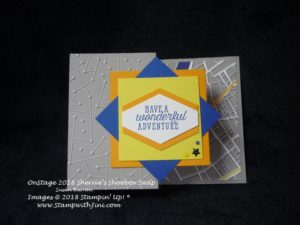
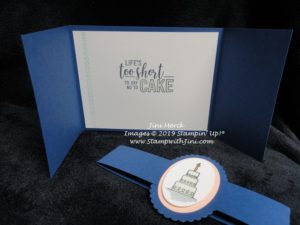
Today’s card is one that I created to share along time ago but it got buried on my desk, ugh. But that means you’re in luck today since I’m sharing it today. LOL!
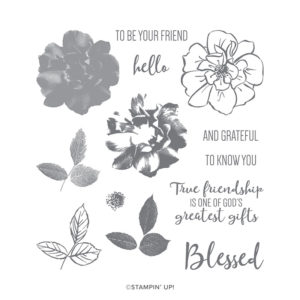
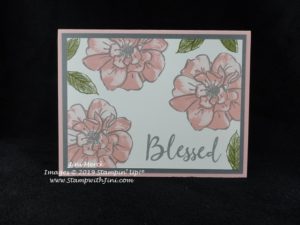
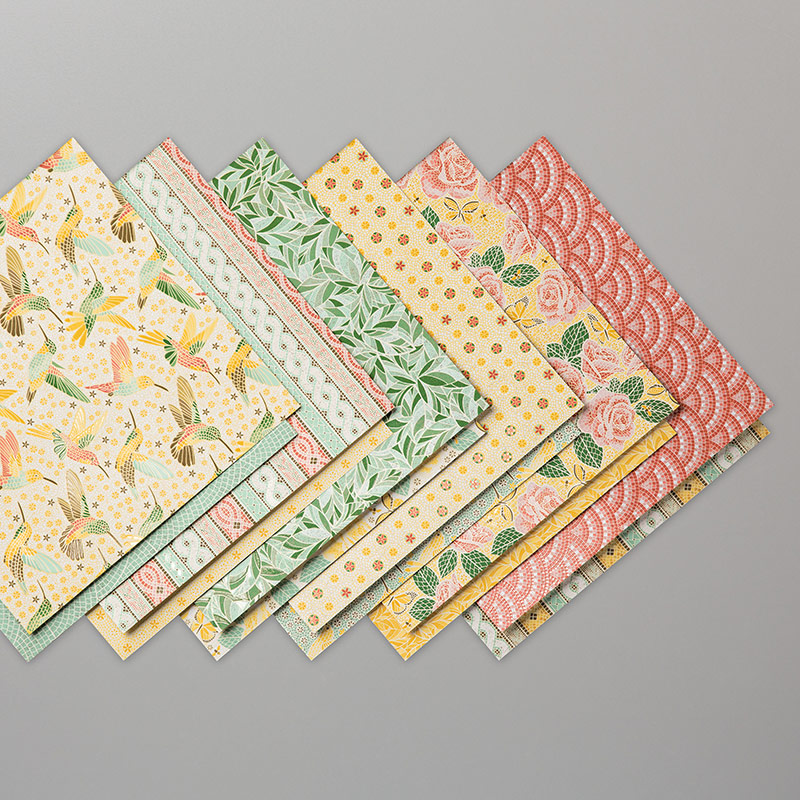
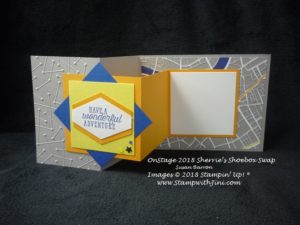
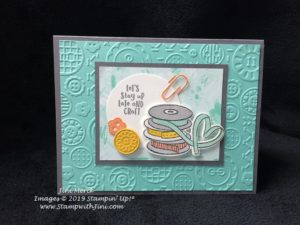
The card uses the Follow Your Art Suite of Products that can be found on page 53 of the Annual Catalog – this Suite is filled with wonderful products that speak to me since I’m a life long crafter of all kinds of crafts, starting as a child with learning how to embroider. Remember those iron on x patterns for our first samplers? I think my first project was a pillow case edge. How about you? What was your first project?
I love the fact that this Suite contains different kinds of crafting images and items – perfect for all kinds of crafters young and young at heart.

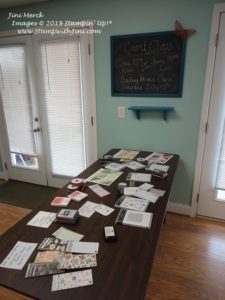
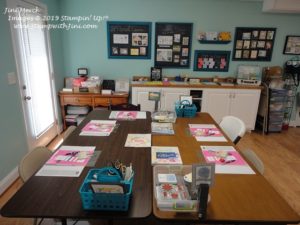
Any how here is my project that I created for my OnStage Team event back in April.
And how about a video too?
It Starts with Art Card Video Tutorial
And here is the printable PDF Tutorial
It Starts with Art Card Tutorial PDF
Enjoy!
Supplies:
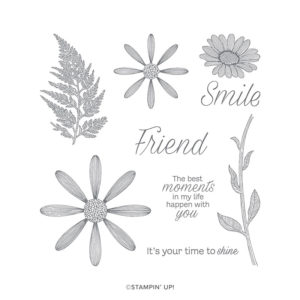
Stamp Set: It Starts with Art (*149303)
Inks: Basic Gray Classic Ink (149165), Memento Tuxedo Black Ink Pad (132708), Daffodil Delight Dark (144585), Calypso Coral Light (144042), Smoky Slate Light (145054), and Pool Party Dark Stampin’ Blends (144594)
Paper: Follow Your Art Designer Series Paper (149489), Coastal Cabana (131297), Grapefruit Grove (146972), Crushed Curry (131199), and Whisper White Card stock (100730)
Accessories: Button Button Embossing Folder (149581), Arts & Crafts Dies (*149580), Clear Wink of Stella (141897), and 2″ Circle Punch (133782)
*It Starts with Art Bundle (151090)

Click here to order your Stampin’ Up! Products online 24/7! (US only)
Shop at my Online Store and use Host Code WX4Y4NHB Place an order with me and use this host code get a FREE Gift from me!
If your Online order is $150 or more make sure not to use the host code so that you can take advantage of the Host Benefits yourself – No worries, I’ll still send you your free gift.