About Stamp with Jini

My name is Jini Merck and I'm a Stampin' Up! Independent Demonstrator. I love being a Stampin’ Up! demonstrator, not only do I get to be creative every day, I also get to be a creative coach, offering fresh project ideas and encouragement to my customers and friends. For me, helping someone create that perfect project for a special occasion is the best feeling in the entire world. After all, creating cards, scrapbook pages, and gift items is about more than just stamps and ink—it’s about sharing a part of yourself with the people in your life. I live in Clarkesville which is in the North Georgia Mountains with my husband and two children. Although my family keeps me busy I enjoy the creativity of stamping and crafts and the fellowship stamping brings into my life. Spending time creativing cards and gifts for friends and family has been one of my favorite hobbies over the years.

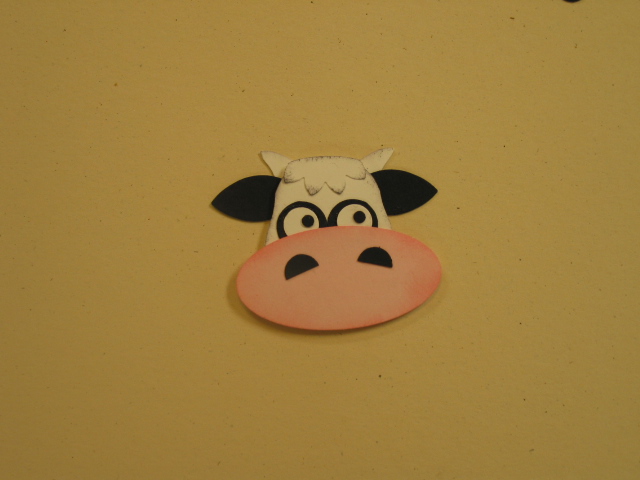
Got Milk? Cow Punch Art

As promised yesterday when I showed you my Got Milk? swap from my friend Cindy, I worked on a tutorial for this cute little guy. If you want to see the whole project you can click HERE to see yesterday’s post.

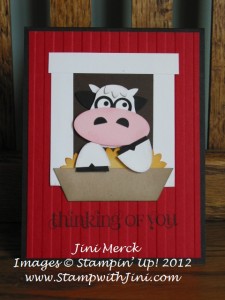
I had the best time yesterday putting together this Cow Punch Art Tutorial for you that even my daughter enjoyed watching the process. As I was putting my little guys together with my fingers covered in my Multipurpose Liquid Glue, I could envision this little feller in one of those great big red barns from my youth.  (No, you’re not alone; I’m not the neatest at gluing tiny pieces together either. Especially since I forgot my “sticky stick” Tip! More later about my Sticky Stick and how to make your own.)

So, I was inspired to create this Cow Punch Art card. My son, Johnathan, when he saw the card said “barns are brown Mom, not red”. I guess he’s right whether it is because we live in Georgia or they just don’t build barns like that any more. The ones I remember from my childhood in Wisconsin were red.

What do you think of my card? I think next time I would make the inside window color Basic Grey not Early Espresso that might make my Cow Punch Art pop a bit more, what do you think? Would you leave me a comment and let me know? I’d love to hear from you – and it would make my day to know that someone out there is looking at my new blog…..

Supplies:

Stamp Set: Curley Cute

Inks: Basic Black, Pretty in Pink, More Mustard, and Basic Grey

Paper: Basic Black, Real Red, Crumb Cake, So Saffron, Pink Pirouette, Early Espresso

Accessories: Big Shot, Stripes Embossing Folder, Paper Snips, Owl Builder, Boho Blossoms, Blossom Petals Builder, and Large Oval Punches, Stampin’ Sponges and Multipurpose Liquid Glue

If you love these little guys too – here is my FREE Cow Punch Art Tutorial on how to make them.

Cow Punch Art Tutorial

Supplies:

Whisper White card stock

Basic Black card stock

Pink Pirouette card stock

Basic Grey card stock

Basic Grey Classic Ink

Pretty in Pink Classic Ink

Stampin’ Sponges or Sponge Daubers

Owl Builder Punch

Boho Blossoms Punch

Blossom Petals Builder Punch

Large Oval Punch

2 3/8″ Scallop Circle Punch

Multipurpose Liquid Glue

Dimensionals

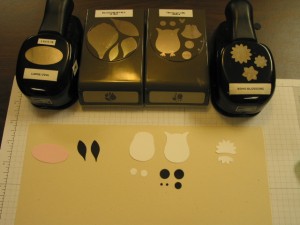
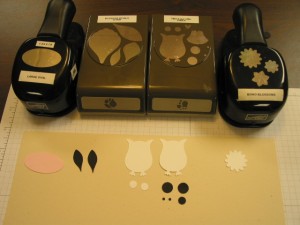
Punch out the following pieces –

Using the Owl Builder Punch and Whisper White card stock, punch 2 bodies and 2 medium circles. Then punch 2 large circles, 1 medium circle, and 2 small circles in Basic Black.

Punch one large flower out of Whisper White card stock using the Boho Blossoms Punch.

Punch 1 Large Oval from the Pink Pirouette card stock.

Finally punch out two of the smallest petals in Basic Black using the Blossom Petals Builder Punch.

You should now have punched out what looks like this:

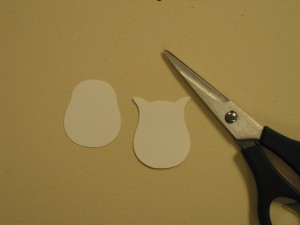
Using the owl pieces trim off the ears from one owl. Then trim off both sets of feet. You can just follow the curve when doing this.

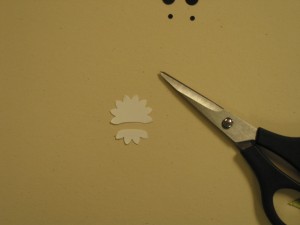
Next take the Boho Blossom and cut off 4 petals. Cut using a slight curve to match the top of the owl’s body.

You should now have what looks like this:

and now you are ready to start assembly on your adorable little feller.

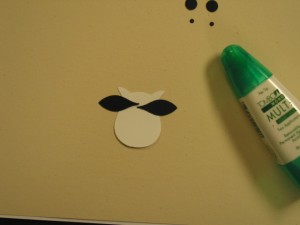
Using the owl body that still has its ears, attach the two Basic Black petals just below the ears on either side. Look mom ears!


Set this aside to dry.

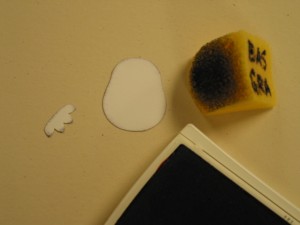
Next, sponge the edge of the cow’s face and Boho Blossom petals using Basic Grey and a Stampin’ Sponge.

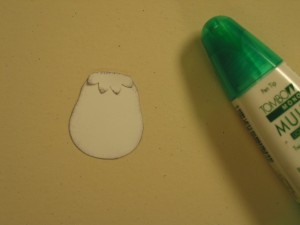
Attach Boho Blossom petals to the top of cow’s head.

Voila hair!

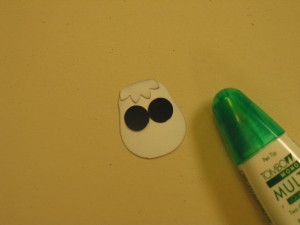
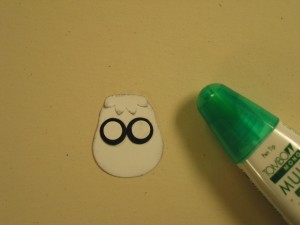
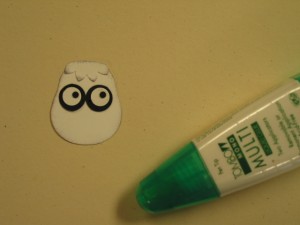
Then attach the large black circles so they touch,

Attach the medium white circles next,

And finally the small Basic Black circles to complete your eyes. Finally the little guy can see!

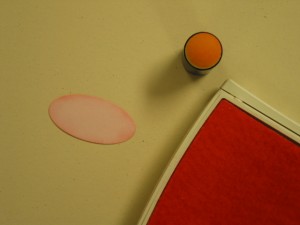
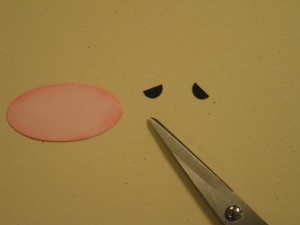
Now for his nose – Sponge the edges of the Pink Pirouette Large Oval piece using Pretty in Pink Ink.

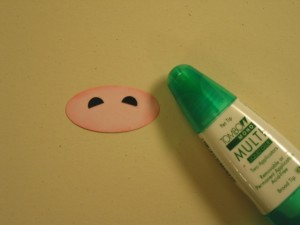
Take the medium Basic Black circle and cut it in half.

Attach the pieces to the nose.

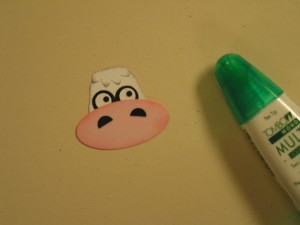
Attach the finished nose to your cow’s face.

Ahhh, take a deep breath. You’re almost done.

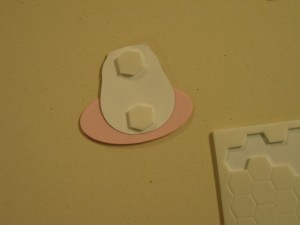
Allow this to dry if needed. Flip the finished piece over and attach 2 Dimensionals to the back.

Then attach this to the top of the piece with the ears – and voila’! You have an adorable little guy to use on your next project.

By the way, here’s a little helpful hint to make things a little less sticky along the way.  Make your own “sticky stick”. All you need is a little bit of Multipurpose Liquid Glue, your Silicone Craft Sheet and a tooth pick. Put a little drop of glue on to your Silicone Craft sheet. Roll your tooth pick in it and allow it to dry. Voila’ your very own “sticky stick”.

By the way, in case you didn’t know, our Multipurpose Liquid Glue is a great deal because it is a 2-way glue. When applied wet it adheres with a very strong bond. When allowed to dry first, it acts like a repositioning adhesive. How cool is that?

Did you enjoy this Cow Punch Art Tutorial? Why not join me in my Virtual Club and get exclusive Tutorials every month just for you. Click HERE for more information.

Got to go – it’s almost lunch time. Anyone Got Milk?

Click here to order your Stampin’ Up! Products online 24/7! (US only)

Got Milk?

Got Milk? This slogan reminds me of my childhood, where “got milk” was a given – since after all, I lived in Wisconsin. Dairy products were a given and those black and white cows dotted our pastures.

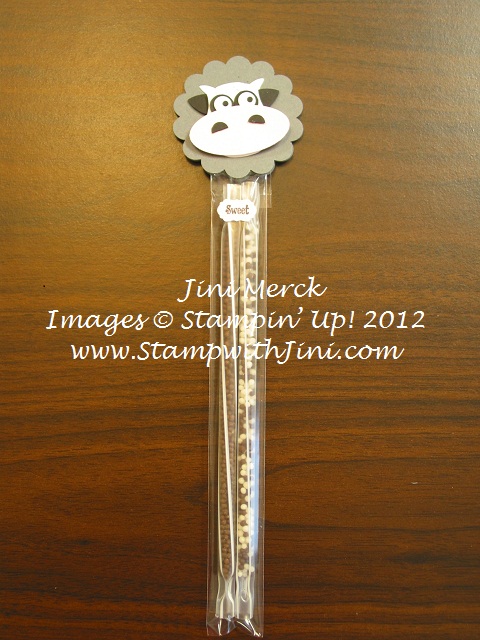
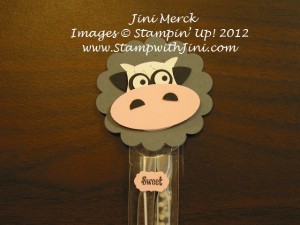
So when my friend Cindy brought this cute little punch art cow to our last Team Meeting it brought a smile to my face. Isn’t it cute?

Inside her 1×8″ Cello Bag that is topped with the punch art cow are two Magic Milk straws that flavor your milk while you sip. How fun is that!

Come back tomorrow and I’ll show you how she made this cute little punch art cow. See you then!

Click here to order your Stampin’ Up! Products online 24/7! (US only)
NEW Digital Downloads for Tuesday!

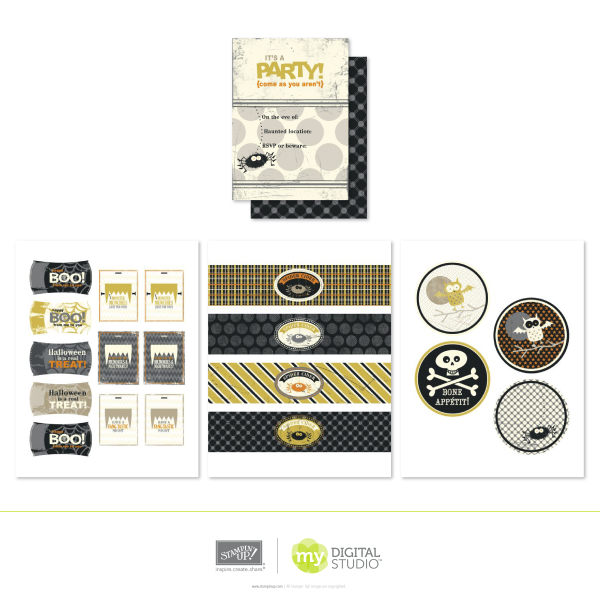
It’s Tuesday and that means NEW Digital Downloads for MDS2! I think you are going to love the new holiday themed Downloads that are available today – there is something for everyone!

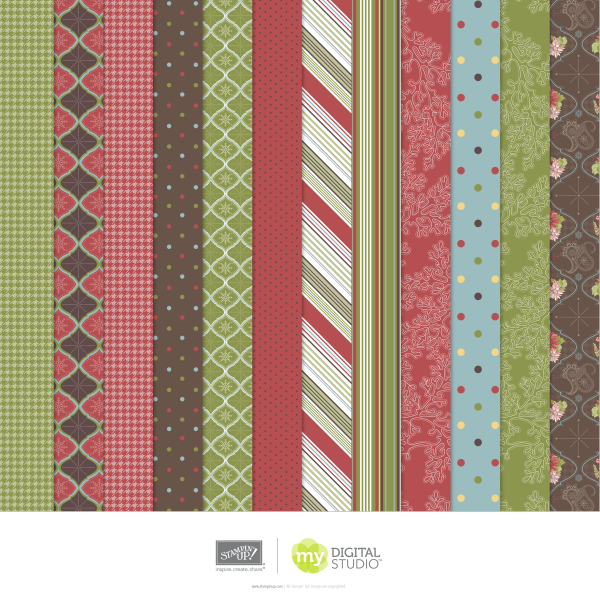
With Halloween around the corner the NEW Sophisticated Spooks Ensemble may be your choice. It comes with templates for an invitation, banner, coasters, treat toppers and more; 27 piece stamp brush set, 6 DSP patterns; 10 embellishments; and 3 punches all for just 14.95!

And with our print special of 31% off until September 14th! It’s a perfect way to make your Halloween get together quick and easy.

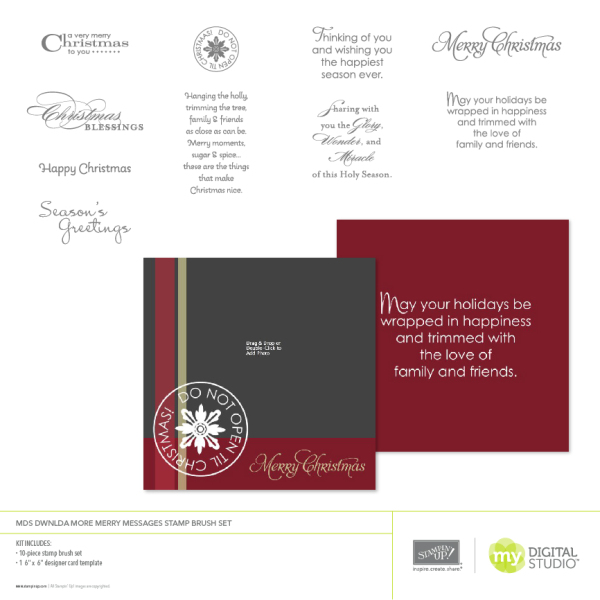
There are several NEW Downloads available for the Christmas holidays which include More Merry Messages, Holiday Celebration Punches, and Holiday Treasures II DSP.

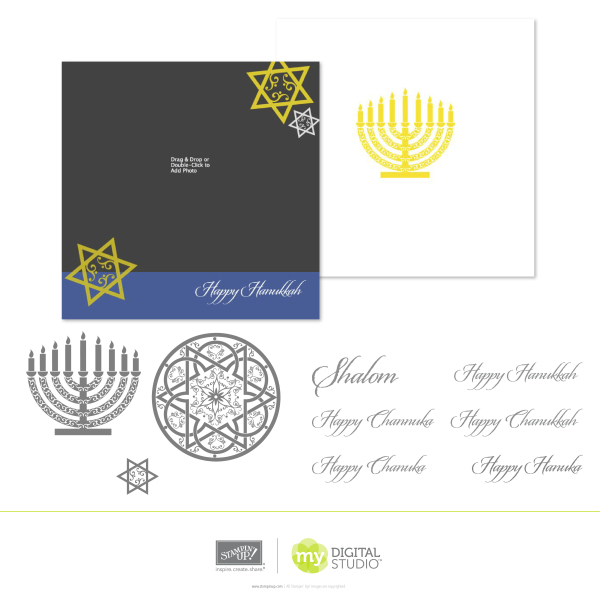
And for our Jewish friends – Jewish Celebrations Stamp Brush Set!

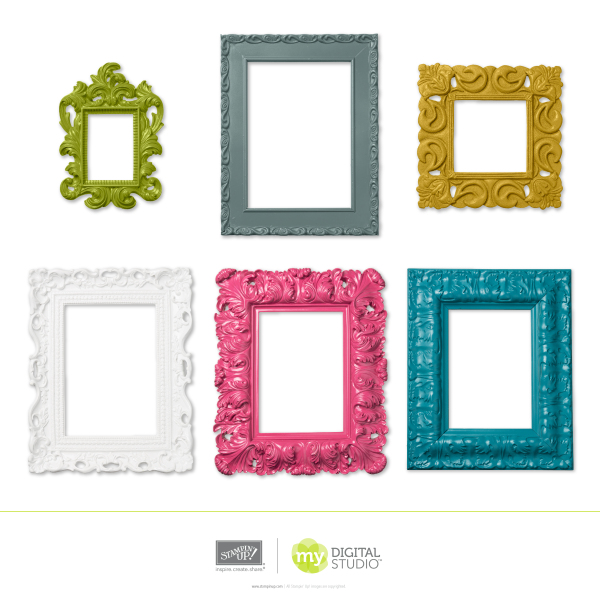
Not thinking about the holidays quite yet – How about Fancy Frames? Six beautiful frames to highlight your special projects!

You can see these and more Digital Downloads at http://mydigitalstudio.net/ along with wonderful projects, tips and tech help or you can view all the Digital Downloads at my Online Store.

Click here to order your Stampin’ Up! Products online 24/7! (US only)
Fun with Googly Ghouls

Boy, it seems like all I’ve been doing is running at warp speed lately with all the things going on around here. So I wanted to slow it down a bit and share some of the things that I’ve been stamping. Fall is one of my favorite times of year. The days start to cool a bit, school is all new and exciting for the kids and the holidays are around the corner.

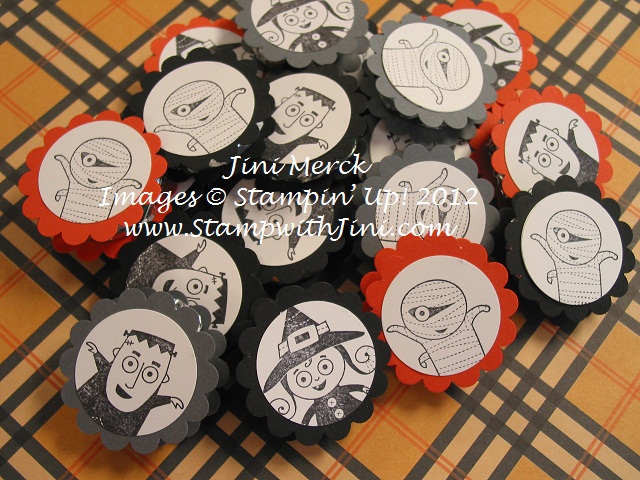
I love to make little treats for people so when I recently held a class with a new group of ladies and wanted to give them a little something special. Chocolate is always a winner, so I pulled out my NEW Holiday Catalog stamp set Googly Ghouls and got to work. This stamp set is just a lot of fun to work with. The images are sooo cute and full of humor – who can resist.

The Googly Ghouls Stamp Set can be purchased as part of a bundle or alone and have our NEW Googlies adhesive backed googly eyes that coordinate with them and bring them to life.

For this project I kept it simple and just stamped the Googly Ghouls images in StazOn Black on Whisper White card stock and then used my 1 3/8″ and Scallop Circle punches. I just love our punches they make things so quick and easy to do!

I think these little Googly Ghouls peppermint patties turned out super cute. The girls liked them on Thursday night – how about you?

P.S. Thankfully my hubby wasn’t home so I was able to get a shot of the chocolate before they were all gone!


Click here to order your Stampin’ Up! Products online 24/7! (US only)
By the Seashore

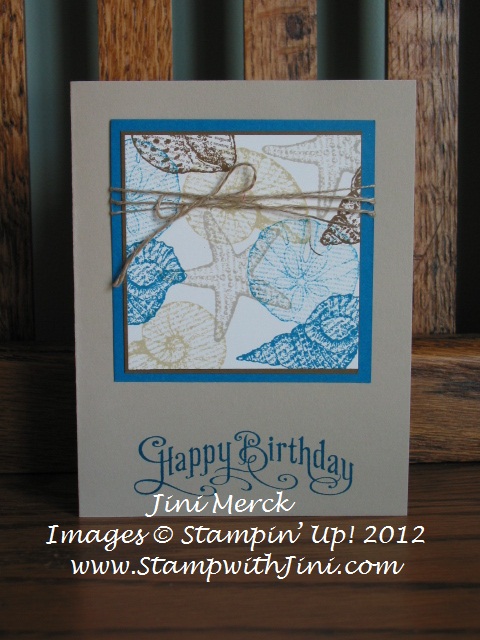
This summer I spent some time with my daughter visiting my sister and her husband in Texas. We made a lovely day trip to Galveston and played in the surf for a while. Part of the fun that day was the ride we took on the ferry and looking for sea shells on the beach. So when my friend Teresa gave me this card made with By the Seashore in a recent swap I was tickled. It reminded me of those wonderful memories.

By the Seashore is a great stamp set and the images are bold which makes it a perfect set to do all kinds of techniques with. I love the colors Teresa chose to use when she designed this card it makes me think of the colors of the ocean and the Linen Thread adds some texture.

So the next time you need to relax and get away why not stamp a little scrapbook page or card with our By the Seashore stamp set? It’s sure to bring back those vacation memories.

Supplies:

Stamp Set: By the Seashore and Perfectly Penned

Inks: Pacific Point, Soft Suede, River Rock, Crumb Cake

Paper: Pacific Point, Soft Suede, River Rock, Crumb Cake

Accessories: Linen Thread


Click here to order your Stampin’ Up! Products online 24/7! (US only)
Holiday Keepsakes Ornament Class

Do you love the ornament on the front of the Holiday Catalog as much as I do? Would you like to learn how to make them for yourself? Did you answer YES to either of these questions? If so I’ve got a special Class just for you.

When you sign up and pay for this class not only will you get to learn how to make these wonderful ornaments, but you’ll get to take home the Ornament Keepsakes Stamp set in your choice of either wood or clear, The Holiday Ornaments Framelits and our NEW Silicone Craft Sheet.

But wait, it gets better. Do you love the NEW Snow Flurry Die? It’s a must have in my book. I was drooling over it as soon as I saw it.

When you add the Snow Flurry Die to your class I’ll give you a FREE tutorial for the (small and medium) Ornaments on page 3 of the Holiday Catalog!

Sound interesting? Want to know the details?

First choose which Ornament KeepsakesStamp bundle you want; Wood or Clear Stamps.

  •  Wood Stamp Set Option $73
  •  Clear Stamp Set Option $65
  •  Wood Stamp Set with Snow Flurry Die Option $91
  •  Clear Stamp Set with Snow Flurry Die Option $99
  • Then email me at StampwithJini@gmail, or call me at (706) 754-7124 to pay for your Class before Monday, October 15th at 8 p.m. so that I can have your bundle here and ready for you at class time.
  • Make sure to let me know which Class time works best for you so I can hold your spot.

A New Bundle Offer for this class  is being offered due to the new Bundle Promotion that began October 1st.

Now you really can have it all. Get your Ornament Keepsakes Stamp Set (wood or clear), Holiday Ornament Framelits, our NEW Silicone Craft Sheet, Candlelight Christmas Specialty DSP and a FREE Festive Paper-Piercing Pack in addition to learning how to make these wonderful ornaments during my class!

  • Wood Stamp Set Option & DSP $85
  • Clear Stamp Set Option & DSP $77
  • Wood Stamp Set, DSP & Snow Flurry Die Option $112
  • Clear Stamp Set, DSP & Snow Flurry Die Option $103

There are two days to choose from.

  •  Sunday, November 4th at 2 p.m.
  •  Tuesday, November 6th at 6 p.m.

That’s it – yes it’s that easy, so why not sign up for the Holiday Keepsakes Ornament Class today!

Card Buffet Being Offered

Why not join in the fun and get some cards made for your up coming special occasions. You’ll make 4 All Occasion cards for $12. There will be 8 different designs to choose from.

You’ll be working at your own pace and can customize your sentiments. Additional cards can be made for $2.50 each as time allows . All supplies are included except Snail Adhesive.  Bring a NEW friend and earn FREE cards!

Click HERE to see my Calendar of Events and more information.

Tuesday’s NEW MDS Downloads

Are you looking for some NEW digital downloads to play with? If so why not check out the latest My Digital Studio digital downloads just released today. There are some wonderful autumn themed offerings along with a new calendar template.

Here is one of my favorites – it coordinates with our New Monster Munchies stamp set from the Holiday Catalog. What a great way to have everything together and easy to create for any Halloween event.

The Monster Munchies Ensemble comes with postcard and décor template (invitation, treats, coaster); 14 piece SVG stamp brush set; 16 embellishments and includes 7 DSP patterns you’re going to love!


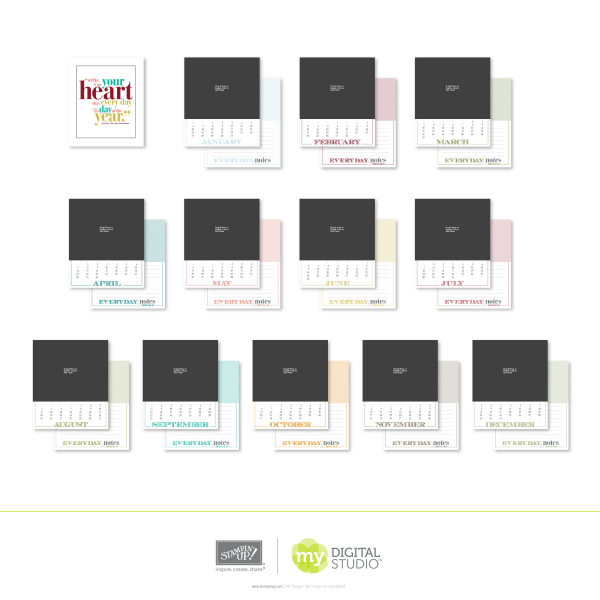
Need a quick Easel Calendar? How about our Best Day 2013 Template? With our print special going on right now what a great way to get started on your holiday gifts and save money too!

The Best Day 2013 Easel Calendar Template download includes 26 page easel calendar template; 18 piece SVG stamp brush set; and 12 embellishments

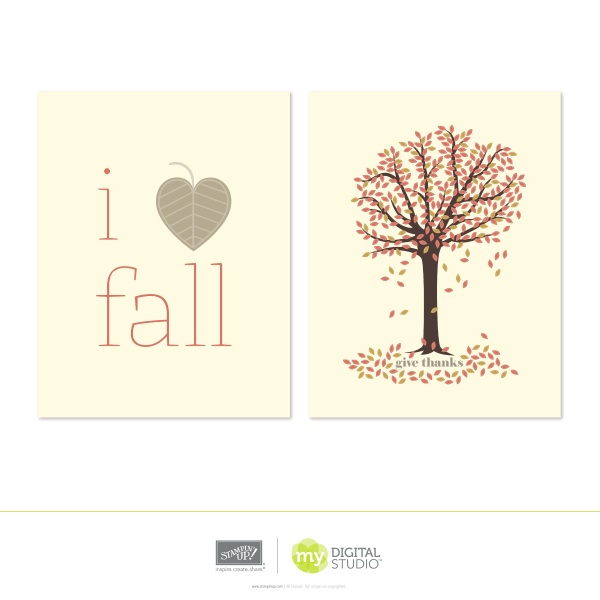
Also available our Give Thanks Frameable set which includes our new SVG brush set for MDS2 – Giving you great versatility when making your choices.

The Give Thanks Framable Set includes 2 décor templates; 5 piece SVG stamp brush set and 2 embellishments.

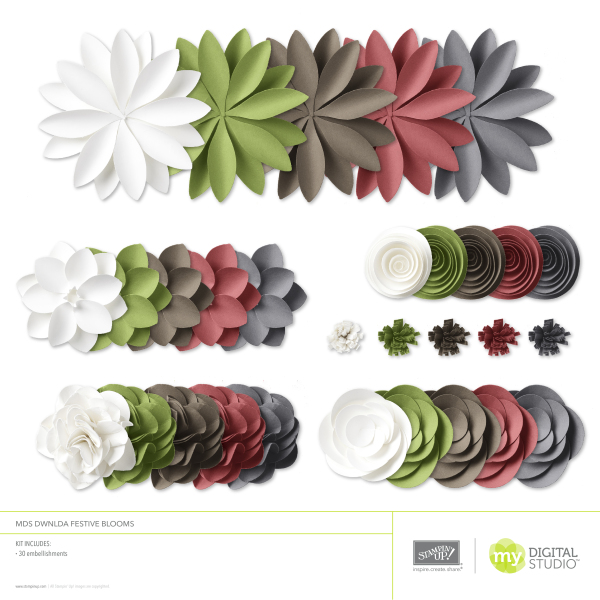
Festive Blooms – who doesn’t love these wonderful flower embellishments?

Festive Blooms includes 30 embellishments in Basic Gray, Cherry Cobbler, Early Espresso, Gumball Green and Whisper White and for just $4.95 it is a deal!

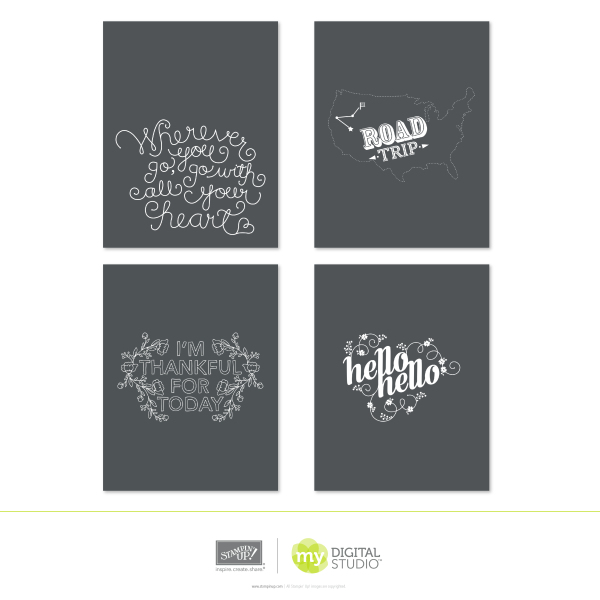
The Wherever You Go Stamp Brush Set (includes 8 SVG pieces)

And the last two digital downloads are from our Holiday Catalog.

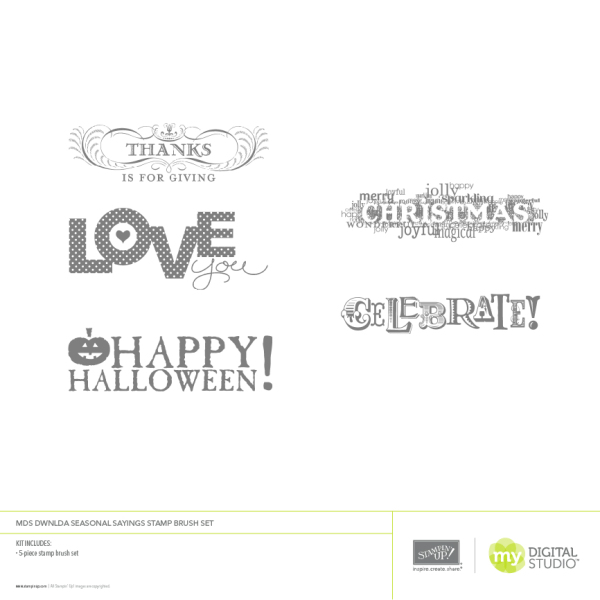
Seasonal Sayings Stamp Brush Set (includes 5 SVG pieces)

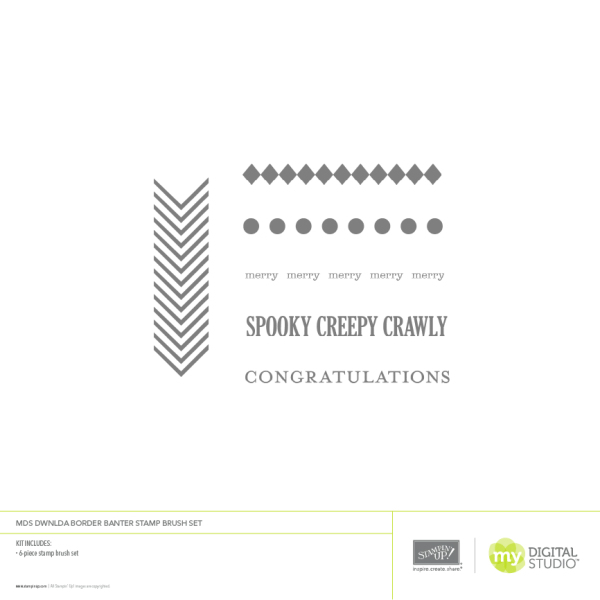
Border Banter Stamp Brush Set (includes 6 SVG pieces)

You can check out these NEW Digital downloads along with others by clicking HERE

Want to learn more about our MDS2 FREE 30 Day Trial? Click HERE

Remember, you can even take advantage of our 31% off on printing when you use the MDS2 FREE 30 Day Trial.

Click here to order your Stampin’ Up! Products online 24/7! (US only)
It’s Back to Spool!

While the kids are heading back to school, Stampin’ Up! is going to to “spool”! For the month of September, you’ll get a FREE package of 3/8″ Stitched Satin Ribbon – an $8.95 value – for every $40 you spend!

Item Description

Retail   Value

126848

Gumball Green 3/8″ Stitched Satin Ribbon

$ 8.95

126847

Midnight Muse 3/8″ Stitched Satin Ribbon

$ 8.95

126844

Primrose Petals 3/8″ Stitched Satin Ribbon

$ 8.95

126845

Raspberry Ripple 3/8″ Stitched Satin Ribbon

$ 8.95

126846

Summer Starfruit 3/8″ Stitched Satin Ribbon

$ 8.95

The Fine Print

  • Any order type order qualifies for this promotion-customer, workshop, or online.
  • This promotion has no limits-for every $40 you spend, you’ll get a free package of  3/8″ Stitched Satin Ribbon. Go crazy!
  • Sorry-hostess dollars don’t count toward this promotion.

Although we’re pretty sure we’re not going to run out of ribbon, if everyone orders the same color, like Summer Starfruit (you know how we love Summer Starfruit at the Stampin’ Up!), and we run the risk of going on backorder, I’ll let you know. So, just like your mom always told you-be sure to check in once in awhile!

Click Here to if you want to see more about our current promotions

Here is a fun video I wanted to share with you!

Click here to order your Stampin’ Up! Products online 24/7! (US only)