Team Time = Fun Time

Yesterday I held my monthly team meeting and we had a blast playing with the Brusho Crystal Colors and learning 4 Brusho techniques together.

We also celebrated those promotions to Bronze Elite with a team gift – a team charm bracelet.

and our challenge winners from the past three months with rewards.

And of course we had to have some drawing winners too!

Those that had their names drawn got to pick out a little something from the prize basket – Always a hit.

Of course sharing is a big part of our team meeting and so I thought I’d share the swaps.

This first project is a little book mark that uses the Friendship’s Sweetest Thoughts stamp set (145823/145826) done is soft sweet colors.

and here is the back

This bookmark is magnetic so it opens to slide over the page. Love the soft colors for spring.

And this one will dazzle you LOL!

made with the Myths & Magic Specialty Designer Series Paper (145600) and Glimmer Paper (145601). Do you recognize the sentiment? It’s from our Pocketful of Sunshine Stamp set (143719).

And how about this sweet little box?

The cut out is from our Rainbow Builder Framelits Dies (145659) and the rose is made with our 1 3/8″ Scallop Circle Punch (146139). Sweet right?

I’ve got the greatest group! I really love the time I get to spend with them and feel very lucky that each and everyone of them chose to join the my team the Blue Mountain Stampers! Want to know more about us? Click HERE to learn about my Team.

Don’t forget to stop back by tomorrow when I’ll be sharing some more swaps with you!

Click here to order your Stampin’ Up! Products online 24/7! (US only)

Shop at my Online Store and use Host Code 36G9DRMX


Click Here to learn more about using the Hostess Code If you order Online make sure your profile information is up to date and you’ve allowed me to contact you

Want a 2018 Annual CatalogI’ll be ordering these catalogs for my customers next month as they will ship in May.   If you have ordered a minimum of $50 from me in the last 6 months you’ll receive a catalog from me.  If you’re unsure if you’ve ordered $50, you can contact me or login to my online store and check your order history. (Please remember you’ll want to make sure your mailing address is up to date and that I can contact you.)

Easter Treat Tent Tutorial & More

Today’s project is a quick and easy punch bunny treat that holds Lindt Lindor Chocolate bar.

Cute right? I love the way we can use the Cookie Cutter Builder Punch and coordinating stamp set to create this cute little bunny!

Here is a tutorial for you with the supply list so you can make your own little treats!

Punch Bunny Sweet Soiree Treat Tent Tutorial (printable) PDF

And you can click here to see my video tutorial on how to make my Painted with Love Treat Tent Tutorial from an earlier post.

Count Down for Sale-a-bration

We are just 2 days away from the end of Sale-a-bration! So I thought I’d share some wonderful swaps that I’ve received to inspire you using some of my favorite products from Sale-a-bration.

These first cards are made with the Party Pandas stamp set – one of our most popular Sale-a-bration choices.

This next card is made with the Lots of Lavender stamp set.

And these next two cards are made using our Celebrate You Thinlits Dies – one of our $100 choices

I love how this one uses our Sale-a-bration choices – Bubbles & Fizz Designer Series Paper

And finally – Beautiful Peacock done in Island Indigo and Bermuda Bay – yes you spotted our wonderful Shimmer Ribbon Pack. This ribbon is beautiful and comes in 3 widths as well as colors in this FREE Sale-a-bration option.

The good news is you still have time to earn your FREE Sale-a-bration items since Sale-a-bration ends on March 31st at 11:50 PM (MT). Want to place an order? Or got questions? Please feel free to contact me at [email protected] or stop by my Online Store.

Click here to order your Stampin’ Up! Products online 24/7! (US only)

Shop at my Online Store and use Host Code 36G9DRMX


Click Here to learn more about using the Hostess Code If you order Online make sure your profile information is up to date and you’ve allowed me to contact you so I can mail you your FREE gift!

Quick & Easy Easter Treats!

Check out these quick and easy Easter Treats I whipped up yesterday using the We Must Celebrate stamp set – I really love this little bunny.

And the Teeny Tiny Wishes stamp set (128748/127802) is one of my favorites since it has a ton of sentiments and gives you something for every occasion!

I used our 2″ x 8″ Cellophane Bags (141703) and filled it with Hershey’s Nuggets that I wrapped strips from the Naturally Eclectic Designer Series Paper (144185).

A quick wash with my Aqua Painter (103954) in Smoky Slate (131179) and Blushing Bride Classic Ink (131172) completed my bunny. For the topper I was inspired by the colors in the paper and used my Layering Circles Framelits Dies (141705).

And how about this little Treat Pouch filled with a Ghiradelli Blueberry Chocolate Square? Got to tell you these chocolates are yummy!

I used the Petal Garden Designer Series 6×6 Paper Stack (144168) since it is perfect for this project – no cutting and of course teamed it up with the Layering Circles Framelits Dies (141705) so I could get the full body of this little guy. A quick sentiment done in Old Olive Classic Ink (126953) and voila! done and ready for giving out this weekend!

You can see my video tutorial on how to make these little Treat Pouches CLICK HERE.

Enjoy! And then why not stop back by tomorrow when I’ll be sharing some more projects with you?

Click here to order your Stampin’ Up! Products online 24/7! (US only)

Shop at my Online Store and use Host Code 36G9DRMX

Click Here to learn more about using the Hostess Code If you order Online make sure your profile information is up to date and you’ve allowed me to contact you so I can mail you your FREE gift!

We Must Celebrate Easter Merci Chocolate Box Tutorial

I just received my We Must Celebrate stamp set and couldn’t wait to get started creating with these fun little animals. I knew I would love using the little bunny for creating Easter gifts for family and friends.

I knew just want I wanted to do with them after making this chocolate box for my team members (Click HERE to see the video tutorial). So today’s project is one I whipped up a bunch of for those attending yesterday’s card class as a little surprise.

And of course it holds what else? Chocolate of course! I’m really finding these Merci Chocolate quite yummy and fun to work with and am asking myself how I’ve over looked them for so long!

I love the soft spring feel of the Delightful Daisy Designer Series Paper when I ran across the package – so I used it to help choose the colors I used.

Wonder how I got just the bunny image? You could color it with Stampin’ Write Markers, or even mask the other section of the stamp off, but I cut the stamp apart. Yes, you heard me correctly – and for those of you who know me you know just how hard this was for me. LOL!

But I did it and am glad I did now, since it makes using this image so much easier AND when I want to stamp the group together I simply put it together on my clear block.

It didn’t affect the image at all when I stamped it, which made me very happy. The only thing I would do differently is cut the label before I apply it to the back of my clear mount stamp.

I’ve made a quick tutorial for you so you can make some too!

We Must Celebrate Easter Merci Chocolate Box Tutorial (printable) PDF

Enjoy!

Supplies:

 Stamp Set: We Must Celebrate (145895/145898) and Teeny Tiny Wishes (128748/127802)

Inks: Basic Black Archival Ink (140931), Powder Pink (144084) and Smoky Slate Classic Ink (131179)

Paper: Delightful Daisy Designer Series Paper (144137), Peekaboo Peach (141417), Wisteria Wonder (126985) and Whisper White Card stock (100730)

Accessories: Layering Ovals Framelits Dies (141706), Pretty Label Punch (143715) and Aqua Painters (103954)


Click here to order your Stampin’ Up! Products online 24/7! (US only)

Shop at my Online Store and use Host Code EKH3K3CF

Click Here to learn more about using the Hostess Code If you order Online make sure your profile information is up to date and you’ve allowed me to contact you so I can mail you your FREE gift!


Petal Palette Merci Chocolate Box

Recently I pampered my team with our Peak Princess event. I hold these events twice a year for those on my team who qualify by reaching certain goals. It’s a lot of fun and we always make special projects together.

Today’s project was a little gift that I gave everyone that coordinated with our projects that we made using the Petal Palette Bundle.

It was such a hit that I thought I’d share how to make them with you.

Petal Palette Merci Chocolate Box Video Tutorial


I’ve also create a companion PDF for you and the complete supply list below.

Petal Palette Merci Chocolate Box Tutorial (printable PDF)

And great news!

If you love this project you can earn the Petals and More Thinlits Dies (150048) for FREE during Sale-a-bration when you place a qualifying order. Check out our latest edition of FREE Sale-a-bration choices HERE. 

Remember you’ll need to use the special Sale-a-bration item codes when you add these to your order.

Enjoy!

Supplies: 

Stamp Set: Petal Palette (*145785/145788)

Inks: Powder Pink Classic Ink (144084) and Basic Black Archival Ink (140931)

Paper: Soft Sky (131203), Basic Black (121045) and Whisper White Card stock (100730)

Accessories: Petals & More Thinlits Dies (*145655), and Aqua Painters (103954)

Adhesives: Multpurose Adhesive Sheets (144106), Snail (104332/104331), Tear & Tape (138995), Mini Stampin’ Dimensionals (144108)

Other: small Velcro Dots and Merci chocolates

*Bundle 145972/145974

Click here to order your Stampin’ Up! Products online 24/7! (US only)

Shop at my Online Store and use Host Code J77CXF2F


Click Here to learn more about using the Hostess Code

Team fun

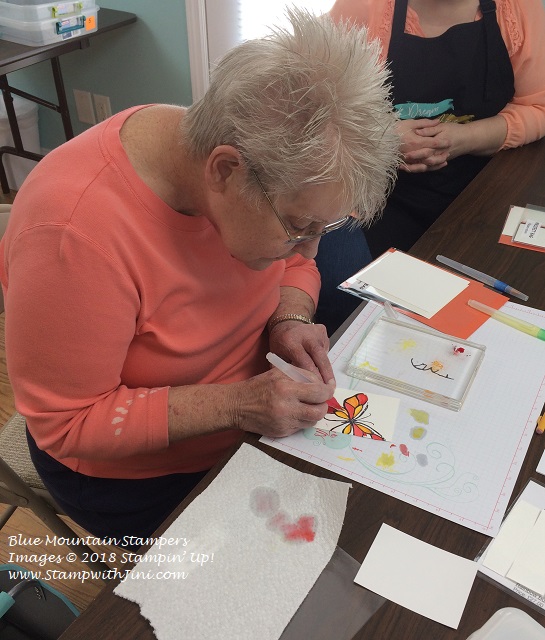
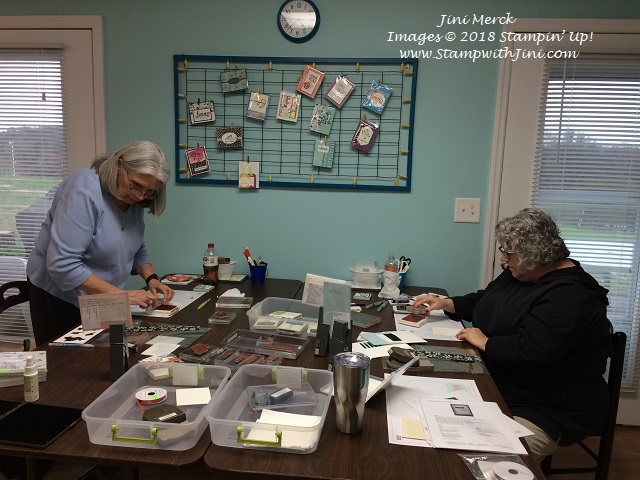
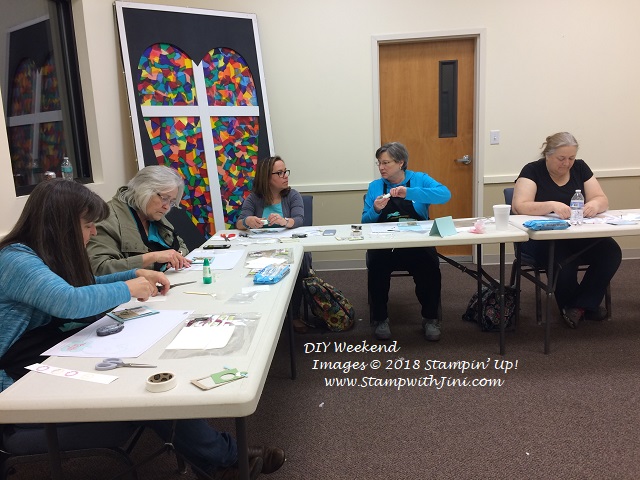
Last week my team and I gathered for our monthly team meeting. I really enjoy this time sharing and stamping together, so today I thought I’d share some of the team swaps with you. I also love seeing the projects that everyone chooses to make for their swaps – it’s always fun to see what they create and share!

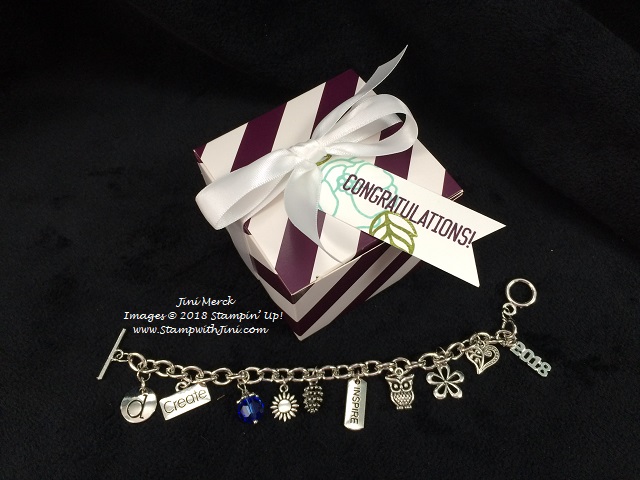
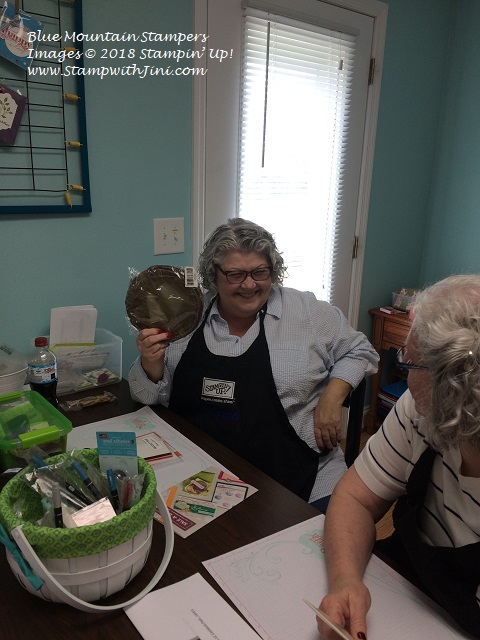
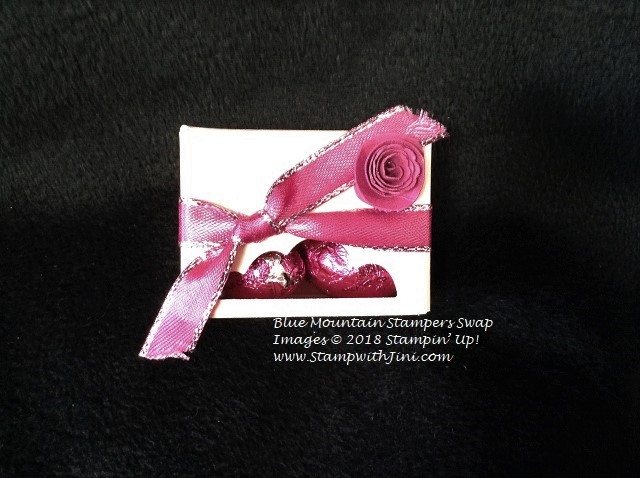
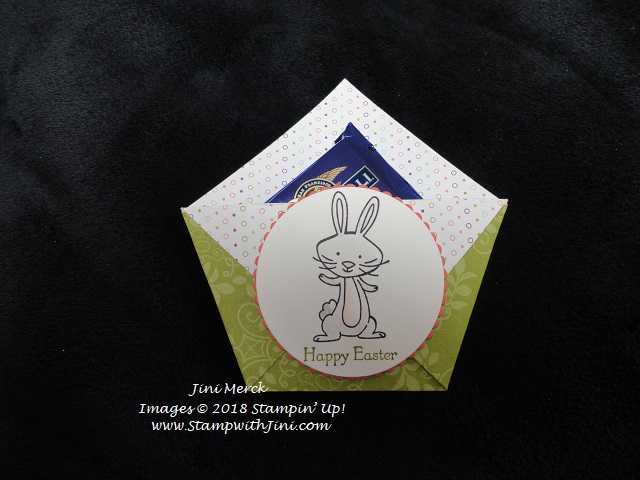
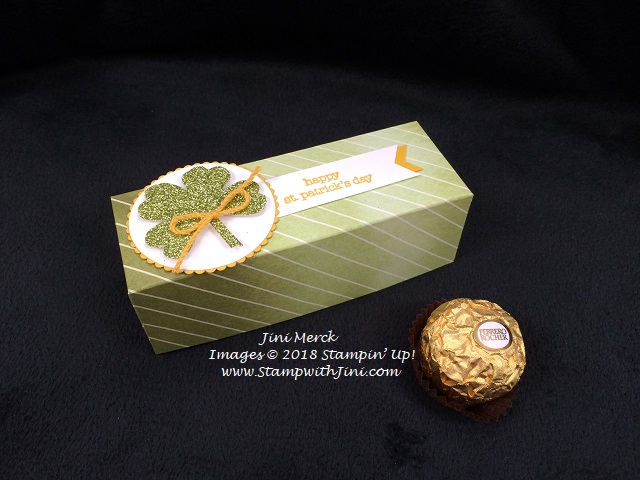
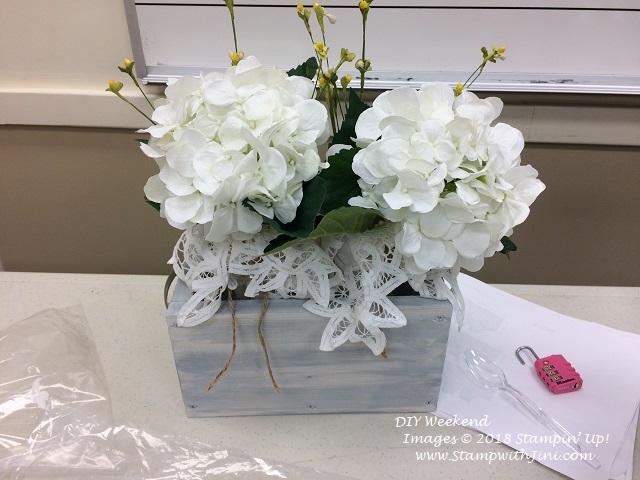
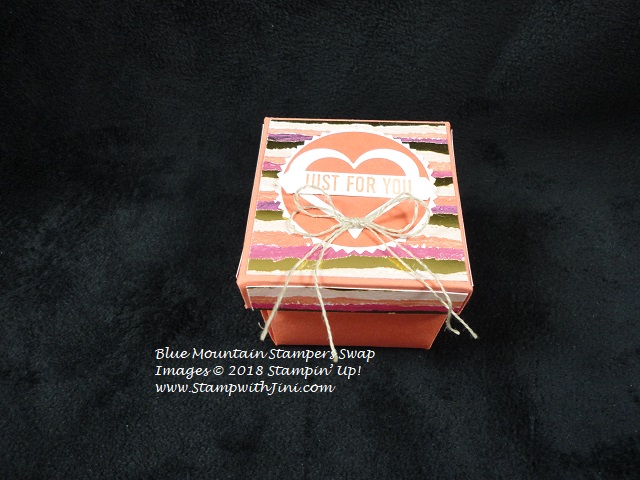
This first item is a beautiful box made with the Cake Soiree Suite of products  – and since the Sweet Soiree Designer Series Specialty Paper (145564) is a bit heavier, it’s perfect for this kind of thing.

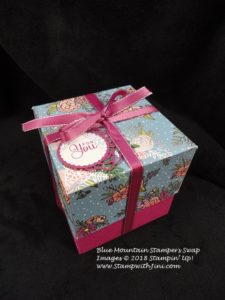
Beautiful, right? Deborah used the Cake Soiree Bundle (145816/147627) to create the tag. And color coordination was made easy since the suite includes a coordinating  Card stock Pack (145565) that contains 3 colors from the Designer Series Paper.

Love the ribbon? Berry Burst (145489) is one of my favorite In Colors and this ribbon with it’s silver edge is perfect for this bundle!

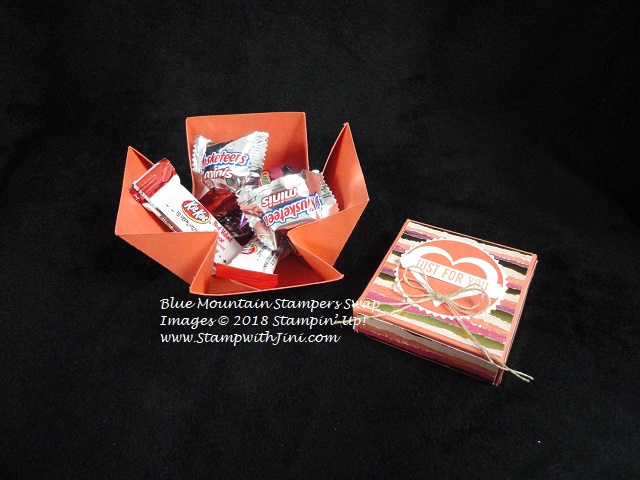
What’s it filled with? I’m sure some treats, Deborah is the best at finding unique treat items for us. (I haven’t cracked it open yet since my husband is home. LOL!)

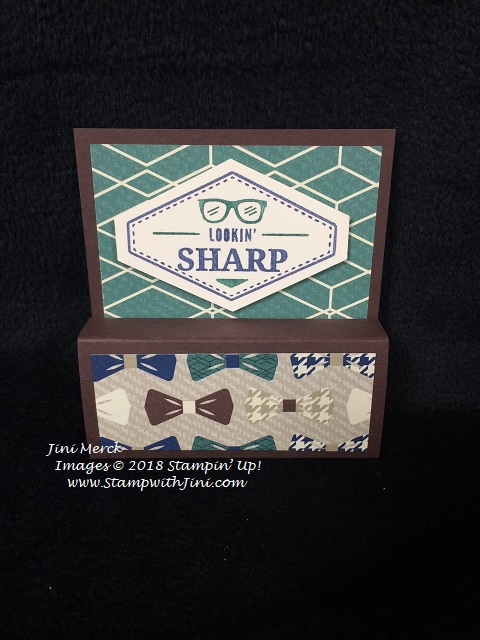
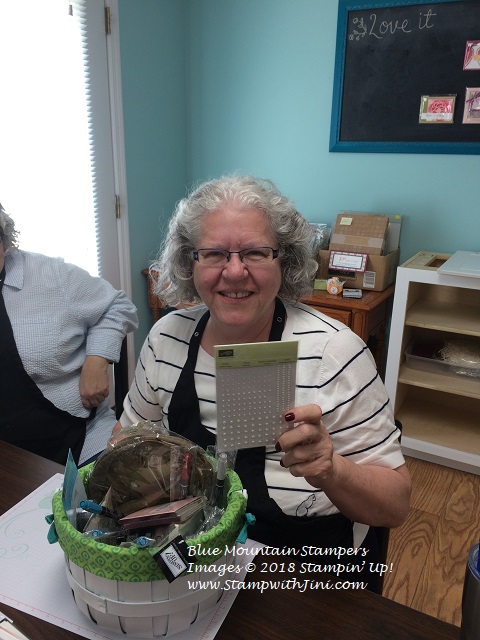
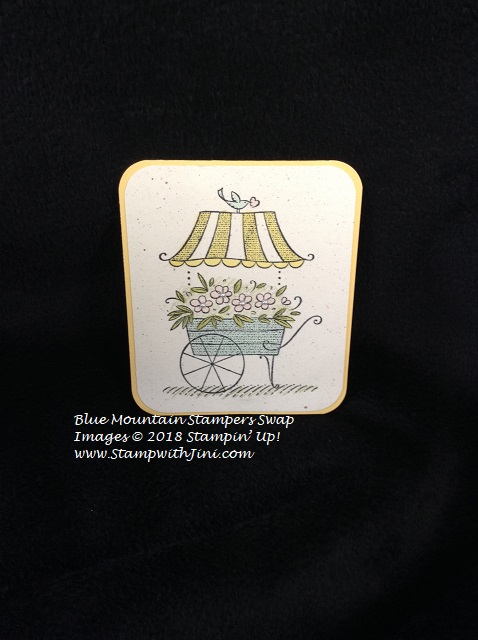
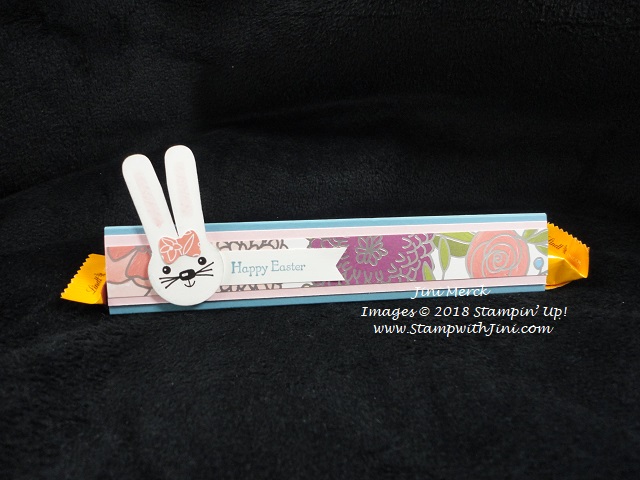
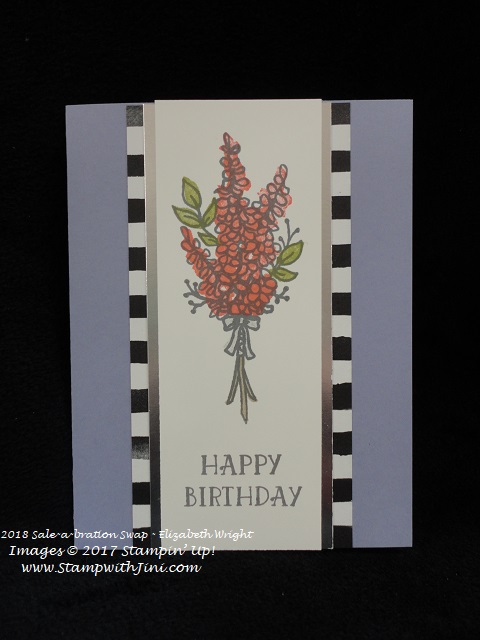
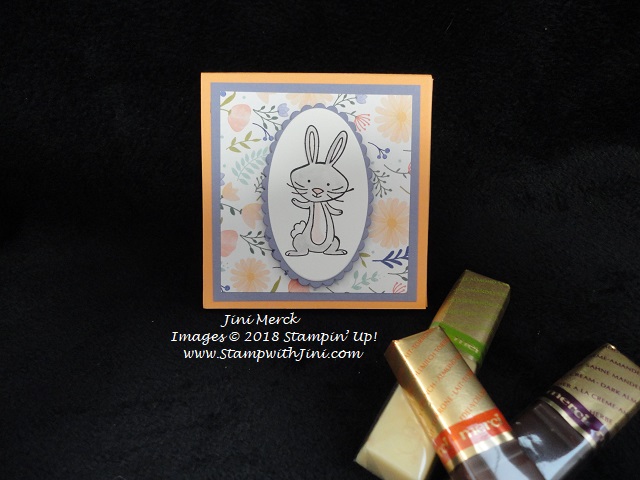
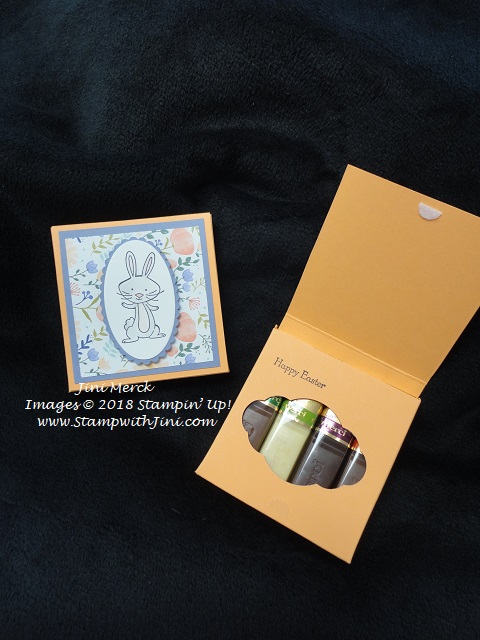
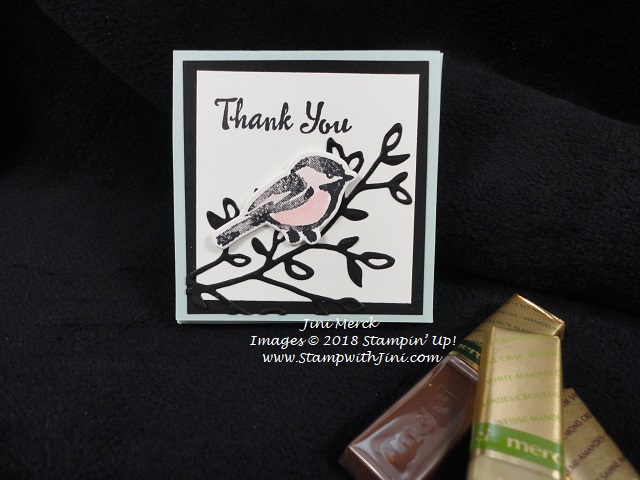
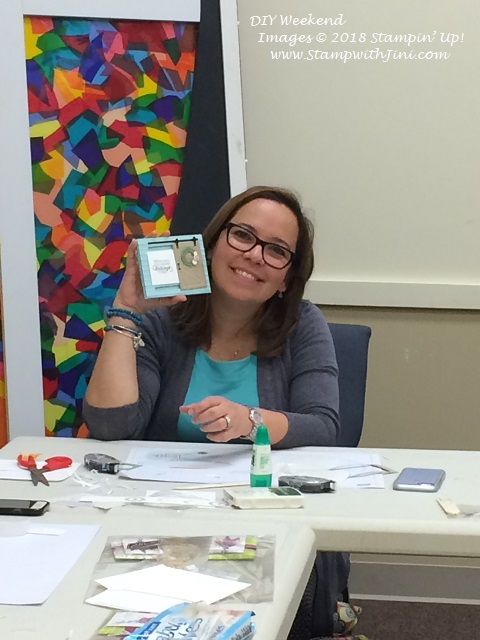
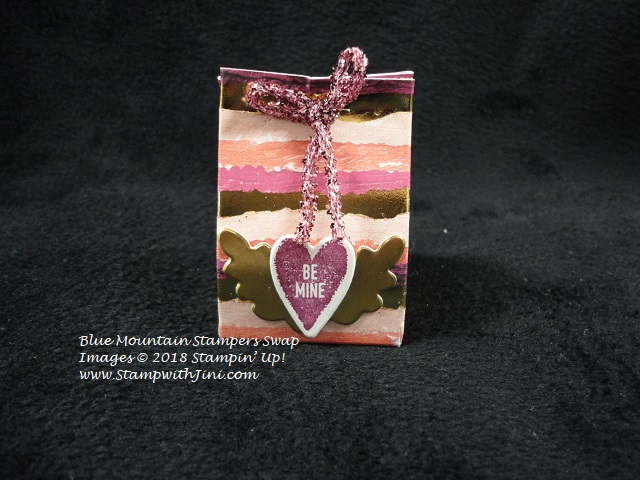
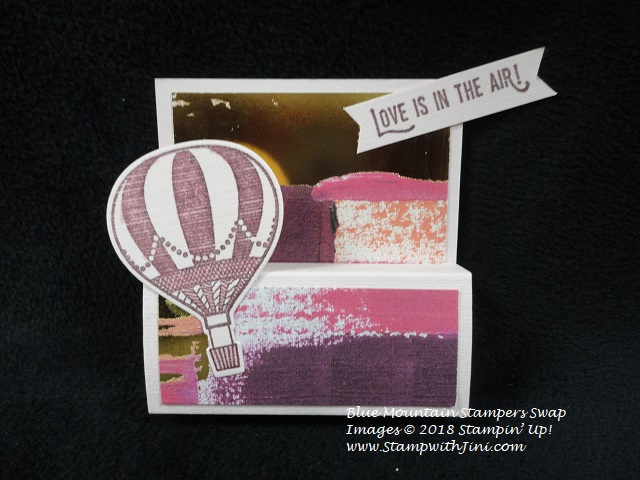
And here is another treat item that Sue made using the Perennial Birthday stamp set (145757/145760).

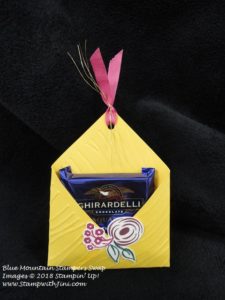
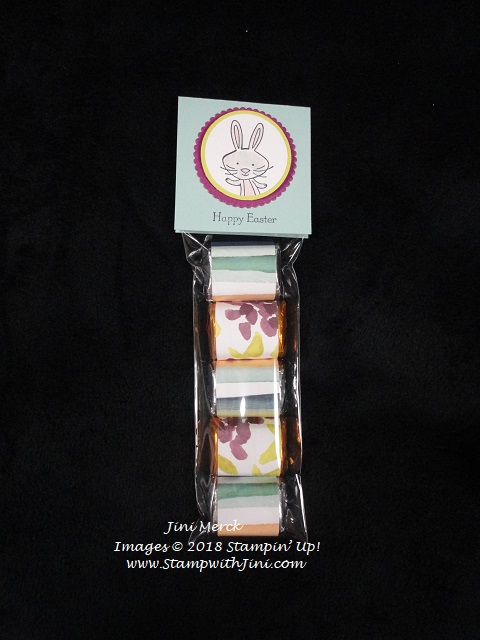
It has two pockets that she has tucked a Dark Chocolate Blueberry  Ghiradelli square into – can’t wait to try them!

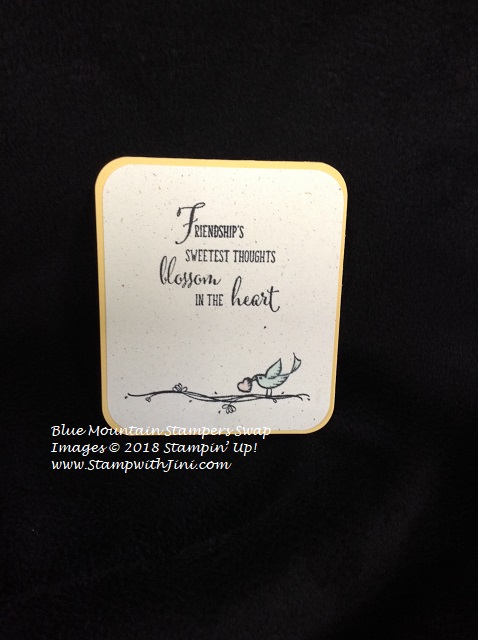
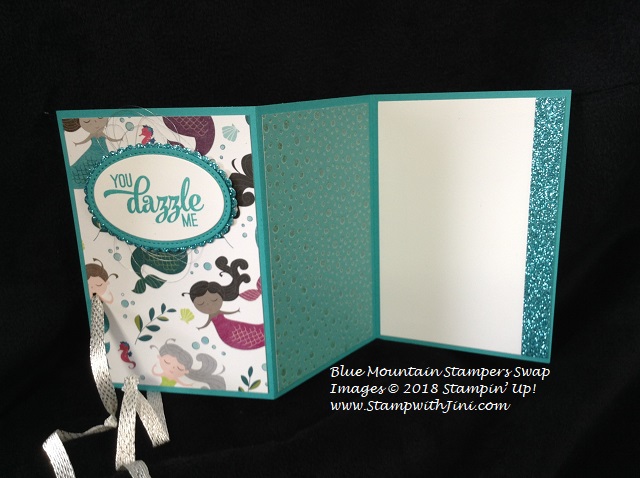
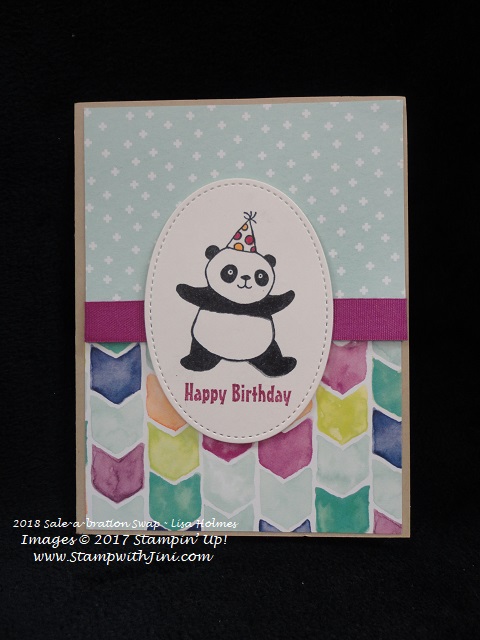
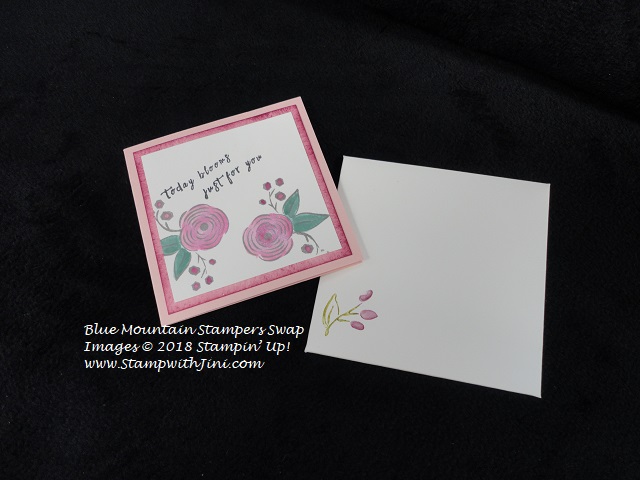
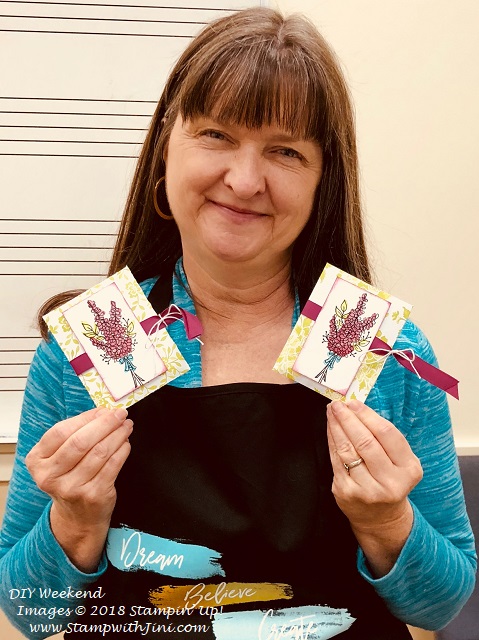
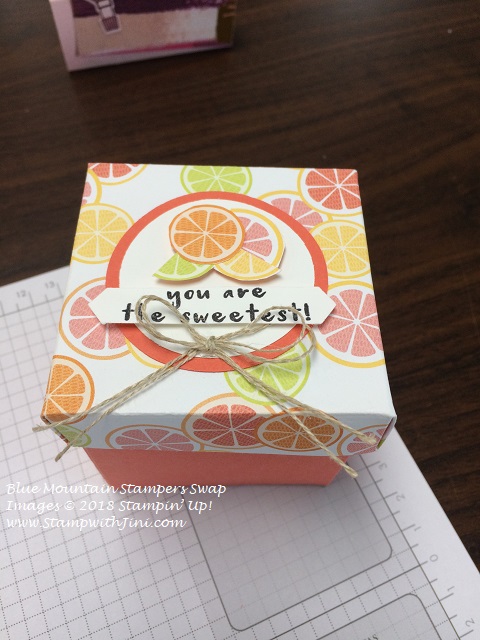
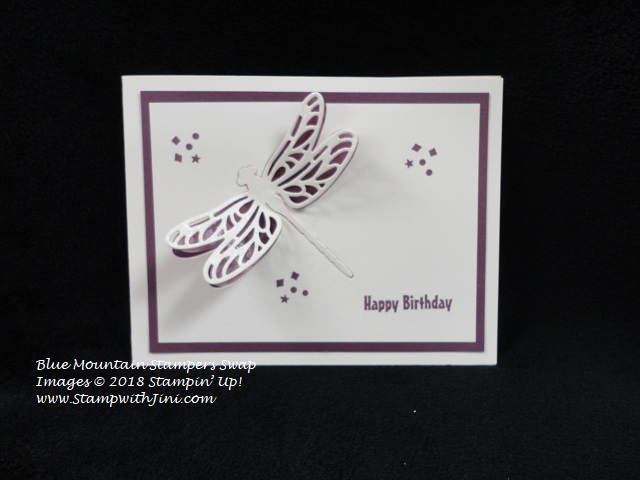
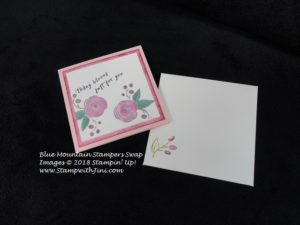
And how about this cute little note card?

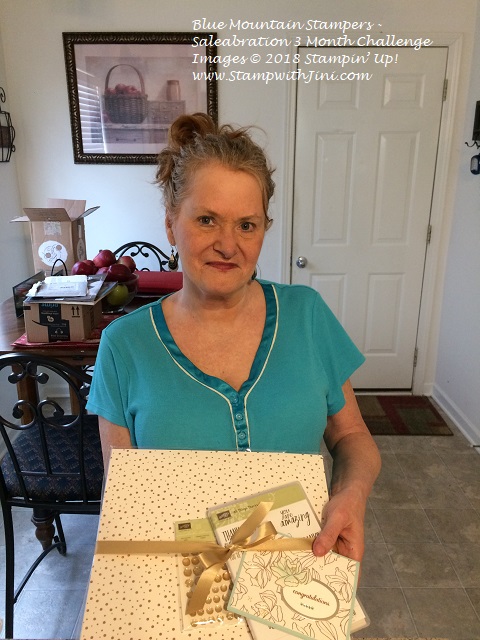
Like the projects? I can’t pick a favorite. I’m so lucky to have this talented group who love crafting, sharing, and learning new things!

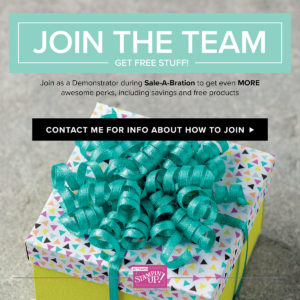
Are you looking for a group to craft with? Or have you ever thought about joining  Stampin’ Up! and getting a discount on your crafting supplies? Why not join my team, The Blue Mountain Stampers?

What are the Blue Mountain Stampers?

That’s the name of our stamping community. I enjoy welcoming new members to our group. We’re from all over. If you’re considering joining Stampin’ Up!, you may have questions about how I would support you as part of my team. I do offer a variety of ways to learn, grow and to have FUN as a Blue Mountain Stamper!

  • Exclusive Team Resource Page – videos, PDFs and more
  • Exclusive Face book Group – A great way to share and connect with other team members and share
  • Monthly Creative Challenges
  • Swapping Opportunities
  • Team Retreats
  • Meetings – both local and online/virtual
  • Monthly Crafting Day
  • Recognition & Incentives
  • Training available for workshops, clubs, classes and more!
  • Additional support and business coaching available

We have a very active group that share and answer each other’s questions on our Exclusive face book group.  If you’re looking for fun, a place to grow and share with others…You’ll fit right in!

Hobbyists are welcome!

  • Did you know?  90% of my Blue Mountain Stampers’ are Happy Shoppers – purchasing for themselves, (along with their family and friends.)  That’s right…you can just get a discount on products you love!
  • We welcome the hobbyist who’s looking to be a “happy shopper” (and save money), as well as those of you that want to build a business (and make money).
  • Everyone is welcome after all there’s room for both and everyone in between.

And there is NO Obligation when you purchase your starter kit – Join the Blue Mountain Stampers and see what it’s all about!

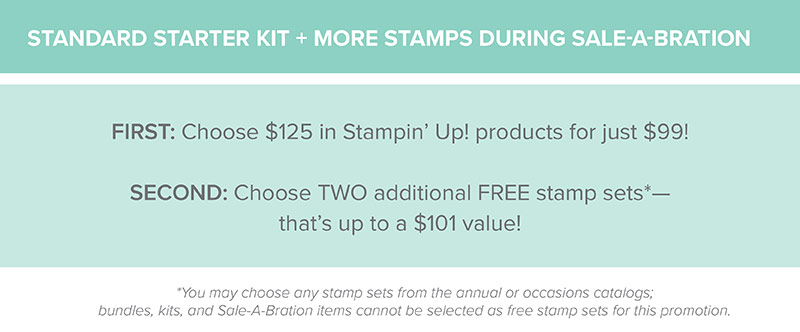
And Sale-a-bration is a GREAT time to join since you’ll get not only a fantastic starter kit for just $99 you’ll also receive 2 FREE stamp sets of your choice! What could be better?

Got questions? Contact me today – I’m here to answer any questions you may have. Call 706 754-7124 or email me at StampwithJini.com

Don’t forget to stop back by tomorrow when I’ll be sharing a tutorial for my March Thank You cards.

Click here to order your Stampin’ Up! Products online 24/7! (US only)

Shop at my Online Store and use Host Code J77CXF2F

St. Patty’s Day Ferrero Roche Gift Box Video Tutorial

I recently attending a DIY Retreat and received these yummy little Ferrero Roche Chocolates at dinner. Of course everyone at the table was on a diet right now, so I ended up with a little pile of them. LOL! As I lined them up on my table they made me think of little pots of gold – so I couldn’t resist making a little box for them for St. Patrick’s Day!

Of course I couldn’t resist adding a little shine to this project, so I pulled out the fabulous Myths & Magic Glimmer Paper. The light green was perfect for this project!

These boxes are quick and easy to make so I whipped up a video tutorial for you in case you wanted to make some too!

So what do you think? Do you want to spread a little luck of the Irish and a little chocolate of course?!

If so I’ve also made a printable PDF tutorial with the supply list and measurements for you to go along with the video.

St. Patty’s Ferrero Roche Gift Box Video Tutorial (printable PDF)

Enjoy!


Salvation Army DIY Weekend

As I mentioned above I was at the DIY retreat when I was inspired by the chocolates so I thought I’d share some pictures with you of the event. It was a wonderfully uplifting weekend that started out a little soggy, but thankfully turned into a sunny event by the end.

I taught two groups the Barn Door Slider Card in Class

and we also made some Lots of Lavender Sachets that I shared with you HERE.

The dining hall was decorated lovely and the tables had coordinating theme center pieces.

The weekend was filled with good food, great fellowship, fun, and friends.

Along with some learning for me too.

What fun we had!

Well that’s it for today – stop back by tomorrow when I’ll be sharing some fun team swaps from this month’s meeting.

Supplies: 

Stamp Set: Teeny Tiny Wishes (128748/127802)

Inks: Crushed Curry Classic Ink (131173)

Paper: Myths & Magic Glimmer Paper (145601), Delightful Daisy Designer Series Paper (144137), Old Olive (100702), Crushed Curry (131199), Whisper White Card Stock (100730)

Accessories: Simply Scored Scoring Tool (122334), Layering Circles Framelits Dies (141705), Pansy Punch (130698), Triple Banner Punch (138292)

Click here to order your Stampin’ Up! Products online 24/7! (US only)

Shop at my Online Store and use Host Code J77CXF2F


Click Here to learn more about using the Hostess Code If you order Online make sure your profile information is up to date and you’ve allowed me to contact you so I can mail you your FREE gift!


Painted with Love Treats

Yesterday I shared a fun card that we made during this month’s Blue Mountain Stampers’ Team meeting and promised I’d share some of the wonderful swaps with you too.

So here we go! This first project is a fun box that Deborah showed us how to make – it holds quite a bit of goodies inside and doesn’t use any adhesive which is rather cool. This first one was made with the Sweet & Sassy Framelits Dies (141707) and Painted with Love Specialty Designer Series Paper (145580).

It holds quite a bit of goodies inside and doesn’t use any adhesive which is rather cool.

Here is another version she made using the Fruit Basket stamp set (145833) and Tutti-Fruitti Designer Series Paper Stack (145606).

Where did the little fruit come from? It was supply cut out from the Designer Series Paper! Fun right?

And seems we were on a roll with the Painted with Love Specialty Designer Series Paper – as you can see it is really versatile. Loving this pack of paper with that fun gold touch!

Here is a little treat bag using the Sure Do Love You stamp set (145763/145766) and the pretty Love Mini Tinsel Trim Combo Pack (145588).

Recognize those little gold foil leaves? They are part of the Lots to Love Box Framelits Dies (1456553).

And here is a fun nugget holder using the Lift Me Up Stamp set (142893/142896) and Up & Away Thinlits Dies (142748).

I love the way the Painted with Love Specialty Designer Series Paper feels like a sky with it’s colorful streaks.

And finally a card made with the Detailed Dragonfly Thinlits Dies (142749)

What can I say, we’ve got a great group and we love to share! Sound like fun? Would you like to come stamp with us too?

So what do you think? Sale-a-bration is a great time to join! Add the fact that you’ll receive a discount on all these products and you can’t loose! If you feel this is a good time to join Stampin’ Up! and my team, the Blue Mountain Stampers, you too can be first too!

What are the Blue Mountain Stampers?

That’s the name of our stamping community. I enjoy welcoming new members to our group. We’re from all over. If you’re considering joining Stampin’ Up!, you may have questions about how I would support you as part of my team. I do offer a variety of ways to learn, grow and to have FUN as a Blue Mountain Stamper!

  • Exclusive Team Resource Page – videos, PDFs and more
  • Exclusive Face book Group – A great way to share and connect with other team members and share
  • Monthly Creative Challenges
  • Swapping Opportunities
  • Team Retreats
  • Meetings – both local and online/virtual
  • Monthly Crafting Day
  • Recognition & Incentives
  • Training available for workshops, clubs, classes and more!
  • Additional support and business coaching available

We have a very activity group that share and answer each other’s questions on our Exclusive face book group.  If you’re looking for fun, a place to grow and share with others…You’ll fit right in!

Hobbyists are welcome!

  • Did you know?  90% of my Blue Mountain Stampers’ are Happy Shoppers – purchasing for themselves, (along with their family and friends.)  That’s right…you can just get a discount on products you love!
  • We welcome the hobbyist who’s looking to be a “happy shopper” (and save money), as well as those of you that want to build a business (and make money).
  • Everyone is welcome after all there’s room for both and everyone in between.

And there is NO Obligation when you purchase your starter kit – Join the Blue Mountain Stampers and see what it’s all about!

Got questions? Feel free to contact me at [email protected] or 706 754-7124 I’m happy to answer any questions you may have.

Click here to order your Stampin’ Up! Products online 24/7! (US only)

Shop at my Online Store and use Host Code UCBWYB2B place a $75 order and receive a FREE gift!

Painted with Love Nugget Treats

Today’s post is going to be short and sweet – Here is a quick and easy treat idea using the Sweet & Sassy Framelits Dies and the Painted with Love Specialty Designer Series Paper.

The sentiment is from the Petal Palette stamp set. If you’d like to see here are the steps to make your own.

Here are the instructions – the supply list is below for you.

  1. Cut 5 strips of Designer Series Paper 1″ x 3″ (make sure the pattern is going the direction you want. For mine I lined the hearts up along the top edge and cut 1″ strips that then I cut into 4 3 inch sections.)
  2. Using your Glue Dots add one to each end of the Designer Series Paper and place one against the Nugget and wrap the Designer Series Paper all the way around. The second Glue Dot will seal the other end down.
  3. Slide the nuggets into cello bag.
  4. Cut a piece of Blushing Bride Card stock 2 1/4″ x 4 1/2″; score at 2 1/4″
  5. Stamp your sentiment in Rich Razzleberry along the bottom of card stock.
  6. Fold the sentiment piece in half and slip over the top of the cello bag and staple. (Your hearts will hide the staple on the front.)
  7. Run a piece of Designer Series paper through the Big Shot using the small heart Framelits die.
  8. Attach the heart to the nugget topper, leaving it hang a bit above the top and side.
  9. Run a piece of Gold Glimmer Paper through the Big Shot using the smallest heart Framelits die.
  10. Adhere the small heart to the nugget topper.

That’s it! Quick and easy – now you just need to share your treat!


Fast Fuse Sale Update –

Unfortunately the Fast Fuse Sale has ended. I’m very sorry, but The Fast Fuse Promotion was so popular that it sold out in a very short amount of time.  Hopefully you were able to get some while it was available.

Supplies: 

Stamp Set: Petal Palette (145785/145788)

Inks: Rich Razzleberry Classic Ink (126950)

Paper: Painted with Love Specialty Designer Series Paper (145580), Gold glimmer Paper (133719), and Blushing Bride (131198)

Accessories: Sweet & Sassy Framelits Dies (141707), 2″ x 8″ Cellophane Bags (141703) and Glue Dots (103683)

Non Stampin’ Up!: Hershey’s Nuggets

Click here to order your Stampin’ Up! Products online 24/7! (US only)

Shop at my Online Store and use Host Code UCBWYB2B place a $75 order and receive a FREE gift!


Click Here to learn more about using the Hostess Code If you order Online make sure your profile information is up to date and you’ve allowed me to contact you so I can mail you your FREE gift!


Painted with Love Treat Tent Tutorial

Check out this quick and easy last minute Valentine’s Day Treat Tent that I made for my hubby

– it holds what else, chocolate!

This project uses an old favorite, Teeny Tiny Wishes stamp set since it is filled with tons of all occasions sentiments perfect for this punch and a little something for any project!

I’ve made a video tutorial for you in case you want to make some too.

Painted with Love Treat Tent Video Tutorial

And here is a complete supply list for you.

Enjoy!


Supplies:

Stamp Set: Teeny Tiny Wishes (128748/127802)

Inks: Rich Razzleberry Classic Ink (126950)

Paper: Painted with Love Specialty Designer Series Paper (145580),  Gold Glimmer Paper (133719), Melon Mambo (115320), Rich Razzleberry (115316), and Powder Pink Card stock (144244)

Accessories: Simply Scored Scoring Tool (122334),  Classic Label Punch (141491), and Sweet & Sassy Heart Framelits Dies (141707)

Click here to order your Stampin’ Up! Products online 24/7! (US only)

Shop at my Online Store and use Host Code UCBWYB2B place a $75 order and receive a FREE gift!