Tuesday was our monthly Paper Pumpkin Craft Time for open crafting – if you subscribe to Paper Pumpkin with me this time is for you – It’s my way of saying thank you for choosing me as your demonstrator.) So we spent the morning crafting together and sharing alternative ideas for the March kit.
If you haven’t seen the March kit it is super cute!

The kit always have a quick video in case you don’t want to read the instructions. LOL!
And I love the fact that Stampin’ Up! shares alternate projects for the kit if you don’t like the instructions included.
I’ve even seen the muslin bags whip stitched across the bottom to create a sachet filled with potpourri! Cool right?
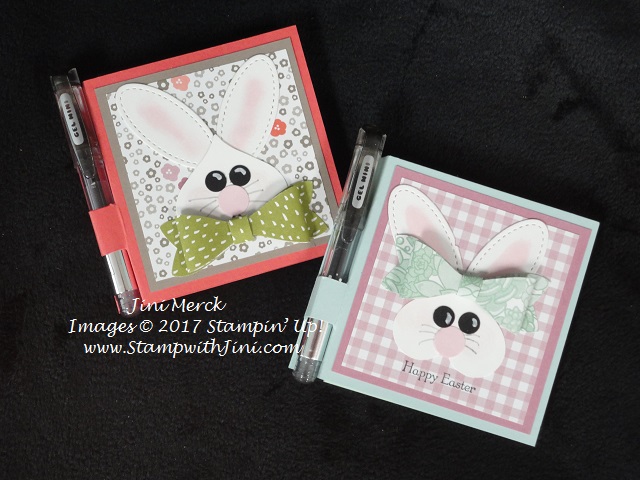
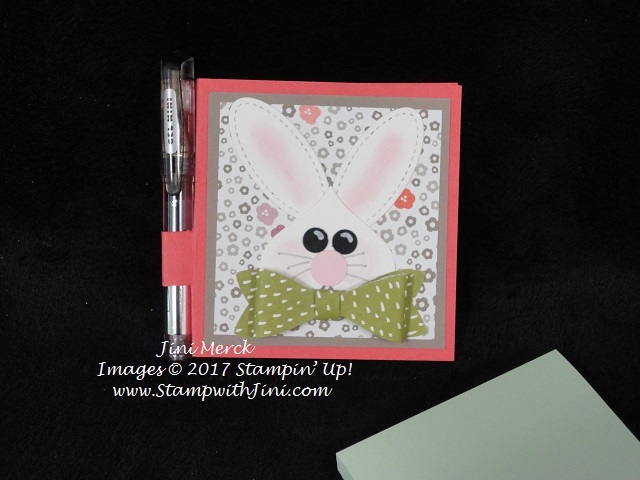
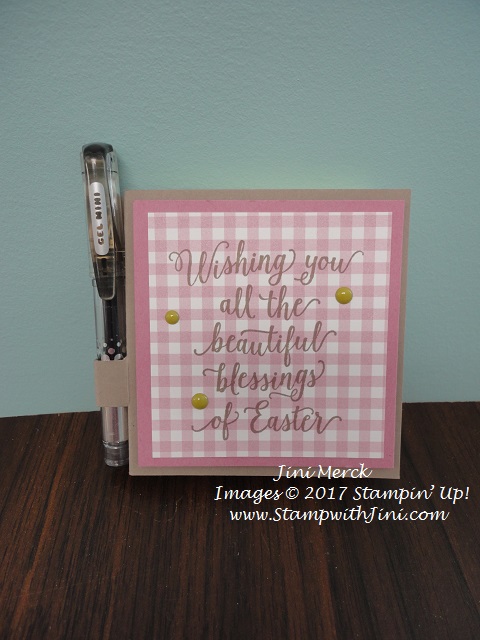
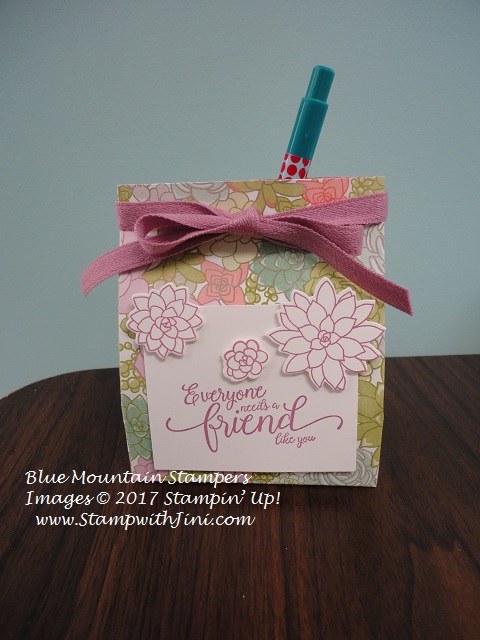
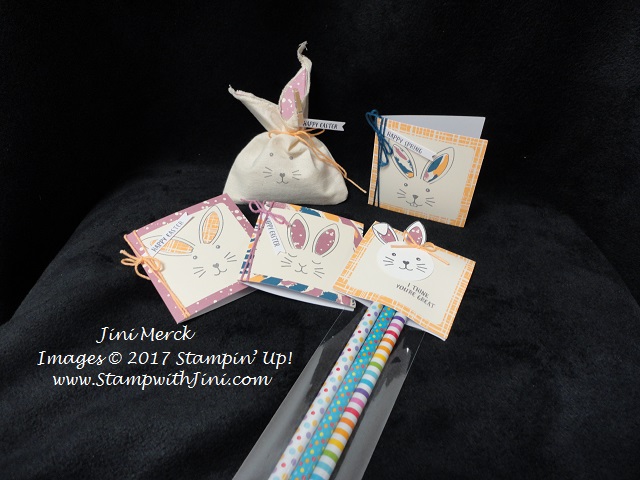
So today I thought I’d share with you my alternate project that I made with the kit. I love to give little 3d gifts but don’t tend to use 3×3 note cards as often so I simply took one of our 2″ x 8″ Cello Bags (141703) and put some pencils I had picked up as basket stuffers for the kits and voila!
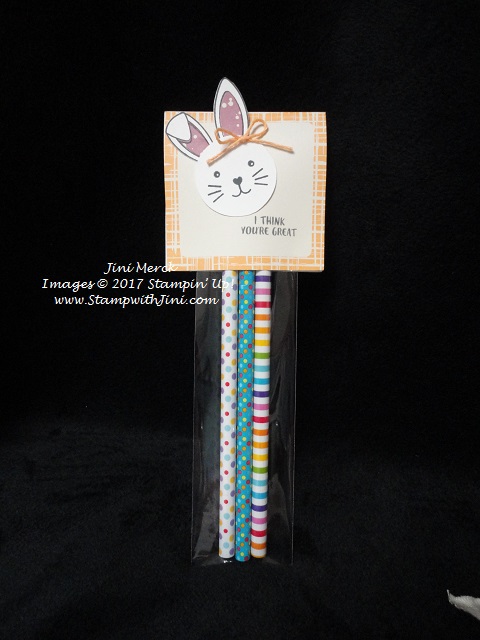
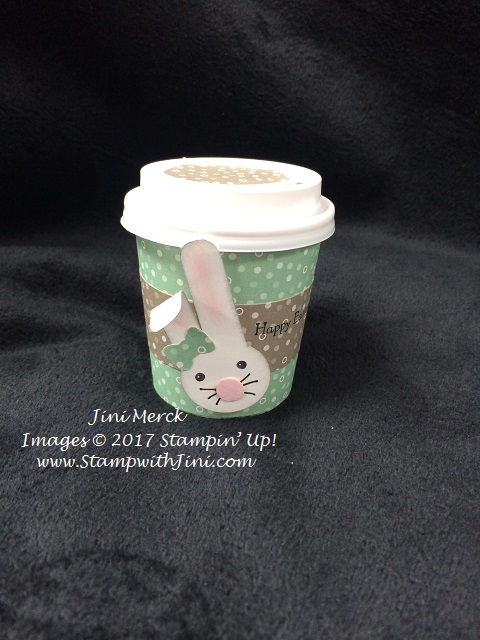
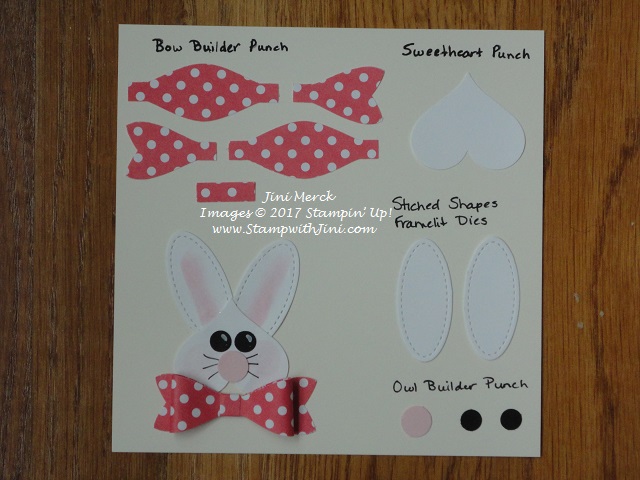
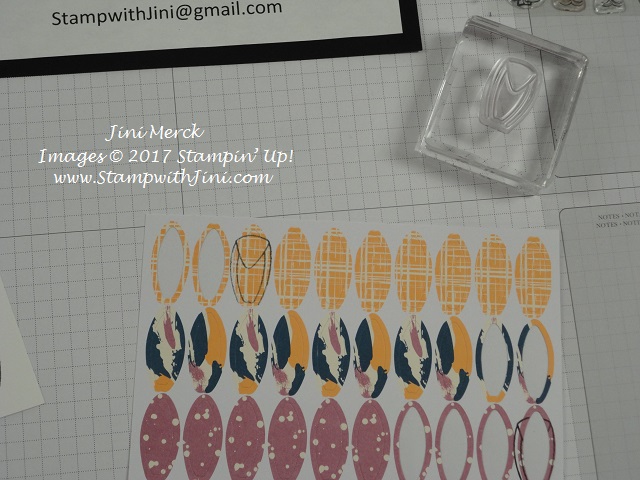
Cute? I’ve taken some quick shots to show you how I did the ears. I simply punched out a face using the punch 1 1/2″ Circle Punch (138299) and Whisper White Card stock and stamped the face I wanted. There are all kinds of cute combinations you can make with this kit. Then stamped the ears I wanted to use.
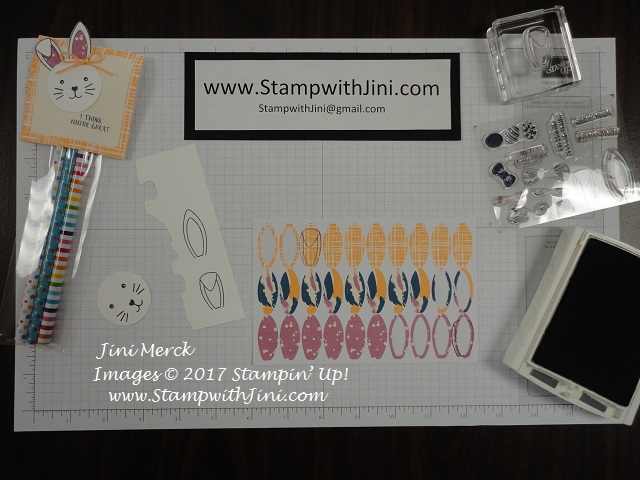
I fussy cut the ears and then stamped the floppy ear onto one of the stickers and cut it out before adding it to the ear.
A couple of the glue dots to attach the ears onto the face and added it to my note card that I turned so the opening went over the cello bag. The staple is covered by the bunny. I love the baker’s twine in the kit, so I tied a little bow to put on this little bunny with another glue dot.
The kits always come with lots of stuff that can be used for additional projects! AND these kits are great for all ages!!! Since they contain everything you need except scissors they are great gifts or even kits to take on the road so you can craft. It’s a surprise each month so there are all kinds of different kits.
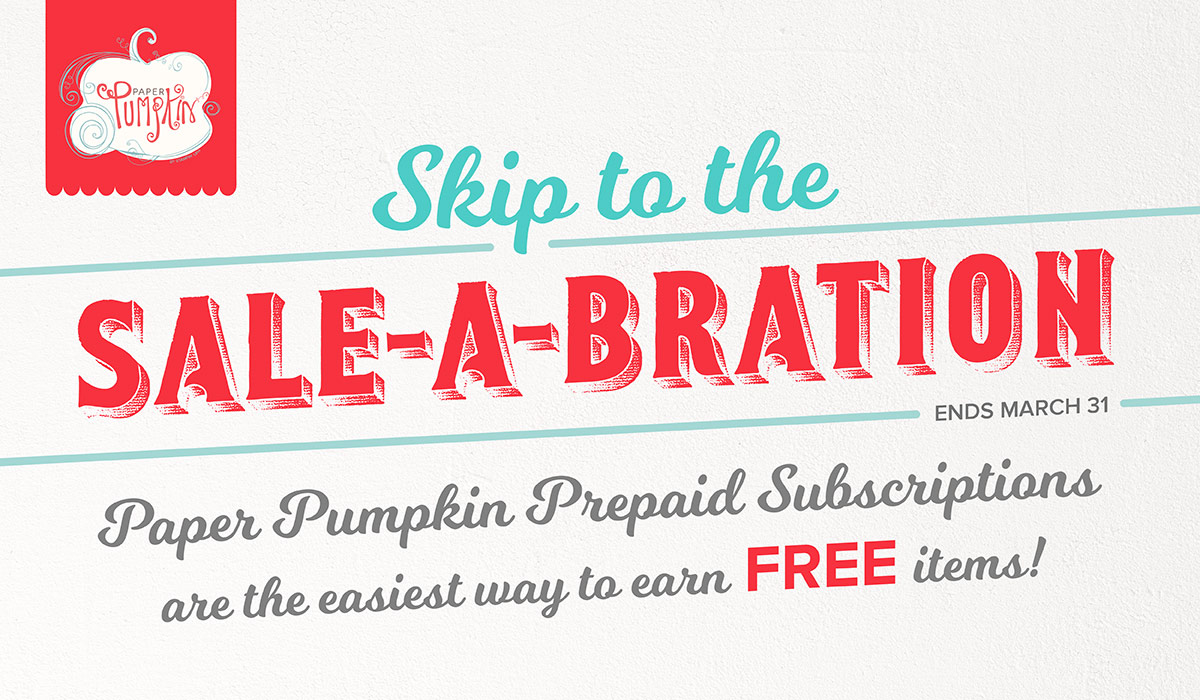
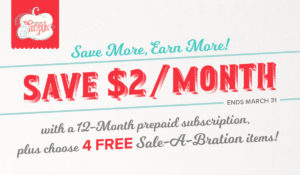
If this sounds like something you or someone you know would enjoy why not subscribe today? During the next 36 hours (or until March 31st at 11:50 pm MT) you can not only purchase a prepaid subscription to get started, but you can earn a free Sale-a-bration item too!!!

And even more great news. We’re celebrating our 4th Birthday of Paper Pumpkin with a surprise!
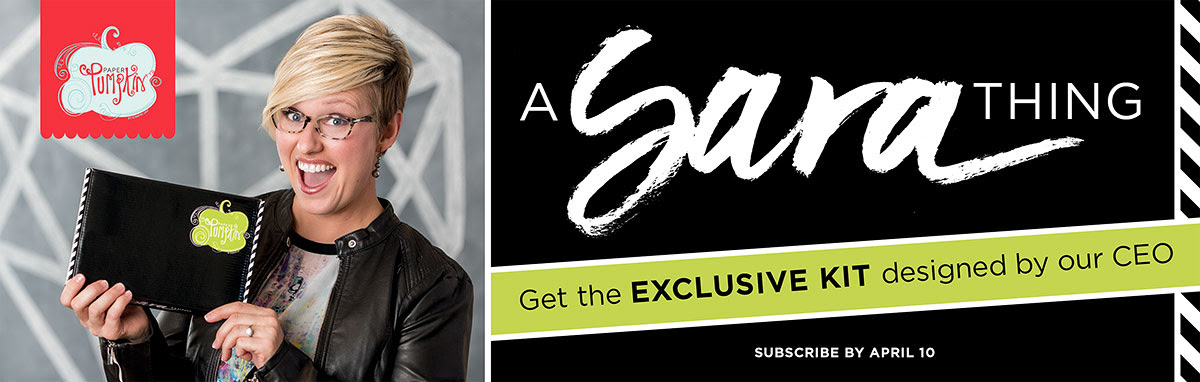
We love surprises—and we have a big one in store for you next month! Our April kit was inspired and designed by Stampin’ Up! CEO, Sara Douglass. Get ready to embrace your inner artist and skip to the fun with her. You don’t want to miss this kit—promise! Make sure you’re a subscriber on April 10. Watch this video from Sara to learn more.
And of course as always you can purchase past kits and refills when you subscribe too! Got questions? I’ll be happy to answer them for you, just call or email me.
Sale-a-bration EVEN MORE FREE ITEMS!!!
Sale-A-Bration has flown by! Times flies when you’re having fun, though, right? Only a few days are remaining during Sale-A-Bration and Stampin’ Up! has added additional products for you to choose from!!!
Don’t forget you have until March 31 to earn free products, join the fun and earn additional $25 in hosting rewards.
Click here to order your Stampin’ Up! Products online 24/7! (US only)
Shop at my Online Store and use Hostess Code GJH39UAM when you order
Click Here to learn more about using the Hostess Code
Sale-a-bration is a great time to join!
Join the Blue Mountain Stampers
What are the Blue Mountain Stampers?
That’s the name of our stamping community. I enjoy welcoming new members to our group. We’re from all over. If you’re considering joining Stampin’ Up!, you may have questions about how I would support you as part of my team. I do offer a variety of ways to learn, grow and to have FUN as a Blue Mountain Stamper!
- Exclusive Team Resource Page – videos, PDFs and more
- Exclusive Face book Group – A great way to share and connect with other team members and share
- Swapping Opportunities
- Team Retreats
- Meetings – both local and online/virtual
- Recognition & Incentives
- Training available for workshops, clubs, classes and more!
- Additional support and business coaching available
We have a very activity group that share and answer each other’s questions on our Exclusive face book group. If you’re looking for fun, a place to grow and share with others…You’ll fit right in!
Hobbyists are welcome!
- Did you know? 90% of my Blue Mountain Stampers’ are Happy Shoppers – purchasing for themselves, (along with their family and friends.) That’s right…you can just get a discount on products you love!
- We welcome the hobbyist who’s looking to be a “happy shopper” (and save money), as well as those of you that want to build a business (and make money).
- Everyone is welcome after all there’s room for both and everyone in between.
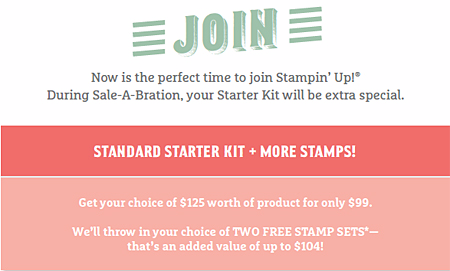
When you join during the Sale-a-Bration promotion, not only will you get the fabulous starter kit for only $99 (and free shipping), but you also get to choose TWO FREE STAMP SETS (that’s an additional value up to $104!)
And there is NO Obligation when you purchase your starter kit – Join the Blue Mountain Stampers and see what it’s all about!
Learn More about the Blue Mountain Stampers
Join the Blue Mountain Stampers