Yesterday I found this tutorial that I was working on to share with you that got buried on my desk after my husband’s accident earlier this month. So today I thought I’d share it with you – never too late, right?
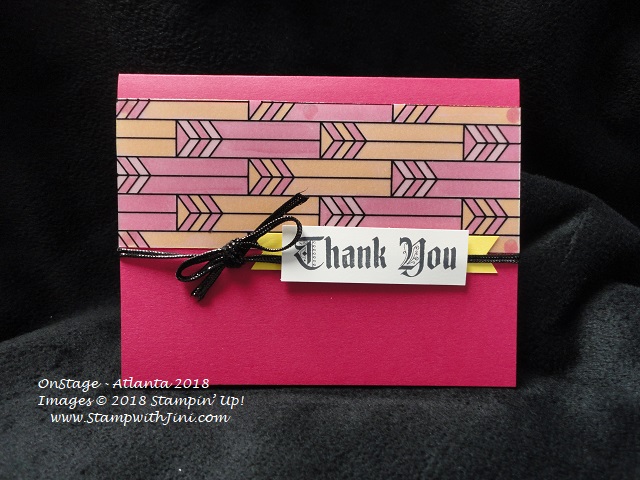
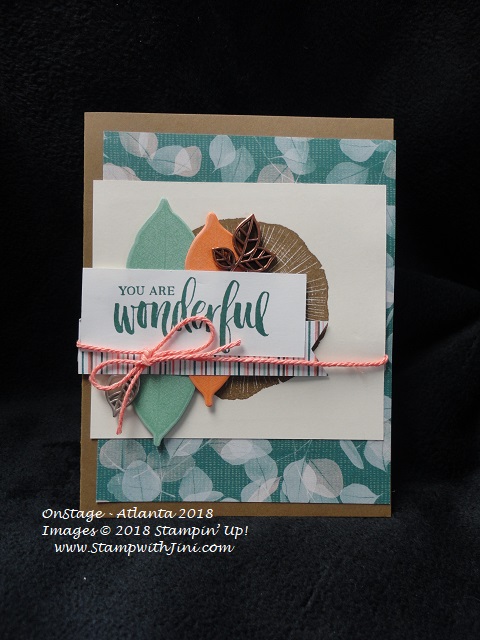
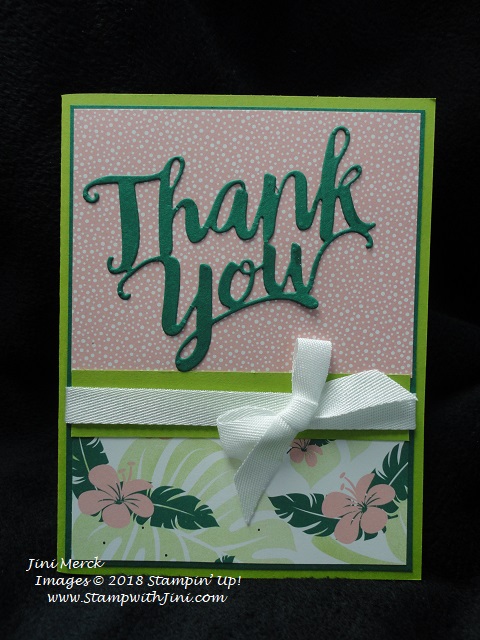
I stamped this card to send out as my Thank You last month. It uses one of my favorite sets, Waterfront. It’s got tons of images that can be combined for all kinds of cards!

And without further adieu here is the tutorial too.
Waterfront Thank You Card Tutorial PDF
Enjoy!
Supplies:
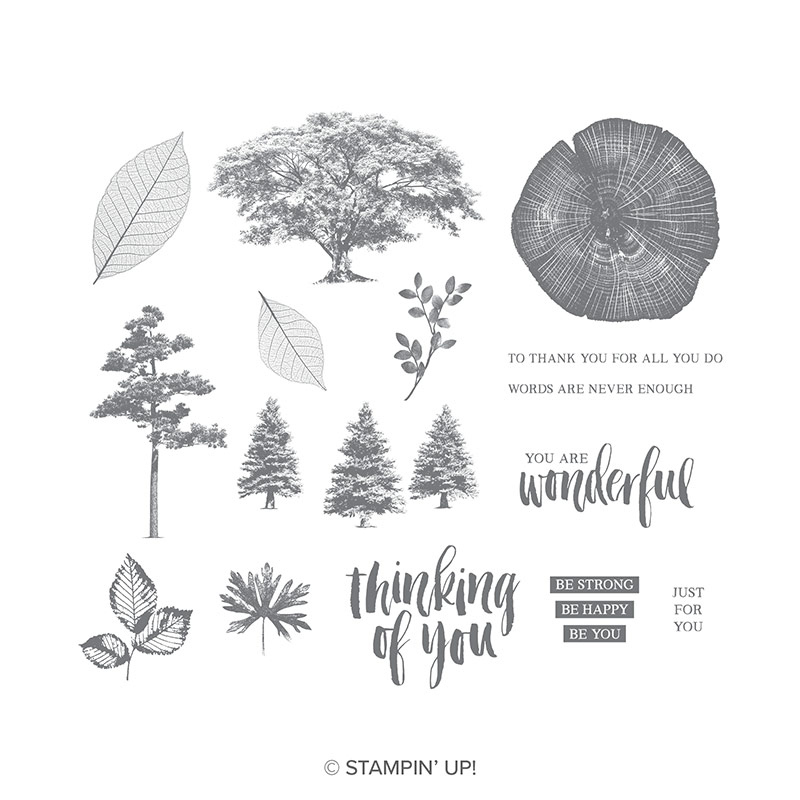
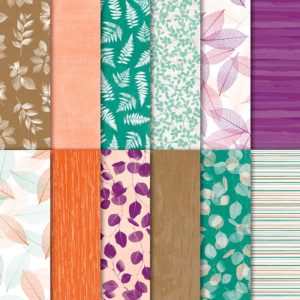
Stamp Set: Waterfront (146386) and Eastern Beauty (143675)
Inks: Rich Razzleberry (147091), Bermuda Bay (147096), Crumb Cake (147116), Crushed Curry (147087), Flirty Flamingo (147052), and Call Me Clover Classic Ink (147139)
Paper: Flirty Flamingo (141416), Rich Razzleberry (115316), and Whisper White card stock (100730)
Accessories: 2018-2020 In Color Stampin’ Write Markers (147159) and Blender Pens (102845)

Click here to order your Stampin’ Up! Products online 24/7! (US only)
Shop at my Online Store and use Host Code 7GTJDB3N
Click Here to learn more about using the Hostess Code If you order Online make sure your profile information is up to date and you’ve allowed me to contact you
Sign up for my FREE Newsletter My Newsletters include stamping tips, tutorials, ideas and Classes!
August Specials