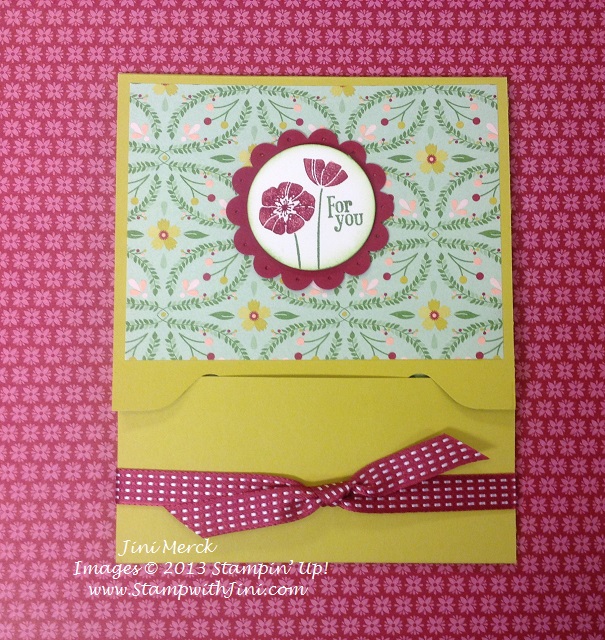
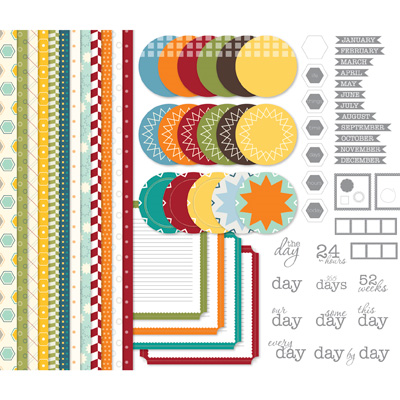
Peachy Keen is one of our new all occasions sets from the Occasions Catalog and is great for all kinds of projects. Today I’ve teamed it up with the Retro Fresh Designer Series Paper (132993) to create this quick and easy card.
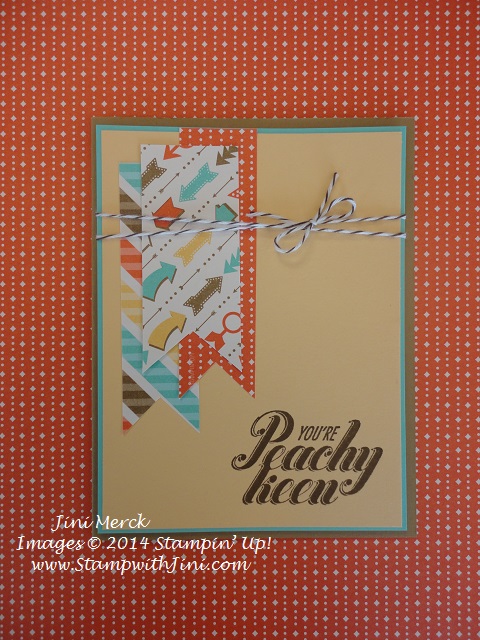
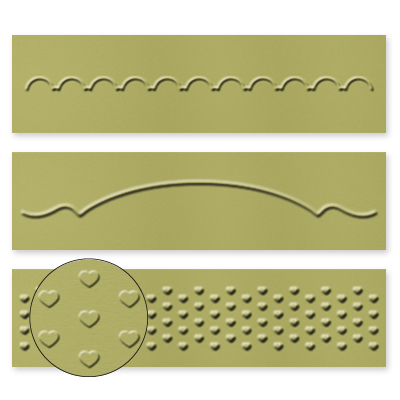
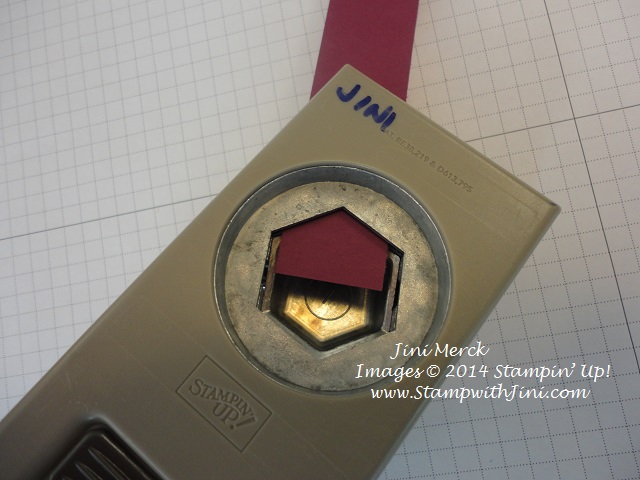
I simply stamped the sentiment in Early Espresso, but think it would look great using the Early Espresso Embossing Powder too and add a bit of texture to the card. I love the quick and easy banners that you can make using the Hexagon punch (130919). Yes, you heard me right the Hexagon Punch. Give it a try, you’ll find it so easy to do.
Supplies:
Stamp Set: Peachy Keen (133110/133113)
Inks: Early Espresso (126974)
Paper: Retro Fresh Designer Series Paper (132993), Baked Brown Sugar (131296), Coastal Cabana (131297), and So Saffron Card Stock (105118)
Accessories: Early Espresso Baker’s Twine (123124)
Click here to order your Stampin’ Up! Products online 24/7! (US only)
Hostess code UQJ7HZ76
Snow Storm – Day 3

Well the storm has now moved up the east coast and has pretty much finished for us in the North Georgia mountains. The sun has come out and the temperature has started to climb a bit – which is a good thing since things are clearly starting to melt.
We woke to more snow this morning. After sleeting most of the day yesterday, snow is a good thing. We’ve got a snow sandwich on the ground (snow, ice, snow) LOL. But we have fared pretty well so far, our power only flickered off once last night.
Now the cabin fever has set in for my guys and they are itching to get out of the house. I don’t tend to get as antsy since there is always something to do. Of course, it is a great reason to go play in my kitchen and stamp room too!
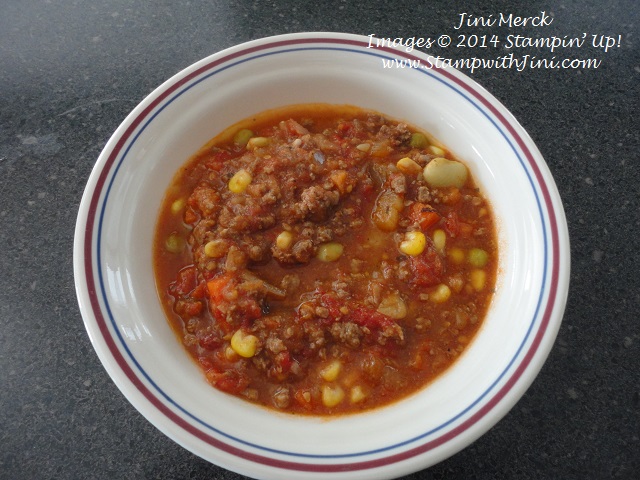
This mornings project was a big pot of soup for lunch for my guys. It’s great since I can use the frozen tomatoes from our garden last summer and the ground venison in the freezer. It smells heavenly while it is cooking, and even though I can’t eat it, I enjoy making it for them. They say it tastes great – so I thought I’d share the recipe with you in case you’re looking for a quick and easy vegetable soup.
Quick & Easy Vegetable Beef Soup
1 1/2 – 2 lbs. lean ground beef
1 onion, chopped
1 ½ c. water
2 (28 oz.) cans diced tomatoes
1 ½ tsp. garlic powder
1 ½ tsp. sea salt, to taste
½ tsp. dried basil
½ tsp. finely ground black pepper, or to taste
3 ½ tsp. beef bouillon
2 (12 oz.) pkg. frozen mixed vegetables
Cook and stir ground beef in the pot until completely browned, 7 to 10 minutes. Stir onion into the meat and continue to cook and stir until the onion is translucent, about 5 minutes. Drain fat from the pot and return to medium heat.
Pour water and tomatoes into the pot. Season soup with garlic powder, sea salt, basil, and black pepper. Stir beef bouillon through the soup. Add frozen mixed vegetables to the pot, stir.
Bring the soup to a boil; reduce heat to low, and cook, stirring occasionally, until the vegetables are cooked through, 20 – 30 minutes.
That’s it – Enjoy!
This recipe is pretty forgiving and so I’ve experimented a bit with the original recipe I found on allrecipes.com. This one is my version of the original with the changes I’ve made. So far my substitution or changes have made it even better. I find you can really change things out easily to suit your preferences. I think I’ll be freezing okra next year to add to the other vegetables. The guys seem to like that and I never know what to do with all the extra okra from the garden.
Click here to order your Stampin’ Up! Products online 24/7! (US only)
Hostess code UQJ7HZ76
Click Here to learn more about using the Hostess Code
Clearance Rack (while supplies last)
Weekly Deals (Special ends Monday, February 17th, 2014 at 11:50 p.m. (MT)
Paper Pumpkin Special (Free 2012-2014 In Color Markers when you join now through March 31st, 2014)