Crafting Forever Matchbook Fun!

I just love this NEW Crafting Forever stamp set (143955/143958) and couldn’t resist using it for the Catalog Kick Off. The sayings are fun and the images are great for those of us who love crafting.

I found these fun colorful post it flags at the dollar spot and wanted to create a little holder for them to go along with the new catalog.

After all mine has little flags sticking out all over the place yours should too. LOL!  My wish list is long and this catalog has some wonderful new products that I can’t resist!

I couldn’t decide which sentiment to use – so I chose to make some of each.

Want to learn how to make these quick and easy Matchbooks? Why not check out my Video Tutorial to learn how?

Crafting Forever Matchbook Post It Flag Holder Video Tutorial

And here is my supply list – I’ve included items to make both options for you.

Supplies:

Stamp Set: Crafting Forever (143955/143958)

Inks: Basic Black Archival Ink (140931)

Paper: Eastern Palace Specialty Designer Series Paper (144147), Island Indigo (122923), Melon Mambo Card stock (1515320)

Accessories: Tree Builder Punch (138295) and Seasonal Layers Thinlits Dies (143751), and Rhinestones Basic Jewels (144220)

Click here to order your Stampin’ Up! Products online 24/7! (US only)

Shop at my Online Store and use Hostess Code GD4KM4GZ during June and receive a free gift from me!

Click Here to learn more about using the Hostess Code If you order Online make sure your profile information is up to date and you’ve allowed me to contact you so I can mail you your FREE gift!

Sign up for my FREE Newsletter My Newsletters include stamping tips, ideas and updates on what is happening with me! You’ll also receive a FREE Class Tutorial using the 2017-2019 In Colors when you sign up!


Save

Save

Save

Save

Save

Save

Save

Save

Save

Save

Save

Save

Succulent Post It Note Holders

I found these cute little post it note holders a while back in the dollar spot at Target and couldn’t resist whipping up some holders using the Succulent Framelits Dies.

So what do you think? These little sticky pads measure 3 1/4″ x 2 1/4″ and I started my project by using the colors in them to kick off my creativity.

While both pads measure the same the colors were different so I made them a bit differently too.

I chose to go with two succulents for this one.

And a bold Sahara Sand succulent on the other

Check out this quick video to see how I made the Succulent Easel Post it Holder

If you would like to see how I made the 3d succulent you can CLICK HERE to view my How to Make a 3d Succulent Video Tutorial along with a fun frame I made using these dies too!

I’ve got the complete supply list below for you.

Spring Consignment Sale Starts Tomorrow!

On a totally different track – I may not be posting the next couple of days depending on my time since I’m hosting my 6th Annual Spring Consignment Sale – if you are in the area why not stop in? You can learn more about my sale on my Calendar of Events HERE.

Supplies:

Stamp Set: Oh So Succulent (*142992) and Beautiful You (143004/143637)

Inks: Basic Black Archival Ink (140931), Rich Razzleberry Classic Ink (126950)

Paper: Sahara Sand (121043), Mint Macaron (138337), Melon Mambo (115320), Tangerine Tango (111349), and Whisper White Card stock (100730)

Accessories: Succulent Framelits Dies (*142757), Bone Folder (102300), and Fine Tip Glue Pen (138309)

*Oh So Succulent Bundle (145184)


Click here to order your Stampin’ Up! Products online 24/7! (US only)

Shop at my Online Store and use Hostess Code 3ARQTUSZ and get a FREE gift when you order in April. It’s my way of saying thank you for choosing me as your Demonstrator!

Click Here to learn more about using the Hostess Code If you order Online make sure your profile information is up to date and you’ve allowed me to contact you so I can mail you your FREE gift!

Save

Save

Save

Save

Save

Succulent Garden Team Gifts

I love to make special little gifts for my team and I thought I’d share the Succulent Garden frame with you today along with a quick video showing you how I made it.

I’ve love the soft colors in the Succulent Garden Designer Series Paper so that is where I started with my project since they seemed to coordinate well with our On Stage logo for this spring. I even personalized the logo with Savannah and the year so that when they take the cardboard piece out to put the photo in they can turn it around and always have the information right there on the back! (After all I have a hard time remember where and when photos were taken after a few years. How about you?)

I also made name tags for our bags.

After all with hundreds of the same bag running around, you want to identify yours quickly right? Especially since it is packed with lots of goodies!!!

Yep, I had all this in my bag to bring home! I love being a demonstrator and attending Stampin’ Up! events!!!

And did you notice? I had a bit of beading fun too! I used blue beads since we are the Blue Mountain Stampers (makes sense, right?) and

I found some special charms to go along with our choice of On Stage location. And check out these cute little On Stage logos using Shrinky Dinks of all things! What fun it was watching them shrink from their original 2″ size down to these tiny charms – brings out the kid in me. LOL! I love spoiling my team and Deborah was pleasantly surprised to find this little Team Gift on her bed in the hotel the first evening.

Okay, you ready to learn how I made the frame? I’ve got two video tutorials for you and a complete supply list if you scroll down to the end.

How to Cover a Wood Frame with Designer Series Paper

How to Make 3d Succulents

Supplies:

Inks: Rich Razzleberry Classic Ink (126950)

Paper: Succulent Garden Designer Series Paper (142778), Pool Party (122924), Tip Top Taupe (138325) Tip Top Taupe (138336), Sweet Sugarplum (141418), and Whisper White Card stock (100730)

Accessories: Succulent Framelits Dies (142757), Bone Folder (102300) and Sponge Daubers (133733)


Click here to order your Stampin’ Up! Products online 24/7! (US only)

Shop at my Online Store and use Hostess Code 7FDWKVA7 and get a FREE gift when you order in April. It’s my way of saying thank you for choosing me as your Demonstrator!

Click Here to learn more about using the Hostess Code If you order Online make sure your profile information is up to date and you’ve allowed me to contact you so I can mail you your FREE gift!

More On Stage, Beautiful You & a Sneak Peek!

I’ll be sharing a few more photos of my On Stage experience with you today along with a Sneak Peek video! I’ve never done a video before sharing items from the Product Purchase Premiere, but thought you might enjoy a peek at the experience of being a Stampin’ Up! demonstrator.

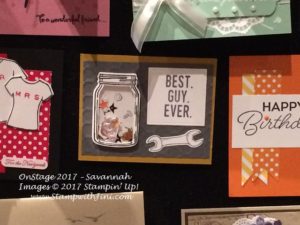
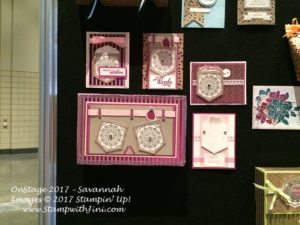
A Stampin’ Up! Event always includes wonderful displays of projects created by many talented Demonstrators.

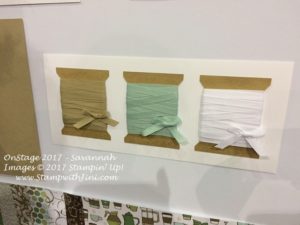
New product boards so we can not only see but touch and feel too.

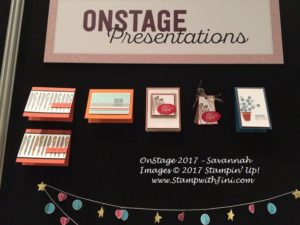
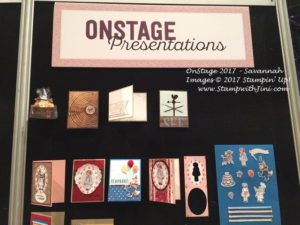
Along with presentations of new products and more

And of course one can’t forget Prize Patrol!!! It’s always fun to win!

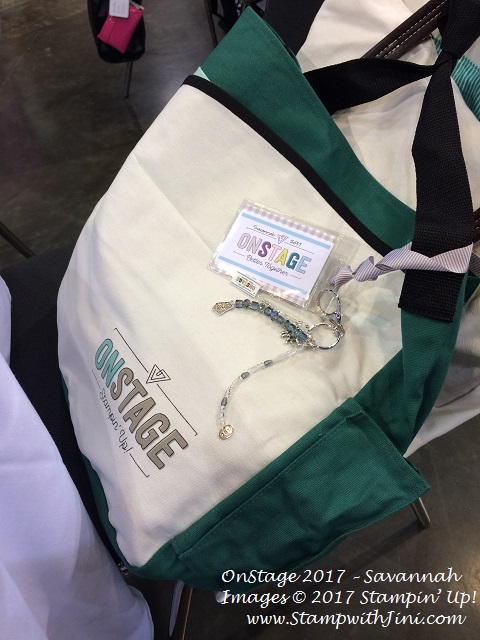
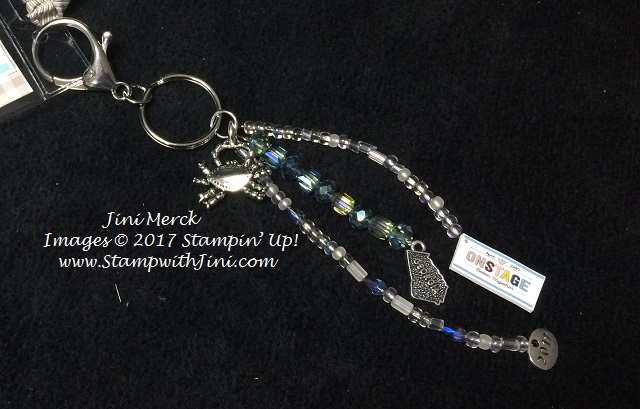
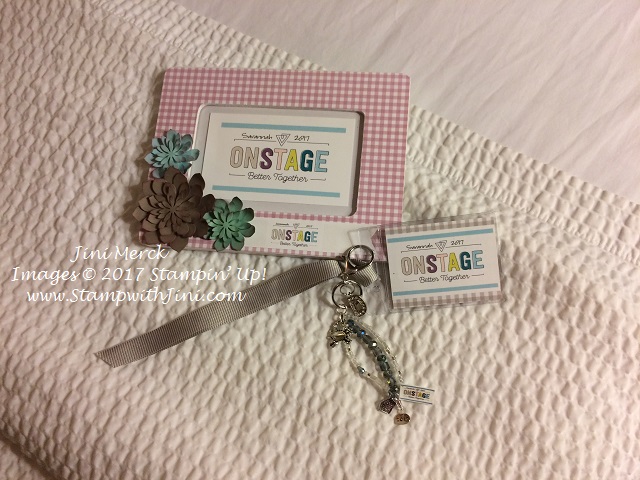
And then there are the All Attendee Give-A-Ways too!!!! And that’s in addition to what comes in our Event bags (you can seethe bag and the goodies it contained inside in my video) and a copy of the NEW 2017 Annual Catalog. Whew! can you say fun?!

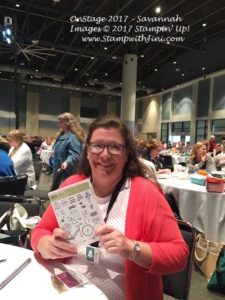
Stampin’ Up! makes these events so much fun and of course gathering with your stamping family is part of the fun too. (I’m met such wonderful stampers over the years from all over.)

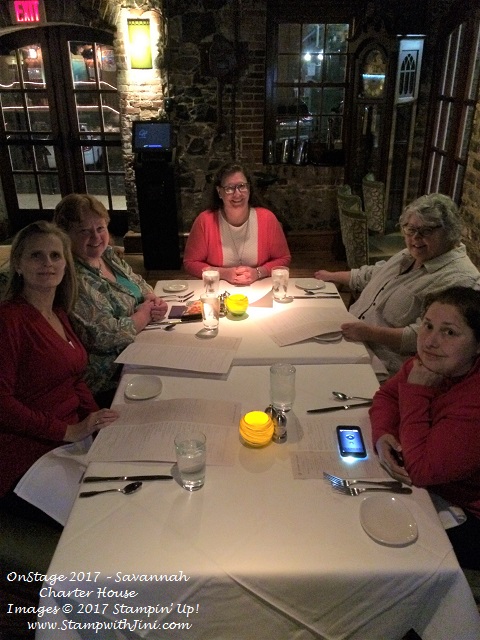
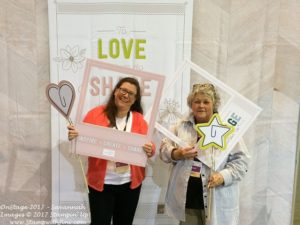
As we said goodbye to On Stage Savannah we took a final Team picture at a fun booth they set up.

And enjoyed a lovely dinner together at the Charter House on River Street later that night after the event.

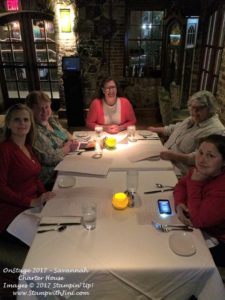
I got to order a special treat – with the She-Crab Soup! Yumm!

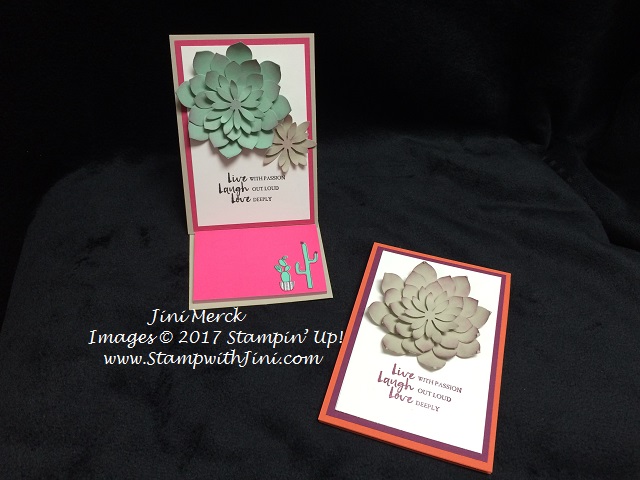
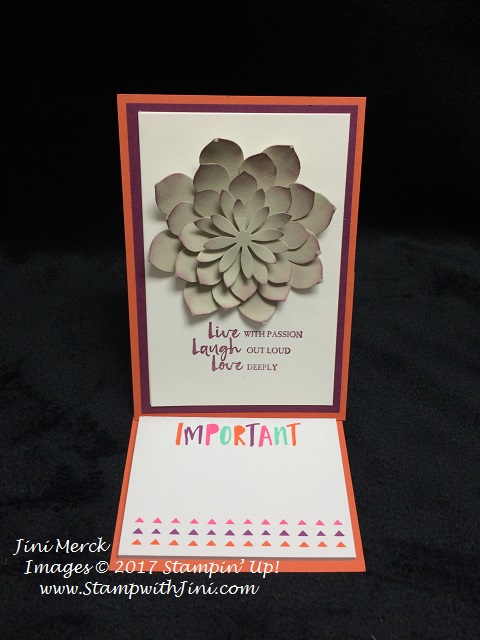
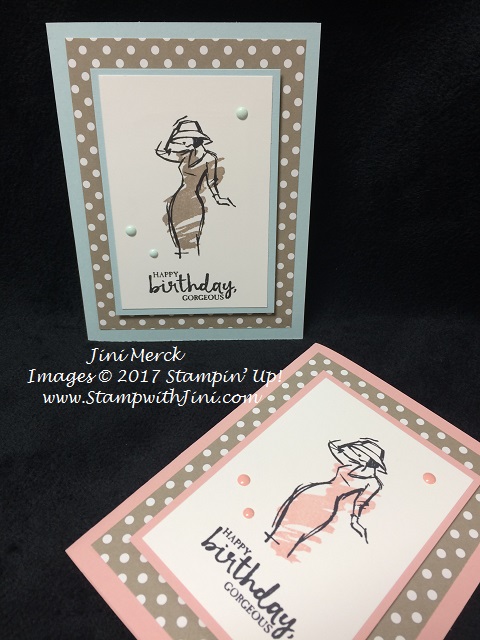
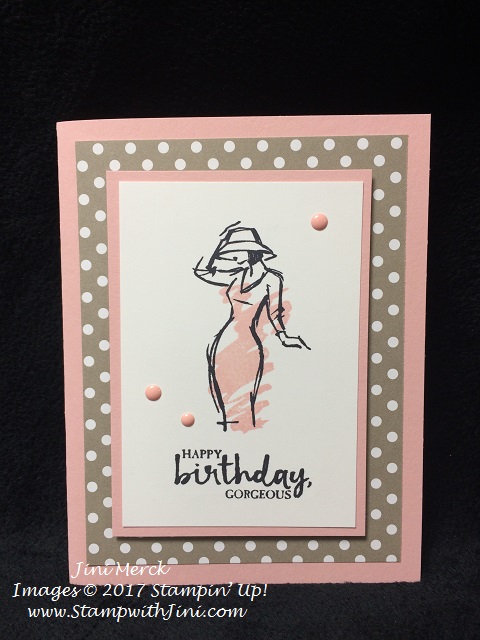
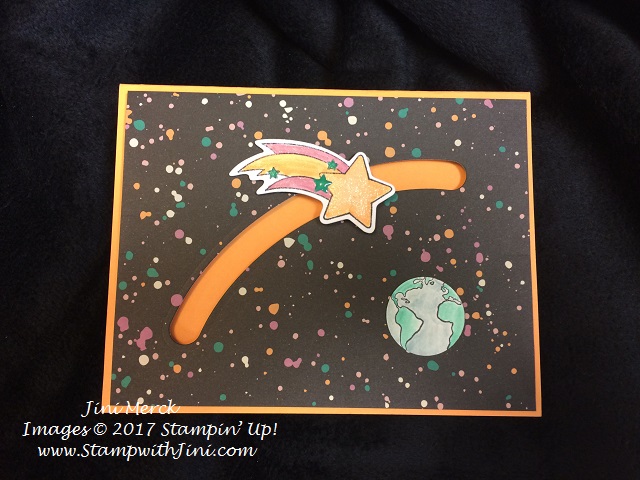
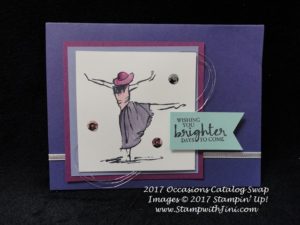
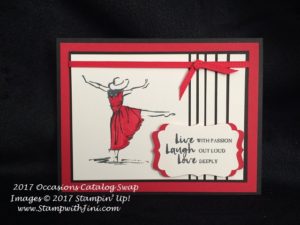
On to the Beautiful You Swaps – I really love this set and am very happy that it’s not on the Retirement List. (Happy dance LOL). I created a swap that I took with me using the 2015 In Color Designer Series Paper Stack (which is on the list). This allowed me to make multiple cards with the same layout but play with the colors, which was a lot of fun.

It’s spring so I teamed up the Tip Top Taupe pattern with Blushing Bride and Soft Sky. Here are the cards by themselves so you can see them a bit better.

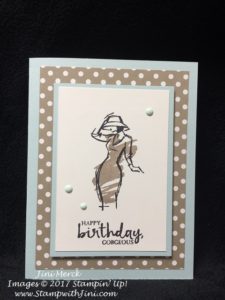
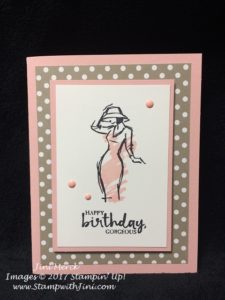
I really love the way these turned out with the coordinating Enamel Shapes a pop of color. I’ve included a complete supply list below (You’ll have to scroll way down to the end), but here are the measurements for you if you’d like to make one too!

Soft Sky Card Stock Base: Cut 8 1/2″ x 5 1/2″; score at 4 1/4″

Tip Top Taupe In Color Designer Series Paper: Cut 3 3/4″ x 5″

Soft Sky Card stock: Cut 3″ x 4 1/4″

Whisper White Card stock: Cut 2 3/4″ x 4″


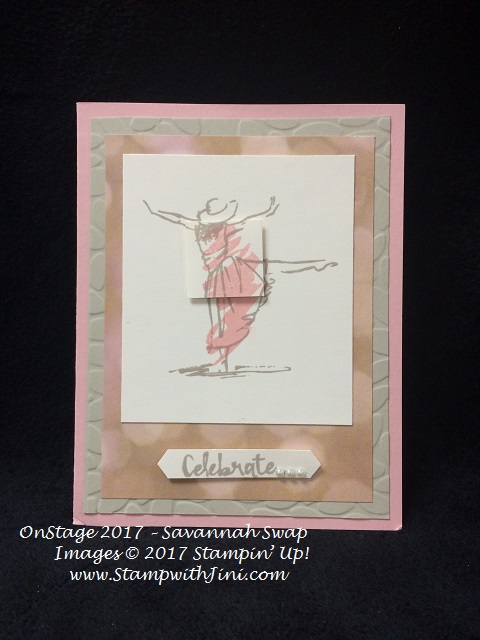
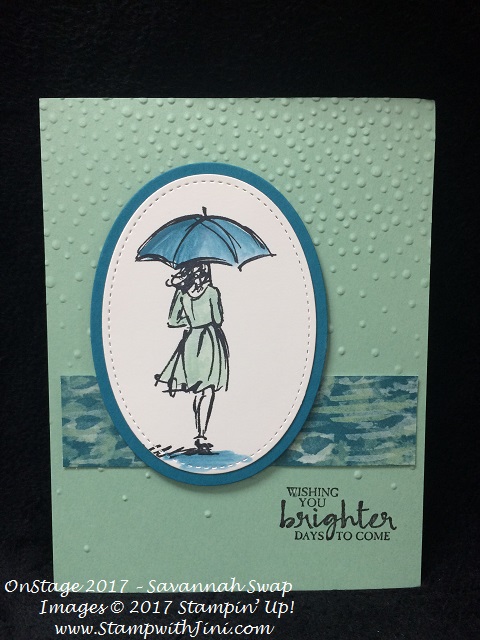
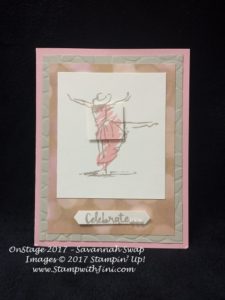
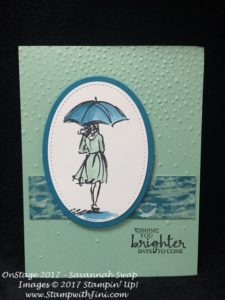
Want to see some more cards using this set that I received in swaps?

2017 Annual Catalog On Stage Product Purchase Premiere Goodies Video

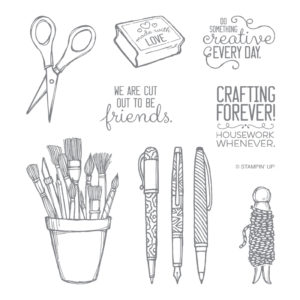
Still with me? How about a sneak peek of the products that I just received? I LOVE the special perk we have for being a demonstrator – ordering early!!! The truck pulled up and It was with a squeal of delight that I accepted my box from the man in brown yesterday afternoon – It’s always like  Christmas when it’s Preorder time! LOL

Check out this little video I made for you so you can take a peek too!

So what do you think? Love the new items too? It’s just a peek of what’s inside!

As I am sure you can guess, being the first to see this new catalog or any of our new catalogs is a very exciting AND a  huge perk of being a Demonstrator – after all who wouldn’t want to be first? Right!  Add the fact that you’ll receive a discount on all these products and you can’t loose! If you feel this is a good time to join Stampin’ Up! and my team, the Blue Mountain Stampers, you too can be first too!

What are the Blue Mountain Stampers?

That’s the name of our stamping community. I enjoy welcoming new members to our group. We’re from all over. If you’re considering joining Stampin’ Up!, you may have questions about how I would support you as part of my team. I do offer a variety of ways to learn, grow and to have FUN as a Blue Mountain Stamper!

  • Exclusive Team Resource Page – videos, PDFs and more
  • Exclusive Face book Group – A great way to share and connect with other team members and share
  • Swapping Opportunities
  • Team Retreats
  • Meetings – both local and online/virtual
  • Monthly Crafting Day
  • Recognition & Incentives
  • Training available for workshops, clubs, classes and more!
  • Additional support and business coaching available

We have a very activity group that share and answer each other’s questions on our Exclusive face book group.  If you’re looking for fun, a place to grow and share with others…You’ll fit right in!

Hobbyists are welcome!

  • Did you know?  90% of my Blue Mountain Stampers’ are Happy Shoppers – purchasing for themselves, (along with their family and friends.)  That’s right…you can just get a discount on products you love!
  • We welcome the hobbyist who’s looking to be a “happy shopper” (and save money), as well as those of you that want to build a business (and make money).
  • Everyone is welcome after all there’s room for both and everyone in between.

And there is NO Obligation when you purchase your starter kit – Join the Blue Mountain Stampers and see what it’s all about!

Supplies:

Stamp Set: Beautiful You (143004/143637)

Inks: Tip Top Taupe (138325), or Blushing Bride (131172) and Basic Black Archival Ink (140931)

Paper: 2015 In Color Designer Series Paper Stack (138432), Soft Sky (131203) or Blushing Bride (11198), and Whisper White Card stock (100730)

Accessories: Subtles Enamel Shapes (141679)


Click here to order your Stampin’ Up! Products online 24/7! (US only)

Shop at my Online Store and use Hostess Code 7FDWKVA7 and get a FREE gift when you order in April. It’s my way of saying thank you for choosing me as your Demonstrator!

Click Here to learn more about using the Hostess Code If you order Online make sure your profile information is up to date and you’ve allowed me to contact you so I can mail you your FREE gift!

Shooting Star Slider Card Video Tutorial

Do you like movement cards? They can be a lot of fun but they used to be a lot of work before Stampin’ Up! introduced the Shooting Star Bundle of products. Now it’s a snap!

Here is a fun card I made using the Shooting Star Bundle. And while this bundle is coordinated to work together you can make all kinds of cards with it, the sky is the limit – Just pick your favorite stamp!

Want to see just how quick and easy this slider card is to make? Why not check out my Getting Started Video below?

Getting Started with Slider Cards Video Tutorial

This card was part of my monthly Team Meeting in which we learned how to create these fun and easy cards. If that sounds like fun to you – Why not check out what all the benefits of joining are HERE.

My team, The Blue Mountain Stampers is very active and we have a lot of fun together too!  Don’t live locally? No problem there is always a Team to Go option each month with tutorials, videos and pdfs too.

Got questions? Contact me today and I’ll be happy to tell you about the benefits of joining now during Sale-a-bration.

Supplies:

 Stamp sets: Shooting Star (141616/141619*)

Ink: Marina Mist Classic Ink (126962), Emerald Envy Classic Ink (141396), and Basic Black Archival Ink (140931)

Paper: Playful Palette Designer Series Paper  (141657), Peekaboo Peach Card stock (141417), and Whisper White Card stock (100730)

Accessories: Sliding Star Framelits Dies (*141820), 1″ Circle Punch (119868), 2016-2018 In Color Stampin’ Write Markers (141393), Blender Pen (102845), and Clear Wink of Stella (141897), Stampin’ Dimensionals (104430), and Foam Adhesive Strips (138995)

 *Shooting Star Bundle 142349/142350)

Click here to order your Stampin’ Up! Products online 24/7! (US only)

Shop at my Online Store and use Hostess Code GJH39UAM when you order

Click Here to learn more about using the Hostess Code

Mini Coffee Cup Easter Treats & Video Tutorial

I held my team day of papering a couple of weeks ago and wanted to share the cute little Easter treat that I made for everyone.

These little mini coffee cups were quick and easy to make – and of course I filled them with chocolate so they were well received LOL!

Want to learn how I made the little rabbit? Well I’ve done a quick video tutorial for you so you can make them too!!!

Cookie Cutter Rabbits Video Tutorial

If you live locally and want some, I do have some mini coffee cups on hand. Just let me know.

Supplies:

Stamp Set: Cookie Cutter Christmas (142043)

Inks: Basic Black Archival Ink (140931) and Pink Pirouette (126956)

Paper: 2015-2017 Envelope Paper (141697), Pink Pirouette (111351), Whisper White Card stock (100730)

Accessories: Cookie Cutter Builder Punch (140396) and Basic Black Stampin’ Write Markers (100082)

Click here to order your Stampin’ Up! Products online 24/7! (US only)

Shop at my Online Store and use Hostess Code GJH39UAM when you order

Looking for that perfect gift for yourself or a friend, try a Paper Pumpkin Subscription. Add one to your next order, they count towards Hostess Rewards. Prepaid subscriptions are the best way to enjoy Paper Pumpkin. Click HERE for more details.

Watercolor Pencil Basics

I was so excited to see the Watercolor Pencils in the Occasions Catalog. Stampin’ Up! has given us a new coloring option and in 13 of our Stampin’ Up! colors. Whoo hoo! Who doesn’t love that?

So today I’m sharing with you a couple of videos that I did to show you the basics of using Watercolor Pencils. I hope you’ll find them helpful, I’ve done the video in 2 parts to make things a bit easier.

I’m dusting off my old high school art skills for this and it’s been a while so bear with me. I was lucky to have a wonderful arts program at Brown Deer High School back in the day and I took every class I could! From throwing pots, metals and of course painting – so I hope my favorite teacher, Mr Panaro, would be happy I still have my class notebook after all these years.  After all it’s been a few years. LOL!

I’ve also created some PDFs for you so that you can create these water coloring worksheets for yourself as a reference. You’ll find them listed below the videos.

Getting Started with Watercolor Pencils Part 1 Video Tutorial:

Getting Started with Watercolor Pencils Part 2 Video Tutorial:

Simply print these PDFs off on Whisper White Card stock to get started making your own.

Watercolor Pencil Basics PDF

Watercolor Pencil Worksheet PDF

Practicing a bit will let you know what your own style of water coloring is and what you like best. So have fun and play!

Supplies:

Paper: Whisper White Card stock (100730)

Accessories: Watercolor Pencils (141709) and Aqua Painter (103954) or Blender Pens (102845)

 Click here to order your Stampin’ Up! Products online 24/7! (US only)

Shop at my Online Store and use Hostess Code NGTD4HJB when you order

Click Here to learn more about using the Hostess Code

Want to learn more about stamping? Why not sign up for my FREE Newsletter and Class Information. (Just look for the sign up box in my side bar). Sign up and get a FREE Pinwheel Tutorial just for joining. Then you’ll get emails  with great information on what is going on with Stamp with Jini along with helpful hints and tips.

Join the Blue Mountain Stampers

It’s a fun time of year to join Stampin’ Up! since it’s Sale-a-bration! Right now you can join my team, the Blue Mountain Stampers, and get hands on training like this at our Team Meetings & Resource Page!For just $99 your starter kit containing $125 in product and choose 2 more stamp sets of any price!   PLUS – your kit ships for free!Want to learn more?  Check out the links below:

Whether you want to join for the discount or to make a little extra cash – you’ll be able to save on your stamping supplies!

Hey, Chick!

I loved this quirky little set the minutes I set eyes on it – after all who doesn’t like chickens? So today I wanted to share this fun card that Jackie gave me in my recent swap.

Every time I look at it it makes me smile – how about you? Who could resist this fun little chick peeking out from the picket fence.

I thought you might enjoy learning how to make these quick and easy picket fences so you can make this little card too – so today’s video tutorial shows you just that!

Quick & Easy Picket Fences Video Tutorial:

What did I tell you – these are soooo easy to make! And Jackie simply cut a slit with her personal trimmer in the fence to tuck her chick into.

I’ve given you the supply list below in case you wanted to know the other supplies too.

Supplies:

Stamp Set: Hardwood Background (133032/133035) and Hey, Chick (FREE Sale-a-bration Item #143328/143331)

Inks: Basic Black Archival Ink (104931) and Early Espresso Classic Ink (119686)

Paper: Delightful Dijon (138338), Early Espresso (126974), Crumb Cake (126975), and Whisper White Card stock (100730)

Accessories: Medium Star Punch (138293), Watercolor Pencils (141709), Blender Pen (102845), Metallic Enamel Shapes (141678), Linen thread (104199), Tags & Labels Framelits (138282), and  Stampin’ Sponges (141337)

 Click here to order your Stampin’ Up! Products online 24/7! (US only)

Shop at my Online Store and use Hostess Code NGTR6C6Q when you order

Paper Pumpkin – Adorning Arrows

Have you seen the Paper Pumpkin Kit for January 2017?

This kit is positively adorable! And this one makes 24 projects too so it’s a great value.

Take a look at the elusive stamp set – it’s not just for Valentine’s Day.

You can check out the January video to show you this fun kit that is great for all ages!

Here is my alternate idea for the bag – I wanted a bit more room. So I simply cut down on the top flaps to close the bag flat and make it into a little box.

So….. interested? Right now the Paper Pumpkin Prepaid Subscription option is on SALE!

And when you choose to order the 3 month Prepaid Subscription during Sale-a-bration you’ll earn a FREE Sale-a-bration item too!!!

If you’d like the February Paper Pumpkin Kit you’ll want to hurry and get your Prepaid Subscription now so you can set up your account and get the February Kit! You only have until the end of the day February 10th to purchase and enter your Prepaid Code and set up your subscription. Yikes, that’s just 2 more days!

Hint if you love unique card kits…. just sayin’!

Not sure yet? Why not check out this video? You’ll get to see all the wonderful kits from 2016!

When you join the Paper Pumpkin fun  you’ll also receive Stamp with Jini’s Paper Pumpkin Perks – including an exclusive Craft Time to gather and craft with friends each month!

Click here to order your Stampin’ Up! Products online 24/7! (US only)

It’s simple simply shop at my Online Store and use Hostess Code NGTR6C6Q when you order!!!

Click Here to learn more about using the Hostess Code If you order Online make sure your profile information is up to date and you’ve allowed me to contact you other wise I won’t be able to send you your Paper Pumpkin Perks!

Dragonfly Dreams & Upcoming Classes

Dragonfly Dreams has been one of the most popular bundles in the Occasions Catalog. And when you see the lovely cards it can make you’ll know why.

This card uses a wonderful watercolor wash background created with our reinkers and Aqua Painter. The simplicity of this card is just wonderful I think.And I fell in love with this background as soon as I saw it – teals and water colored tones are some of my favorite colors so I was thrill when Cara shared with me how she made this background on her swap.  If you would like to see how to create this background too I’ve made a quick video for you.

How to Create a Water Color Wash Background

I’ve also included a supply list for this card at the end of this post.

Love this bundle? Why not check out my Dragonfly Dreams Class below. Not only does the class include this bundle of products, you’ll also get to make 3 wonderful projects; including a technique and fancy fold to get you started. Why not sign up today?


Upcoming Classes


Card Class – February 23rd  10-12 pm or 6-8:30 pm

Paper Pumpkin Craft Time – February 28th  10 am – 12pm

Caring with Cards – Clarkesville Library February 21st  2 – 3 pm

FREE event – come make a difference in some one’s life. Cards are donated to Holiday for Heroes and Ronald McDonald House


Dragonfly Dreams Class: Saturday, March 11th 1 – 3:30 pm Class Fee $66

Class includes stamp set, Thinlits and Inside the Lines Designer Series Paper

RSVP and prepay by Wednesday, February 22nd

For more information on my classes CLICK HERE to see my Calendar of Events

And of course if you’ve ever thought about getting a discount on your Stampin’ Up! products, Sale-a-bration is a great time to join! Why not  see what being a Demonstrator is all about and join the fun! Contact me for more information about my Blue Mountain Stampers Team Meeting- February 7th  1 – 3:30 pm


Supplies:

Stamp Set: Dragonfly Dreams (142924)

Inks: Night of Navy Classic Ink (100867)

Paper: Shimmery White (101910), Bermuda Bay (131197), Night of Navy (100867), and Whisper White Card stock (100730)

Accessories: Detailed Dragonfly Thinlits Dies (142749), Bermuda Bay (131156), Island Indigo (122932),and Dapper Denim Reinkers (141399), Aqua Painters (103954), and Pearls Basic Jewels (119247)

 *Dragonfly Dreams Bundle (144728)

Click here to order your Stampin’ Up! Products online 24/7! (US only)

It’s simple simply shop at my Online Store and use Hostess Code NGTR6C6Q when you order!!!