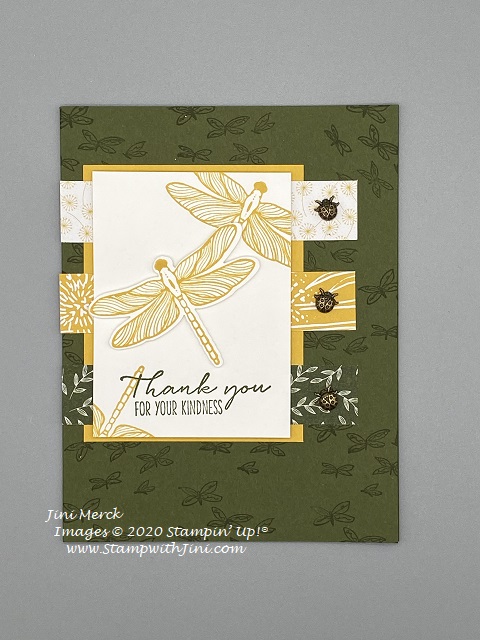
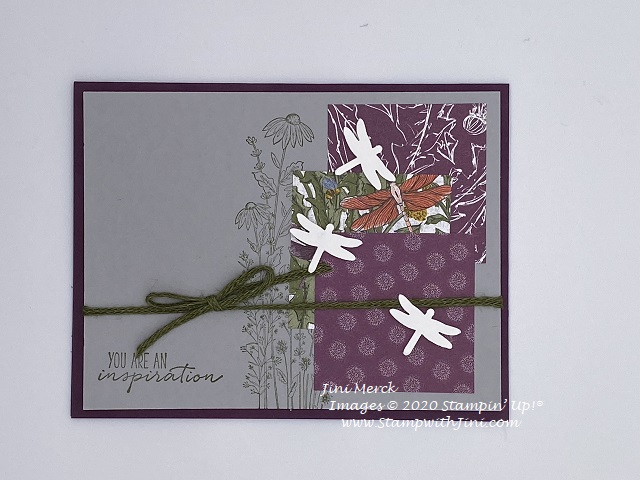
Its a new week and a NEW group of cards for my Mix It Up Series. This week it is my third and final series of Mix It Up video tutorials using the Dragonfly Garden Bundle of products. If you missed the first two simply scroll on back through the blog posts to find them.
This card once again uses a limited number of supplies making it quick and easy to create. And the adorable little Lady Trinkets (154299) are too darn cute too.
Here are my video and PDF tutorials for you.
Mix It Up Series #3 Dragonfly Garden Card #1 Video
Mix It Up Series #3 Dragonfly Garden Card #1 PDF Tutorial
Enjoy! and then stop back by tomorrow when I’ll be sharing card #2 from this 3 part Mix It Up series of tutorials.
Today’s card is the last in this series of 3 cards using the Dragonfly Garden Bundle.
This card is the last in my second Mix It Up Series, so if you missed Series #1 or the other 2 cards why not scroll through my past blog posts? Meanwhile here is the video and pdf tutorial for you.
Mix It Up Series 2 Dragonfly Garden Card #3 Video Tutorial
Mix It Up Series 2 Dragonfly Garden Card #3 PDF Tutorial
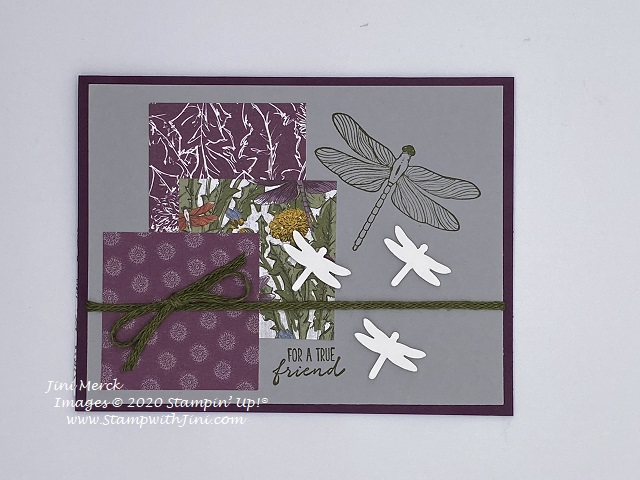
I love the landscape option for cards. Do you find you tend to gravitate toward landscape or portrait layouts? Back in High School my art teacher, Mr. Panaro pointed out to me that every time he gave us an option my choice always was landscape. While that was many years ago that observation still rings true. I try to create with the portrait layout in mind too, which is part of what I love about this Mix It Up Series, it always us to stretch and try new things. Have you ever noticed you tend to gravitate towards a certain layout more? Why not leave me a comment and let me know?
Enjoy! Looks like it will be a good weekend to stay inside and craft a little, but then any time is a good time to craft a little if you ask me!
Here is another quick and easy card to whip up using the Mix It Up pieces that are part of this 3 part video tutorial series using the Dragonfly Garden Bundle of products found in the Mini Catalog. Why not take a few minutes and check it out?
This card was created using the same products as yesterday’s card. Want to see how it is put together? Why not check out my video tutorial and the printable PDF tutorial?
Mix It Up Series 2 Dragonfly Garden Card #2Video Tutorial
Mix It Up Series 2 Dragonfly Garden Card #2 PDF Tutorial
Stop back by again tomorrow when I’ll be sharing the final card in this series of 3 tutorials with you.
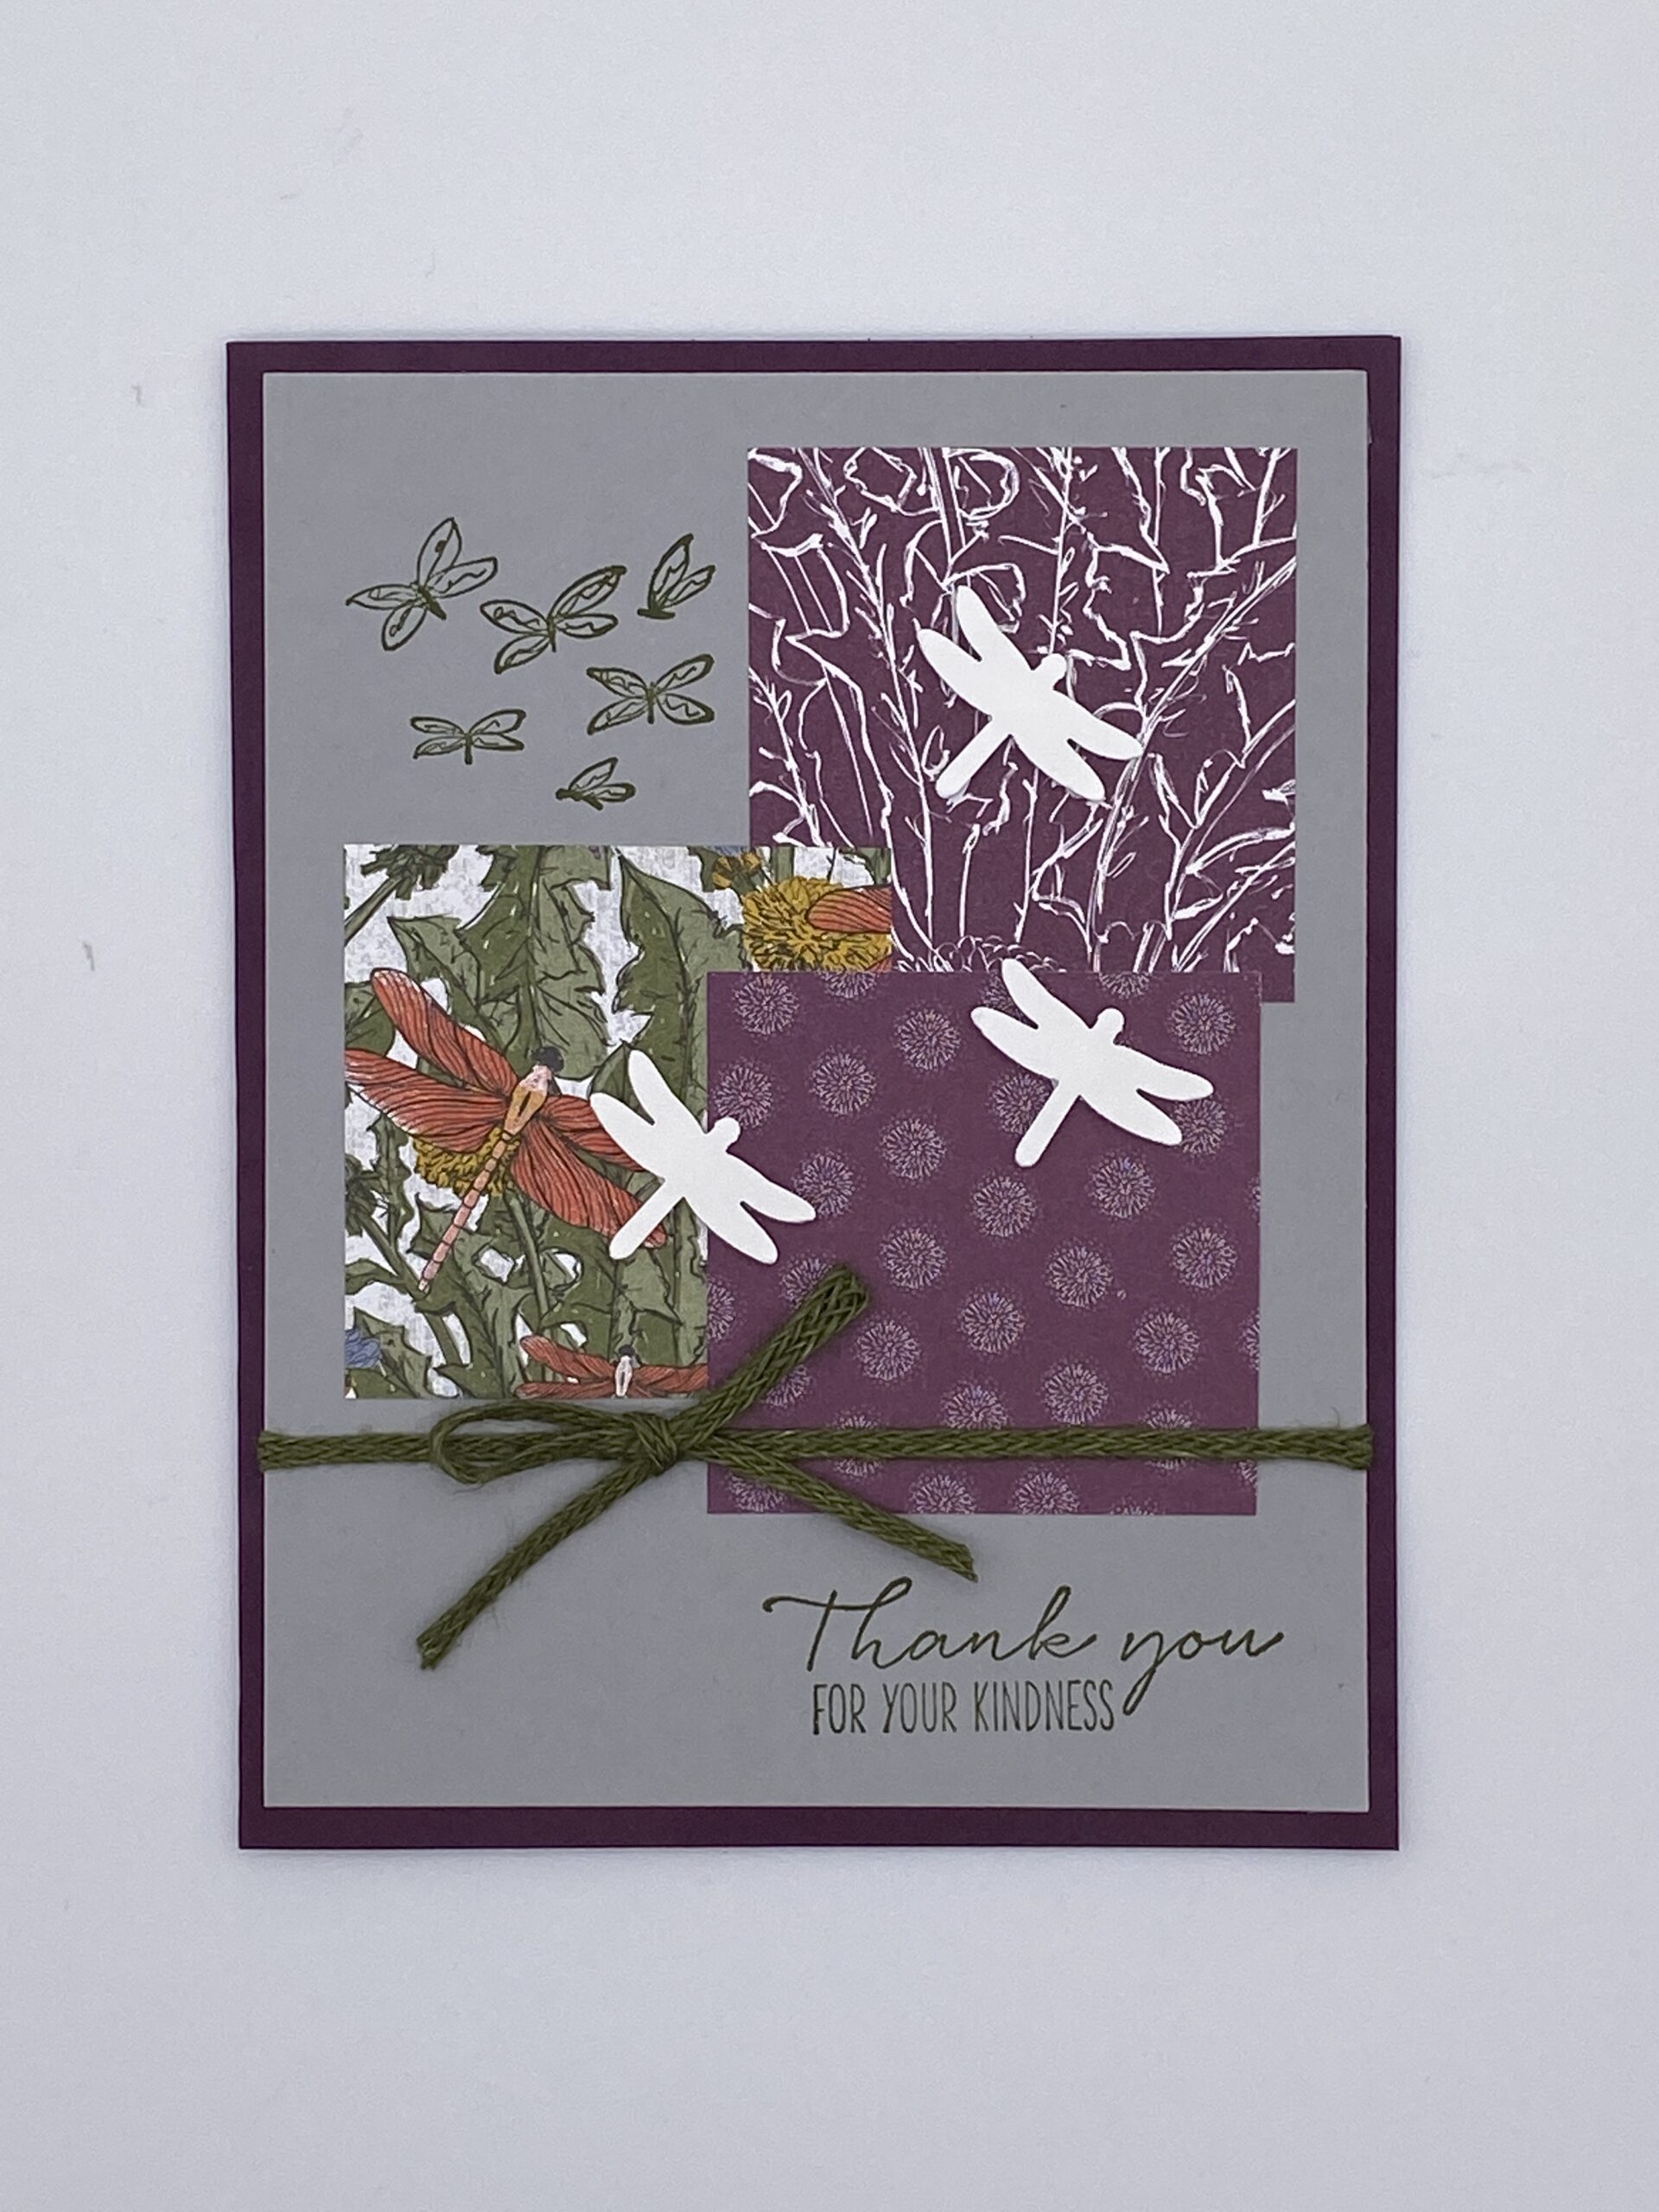
Wow, the week has already flow by so far. Can you believe it is already Wednesday? There is a lot going on but I don’t want to delay starting my second series of Mix It Up tutorials. Today’s series also uses the ever popular Dragonfly Garden Stamp set and coordinating Punch. I think you’ll find once you start using this bundle you won’t want to stop!
This series of cards uses only 3 colors – Mossy Meadow, Smoky Slate, and Blackberry Bliss making it a great a great way to create tons of cards on a budget which is great for new stampers. And when you purchase the products to make these cards you’ll qualify for a FREE Sale-a-bration item too! You got to love that too, right?
Well here we go I’ve got not only the video tutorial for you but also a printable PDF that includes the supply list and step by step instructions along with the video link. Keeping everything together in one place for you.
I just love this concept and projects that was shared with us during our last OnStage event. How about you? Why not leave me a comment and let me know what you think?
Enjoy! and then stop back by tomorrow when I’ll be sharing the second card in this Series with you.
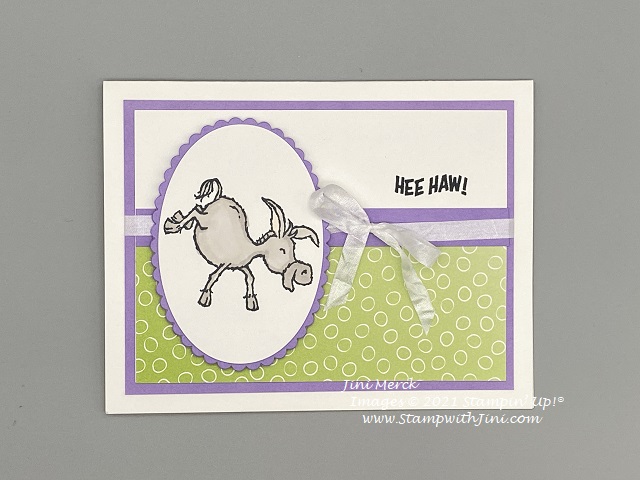
Today’s card is the last of 3 that I’ll be sharing with you this week using the Sale-a-bration FREEBIES, Darling Donkeys and the Oh So Ombre Designer Series Paper.
This fun little guy is kicking up his heels to celebrate my friends birthday. I think she’ll really like this bright cheerful card done in Granny Apple Green and Highland Heather. What do you think?
If you’d like to make one too I’ve whipped up a video turorial for you.
Darling Donkeys Hee Haw Card Video Tutorial
And of course, here is one of my PDFs with the step by step instructions and complete supply list too. Did you know that on each PDF I create for you that I include the YouTube link for you? Yep, this keeps things in one place and gives you a quick way to find the video tutorial so you can follow along each and every time you want to stamp with me!
So why not sign up for class and earn the Sale-a-bration products that I used in this weeks 3 tutorials too? It’s a great deal – free class and free Sale-a-bration goodies too!
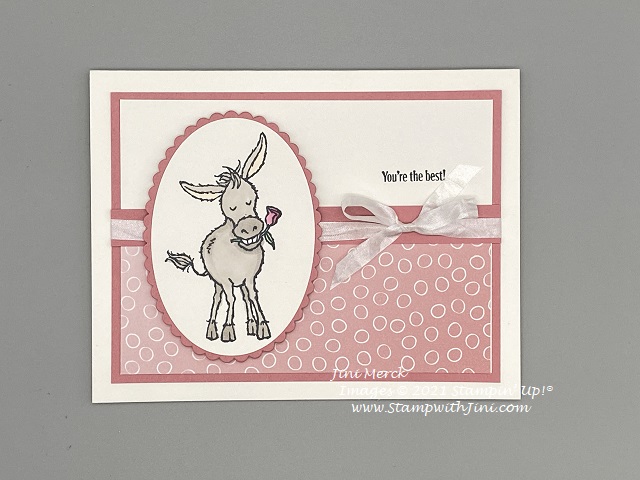
Over the next 3 days I’ll be sharing some fun new tutorials with you so you’ll want to stop back by to check them out. Meanwhile, today’s card uses the adorable little donkey from our Sale-a-bration stamp set, Darling Donkeys. It’s tough to resist this set with its whimsical images that’s perfect for all kinds of occasions.
If you love this little adorable little guy you’ll want to make some of these cards for yourself yourself! So why not check out this quick video crating this card that highlights this set.
Darling Donkeys You’re the Best Card Video Tutorial
Did you know that to get this set the only way is to earn it? That’s right, during January and February you can earn the Darling Donkeys stamp set for free when you place a $50 order in product. The Sale-a-bration Brochure contains lots of fun products like this stamp set and Oh So Ombre Designer Series Paper. These products are exclusive to Sale-a-bration.
Would you like a Sale-a-bration Brochure? If you don’t already have a Demonstrator I’ll be happy to mail you one. Simply email me at StampwithJini@gmail.com with your name, address, and phone number requesting yours and I’ll drop one in the mail to you.
Then stop back by tomorrow when I’ll be sharing another fun tutorial with you.
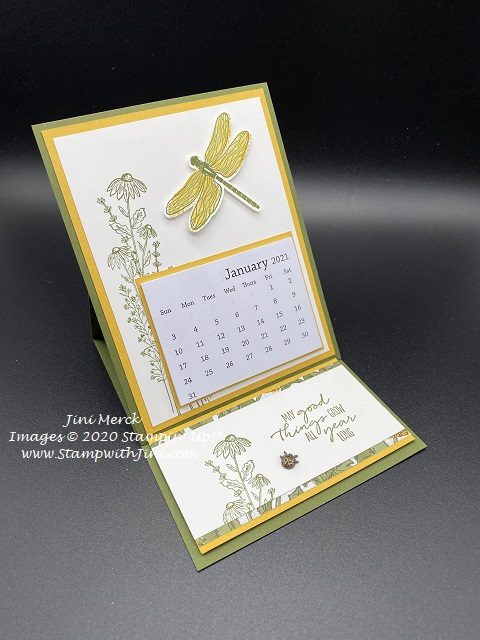
Today’s project is a fun one using the Dragonfly Dreams Bundle that you can use all year long since it holds a mini calendar.
The fun fold is quick and easy to make. Want to make one yourself? Why not check out my tutorial below?
Dragonfly Garden Easel Calendar Card Video Tutorial
Dragonfly Garden Easel Calendar Card Tutorial PDF (corrected 1/14)
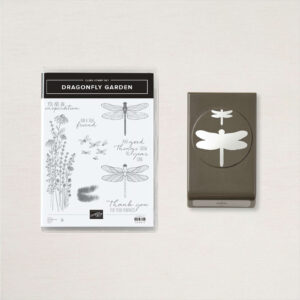
So what do you think? Like the project? The Dragonfly Garden Bundle is part of the Dandy Garden Suite of Products. So it’s got tons of products to create wonderful projects.
And did you know that I’m offering a January Card Class using the Dragonfly Garden Bundle? And did you also know it’s free when you place a qualifying order using the Class Host Code? Yes, I said free! And I’m offering it both in person and Online. You can CLICK HERE to learn more about my Dragonfly Garden Class or stop by my Calendar of Events to see all my upcoming Classes.
Then stop back by when I’ll be sharing another tutorial with your tomorrow.
Paper Pumpkin Fun and a sneak peek for next months kit too!
Are you a Paper Pumpkin Subscriber? If so, good news for our February Kit – There is an Add On that is currently available.
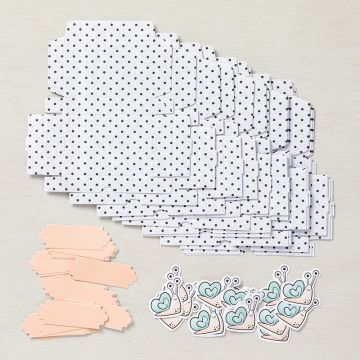
The Little Love Boxes Add On Kit Item #156842 makes 20 adorable little boxes that are 3”x 2”x ½” – perfect for giving a little something to someone you’re thinking of.
And if you haven’t heard of Paper Pumpkin or haven’t subscibed in the past you’ll want to in February.
What is Paper Pumpkin? Paper Pumpkin is our monthly One-Stop Box™ that offers a unique variety of paper projects for subscribers of any skill level to enjoy! These thoughtfully-themed and all-inclusive craft kits encourage you to explore your creativity, try new techniques, and discover your potential in papercrafting. And they are great for all ages!
Why Paper Pumpkin? Paper Pumpkin introduces you to an impressive collection of Stampin’ Up! products, from our one-of-a-kind ink pads to our eye-catching embellishments. Plus, the carefully-chosen components of each Paper Pumpkin kit highlight the unbeatable versatility and coordination our products provide! This easy and exciting way to stock up on supplies—and create small-batch projects for occasions of any kind—inspires you to continue crafting. With Paper Pumpkin, it’s easy to craft
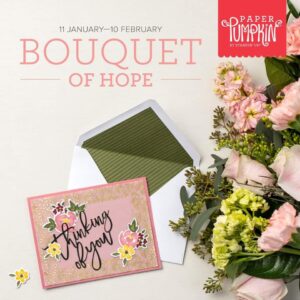
So, what’s in store for this month’s kit? February’s Paper Pumpkin kit—Bouquet of Hope—provides a way to offer comfort, care, and condolences to those enduring life’s challenges. With beautiful blooms and supportive sentiments, the Bouquet of Hope Paper Pumpkin Kit will soothe sorrow and share sympathy in a heartfelt, handmade way. While you can create nine cards of comfort and coordinating envelopes with February’s kit, the kit’s exclusive, versatile stamp set can be used to uplift loved ones during trying times, any time.
To learn more about this kind-hearted kit, keep reading!
Bouquet of Hope
Details
Kit contains enough supplies to create 9 cards—3 each of 3 designs—and coordinating envelopes. Kit includes card bases, decorative die-cut pieces, embellishments, and more.
Card size: 4-1/4″ x 5-1/2″ (10.8 x 14 cm)
Envelope size: 4-1/2″ x 5-3/4″ (11.4 x 14.6 cm)
Coordinating colors: Basic Black, Bumblebee, Just Jade, Merry Merlot, Mossy Meadow, Rococo Rose
Coordinates with the Flower & Field Designer Series Paper, an exclusive Sale-A-Bration item.
Coordinating Product
155223 | Flower & Field Designer Series Paper
Earn this pack of paper for FREE with a purchase of $50 USD or more during Stampin’ Up!’s Sale-A-Bration promotion!
Purchase a Prepaid Subscription or order any product found in my Online Store to qualify
The Sale-A-Bration promotion will run until February 28th.
Subscribe to the February 2021 Paper Pumpkin Kit between 11 January and 10 February at paperpumpkin.com! When you chose me as your demonstrator you’ll get to attend our monthly craft time for free!
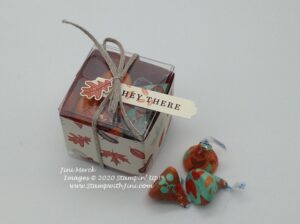
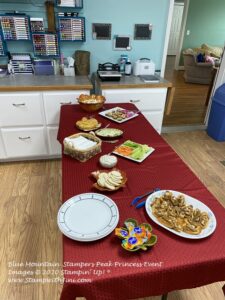
Yesterday I shared the Home Decor project that we made at the Peak Princess event this past weekend, today I thought I’d share the little treat item that I made.
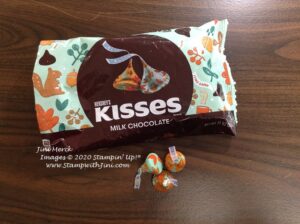
They are filled with these fun fall Hershey’s Kisses that I found locally.
I just love the colors of the candy – yes, I do shop for candy that way. (My daughter thinks this is a pretty crazy way to shop for chocolate, but she is always on the hunt for me too!)
These treats were quick and easy to make for everyone. I have whipped up a quick video so you can make some to if you’d like.
Beautiful Autumn Tiny Treat Box Video Tutorial
And of course it’s always fun to have a PDF that contains a complete supply list for projects. So here it is.
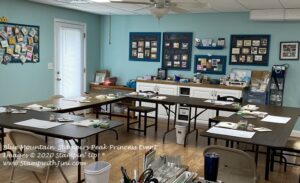
I also mentioned I’d share some more photos so here are a couple from the classroom.
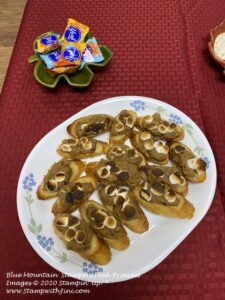
This last picture is of the Sweet Potato Crostini I made for the event. The marshmallows spent a bit too much time under the broiler I’m afraid. Don’t you hate that? But they were still quite tasty.
They were a big hit with my guys so I thought you might enjoy the recipe – they are light, tasty and easy to do.
Sweet Potato Crostini
2 T. sugar
1/2 tsp. cinnamon
24 slices 1/4″ thick French bread baguette
2 to 3 T butter, melted
Topping:
2 c. mashed sweet potatoes
1/4 c. chopped pecans
3 T. packed brown sugar
2 T. butter, melted
1 1/4 c. miniature marshmallows, halved
Preheat oven to 350 degrees. Mix sugar and cinnamon. Arrange bread sliced ona baking sheet. Brush with butter; sprinkle with sugar mixture. Bake until lightly browned, 5-7 minutes. Remove from oven; preheat broiler.
Mix sweet potatoes, pecans, brown sugar, and butter; spread over toasts. Top with marshmallows, pressing lightly. Broil 3-4 inches from heat until marshmallows are lightly toasted, 1-2 minutes.
Shop at my Online Store and use Host Code B74BJ7HF
Click Here to learn more about using the Hostess Code If you order Online make sure your profile information is up to date and you’ve allowed me to send you your free gift, a FREE Class using the Beautiful Autumn Bundle.
If your Online order is $150 or more make sure not to use the host code so that you can take advantage of the Host Benefits yourself – No worries, I’ll still send you your free gift. It’s my way of saying thank you for choosing me as your demonstrator!
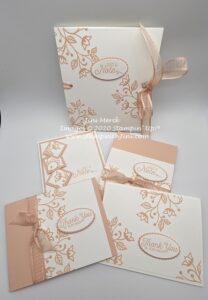
Today’s project is a fun one that creates a lovely set of cards with a holder. It’s done in a soft and subtle classic color combo too so it’s a perfect gift for all kinds of occasions.
Why not create some for your gift giving needs? While we are sheltering and place and have a bit of time at home it’s a great time to plan ahead and get some things done for this years holiday season. Yes, you heard me right, holiday season. I’ve been creating hand stamped projects for gift giving not only to have on hand but to get ahead of the busy holiday season too! Plus as an added bonus stamping and creating reduces my stress level too since it is a chance to relax in my craft space.
And since this set of cards doesn’t require a huge list of supplies to create it’s perfect for those who are beginning to build their stamping supplies too or just want to get something new.
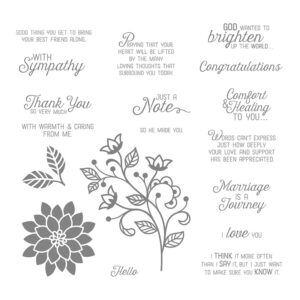
This stamp set has some great images along with a variety of sentiments done in a lovely font – so it is perfect and very versatile for all kinds of projects!
I’ve quickly whipped up a printable tutorial for you today since I wanted to share this with you earlier and it got buried under things in my studio. So why not check it out?
Flourishing Phrases Card Set & Holder Tutorial PDF
Sorry, no videos this time as I wanted to share this with you as quickly as possible. 🙂
Shop at my Online Store and use Host Code F66EBVG6
Click Here to learn more about using the Hostess Code If you order Online make sure your profile information is up to date and you’ve allowed me to contact you and mail you a 2020 Annual Catalog (If you chose no contact in the past you’ll need to call 1-800-Stamp Up to have them change your profile for you.)
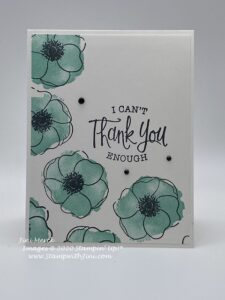
I’ve loving all you can do with the Painted Poppies stamp set and today I’ve teamed it up with the So Sentimental Stamp set for a #simplestamping project that is my March thank you card.
This card is #simplestamping since it only requires 2 ink pads and card stock. It’s also a great for new stampers since you can combine the sentiment set with the image set of your choice.
I’ve used one of my favorite colors – Coastal Cabana to create these wonderful bright poppies. And since poppies come in all kinds of colors you could change it up with your own color choice.
Here is a quick video for you so you can see just how simple this card is to make!
Painted Poppies Thank You Card Video Tutorial
.
And of course who doesn’t like a PDF to print off with a complete supply list and step by by tutorial?