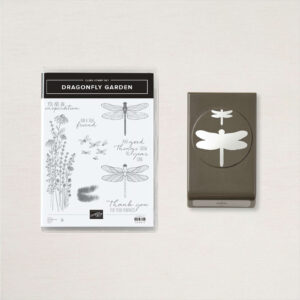
Wow, the week has already flow by so far. Can you believe it is already Wednesday? There is a lot going on but I don’t want to delay starting my second series of Mix It Up tutorials. Today’s series also uses the ever popular Dragonfly Garden Stamp set and coordinating Punch. I think you’ll find once you start using this bundle you won’t want to stop!
This series of cards uses only 3 colors – Mossy Meadow, Smoky Slate, and Blackberry Bliss making it a great a great way to create tons of cards on a budget which is great for new stampers. And when you purchase the products to make these cards you’ll qualify for a FREE Sale-a-bration item too! You got to love that too, right?
Well here we go I’ve got not only the video tutorial for you but also a printable PDF that includes the supply list and step by step instructions along with the video link. Keeping everything together in one place for you.
I just love this concept and projects that was shared with us during our last OnStage event. How about you? Why not leave me a comment and let me know what you think?
Enjoy! and then stop back by tomorrow when I’ll be sharing the second card in this Series with you.
Today marks the end of my Mix It Up Series Series #1 and it’s final project. This week I’ve been sharing with you cards all made with the same pieces, just mixed up. This technique is a fun and quick way to create cards quickly. Whether your new to stamping or a avid crafter like myself you’ll find this series a great way to craft.
Today’s card once again uses the classic Misty Moonlight and Bumblebee combination. Since it uses just 2 ink pads it’s a great way to start building your color collection. And since they both are part of our 2020-2022 In Color Collection you can choose our Cardstock Assortment pack since it contains all 5 colors in the In Color collection.
Done in a landscape layout it with simple stamping – this sentiment is a great way to spread some cheer.
Here is my video tutorial and a printable PDF also for you. Did you know that each of my PDF tutorials not only gives you a complete supply list, measurements, and step by step directions as a companion to the video but it also includes the YouTube link? Yep, they do – that makes it simple to keep everything in one place!
Mix It Up Series 1 Dragonfly Garden Card #3 Video Tutorial
Mix It Up Series 1 Dragonfly Garden Card #3 TutorialPDF
If you enjoyed this series of tutorials you’ll want to make sure to stop back by again next week when I’ll being sharing my Mix It Up Series #2! If you missed my earlier projects that are part of this series you can scroll back to see them in my earlier posts and catch up.
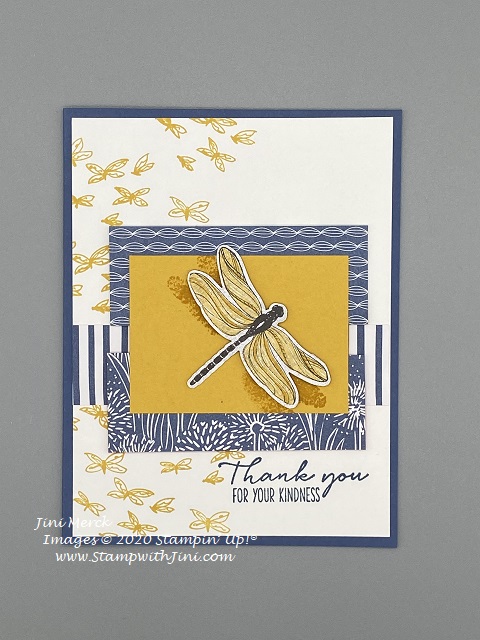
Yesterday I shared with you the first card in my Mix It Up Series and as promised today I’ll be sharing the second card of the 3 using these same pieces. So without further ado here you go.
This card uses the same size pieces and once again the Misty Moonlight and Bumblebee Classic Inks but mixes up the layout a bit. Check out my video tutorial and PDF for this project below.
Mix It Up Series 1 Dragonfly Garden Card #2 Video Tutorial
Mix It Up Series 1 Dragonfly Garden Card #2 Tutorial PDF
So what do you think? Are you liking this option for quick and easy cards? Why not leave me a comment and let me know? Then stop back by tomorrow when I’ll be sharing the last of the 3 cards in this tutorial series.
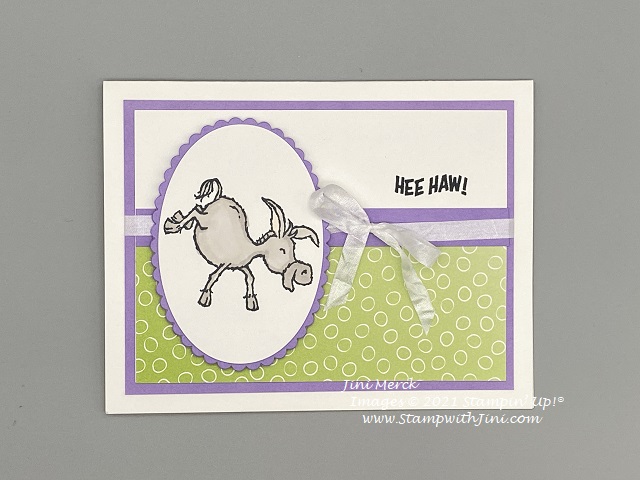
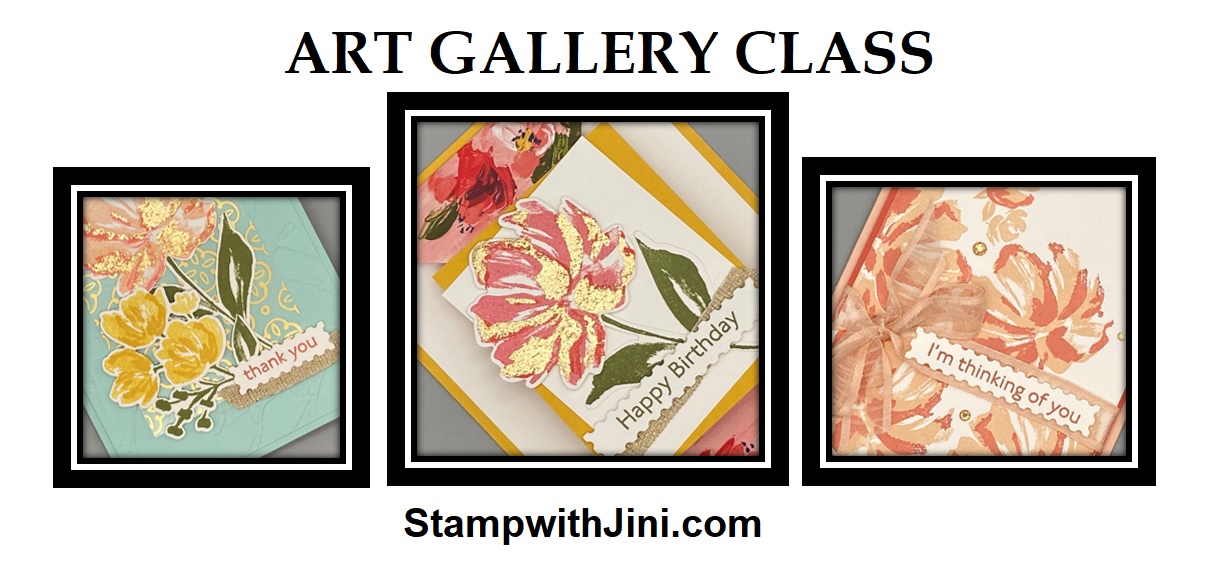
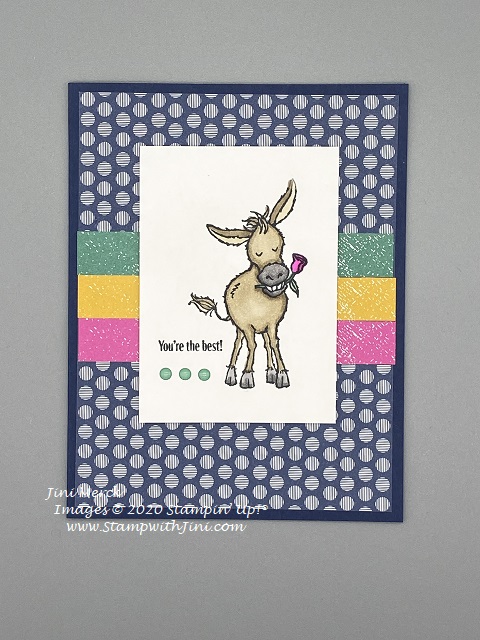
Today’s card is the last of 3 that I’ll be sharing with you this week using the Sale-a-bration FREEBIES, Darling Donkeys and the Oh So Ombre Designer Series Paper.
This fun little guy is kicking up his heels to celebrate my friends birthday. I think she’ll really like this bright cheerful card done in Granny Apple Green and Highland Heather. What do you think?
If you’d like to make one too I’ve whipped up a video turorial for you.
Darling Donkeys Hee Haw Card Video Tutorial
And of course, here is one of my PDFs with the step by step instructions and complete supply list too. Did you know that on each PDF I create for you that I include the YouTube link for you? Yep, this keeps things in one place and gives you a quick way to find the video tutorial so you can follow along each and every time you want to stamp with me!
So why not sign up for class and earn the Sale-a-bration products that I used in this weeks 3 tutorials too? It’s a great deal – free class and free Sale-a-bration goodies too!
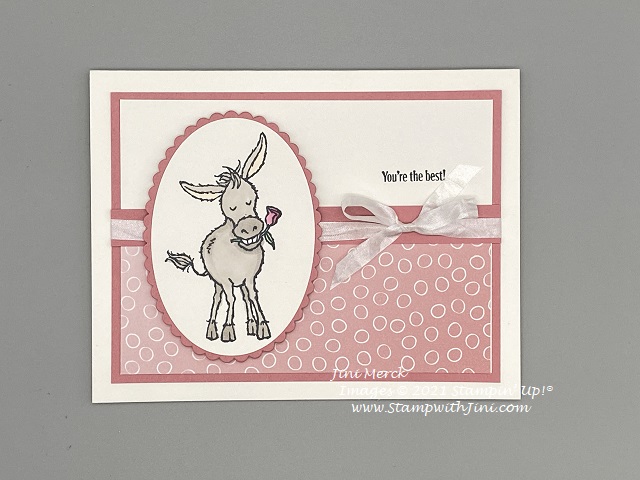
Today I’m sharing another card made with the Darling Donkeys stamp set from the Sale-a-bration Brochure. I’ve just fallen in love with these little guys and their sweet faces. They are so quick and easy to color with our Stampin’ Blends – and I find coloring with our Stampin’ Blends quite relaxing too.
This time I’ve team the image up with our bright and cheerful Bermuda Bay pattern from the Oh So Ombre 6×6 Designer Series Paper that you can also find in the Sale-a-bration offerings.
This card is quick and easy to stamp and when the image is teamed up with this bold sentiment it is perfect to send to a friend to brighten their day. Want to see how quick and easy this was to stamp? Why not check out my video tutorial?
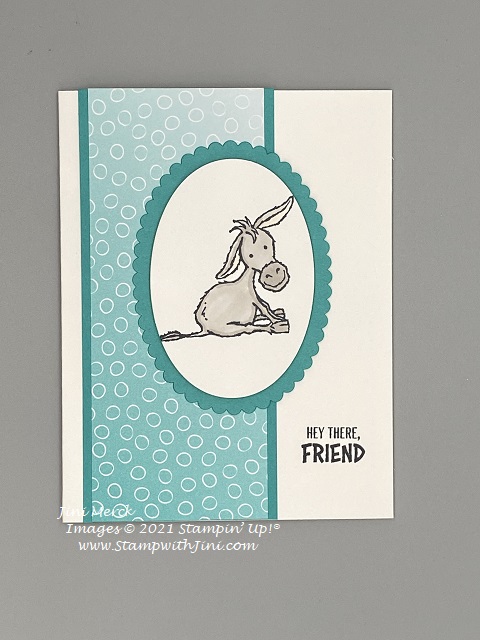
Over the next 3 days I’ll be sharing some fun new tutorials with you so you’ll want to stop back by to check them out. Meanwhile, today’s card uses the adorable little donkey from our Sale-a-bration stamp set, Darling Donkeys. It’s tough to resist this set with its whimsical images that’s perfect for all kinds of occasions.
If you love this little adorable little guy you’ll want to make some of these cards for yourself yourself! So why not check out this quick video crating this card that highlights this set.
Darling Donkeys You’re the Best Card Video Tutorial
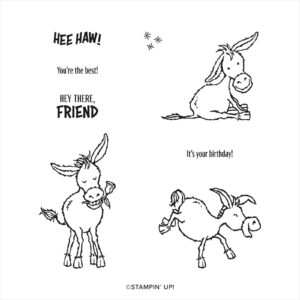
Did you know that to get this set the only way is to earn it? That’s right, during January and February you can earn the Darling Donkeys stamp set for free when you place a $50 order in product. The Sale-a-bration Brochure contains lots of fun products like this stamp set and Oh So Ombre Designer Series Paper. These products are exclusive to Sale-a-bration.
Would you like a Sale-a-bration Brochure? If you don’t already have a Demonstrator I’ll be happy to mail you one. Simply email me at StampwithJini@gmail.com with your name, address, and phone number requesting yours and I’ll drop one in the mail to you.
Then stop back by tomorrow when I’ll be sharing another fun tutorial with you.
Did I say darling? Yes! This stamp set is just too cut and I couldn’t wait to ink it up and put it to paper when I first saw it.
Today’s card was one that I cased from the Sale-a-bration brochure. Do you ever do that? I love the fact that our catalogs have such great ideas that we can copy and share! I used this cute little card for my Team OnStage After Party last November, so today I thought I’d share it with you so you can make some too.
I’ve whipped up a quick tutorial with a complete supply list and video too! Why not check it out?
Whew! What did I tell you too darling right? If you love this card you can order the supplies I’ve used and earn the stamp set for FREE! That’s right, free. When you place any qualifying order during January and February you can choose a FREE item from our Sale-a-bration Brochure. But you’ll want to hurry since you only have 2 months to earn all the fantastic free goodies in the brochure instead of the normal 3 months we’ve had in the past.
Got questions? I’m here to help simply call or email me. I’m always happy to help!
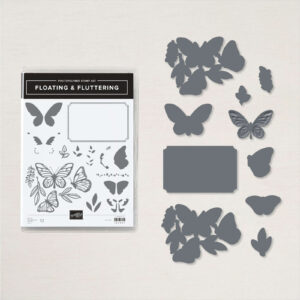
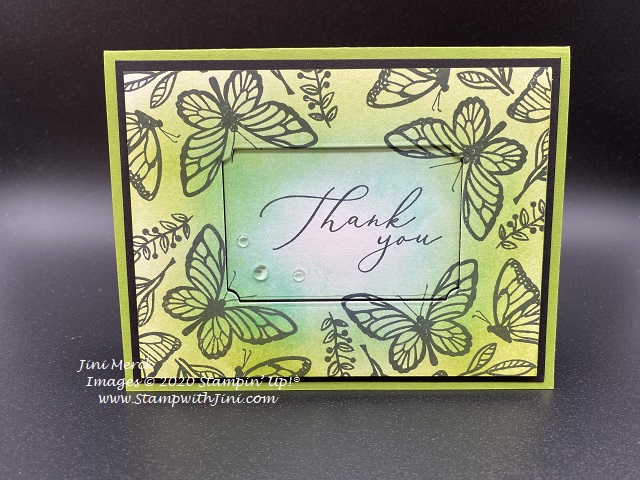
Today I’d like to share another tutorial with you. I’m running a bit behind because my internet is having issues. So please bear with me as I work through this problem over the next few days. Today’s card uses the Floating & Fluttering Bundle found in the 2021 January – June Mini.
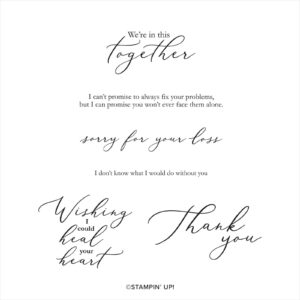
This bundle of products doesn’t contain sentiments so it was perfect to team up with the FREE Sale-a-bration stamp set Heal Your Heart (Sale-a-bration 152291) that you can earn when you purchase this bundle and spend $50 in product.
Want to see the card now? I chose one of my favorite color combos for it – Coastal Cabana and Granny Apple Green.
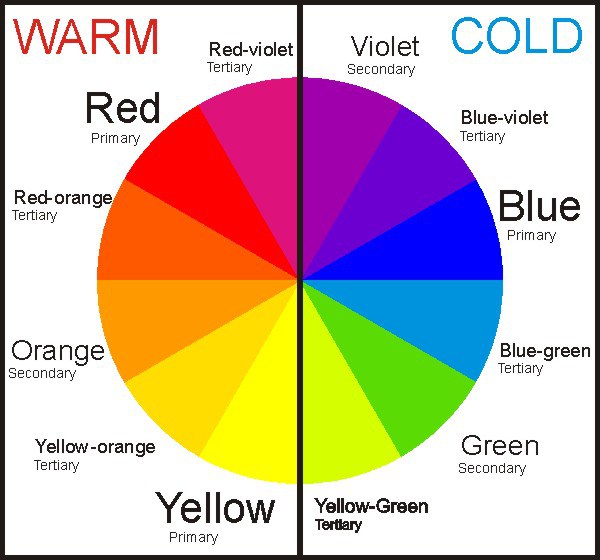
When doing a technique like blending colors you’ll want to choose colors next to each other on the color wheel rather than across from each other for a more pleasing feel. If you use colors across from each other you’ll get a more “muddy” look when you blend them.
If you don’t remember your childhood art class basics, there are primary colors Red, Blue, and Yellow.
When primary colors are mixed with the color next to them you get the secondary colors, orange, violet, green. And of course, if there is more of one of the primary colors in the mix that is more dominate, you’ve got the tertiary colors or 3rd set of colors.
If you’ve been stamping for a while you probably do this intuitively with your color combinations without even realizing it as we all have color palettes we use repeatedly because they make us happy.
On to the tutorial. I’ve created both a video and PDF for you that I wanted to share.
Floating & Fluttering Thank You Card Video Tutorial
And just a reminder if you haven’t received your January – June Mini Catalog or Sale-a-bration brochure yet please let me know. You can email me at stampwithJini@gmail.com and I’ll get another out to you.
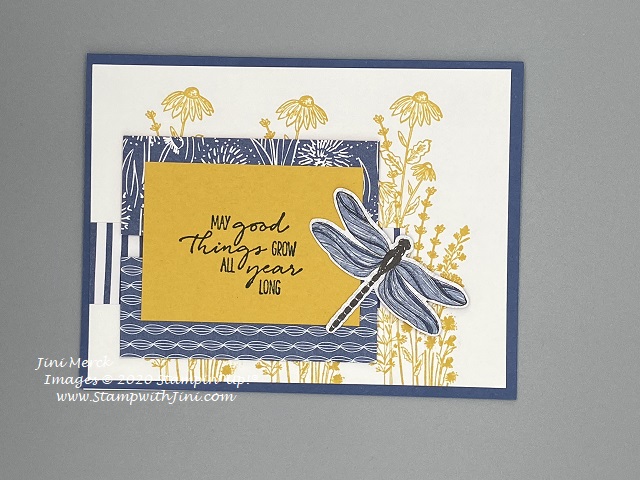
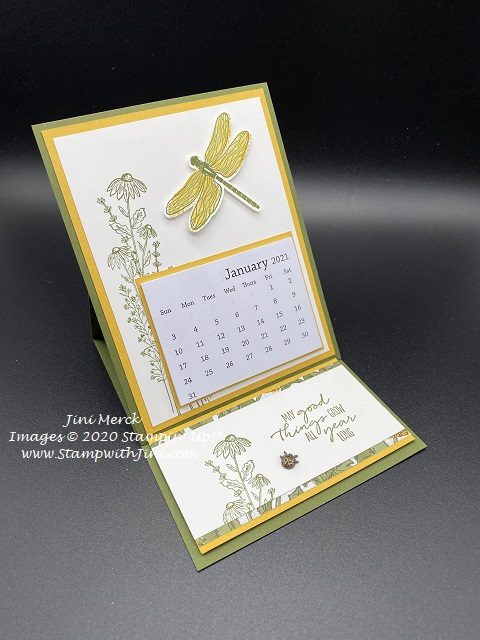
Today’s project is a fun one using the Dragonfly Dreams Bundle that you can use all year long since it holds a mini calendar.
The fun fold is quick and easy to make. Want to make one yourself? Why not check out my tutorial below?
Dragonfly Garden Easel Calendar Card Video Tutorial
Dragonfly Garden Easel Calendar Card Tutorial PDF (corrected 1/14)
So what do you think? Like the project? The Dragonfly Garden Bundle is part of the Dandy Garden Suite of Products. So it’s got tons of products to create wonderful projects.
And did you know that I’m offering a January Card Class using the Dragonfly Garden Bundle? And did you also know it’s free when you place a qualifying order using the Class Host Code? Yes, I said free! And I’m offering it both in person and Online. You can CLICK HERE to learn more about my Dragonfly Garden Class or stop by my Calendar of Events to see all my upcoming Classes.
Then stop back by when I’ll be sharing another tutorial with your tomorrow.
Paper Pumpkin Fun and a sneak peek for next months kit too!
Are you a Paper Pumpkin Subscriber? If so, good news for our February Kit – There is an Add On that is currently available.
The Little Love Boxes Add On Kit Item #156842 makes 20 adorable little boxes that are 3”x 2”x ½” – perfect for giving a little something to someone you’re thinking of.
And if you haven’t heard of Paper Pumpkin or haven’t subscibed in the past you’ll want to in February.
What is Paper Pumpkin? Paper Pumpkin is our monthly One-Stop Box™ that offers a unique variety of paper projects for subscribers of any skill level to enjoy! These thoughtfully-themed and all-inclusive craft kits encourage you to explore your creativity, try new techniques, and discover your potential in papercrafting. And they are great for all ages!
Why Paper Pumpkin? Paper Pumpkin introduces you to an impressive collection of Stampin’ Up! products, from our one-of-a-kind ink pads to our eye-catching embellishments. Plus, the carefully-chosen components of each Paper Pumpkin kit highlight the unbeatable versatility and coordination our products provide! This easy and exciting way to stock up on supplies—and create small-batch projects for occasions of any kind—inspires you to continue crafting. With Paper Pumpkin, it’s easy to craft
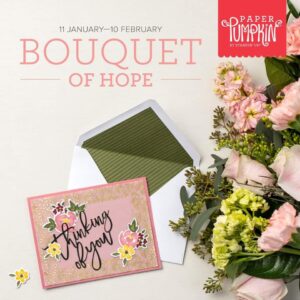
So, what’s in store for this month’s kit? February’s Paper Pumpkin kit—Bouquet of Hope—provides a way to offer comfort, care, and condolences to those enduring life’s challenges. With beautiful blooms and supportive sentiments, the Bouquet of Hope Paper Pumpkin Kit will soothe sorrow and share sympathy in a heartfelt, handmade way. While you can create nine cards of comfort and coordinating envelopes with February’s kit, the kit’s exclusive, versatile stamp set can be used to uplift loved ones during trying times, any time.
To learn more about this kind-hearted kit, keep reading!
Bouquet of Hope
Details
Kit contains enough supplies to create 9 cards—3 each of 3 designs—and coordinating envelopes. Kit includes card bases, decorative die-cut pieces, embellishments, and more.
Card size: 4-1/4″ x 5-1/2″ (10.8 x 14 cm)
Envelope size: 4-1/2″ x 5-3/4″ (11.4 x 14.6 cm)
Coordinating colors: Basic Black, Bumblebee, Just Jade, Merry Merlot, Mossy Meadow, Rococo Rose
Coordinates with the Flower & Field Designer Series Paper, an exclusive Sale-A-Bration item.
Coordinating Product
155223 | Flower & Field Designer Series Paper
Earn this pack of paper for FREE with a purchase of $50 USD or more during Stampin’ Up!’s Sale-A-Bration promotion!
Purchase a Prepaid Subscription or order any product found in my Online Store to qualify
The Sale-A-Bration promotion will run until February 28th.
Subscribe to the February 2021 Paper Pumpkin Kit between 11 January and 10 February at paperpumpkin.com! When you chose me as your demonstrator you’ll get to attend our monthly craft time for free!
Whew! The week is flying by and tonight starts the Stampin’ Up! OnStage@Home event. I’m excited about this opportunity to gather with my fellow demonstrators from around the world. It’s sure to be a jam packed 3 days as always and while it is not a live event in Salt Lake as planned originally I’m just happy that I’m able to participate this way from home. Stampin’ Up! never disappoints at these events.
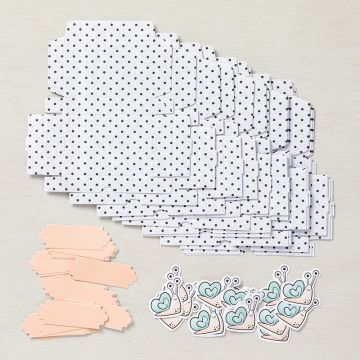
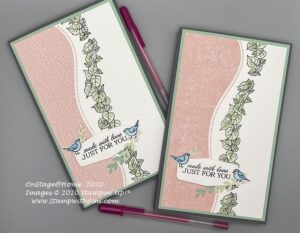
I didn’t want to spoil the surprise earlier this week, but by now everyone should have received their little goodies in the mail. So….. today I thought I’d share with you a fun project that I made as a gift for my team members that will be joining me for the OnStage@Home event. I just love the Quite Curvy Bundle so I started there.
I just couldn’t resist these sweet little birds and the fact that the sentiments curve along the die cut edges! So want to see what I made?
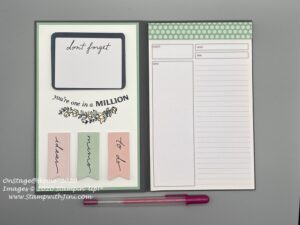
Here you go this soft and sweet note pad holders
I’m really pleased with the way they turned out and I had some sticky notes and flags that I thought went perfectly with this project too!
So what do you think? Want to learn how to make your own? While you may not have the same little flags and sticky notes I’m sure you can find some similar sized for your projects. Or how about a sticky note and mini calendar? The options are endless and I find that one of the fun things about creating a gift like this.
I’ve put together a video tutorial for you. It’s a bit longer than my normal videos, but it shows you the how to from start to finish. And as always I’ve given you a printable PDF with a complete supply list and step by step instructions.
Quite Curvy Note Pad Holder Video Tutorial
I’ve also got this great tip for cutting out your stamped images with our dies. Do you ever miss cut? I really hate that and this quick little tip REALLY helps!
How to Cut Die Cut Images Consistently Video Tutorial
So what do you think? Helpful? Why not give it a try and then leave a comment to let me know if you like doing it this way. Either way I hope this little tip helps you with your crafting too!
And now without further delay here is that printable PDF I told you about with the complete supply list.
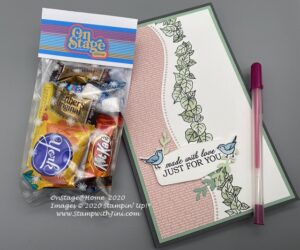
To go along with the note book I created a little treat bag to celebrate the event using our fun 3×9 Gusseted Cellophane Bags (151312) filled with a variety of items.
After all who doesn’t appreciate a little treat bag too?
Enjoy!
Stop back by tomorrow when I’ll be sharing some more OnStage@Home fun with you!
Shop at my Online Store and use Host Code WUJKQ9XP
Click Here to learn more about using the Hostess Code If you order Online make sure your profile information is up to date and you’ve allowed me to send you your free gift, a FREE Class using the Poinsettia Place Suite of Products found in the Mini Catalog.
If your Online order is $150 or more make sure not to use the host code so that you can take advantage of the Host Benefits yourself – No worries, I’ll still send you your free gift. It’s my way of saying thank you for choosing me as your demonstrator!