About Stamp with Jini

My name is Jini Merck and I'm a Stampin' Up! Independent Demonstrator. I love being a Stampin’ Up! demonstrator, not only do I get to be creative every day, I also get to be a creative coach, offering fresh project ideas and encouragement to my customers and friends. For me, helping someone create that perfect project for a special occasion is the best feeling in the entire world. After all, creating cards, scrapbook pages, and gift items is about more than just stamps and ink—it’s about sharing a part of yourself with the people in your life. I live in Clarkesville which is in the North Georgia Mountains with my husband and two children. Although my family keeps me busy I enjoy the creativity of stamping and crafts and the fellowship stamping brings into my life. Spending time creativing cards and gifts for friends and family has been one of my favorite hobbies over the years.

New MDS Downloads

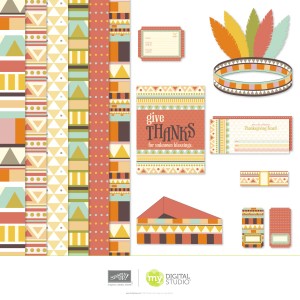
Check out all the great NEW MDS Downloads that were released yesterday.  Get ready for the holidays and your next gathering with the wonderful Unknown Blessings Ensemble

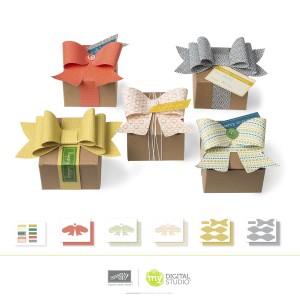
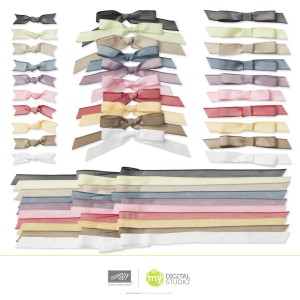
How cute are these bows!

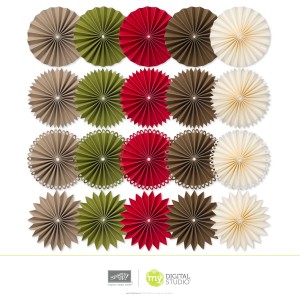
And who doesn’t love Designer Rosettes.

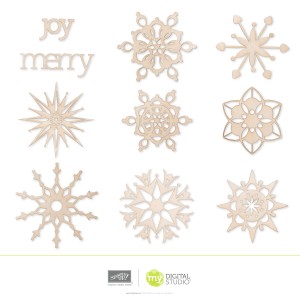
Our new Snowday Woodcuts  are just in time for your winter projects too.

Want to learn more about MDS2 keep an eye out on my Calendar of events for Classes introducing you to MDS2 and all the wonderful things you can do with it! Can’t wait to see what all the excitement is about? Why not try our FREE 30 Day MDS2 Trial. You can see more information by clicking HERE.

Click here to order your Stampin’ Up! Products online 24/7! (US only)

Gift Bags for Regionals

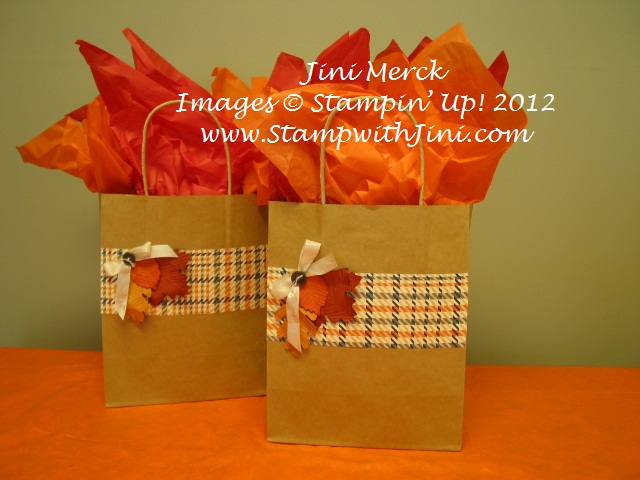
Yesterday I showed you my Tic Tac Regional goodie for my room mates. You can click HERE to see that post. Well I was having so much fun making Regional roomie gift items for my TEAM that I thought I would make a cute bag to hold everything for them. So here is what I came up with.

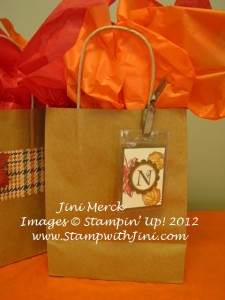
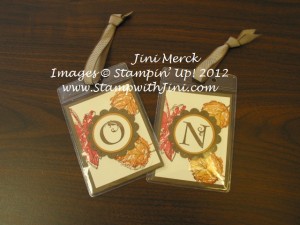
Now, I thought I was being smart by just varying the tissue paper in the two gift bags. However, I quickly realized that since I personalized the notebooks with their initials I wasn’t going to remember which bag was which. My CRS, as my kids call it, was kicking in big time. Sooo.. I got to thinking about bag tags making it easy to identify their individual gifts. Voila! I found my extra stash of name tags that I’ve used before (when I made tags for my daughter’s birthday gift of luggage this past spring) and came up with these cute little fall themed tags for the bags.

My TEAM loved them and quickly moved them to their bags they were taking to the Regional that held their swaps.

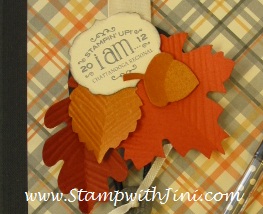
Here is a close up of the tags. What do you think?

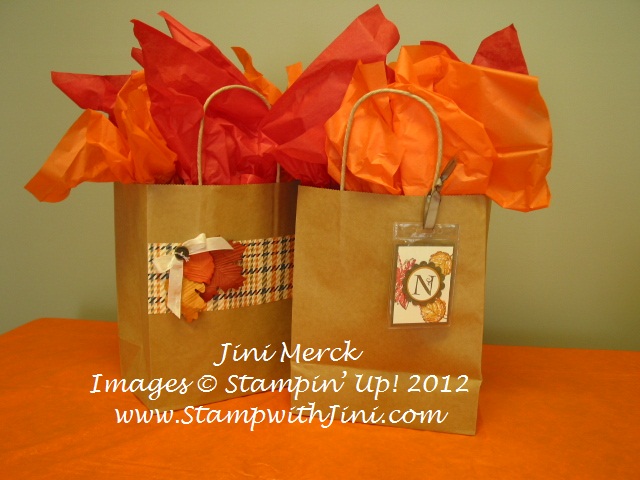
Here are the finished bags with tags – front and back.

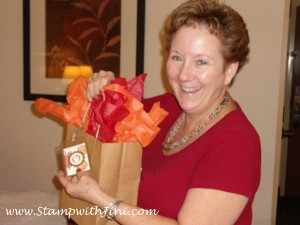
and here is my TEAM member Janie getting her bag

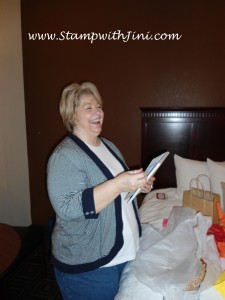
and my downline Cindy opening her notebook when we arrived in Chattanooga at our hotel Friday night.

I’ve got such a great TEAM and we have such fun stamping together! The fellowship of stamping is one of the best parts that I love about the Stampin’ Up! experience.

Have you ever thought about becoming a Stampin’ Up! Demonstrator? Would you like  to learn more about it? Click HERE for more information about joining my TEAM. Not sure, but you’d like to see what it is all about, why not join us at one of my TEAM meetings. Contact me today for more information.

Click here to order your Stampin’ Up! Products online 24/7! (US only)

Regional Goodies!

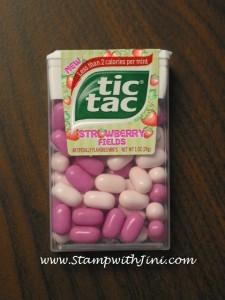
I love to make little goodie items and so when I saw these cute little strawberry tic tacs  in the checkout line last week I impulsively bought them. Don’t they sound yummy?

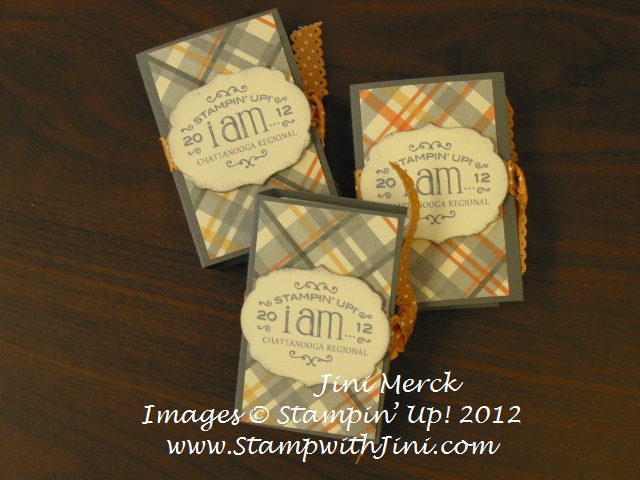
When I got them home I thought my TEAM would enjoy them so I decorated them up a little bit with the same Desiger Series Paper, Howlstooth & Scaringbone from the Holiday Catalog that I used for my TEAM’s notebooks from yesterday’s post. You can click HERE to see that post.

Didn’t they turn out cute? I used the MDS2 to create the little Regional logo that I put on them. I love how easy it makes doing my projects and it make resizing the image for any project simple too. Want to learn more about our FREE MDS2 Trial?

Click HERE for more details about the MDS2 30 Day FREE Trial Offer.

Click here to order your Stampin’ Up! Products online 24/7! (US only)

Gifts for My Roomies at Regional…..

Well we’re back and we had such a blast at the Chattanooga Regional that I don’t know where to start. I’m just bubbling over with all the wonderful tips and information that were shared with us on Saturday that I’ll spend the next week sharing it all with you!

I’m going to start with my TEAM gifts first, since that is the beginning and hope you’ll come back each day as I share more of the Regional highlights with you.

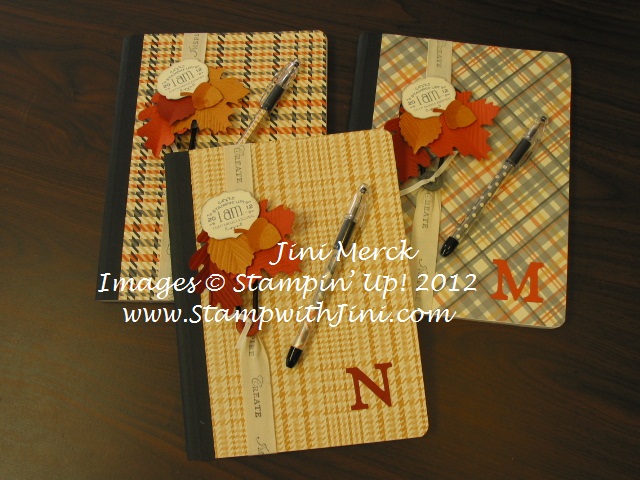
As I mentioned before, this is the first Regional that my TEAM members have been able to attend, so I wanted to do something extra special for them as my roomie gifts. I myself like to take lots of notes for stamping projects and thought they would too, so I thought these notebooks would make a wonderful roomie gifts.

Here is a photo of all three of our books together.

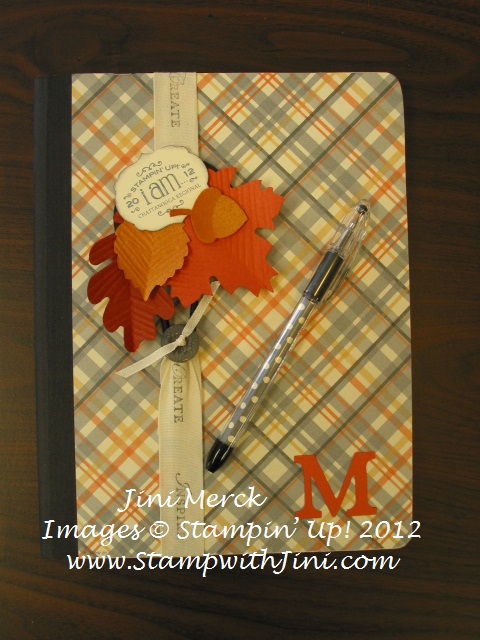
And here is a close up of just my notebook. Don’t you just love the Howlstooth & Scaringbone Designer Series Paper? It has such wonderful colors and patterns that it’s not just for Halloween! Why not get yours today Click HERE to see all our wonderful Holiday Catalog items.

Here is a close up of my notebook, I just love the softness of this pattern and I’m a “gray” person so I couldn’t resist using it for mine.

Now, how about a close up of the Chattanooga Regional bookmark that I made to go with it – What fun they are to make too! Did you notice the medallion I created? The bookmark medallion was made with our Demonstrator only MDS2 Download from our Convention this past summer. I just switch things up a bit and adapted it to our Chattanooga Regional. MDS2 is sooo easy to work with and a great for projects of all kinds. Want to learn a bit about MDS2, watch my calendar for my introduction to MDS2 classes coming soon.

Would you like to learn how to make your very own notebooks and bookmarks? If you want to learn how to make these for yourself, why not check out my Festive Fall Fun Stamp Camp by clicking HERE and signing up today to hold your spot!

Click here to order your Stampin’ Up! Products online 24/7! (US only)

Chattanooga Regional Here We Come!

I’m getting ready to head out the door for Chattanooga Regionals. I’m soooo excited to be going with my TEAM for the first time. We’ve decided to make Regionals into a special girl’s weekend! Doesn’t that sound like fun? I can’t wait for them to share in the excitement of a Stampin’ Up! event. My very first Regional Event was in Chattanooga too, kind of a cool coincident huh.  I wonder if Shelli will be there. I got to meet Shelli last year at the Charlotte Regional for the first time where she greeted us and did a presentation. You can click HERE to see my post with Shelli from the Charlotte 2011 Regional.

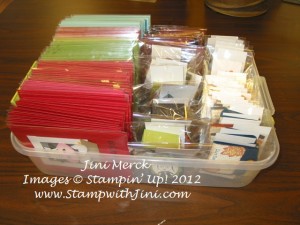
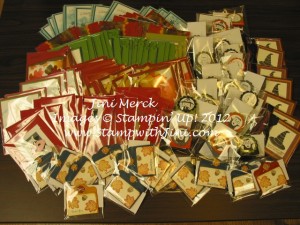
My TEAM has been asking me how I prepare my swaps and so I thought you might find it interesting to see too. Here is a photo of all my swaps packaged and ready to go.

I’ve been working on them off and on the past two weeks. I get so excited by the creating process sometimes I have a hard time stopping!

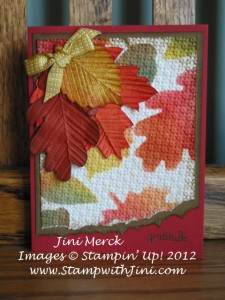
I thought that I would share one of them with you today – It’s my Autumn Accents card. It’s a bit over the top for a Regional swap, but when I was designing this card for my Festive Fall Fun Stamp Camp I couldn’t resist making more.

Would you learn how to make this card? Why not sign up for my Festive Fall Fun Stamp Camp in October – Not only will you learn how to make this card, you’ll get to make 2 other fun fall projects and a Holiday Organizer. You can click HERE to see my Calendar and all my upcoming classes.


Click here to order your Stampin’ Up! Products online 24/7! (US only)

It’s Wicked Cool

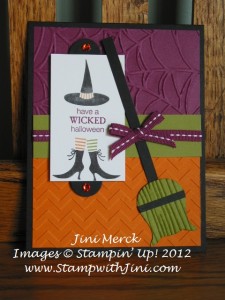
I made this card a while ago and have been meaning to share it with you. I love the little witch’s feet in the Wicked Cool Stamp set, don’t you? I guess I’m dating myself but they always remind me of the shoes sticking out under Dorothy’s house at the beginning of the Wizard of Oz. I remember being so scared watching that move as a child. I ramble, anyhow back to my card.

Coloring directly on the stamp is a great way to color any image and that is what I’ve done here with the Wicked Cool image.  Can you guess which punch I’ve used for the broom? It’s the Owl Builder – You can use that punch for all kinds of things! (Click HERE to see my recent “Got Milk” Tutorial using the Owl Builder Punch.)  And did you notice the Basic Jewels? I just used my orange Sharpie ® to color my Basic Rhinestone. Yep, now you can any color Basic Rhinestones you desire what a great tip, huh?

Supplies:

Stamp Set: Wicked Cool

Inks: Rich Razzleberry and Old Olive

Paper: Whisper White, Old Olive, Rich Razzleberry, Basic Black and Pumpkin Pie

Accessories: Big Shot, Spider Web, Woodgrain, and Chevron Embossing Folders, Apothecary Accents Framelits, ¼” Stitched Grosgrain Ribbon, Basic Rhinestones and Sharpie ®


Click here to order your Stampin’ Up! Products online 24/7! (US only)

This too shall Pass….

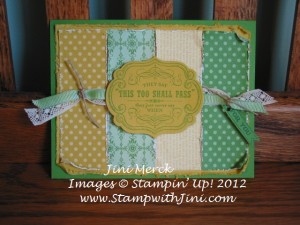
Have you been saying this to yourself a lot lately? I know I have, after all I have a teenager daughter, so when I saw the stamp set From My Heart I knew it was one I wanted to put on my shopping list. I just think that the sentiments in the From My Heart stamp set are lovely and I love the images, so I was ticked when my friend Joann gave me this card during a swap last week.

The color combination she used of Summer Starfruit and Gumball green look very striking together, don’t you think?  You’ve got to love the way all of Stampin’ Up! products work together? I know I do – it was one of the things that drew me to Stampin’ Up!

Why not check out the From My Heart stamp set in our 2012-2013 Catalog – I think you’re going to like it as much as I do.

Supplies:

Stamp Set: From My Heart and Itty Bitty Banners

Inks: Gumball Green

Paper: Gumball Green, Summer Starfruit and 2012-2014 In Color Designer Series Paper Stack

Accessories: Big Shot, Labels Collection and Bitty Banners Framelits and 3/8″ Crochet Trim


Click here to order your Stampin’ Up! Products online 24/7! (US only)

New Digital Downloads for September 18th

It’s Tuesday and that means the release of NEW Digital Downloads for MDS2. There is something for everyone.

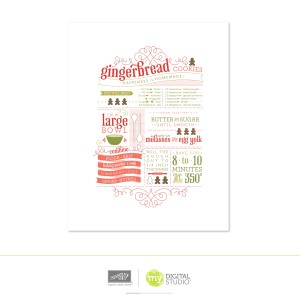
I’m a big cookie maker for the holidays so the NEW Homemade Happiness Frameable download tickles my fancy.

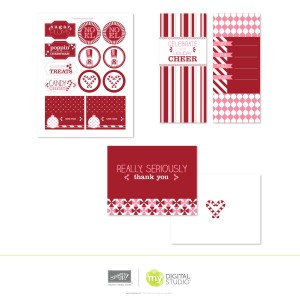
Need some thank you notes for the holidays? Why not check out our Sweet Peppermint Ensemble with its readymade templates that include a thank you card.

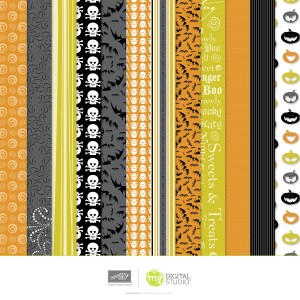
Still looking for something for Halloween? How about the Ghostly Greetings Designer Series Paper?

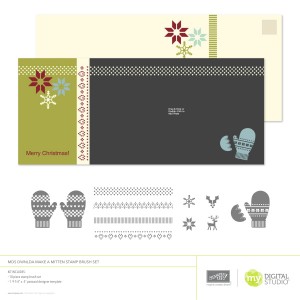
Mittens, they always make me think of my Grandma making sure I was bundled up well before heading out in the snow to play. Make a Mitten Stamp Brush Set is a great new download for any winter project.

How about Timeless Taffeta Trimmings – one of my favorite ribbons to use in my projects.

Why not check out these and other MDS2 products today, you’ll be glad you did.

Click here to order your Stampin’ Up! Products online 24/7! (US only)

New October Christmas Stamp-a-Stack being Offered

Gearing up for the holidays? Want to have some fun stamping with others and getting your Christmas cards crossed off your list?

Why not sign up for my Christmas Stamp-a-Stack today.

We’ll be making 4 different designs, 3 each for a total of 12 cards.

Click here to see my Calendar with all the important details and to see my flyer

Jack of All Trades Lolly

Do you need a great stamp set for both Halloween and fall? How about the Jack of All Trades stamp set? It’s such a great set that can be used in so many wonderful ways. It is one of my favorites to use for so many things, and with that cute little Harry Potter “feeling”  hat I really couldn’t resist putting it on my shopping list.

I found these wonderful lollies at my local dollar store recently and their just in time for Halloween goodie giving.  So, I grabbed my Jack of All Trades stamp set and got to work. My TEAM enjoyed making one of their own lollies, during our TEAM meeting this past Thursday evening.
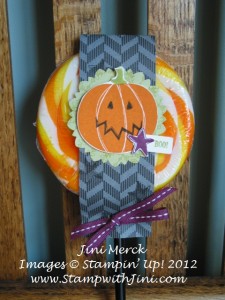
How about you? Do you have someone who would enjoy this Jack of All Trades Lolly?

Supplies:

Stamp Set: Jack of All Trades and Tiny Tags

Inks: Rich Razzleberry, Basic Black, Lucky Limeade and Pumpkin Pie

Paper: Howlstooth & Scaringbone DSP, Whisper White, 2011-2013 In Color Designer Series Paper Stack, and Whisper White

Accessories: Rich Razzleberry ¼” Stitched Grosgrain Ribbon, Paper Snips, 2 3/8″ Scallop Circle Punch, and Jewelry Tag Punch

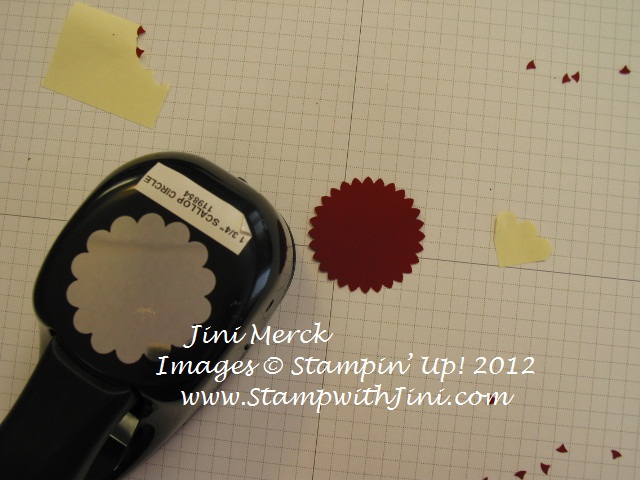
Wondering which punch I used for the medallion? Would you believe it is our Scallop Circle punch? Well here is a quick tutorial on how I did it.

Scallop Circle Medallion Tutorial

First punch out you scallop circle.
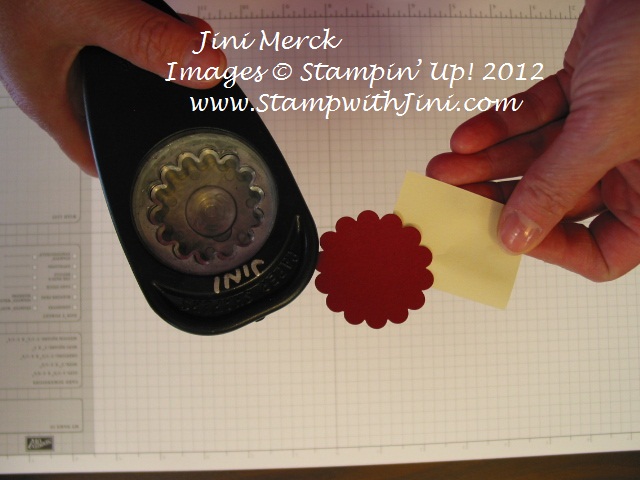
Next using a sticky note as a handle, slip the scallop circle back into your punch. And off set the scallops as shown.
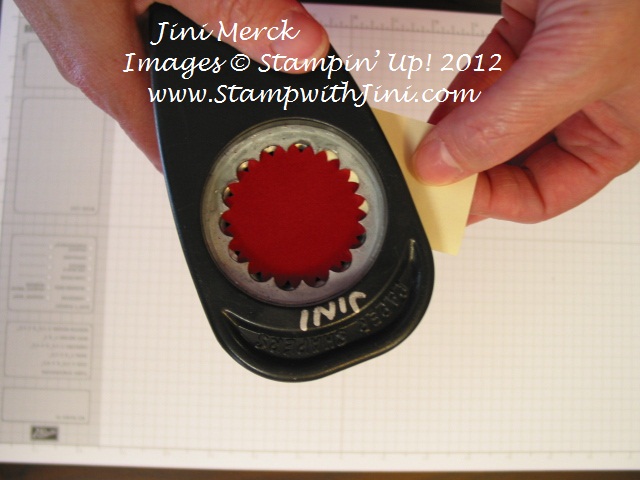
Punch again and you have your scallop circle medallion.  It’s as easy as that!
Do you like learning new tips and techniques why not check out my Calendar of Events by clicking HERE to see what NEW classes are coming up soon. Classes aren’t convenient you say; why not join my Virtual Club. Click HERE for more details.

Click here to order your Stampin’ Up! Products online 24/7! (US only)