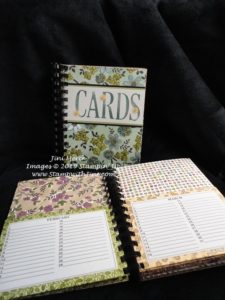
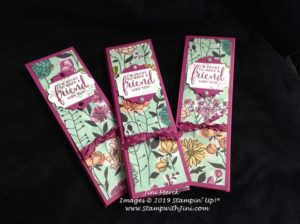
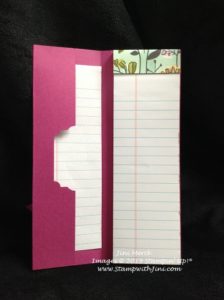
If you love note pads like I do, you’re going to love this quick and easy project that I made recently for my Team’s Peak Princess Day. This fun holder uses the Share What You Love Suit of products and holds a skinny notepad perfect for jotting notes on the go.
Check out this video tutorial so you can make some too!
Share What You Love Skinny Notepads Video Tutorial
I know you’ll want to make some too so here is a printable tutorial for you.
I’ve used a typical Junior Legal Pad that I took to my local office supply, Office Pros in Cornelia. For a small fee they cut the legal pads in 1/2 for me. (If you don’t live locally most office supply stores offer this service, so you’ll just want to check with them on their requirements.)
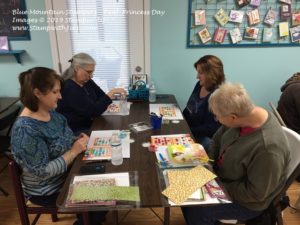
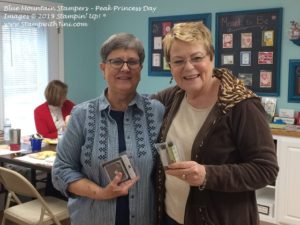
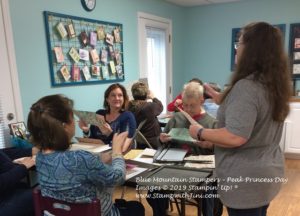
I love getting together with my team at our monthly meeting and sharing. We have a lot of fun together learning new things and sharing. Today’s projects were all part of our team swaps.
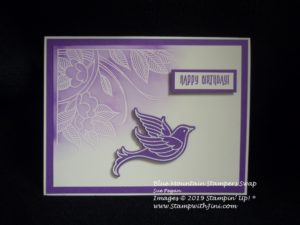
This first card uses the Serene Garden bundle (148395) and the emboss resist technique.
Simply use our Versa Mark Ink Pad and White Embossing Powder stamp the image and then use a Sponge Dauber and Gorgeous Grape Ink (147099) to create this lovely soft background.
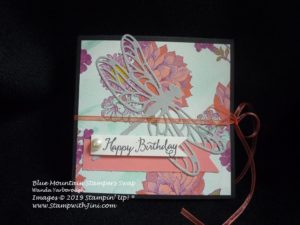
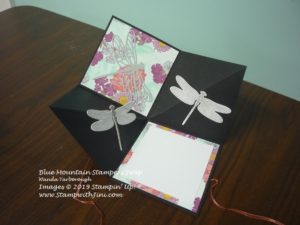
And how about this fun square card using the Dragonfly Dreams stamp set (142924) and Thinlits Dies (142749).
It’s fun fold pops open making it extra special.
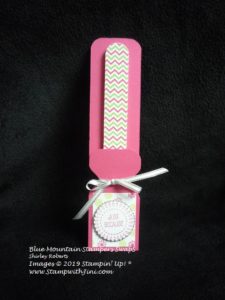
And this fun project is a 3d that holds a bright and cheerful nail file. The holder was created with our Envelope Punch Board (133774).
And the A Good Day stamp set (145870/145873) was used for this fun 3d not only were stamps used for the sentiment, but also to create a background to match the nail file using the Granny Apple 147095/147163) and Melon Mambo Classic Inks (147051/115662).
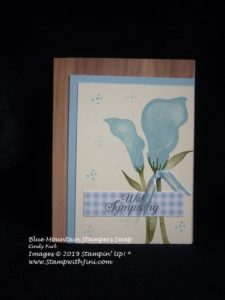
And this final card was made using the Lasting Lily (Sale-a-bration 149717) stamp set and our Wood Textures (144177) and Gingham Gala Designer Series Paper (148554).
Just lovely don’t you think?
Have you ever thought about joining? Would you love to craft and share with others and get a discount on your favorite products? If so, then our team might just be the thing you are looking for!
And right now is a fantastic time to join! Since during Sale-a-bration not only will you get a $175 in product for just $99. You also have the option of a beautiful exclusive Craft Tote to carry your crafting items.
And as an added benefit you can choose from the Sale-a-bration 2nd release items and our March Special to add to your kit. Want to learn more? Click HERE to learn more about the Blue Mountain Stampers and joining today.
What are the Blue Mountain Stampers?
That’s the name of our stamping community. I enjoy welcoming new
members to our group. We’re from all over. If you’re considering joining
Stampin’ Up!, you may have questions about how I would support you as part of
my team. I do offer a variety of ways to learn, grow and to have FUN as a Blue
Mountain Stamper!
Exclusive Team Resource Page – videos, PDFs and more
Exclusive Face book Group – A great way to share and connect with other team members and share
Monthly Creative Challenges
Swapping Opportunities
Team Retreats
Meetings, monthly – both local and online/virtual
Lunch & Learn, monthly
Monthly Crafting Day
Recognition & Incentives
Training available for workshops, clubs, classes and more!
Additional support and business coaching available
We have a very active group that share and answer each other’s questions on
our Exclusive face book group. If you’re looking for fun, a place to grow
and share with others…You’ll fit right in!
Hobbyists are welcome!
Did you know? 90% of my Blue Mountain Stampers’ areHappy Shoppers – purchasing for themselves, (along with their family and friends.) That’s right…you can just get a discount on products you love!
We welcome the hobbyist who’s looking to be a “happy shopper” (and save money), as well as those of you that want to build a business (and make money).
Everyone is welcome after all there’s room for both and everyone in between.
And there is NO Obligation when you purchase your starter kit – Join the Blue Mountain Stampers and see what it’s all about!
Got questions? Contact me and I’m happy to answer any questions you may have.
Shop
at my Online Store and use Host Code H3Z3YTVZ
Click Here to learn more about using the Hostess Code If you order Online make sure your profile
information is up to date and you’ve allowed me to contact you (If you chose no
contact in the past you’ll need to call 1-800-Stamp Up to have them change your
profile for you.)
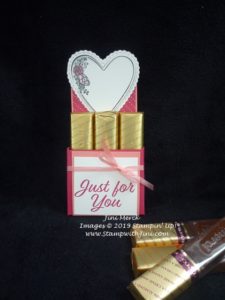
Merci chocolates are so yummy that I thought I’d create some treat holders to share them – plus it stops me from eating them since they seem to call my name! So I reached for the Meant to Be Bundle and got to work.
Here is what I came up with
This little treat holder holds 3 Merci Chocolates – a perfect size for just a little taste of chocolate when you want it.
I love the way the heart shape is at the top without any card stock behind it. Want to know how I made them? Here’s my video tutorial.
Meant to Be Merci Treat Holder Video Tutorial
And how about a PDF you can print? Do you find these helpful to go along with the video? Why not leave me a comment and let me know?
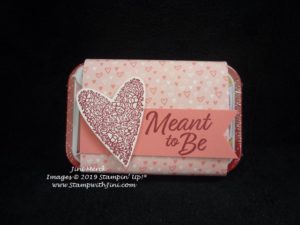
Valentine’s Day is right around the corner and I’ve been having fun creating little treats for my fellow stampers, family and friends. Today’s Tin Wrap is quick and easy to do – so you can make lots of them quickly! A plus for Valentine’s Day treats.
I thought this sentiment was a fun twist on the mints – get it? Meant….Mint…. lol
The tins I’ve used came from my local discount store and are cinnamon, but they are a standard size tin so you can use your favorite mints or tin.
Here is a quick Video Tutorial for you
Meant to Be Tin Wrap Video Tutorial
And of course a PDF so you can print it with a complete supply list and step by step directions.
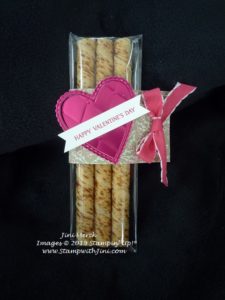
I made today’s project as a little goodie for my team members and put one at everyone’s tables for the Winter Retreat this past weekend. I couldn’t resist these yummy little Creme Filled Wafer Rolls when I saw them and was hoping they were individual wrapped. However, that turned out not to be the case so our 2×8″ Cello Bags to the rescue!
I simply slipped 3 of the little sticks inside and sealed then decorated. I really like how they came together and think they turned out quite elegant with the Lovely Lipstick Foil Sheets. The little heart looks just like a chocolate box since I used the Tufted Embossing Folder. What do you think?
I’ve put a video together for you in case you’d like to make some of these treats too
Forever Lovely Valentine Treat Video Tutorial
And of course, I’ve got a complete supply list below for you along with a PDF tutorial too.
Shop
at my Online Store and use Host Code FFCVWYHC
Click Here to learn more about using the Hostess Code If you order Online make sure your profile information is up to date and you’ve allowed me to contact you (If you chose no contact in the past you’ll need to call 1-800-Stamp Up to have them change your profile for you.)
Sign up HERE
for my FREE Newsletter or Get my Blog Posts delivered right to your inbox HERE
How Do You Get a 2019 Occasions Catalog?
Don’t have a Demonstrator?
Email me at [email protected] include your name, address, and
phone number and I’ll be happy to mail you one.
Sign up HERE
for my FREE Newsletter or Get my Blog Posts delivered right to your inbox HERE
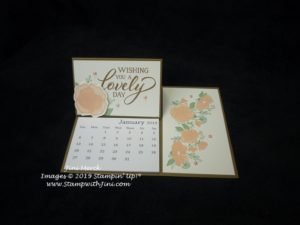
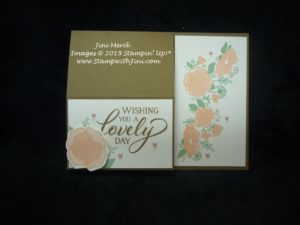
I created today’s projects for my January Thank You Cards. They are a bit different from what I usually do since they contain a little calendar but I really like the way they turned out and hope everyone who receives them will enjoy them.
They are so easy to make and even better they fold flat for mailing.
Want to learn how I made them? I’ve filmed a Tutorial for you today and also typed up a PDF to go along with it so you can make some too if you would like.
FOREVER LOVELY CALENDAR CARD VIDEO TUTORIAL
January Thank You Forever Lovely Calendar Card Tutorial PDF
Shop
at my Online Store and use Host Code FFCVWYHC
Click Here to learn more about using the Hostess Code If you order Online make sure your profile
information is up to date and you’ve allowed me to contact you (If you chose no
contact in the past you’ll need to call 1-800-Stamp Up to have them change your
profile for you.)
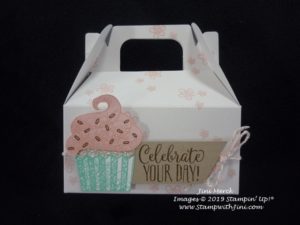
Today’s project is one I made for every last week for my 2019 Occasions Catalog Kick Off using the Sale-a-bration stamp set, Hello Cupcake.
The Lustrous White Mini Gable Boxes made this project quick and easy since all I had to do was decorate and assemble, the box was already to go with a lovely shimmery finish.
Everyone seemed to enjoy the little treat box they found at their seats when they arrived.
Did you know that the Hello Cupcake stamp set is FREE during Sale-a-bration when you place a qualifying order of $50 (before shipping and tax)? So when you order the supplies used to create this little box you’ll earn the stamp set. Yes, it’s that easy!
Want to learn how I made them? Here is a video tutorial for you.
Hello Cupcake Mini Gable Box Video Tutorial
And I’ve also got a written tutorial for you too with a complete supply list.
Hello Cupcake Gable Mini Box Tutorial (printable) PDF
Stop back by tomorrow and see one of the projects we made along with a tutorial for it too.
Shop
at my Online Store and use Host Code FFCVWYHC
Click Here to learn more about using the Hostess Code If you order Online make sure your profile
information is up to date and you’ve allowed me to contact you (If you chose no
contact in the past you’ll need to call 1-800-Stamp Up to have them change your
profile for you.)
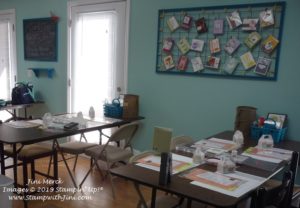
Last week we I held our annual Blue Mountain Stampers’ Luncheon and along with it we had a Shoe Box Swap this year – so there was lots of stamping going on!
We began our Luncheon with a dish to pass – always yummy new recipes to try. I love “pot lucks” how about you?
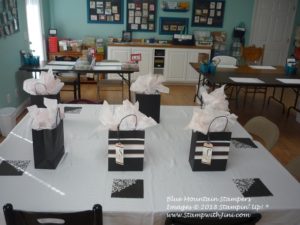
The table was decorated – and everyone had a little gift bag waiting for them.
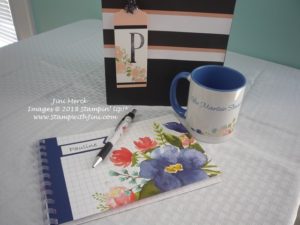
The bags were filled with a team coffee cup, note book I made, and a team pen.
We also celebrated lots of team accomplishments for the past quarter.
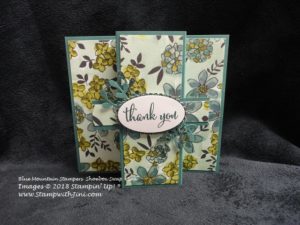
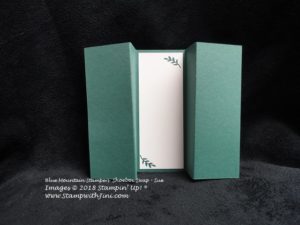
Want to see some of the Shoe Box Swaps we made?
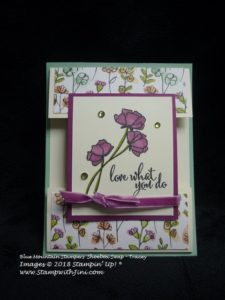
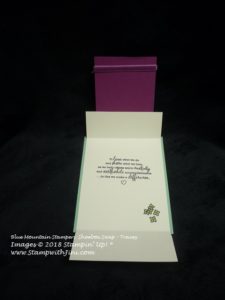
These first two were created using the Love What You Love stamp set (148042) and coordinating Share What You Love Specialty Designer Series Paper (148926)
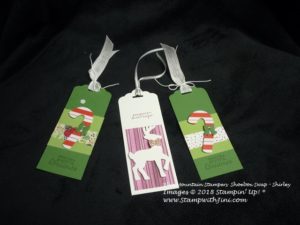
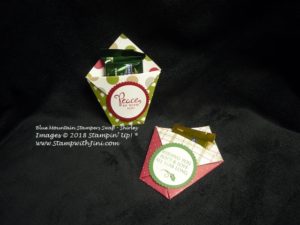
And here are some cute tags we made using the Candy Cane Builder Punch (148011) and Under the Mistletoe Designer Series Paper (146921).
If you noticed the Whisper White 5/8″ Flax Ribbon that we used for the tags and wondering where you can find it. It’s from our 2019 Occasions Catalog and will be available in January.
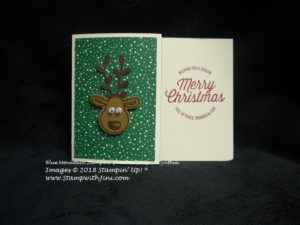
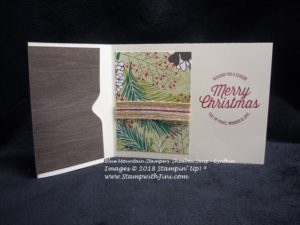
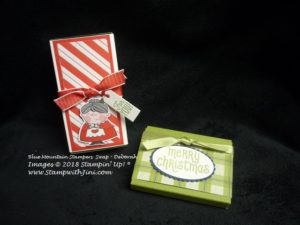
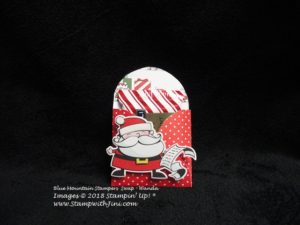
And here is a cute gift card holder using the Cookie Cutter Christmas stamp set (142043) and coordinating Cookie Cutter Builder Punch (140396). Aren’t the little antlers cute? They were made with the Sprig Punch (148012) from the Holiday Catalog.
Do you recognize the sentiment? It’s from our Farmhouse Christmas Stamp set (148478).
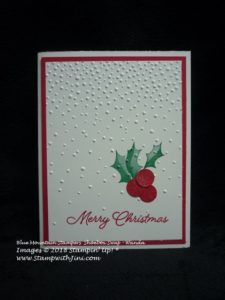
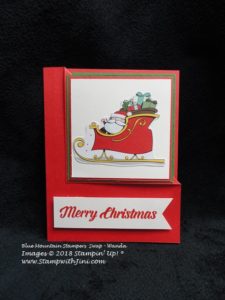
And here is a simple but elegant card using the Stylish Christmas stamp set (146770/146773) and Softly Falling Embossing Folder (139672).
Of course, what could be better than swaps. So here are some of the swaps members brought starting with the 3ds treats filled with yummy goodies.
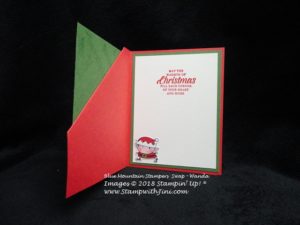
And finally a fancy fold card.
What a wonderful time we had that afternoon. I have such a wonderful team of stampers – each and everyone of them bring their own special talent to our group as you can see.
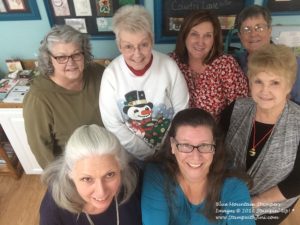
Here is our selfie from the afternoon. (I’m still getting use to my new selfie stick. LOL, can you tell?)
Sound like fun? Have you ever considered becoming a demonstrator? If so
the Blue Mountain Stampers might be a great fit for you too.
What are the Blue Mountain Stampers?
That’s the name of our stamping community. I enjoy welcoming new members to our group. We’re from all over. If you’re considering joining Stampin’ Up!, you may have questions about how I would support you as part of my team. I do offer a variety of ways to learn, grow and to have FUN as a Blue Mountain Stamper!
We have a very active group and if you’re looking for fun, a place to grow and share with others…You’ll fit right in!
Hobbyists are welcome!
Did you know? 90% of my Blue
Mountain Stampers’ areHappy Shoppers – purchasing
for themselves, (along with their family and friends.) That’s
right…you can just get a discount on products you love!
We welcome
the hobbyist who’s looking to be a “happy shopper” (and save money), as
well as those of you that want to build a business (and make money).
Everyone
is welcome after all there’s room for both and everyone in between.
And there is NO Obligation when you purchase your starter kit – Join theBlue Mountain Stampers and see what it’s all about!
Shop at my Online Store and use Host Code KN4BHBZQ
Click Here to learn more about using the Hostess Code If you order Online make sure your profile information is up to date and you’ve allowed me to contact you (If you chose no contact in the past you’ll need to call 1-800-Stamp Up to have them change your profile for you.) I want to be able to send you a 2019 Occasions Catalog
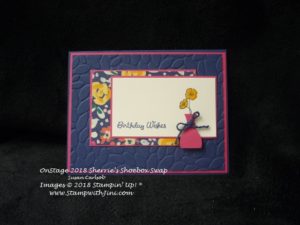
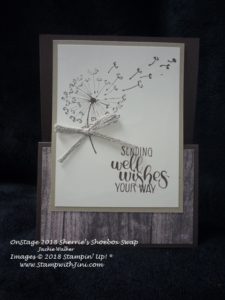
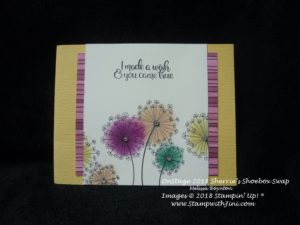
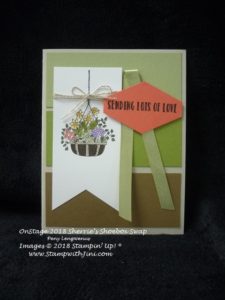
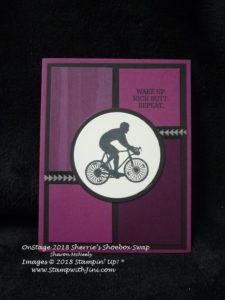
I’ve got soo many great cards to share with you I’m not sure where to start – so today’s post will be focusing on some of the cards I made during Sherrie’s Shoe box Swap again. All the sets can be found in our Annual Catalog.
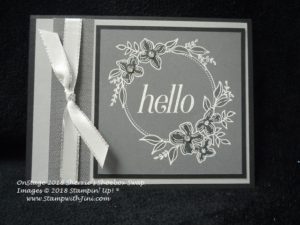
This first one using the Floral Frames stamp set (146505/146508) we heat embossed the image and sentiment using White Embossing Powder and then used our Smoky Slate Blends Combo Pack (145058) to color in the images. So simple – but clearly beautiful as you can see.
And this next card uses the Friendly Expressions stamp set (146670/146673).
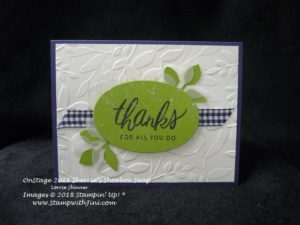
Done in Night of Navy and Granny Apple Green with a splatter of our Frost White Shimmer Paint (147046) I think the combination is quite striking.
These two were my favorites from today’s cards – but here are some more great cards too.
How about this fun and vibrant card using the Varied Vases stamp set (146644) and the Garden Impressions Designer Series Paper (146289)?
And these next two cards are made using the Dandelion Wishes stamp set (146744/146747).
Or how about this one using the Hanging Garden stamp set (146236/146239) and color blocking?
And the final card today is one that uses the Enjoy Live stamp set (148190)?
Can you pick just one favorite? LOL! why not leave me a comment and let me know?
OnStage Team Goodies
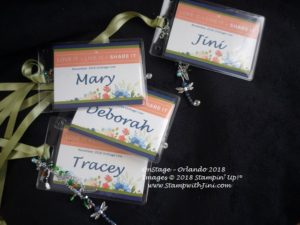
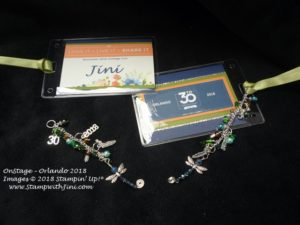
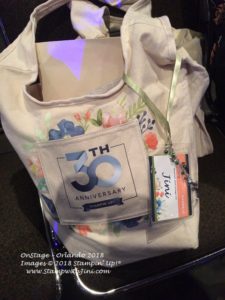
And now a little more about OnStage Live in Orlando – I love making these little name tags for my team for event event, after all when there are over 6,000 of the same bag roaming around you want to make sure you can find it, right? And so here is what I came up with for this events bag tag.
Each tag had 3 special charms to commemorate the event plus a special charm that my fellow team member Sue made for the end of each.
She created such a lovely dragonfly charm for me with just wire, beads and pliers. She made it look sooo easy that I can’t wait to give it a try myself when I get a chance. Although something tells me it won’t be quite as easy as she made it look! But then that is the great part about being part of a team, we all have different strengths that we share with each other!
They really looked nice on our bags I think.
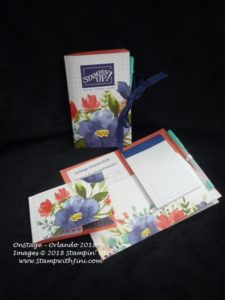
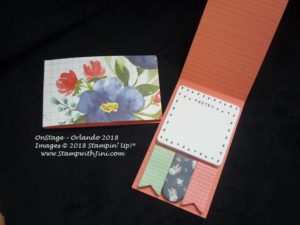
I also tried my hand at some special organizers for everyone that a fellow leader shared with me.
I love the way they turned out and the little post it holders with flags for marking our new catties!
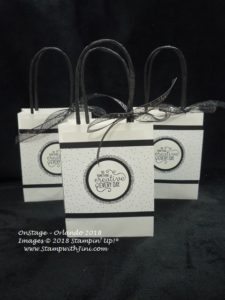
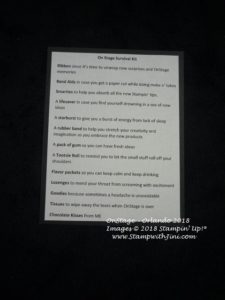
And what can I say I was having way too much fun playing in my classroom – so everyone received a little OnStage Live Survival Kit too.
Filled with everything you might need for our 3 day event. I found this cute little list and adjusted it to my needs.
What can I say, I appreciate and value my team and the richness they bring to my life! They are truly a blessing.
Stop back by tomorrow when I’ll be sharing some more wonderful swaps and some of the display boards from OnStage too!
I LOVE the gift items we can make with our stamps and paper and so today I thought I’d share with you some of the cute little items I received in a swap I organized for OnStage in Orlando.
I’m starting with this adorable Turkey – such a clever idea using the Christmas Bulb Builder Punch (148013) and some simple circles.
He holds a little Peppermint Pattie – so simply add a name to his tummy and you’ve got a perfect table setting piece for this Thursday.
And here is another treat made with the Making Christmas Bright stamp set (148046).
Open it and you’ll get a wonderful surprise – Yumm I’ve got to go looking for some of these chocolates myself it was so yummy!
And this cute little box using the Santa’s Workshop suite of products holds some Ghirardelli chocolates.
And this snowflake beautiful box was created with the cool colors of winter – done in Bermuda Bay and Pool Party the box has been brayered with color and spritzed with some Frost White Shimmer Mist. Pops of Silver Foil Paper and some Silver Mini Sequin Trim finish off the elegant look.
The sentiment is from the Farmhouse Christmas stamp set (148478).
And here is another treat made with this same sentiment – it’s a great size for all kinds of projects!
This treat was created using the Festive Farmhouse Designer Series Paper (147820) and a cello bag that holds some Hershey’s Nuggets.
And finally a little top hat treat
I love the simplicity of this little top hat filled with Kisses. I immediately thought of Frosty the Snowman. LOL
I can’t wait to try some of these treat ideas myself – as I do I’ll be sure to share how I created them myself!
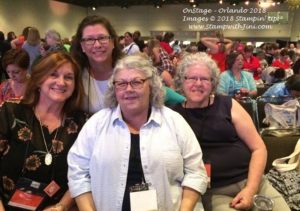
I’ve been doing swaps for years with some of these ladies, but this is the first time I’ve done one in person so it was wonderful meeting each other after years of emails and packages. They are just one of the many blessings stamping and being a Stampin’ Up! Demonstrator has brought into my life.
OnStage CentreStage – Epcot
Stampin’ Up! events are special and because of you all I was able to get a special invitation to CentreStage & Epcot.
I was so excited to be able to qualify for this event for a number of reasons – one of which I’ve never been to Disney in Orlando! Another making making memories, meeting new friends, and see old ones.
Here’s a new friend, Linda Baker, we met on the bus ride over and decided to join forces for the day with Tracey who was meeting me there.
After a full after noon at Epcot’s Wine & Food Festival our CentreStage event included a wonderful evening of deserts & karaoke.
The fried donuts with fresh vanilla bean ice cream were fantastic!
The evening ended with the fireworks display – I was even able to catch a selfie with Sheli and Sarah towards the end of the event!
And of course our first glimpse of the NEW 2019 Occasions Catalog! Squeel!
Thank you again for helping me reach my goals and be able to qualify for this event – I couldn’t do it without you my stamping friends and team!
OnLine Extravaganza starts Friday November 23rd – and You’re going to LOVE it!!!
I’ll be posting more details on the 22nd for you until then safe travels