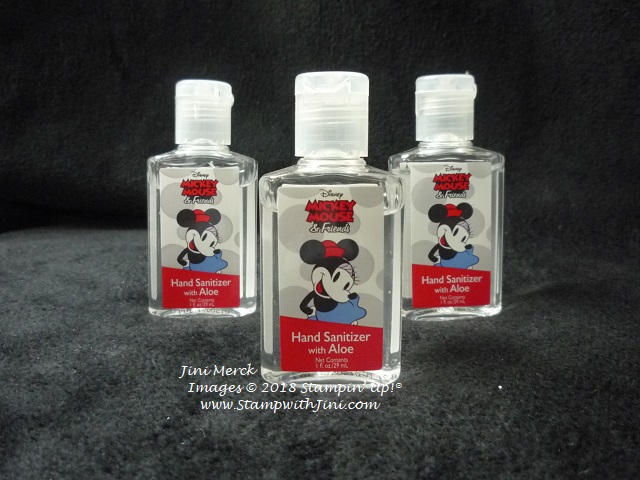
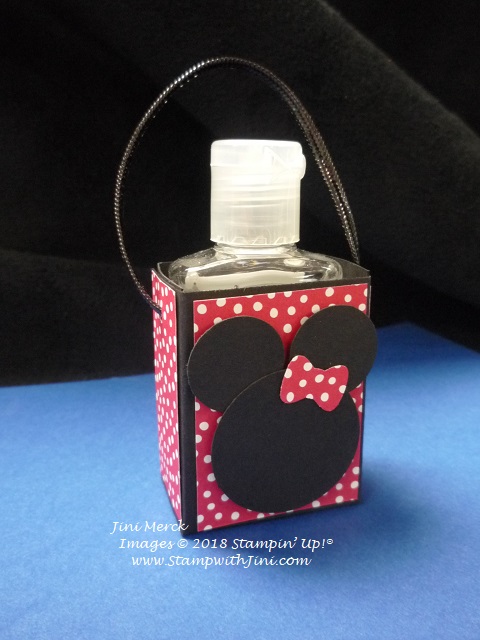
I LOVE the gift items we can make with our stamps and paper and so today I thought I’d share with you some of the cute little items I received in a swap I organized for OnStage in Orlando.
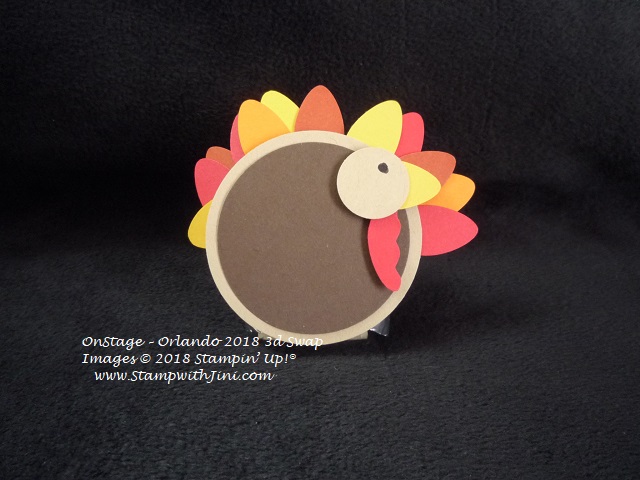
I’m starting with this adorable Turkey – such a clever idea using the Christmas Bulb Builder Punch (148013) and some simple circles.
He holds a little Peppermint Pattie – so simply add a name to his tummy and you’ve got a perfect table setting piece for this Thursday.
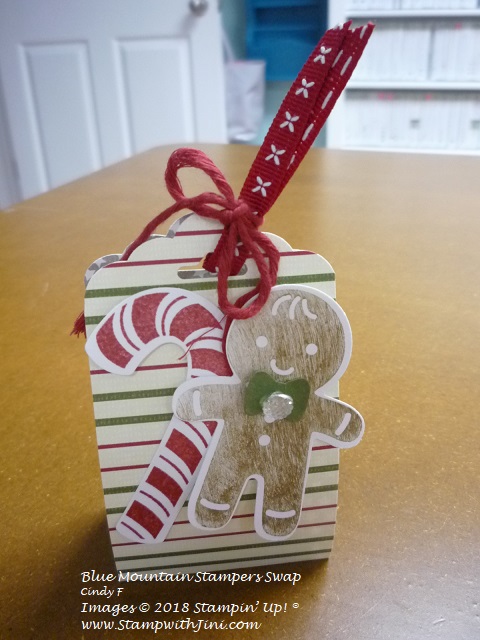
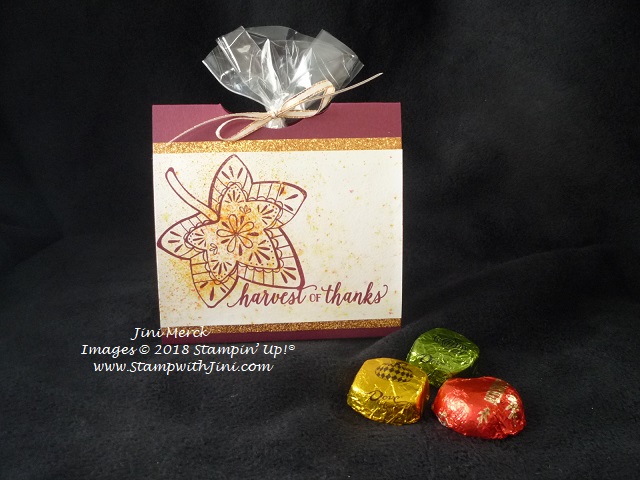
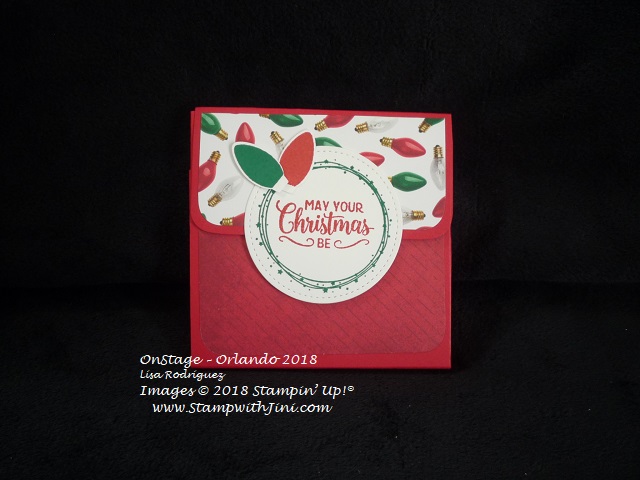
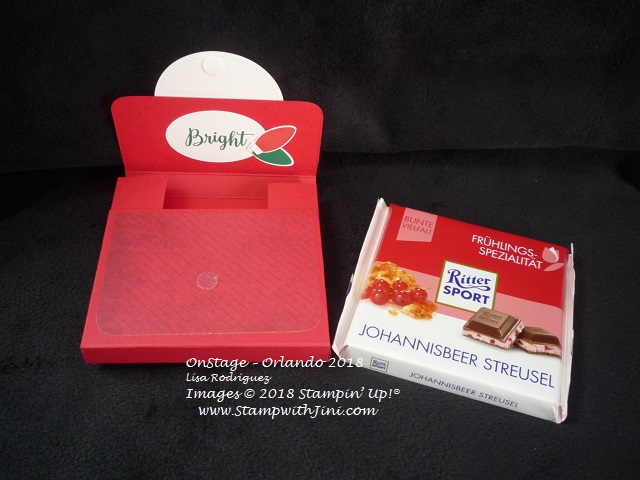
And here is another treat made with the Making Christmas Bright stamp set (148046).
Open it and you’ll get a wonderful surprise – Yumm I’ve got to go looking for some of these chocolates myself it was so yummy!
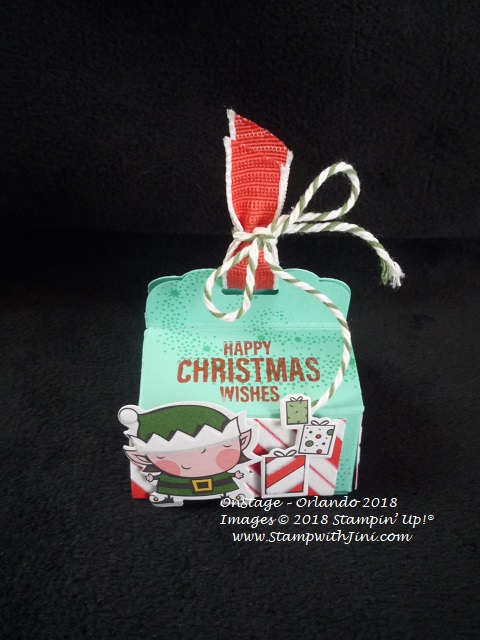
And this cute little box using the Santa’s Workshop suite of products holds some Ghirardelli chocolates.
And this snowflake beautiful box was created with the cool colors of winter – done in Bermuda Bay and Pool Party the box has been brayered with color and spritzed with some Frost White Shimmer Mist. Pops of Silver Foil Paper and some Silver Mini Sequin Trim finish off the elegant look.
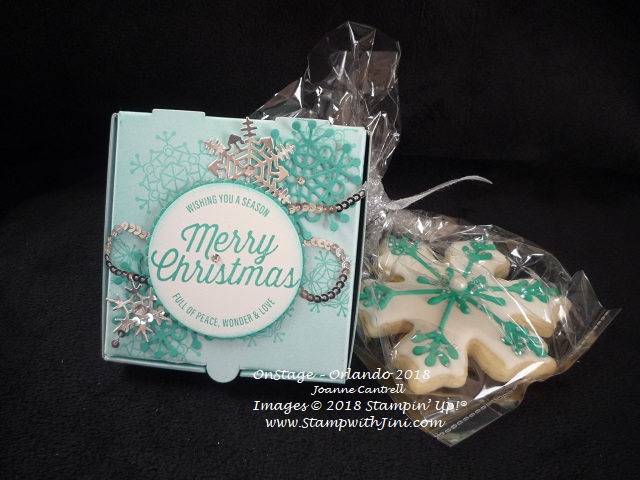
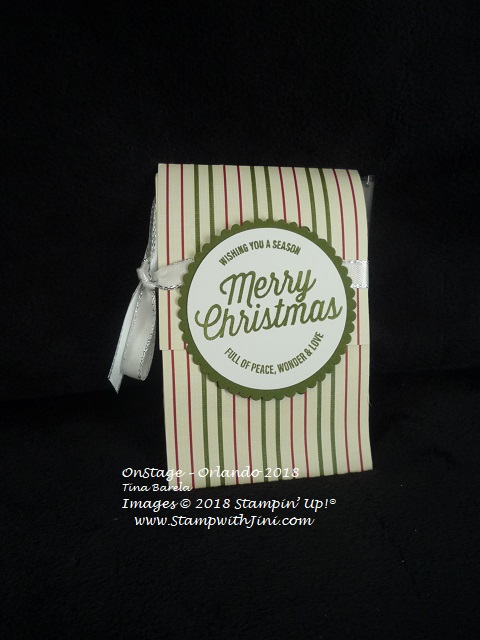
The sentiment is from the Farmhouse Christmas stamp set (148478).
And here is another treat made with this same sentiment – it’s a great size for all kinds of projects!
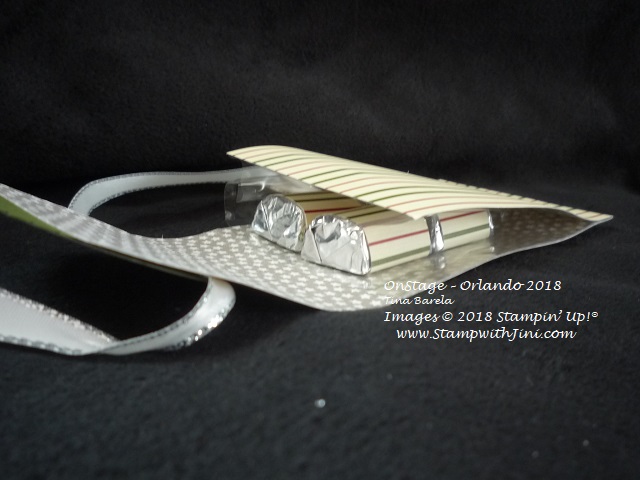
This treat was created using the Festive Farmhouse Designer Series Paper (147820) and a cello bag that holds some Hershey’s Nuggets.
And finally a little top hat treat
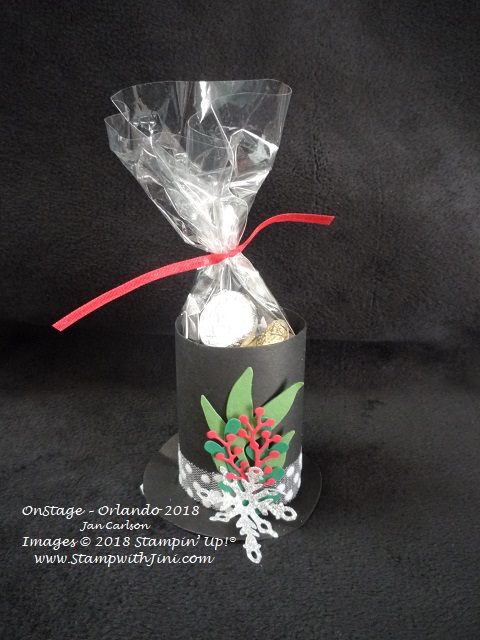
I love the simplicity of this little top hat filled with Kisses. I immediately thought of Frosty the Snowman. LOL
I can’t wait to try some of these treat ideas myself – as I do I’ll be sure to share how I created them myself!
I’ve been doing swaps for years with some of these ladies, but this is the first time I’ve done one in person so it was wonderful meeting each other after years of emails and packages. They are just one of the many blessings stamping and being a Stampin’ Up! Demonstrator has brought into my life.
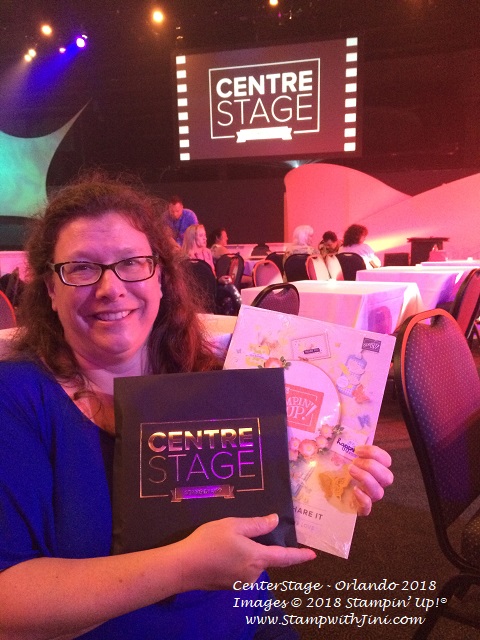
OnStage CentreStage – Epcot
Stampin’ Up! events are special and because of you all I was able to get a special invitation to CentreStage & Epcot.
I was so excited to be able to qualify for this event for a number of reasons – one of which I’ve never been to Disney in Orlando! Another making making memories, meeting new friends, and see old ones.
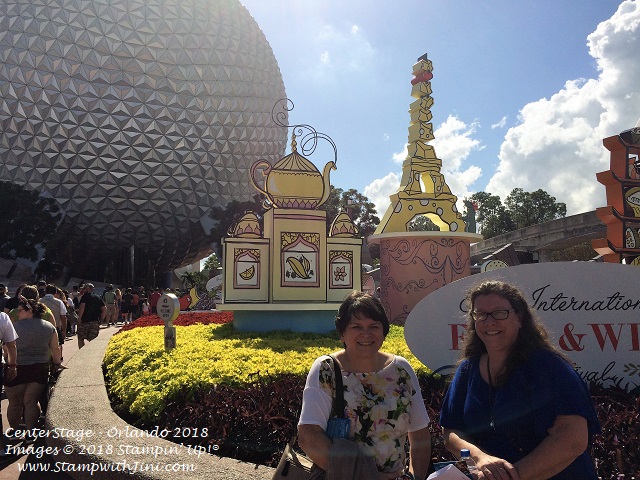
Here’s a new friend, Linda Baker, we met on the bus ride over and decided to join forces for the day with Tracey who was meeting me there.
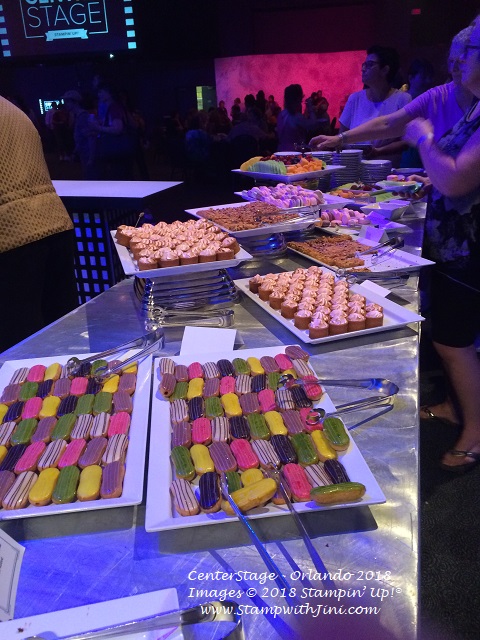
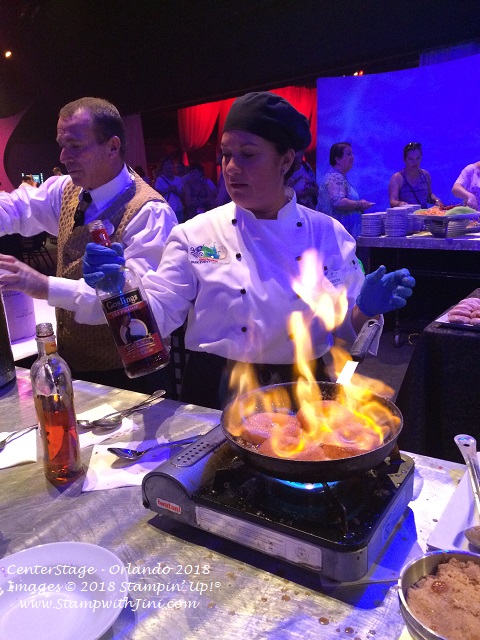
After a full after noon at Epcot’s Wine & Food Festival our CentreStage event included a wonderful evening of deserts & karaoke.
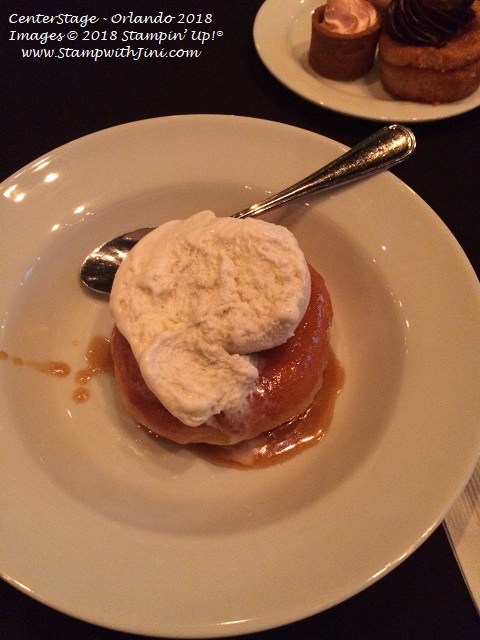
The fried donuts with fresh vanilla bean ice cream were fantastic!
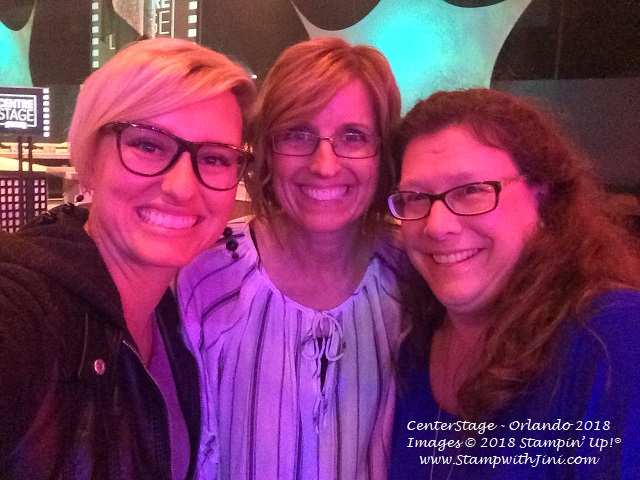
The evening ended with the fireworks display – I was even able to catch a selfie with Sheli and Sarah towards the end of the event!
And of course our first glimpse of the NEW 2019 Occasions Catalog! Squeel!
Thank you again for helping me reach my goals and be able to qualify for this event – I couldn’t do it without you my stamping friends and team!
OnLine Extravaganza starts Friday November 23rd – and You’re going to LOVE it!!!

I’ll be posting more details on the 22nd for you until then safe travels

Click here to order your Stampin’ Up! Products online 24/7! (US only)