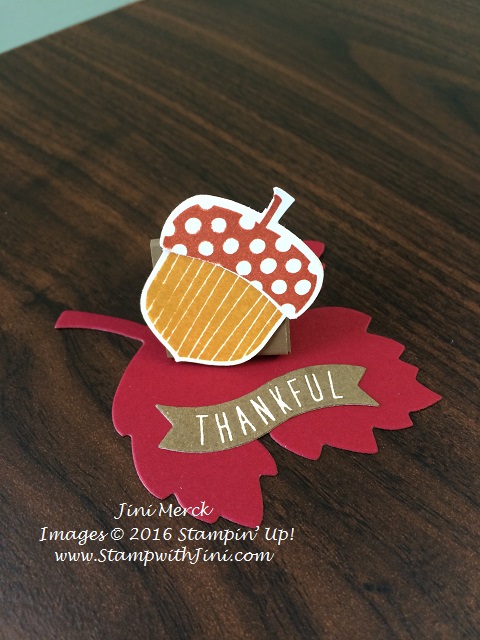
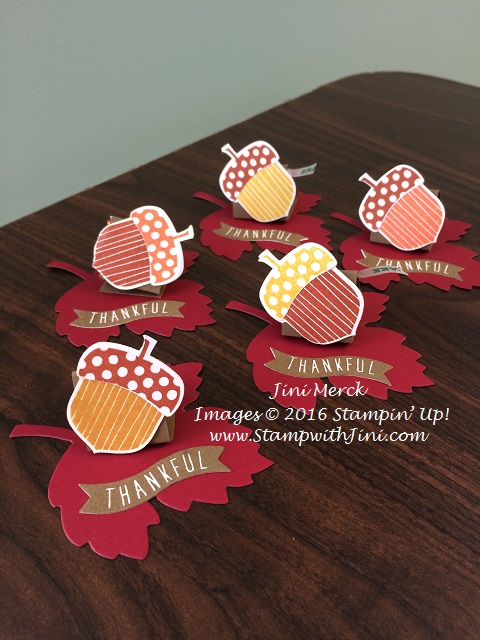
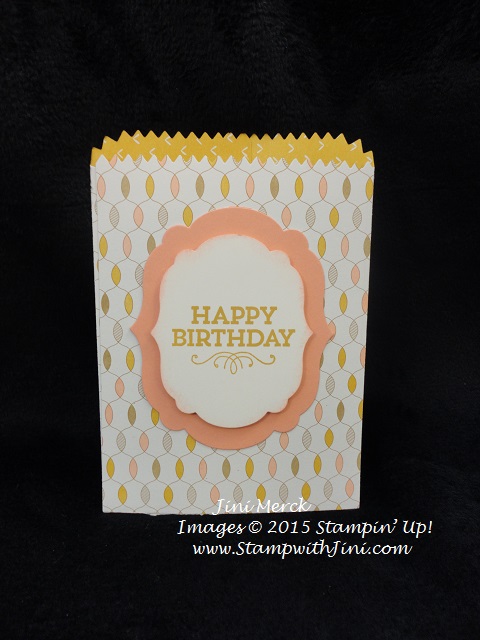
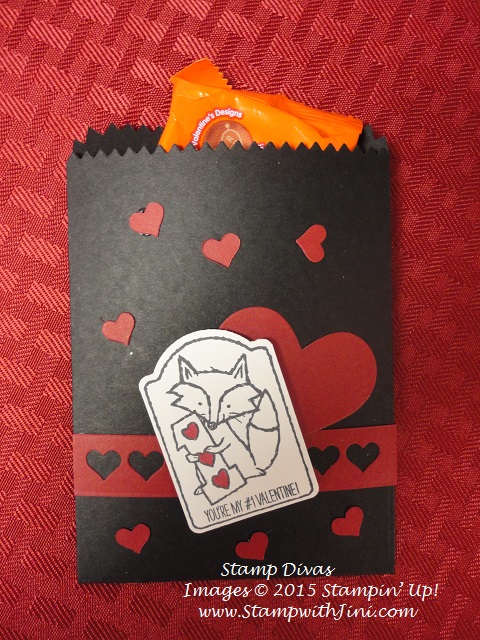
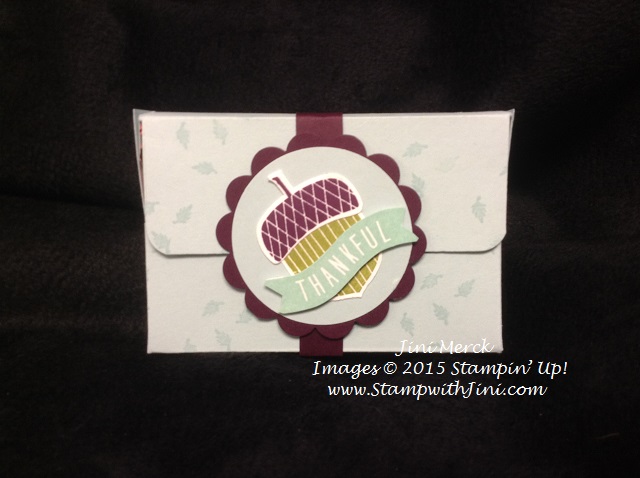
Want to dress up your Thanksgiving Day table with a little something special? Why not whip up some of these cute little table treats using the Acorny Thank You stamp set?
I’ve made a quick little video to share with you
Acorny Thank You Table Treat Video Tutorial
Warning: these little treats can be so much fun to make you won’t want to stop!
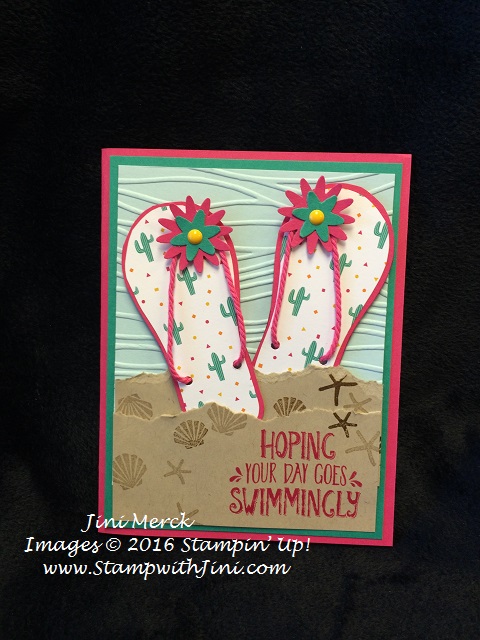
What says summer more than a new pair of flip flops? Today’s card uses our fun bold Designer Series Paper, Festive Birthday to create these fun cactus flip flops.
I’ve had several of you ask me how I created these when you saw my shoe box card HERE.
So I thought I’ve put together a video tutorial on how they are made. And I included some tips to make things easier.
Want the pattern? Well I’ve made one up just for you!
So, what kind of flip flops do you like? Plain, bright and colorful, or wild patterns? Why not leave me a comment and let me know.
What’s Happening Here?
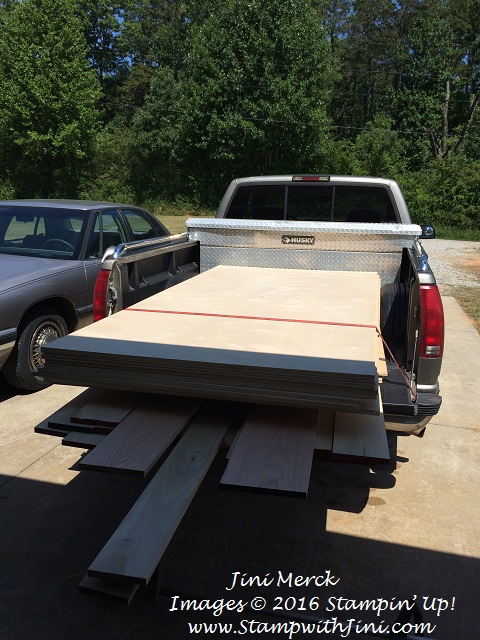
On a personal note I thought I’d share with you what is happening with all this wood my son, Johnathan and I brought home on June 20th. (Click HERE to see that post).
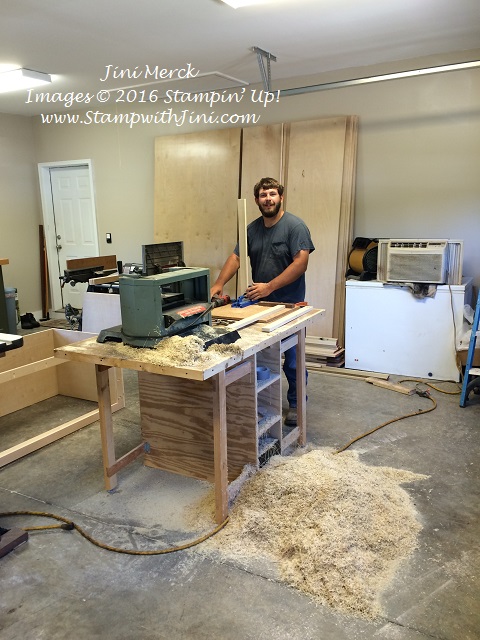
I’m excited to say my guys are making great progress on the project… my classroom!
Johnathan is always happy playing with his “toys” in the garage. (He built his garage cabinetry that you see in the background over his winter break.)
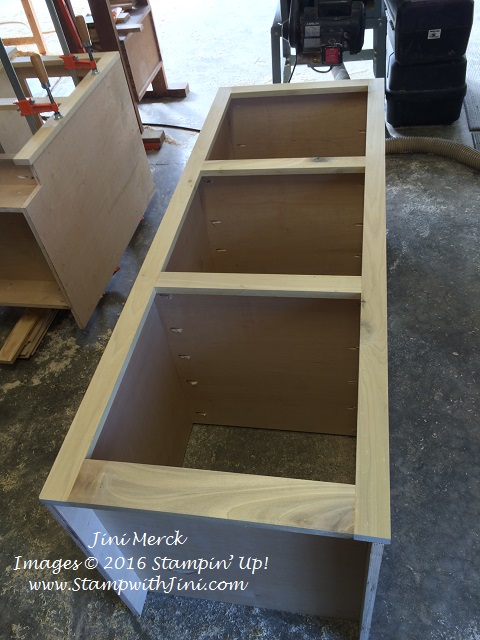
Over the weekend they finished the 12 x 12 paper storage unit.
and the base cabinet too! Wow that was fast!!!
I can’t tell you how excited I am to get painting! And you know how I dislike painting. LOL!!!
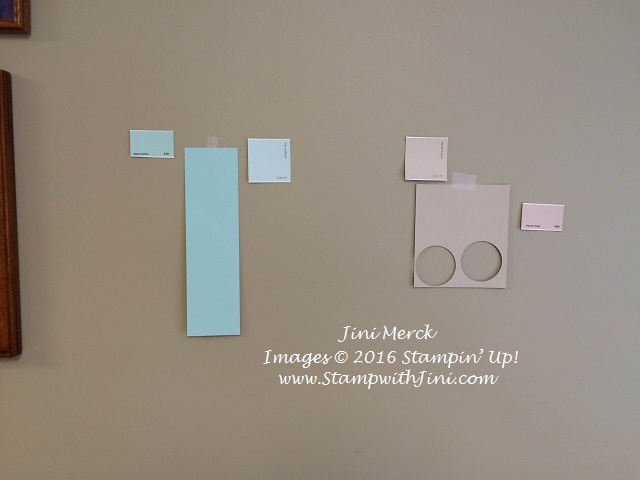
Right now, I’m trying to decide a new paint color for the classroom walls. After all, with this great cabinetry going in I need a new coat of paint, right?
I’ve got it narrowed down to two choices at this point.
A more bold one and a safe one. I’m trying to decide how crazy I want to be LOL!!! Pool Party or Sahara Sand ???? Hmmm…. what do you think? I’ve changed my mind so many times already, but these are the two I keep coming back to since I love the Island Indigo display item I already have.
Use Hostess Code 4JURAZXY and receive a FREE gift when you place a minimum order of $50
Click Here to learn more about using the Hostess Code If you order Online make sure your profile information is up to date and you’ve allowed me to contact you
Can you believe it’s February 2nd already! Oh, my while I’m waiting to hear what’s happening with General Lee, our local ground hog I thought I would share with you my upcoming Weeks Weeks of Sale-a-bration Newsletter-
I love this time of year! Sale-a-bration is a lot of fun with all the FREE product choices we have. And I love making cards with my FREE Sale-a-bration products and now you can too! Why not join me and have fun making Sale-a-bration cards?
Starting Tuesday, February 9th….Those of you who are on my Newsletter Mailing List will receive my 6 Weeks of Sale-a-bration Newsletter email once a week for 6 weeks.
Each of these 6 exclusive newsletters will contain a special exclusive project with instructions to make them. Remember, I will not be sharing the 6 Weeks of Sale-a-bration projects on my blog. (These are exclusive projects that only my Newsletter subscribers shall receive – It’s my way of saying thank you to you for choosing me as your Demonstrator on your paper crafting journey!)
To join in all the fun – just sign up for my Newsletter mailing list. You’ll find the sign up box for my 6 Weeks of Sale-a-bration design in the upper right hand corner of my blog. Or you can click HERE.
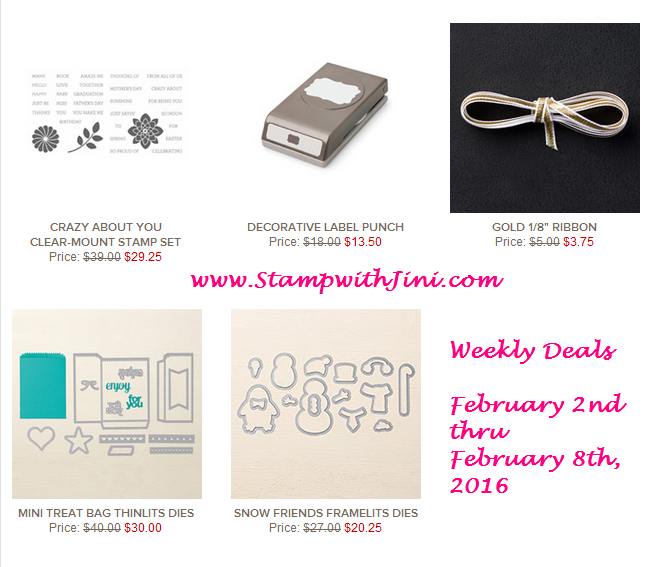
NEW WEEKLY DEALS
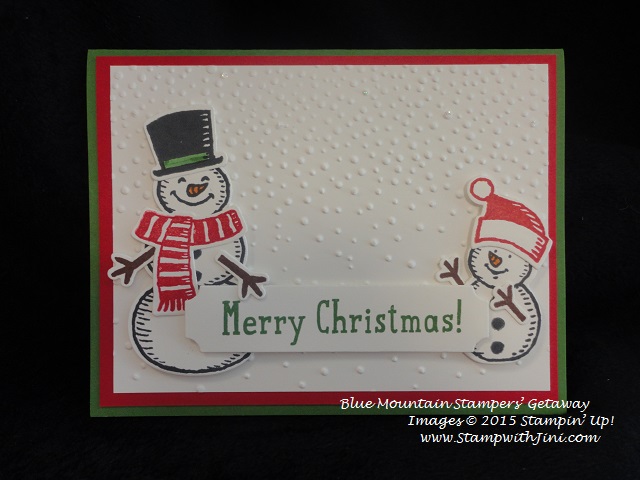
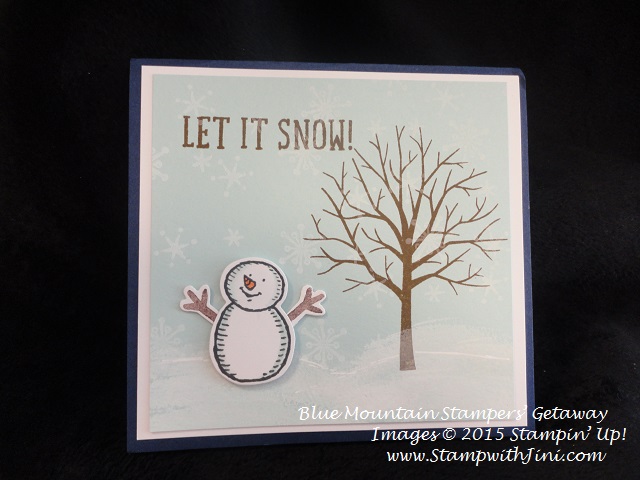
Why not consider adding to your Framelits Die Collection? Did you get the stamp set with out the die? Check out these great projects made with some of our Weekly Deals!
Our cute and easy Mini Treat Bag Thinlits Dies
Love punches? The Decorative Label Punch is a must have then.
Crazy About You is a wonderful set filled with all kinds of sentiments – It also has 2 coordinating punches! And at this price who can resist adding it to their collection!
And of course our Gold 1/8″ Taffeta Ribbon adds a touch of class to any project! You can see these items along with other products in my Online Store, simply click on the link below.
Are you ready to get away from it all? Dust off those winter time blues and get a taste of spring? Why not leave behind the kids, cooking, cleaning and laundry for the day? Or even a few hours? The choice is yours!
Join us for a full day of fellowship and fun. Bring whatever creative projects you would like to work on. You will have table space set up for the whole day– stamp, scrap, Project Life, Paper Pumpkin kits, jewelry, knitting, or whatever you’d like. The choice is yours!
Jini’s Classroom: Saturday, March 5th
What you get:
Craft time from Saturday 9 am to 9 pm
Your own 6 foot table
Make & Takes
Goody bag with Make & Take supplies and extras
Access to all of my non-consumables – Big Shot, dies, embossing folders, stamps, punches
Lunch & Dinner Saturday, plus snacks, water and coffee
Other fun surprises throughout the day
Use of a full kitchen, not that you will need it.
Cost: $59
Spots are LIMITED – I’m only opening this event up to 8 people. So reserve your spot today!
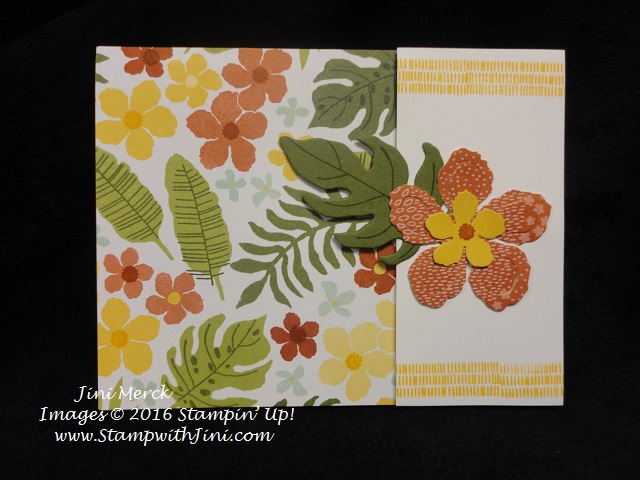
I love these new Botanical Builder Framelit Dies that are part of the Botanical Gardens Suite of products found on pages 26 & 27 of the Occasions Catalog. They are alot of fun to work with and the fact that they “pop out” to give the flowers a more 3d look is cool.
Isn’t it fun that the Botanical Gardens Designer Series Paper (140583) can be stamped on with the Botanical Blooms stamp set (140757)? Add more detail quickly and easily with the Photopolymer stamps to add even more color and texture to your paper like I did on this card. Can you see where I stamped?
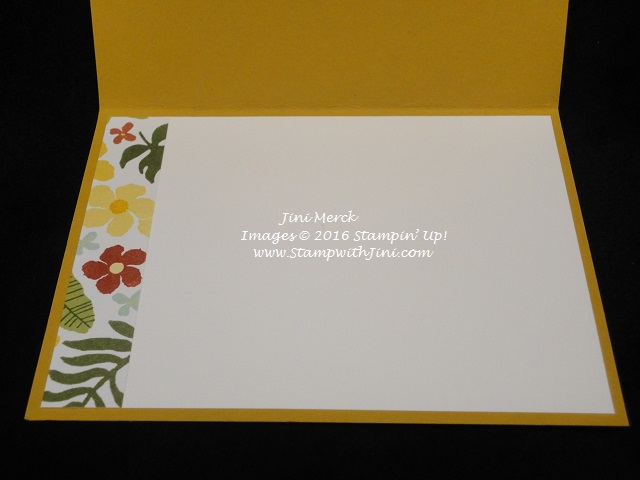
And don’t forget to decorate the inside too!
Great news! When you purchase the Botanical Blooms Bundle you’ll get a FREE Sale-a-bration item too!!!
Botanical Bloom Wine Charm Video Tutorial
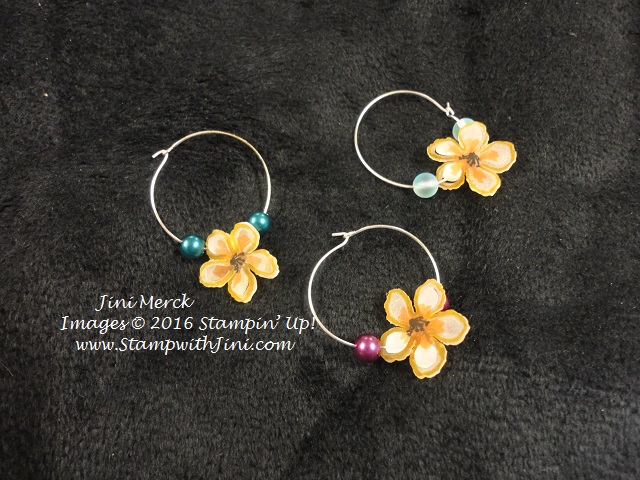
The other day I shared with you some cute little wine charms I made using the Botanical Blooms Bundle (140819) for my Team’s Winter Retreat. (You can click HERE to see that post.)
The charms were a hit with my team – so today I bring you a quick Video Tutorial for the wine charms.
**Please keep in mind while the Basic Black Archival Ink Pad is a permanent ink, but our Refills are water based. If you want this charm to be water proof you’ll need to spray a sealer on them or use permanent markers. While they are not water proof we had no problem with the charms when we used them repeatedly.
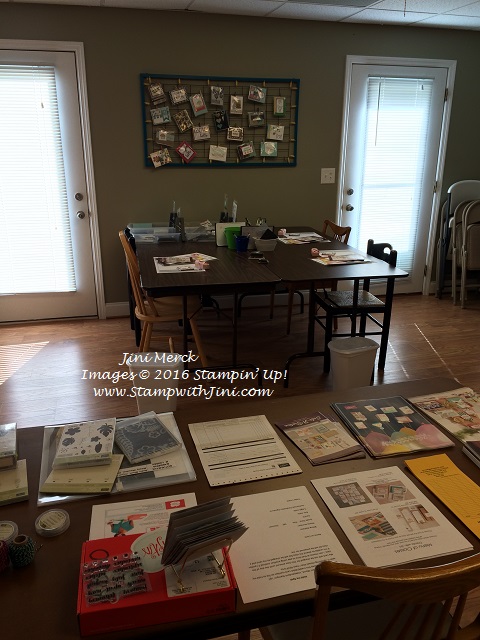
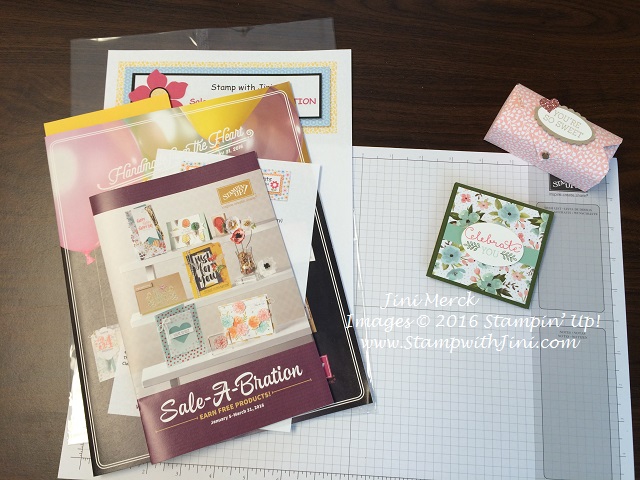
A New Catalog is a lot of fun – and of course when it’s Sale-a-bration, it’s even more fun! So to start the New Year off with a bang I held my NEW Catalog Sneak Peek Event on the 3rd of January – two days before the catalog launched! That meant that everyone who attended was able to play with some of the new products and see them before it went live! Whoo hoo! A great way to start off the New Year, right?
In today’s post I’m going to share with you some photos of the event. This first one is a picture of the classroom set up – to show you a bit of what greeted everyone who attended.
And this second one shows you what was at everyone’s spot.
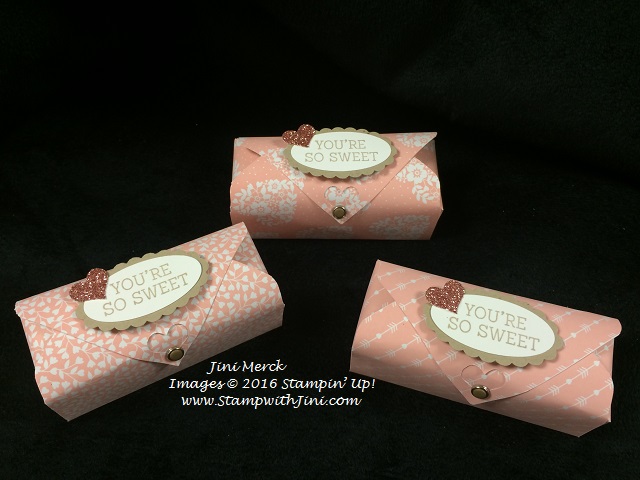
Everyone who attended received a couple of special treats from me – and in today’s Video Tutorial I’ll show you how the little chocolate holder was made.
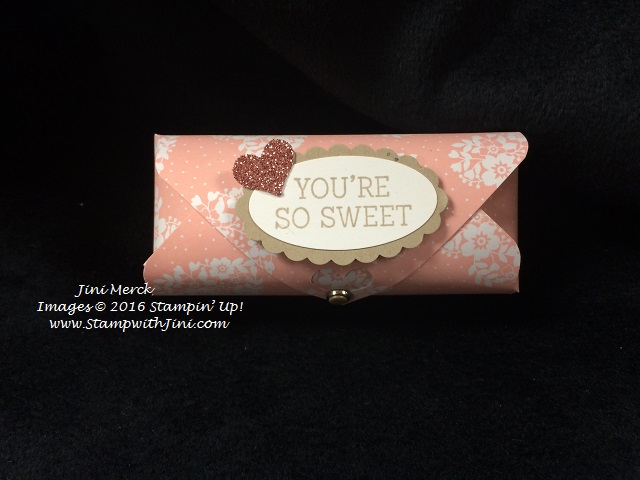
I call these Love Blossom Domed Treat Box – I’m so original, not with names – but well I called them this because they’re domed or treasure box shaped!
I used our new 6×6 paper stack, Love Blossoms since they were the perfect size! I didn’t even have to cut the paper!
Want to see a quick video tutorial on how to make them? Well, here you go. (Sorry about the froggy voice, I’m fighting winter allergies and just couldn’t wait any longer to share this with you.)
Domed Treat Box Video Tutorial:
A great project, huh? And it holds quite a bit so you can put almost any item you’d like inside. Of course, I wanted to pamper my guests with some Valentine chocolate, (before Larry found it!) so this was perfect.
And of course, our Honeycomb Happiness (Sale-a-bration 1412788/141291) is an item that you can earn FREE during Sale-a-bration. I love the images and thought the sentiment was perfect for this project!
I’ve given you a complete supply list for this project below. And I don’t know about you, but I find the Envelope Punch Board a fantastic addition to my stamping supplies and have been finding all kinds of things besides envelopes to make with it! If you haven’t already seen my Getting Started with the Envelope Punch Board Tutorial – why not check it out now?
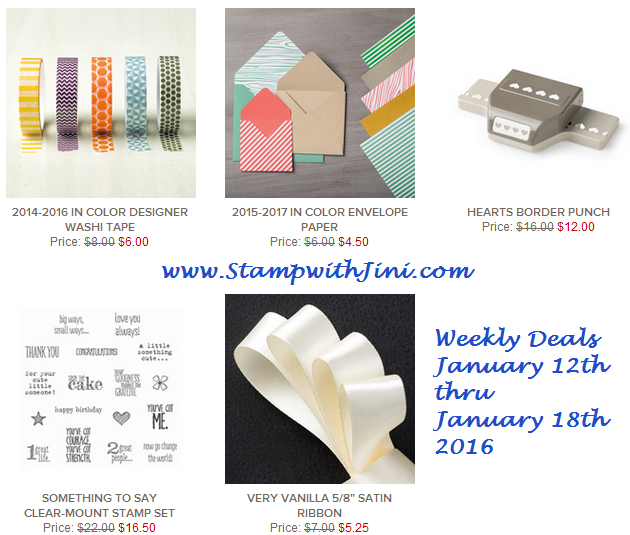
NEW WEEKLY DEALS START TODAY!
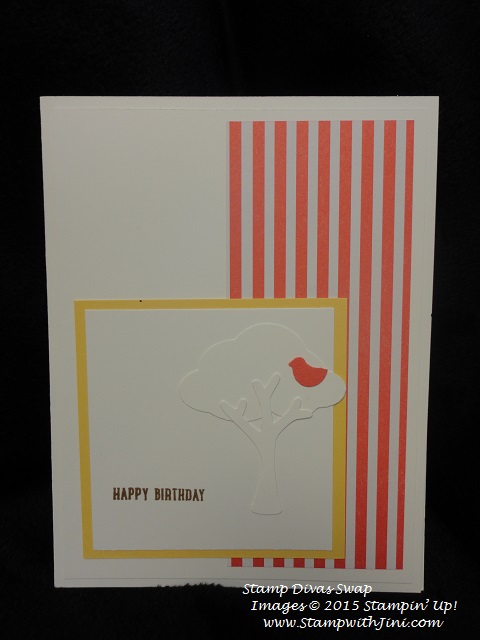
Here are some projects made with the Envelope Paper – it’s not just for lining or creating envelopes as you can see.
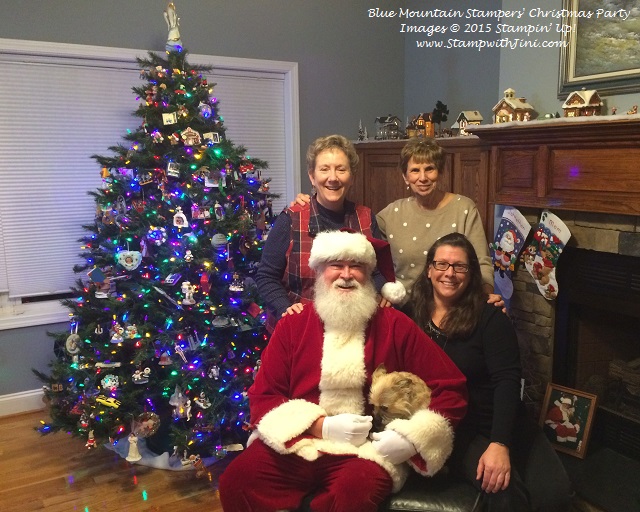
I love pampering my Team, the Blue Mountain Stampers and this past Tuesday when we gathered together for our Annual Christmas party that’s just what I tried to do.
We gathered together for fun, fellowship and of course a bit of stamping! Everyone brought a dish and we enjoyed a wonderful turkey dinner together with all the trimmings. (I love this part of the evening since it is a lot of fun trying new dishes and enjoying each others.)
Santa made an appearance too!
Notice even our dog, Chewie was in the spirit!
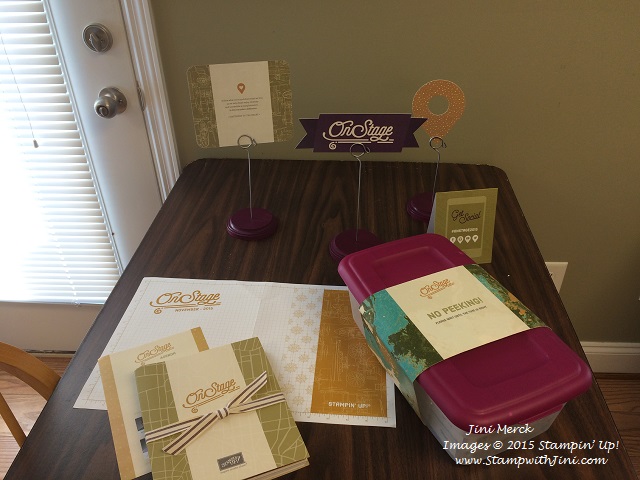
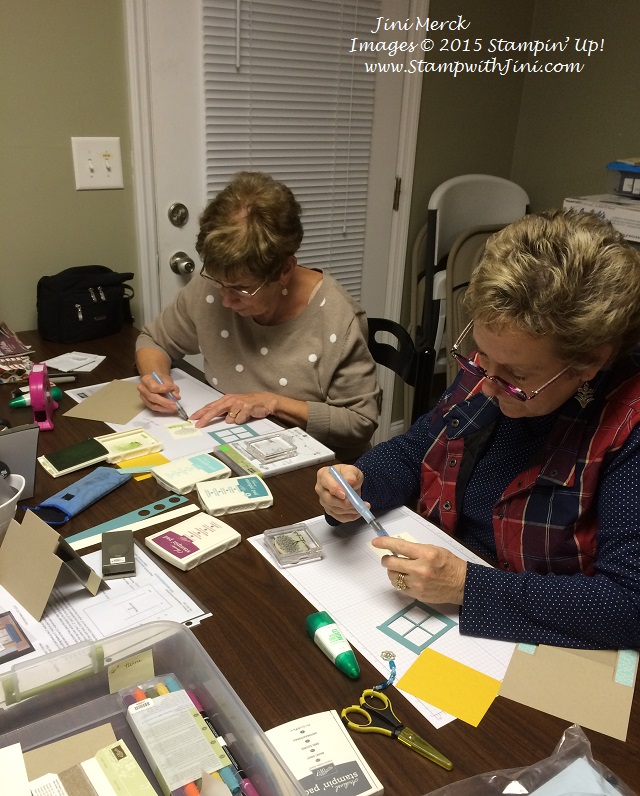
After we retreated to the classroom and enjoyed some stamping together. And for those that were unable to attend On Stage in Tampa with me, I wanted to create a little mini On Stage event for them.
And of course that box is filled with our NEW products! So everyone had a chance to see the NEW accessories and Designer Series Papers and stamp with some of the new products from the upcoming 2016 Occasions and Sale-a-bration Catalogs!
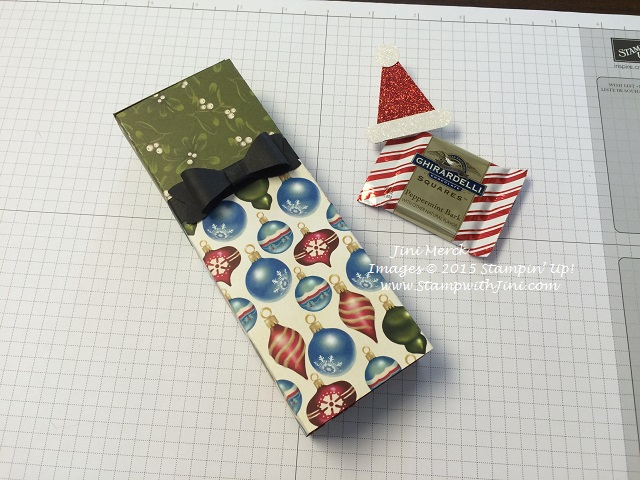
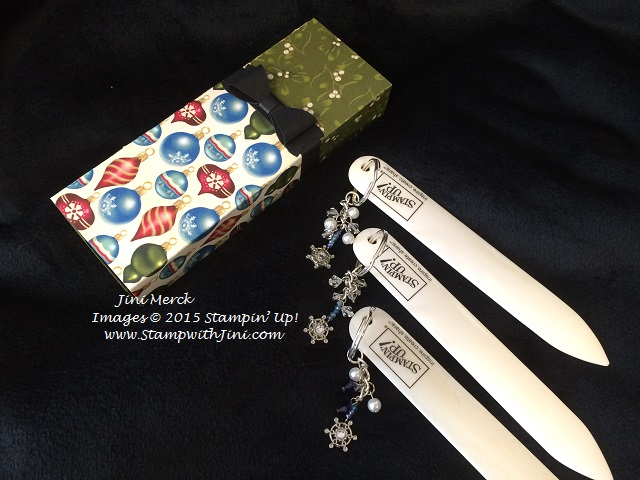
And what party would be complete without gifts? Everyone was greeted with this a couple of little goodies when they got to their seats. One had to be chocolate, right?
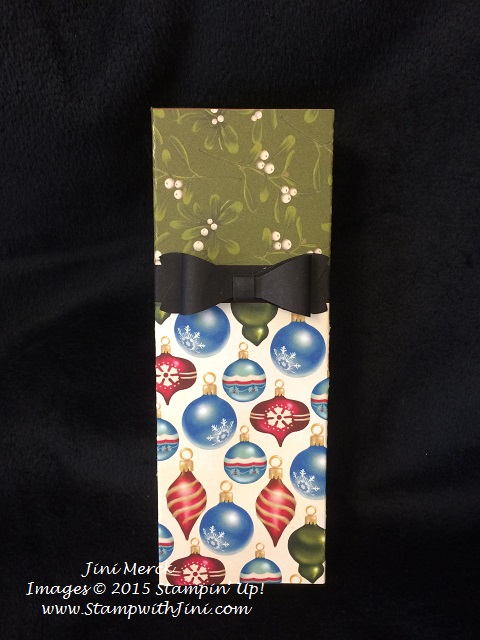
A Bone Folder for everyone that has been decorated with a charm. I made each Bone Folder Charm with our Winter Wonderland Embellishments (139621) along with different beading so we can tell them apart when we stamp together. LOL! (Of course, they have some blue since we’re the Blue Mountain Stampers.) I made these to coordinate with their scissor charms that they received earlier this year. (Want to see the scissor charms? You can click HERE)
The Clothespin Santa Hat is sooooo easy to make!
Want to learn how to make these quick and easy treats? Well all you need is a few supplies. (You may even have these. If not let me know and I can help you out.)
Multipurpose Liquid Adhesive (110755) This stuff works great on Glimmer paper!!!
Here’s how:
Punch out a Tree using the Red Glimmer Paper and clip off the trunk. Using the Dazzling Diamonds Glimmer Paper punch out a circle and Word Window. Attach to the tree piece. After it dries attach the hat to the Clothespin.
That’s it – quick and easy!!! But I warn you, these are so cute you’ll want to make lots of these! LOL
Being part of a Team is fun – if this is something you’d like to do why not click HERE to learn more about the Blue Mountain Stampers. And feel free to contact me with any questions you may have!
Need a cute Thanksgiving treat for friends or family? How about my Acorny Kit Kat Box? They are quick, easy and hold a full size Kit Kat candy bar – what could be sweeter?
This project uses one of my favorite fall bundles from the Holiday Catalog – The Acorny Thank You stamp set and coordinating Acorn Builder Punch.
Want to see how I made it? Why not check out my latest Video the Acorny Kit Kat Box Tutorial?
So what do you think? Why not leave me a comment. You can find the complete supply list at the bottom of this post for all the supplies I used to create this fun gift item.
Christmas is fast approaching and I want to help make checking those names off your list easier than ever! Stampin’ Up! has got some great gift ideas for those loved ones young and old.
Check out these great options that are available to you without even leaving the comfort of your home.
Kits – everything is in the kit you need to get started just add scissors and adhesive.
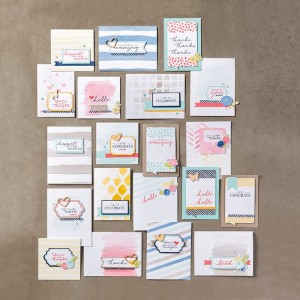
Check out our Watercolor Wishes Card Kit (140406) shown above, it’s a great deal for any crafter or novice since it includes everything you need including stamp set and ink and makes 20 unique cards!
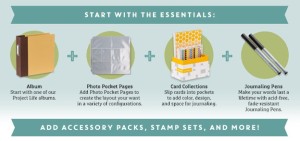
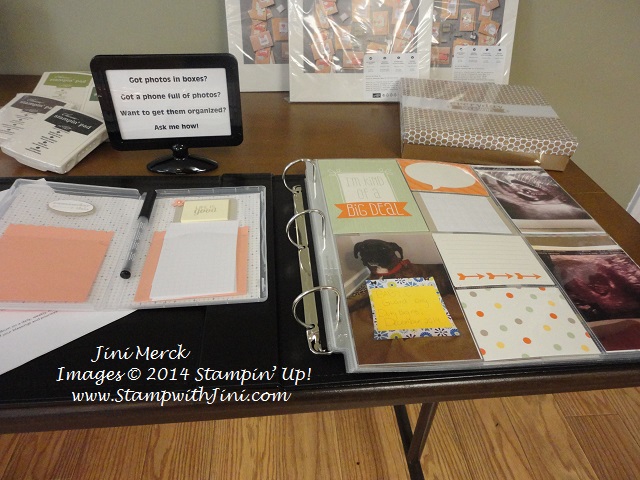
Make it memorable – Project Life by Stampin’ Up! is a great way to create a quick and easy gift. Have someone who has just had a baby or is expecting? How about getting married or going on a trip? The options are endless with our card collections and accessory packs.
Here is a baby book I recently gave as a gift and included a little clear mount case with extra cards for memory keeping on the go!
And my son uses his to document the progress on his rail buggy that he is building. I can’t tell you how much he loves showing the book to his guy friends to show the different steps he’s done.
Click HERE to see all the Project Life by Stampin’ Up! products available
Want an easy reference guide – Click HERE for my printable 2015 Holiday Gift Guide.
Not sure what to get? How about a Gift Certificate? Classes are available to gift to – So why not treat a friend to some quality time and have a girl’s day out stamping together?
Want some help with ideas? Feel free to contact me and I’ll be happy to find the right gift for you to give. I help hubbies too!
I love to find ways to use my dies differently – an today’s video tutorial does just that. Miniature is big right now and that’s just what you’ll get!
Sometimes the Berry Basket is just too big for a little something I want it to hold – so this project is perfect for just a little something or even little note cards. Why not check out today’s video tutorial? The Mini Berry Basket –
So what do you think? Cute, right? And of course I’ve filled this little Mini Berry Basket with some fall wrapped peanut butter cups – shhh…. don’t tell Larry I’ve had a stash set aside for my upcoming Craft Bazaar this Saturday (Click HERE for more information if you want to stop by and see me!)
Whew… I made! I wasn’t sure if I was going to be able to share this video today since it’s taken forever to upload. Hmmm… maybe it’s the rain.
Make my day. Leave me a comment and let me know what you think of this project.
Accessories: Into the Woods 3/8″ Cotton Ribbon (139612),Berry Basket Die (137366), Brights Stampin’ Write Markers (131259), Handheld Stapler (130903) and Mini Silver Staples (135847), Simply Scored Board (122334), Stampin’ Trimmer (126889), Stampin Pierce Mat (126199) and Paper Piercer (126189), 1 3/4″ Scallop Circle Punch (119854), and 1 3/8″ Circle Punch (119860)
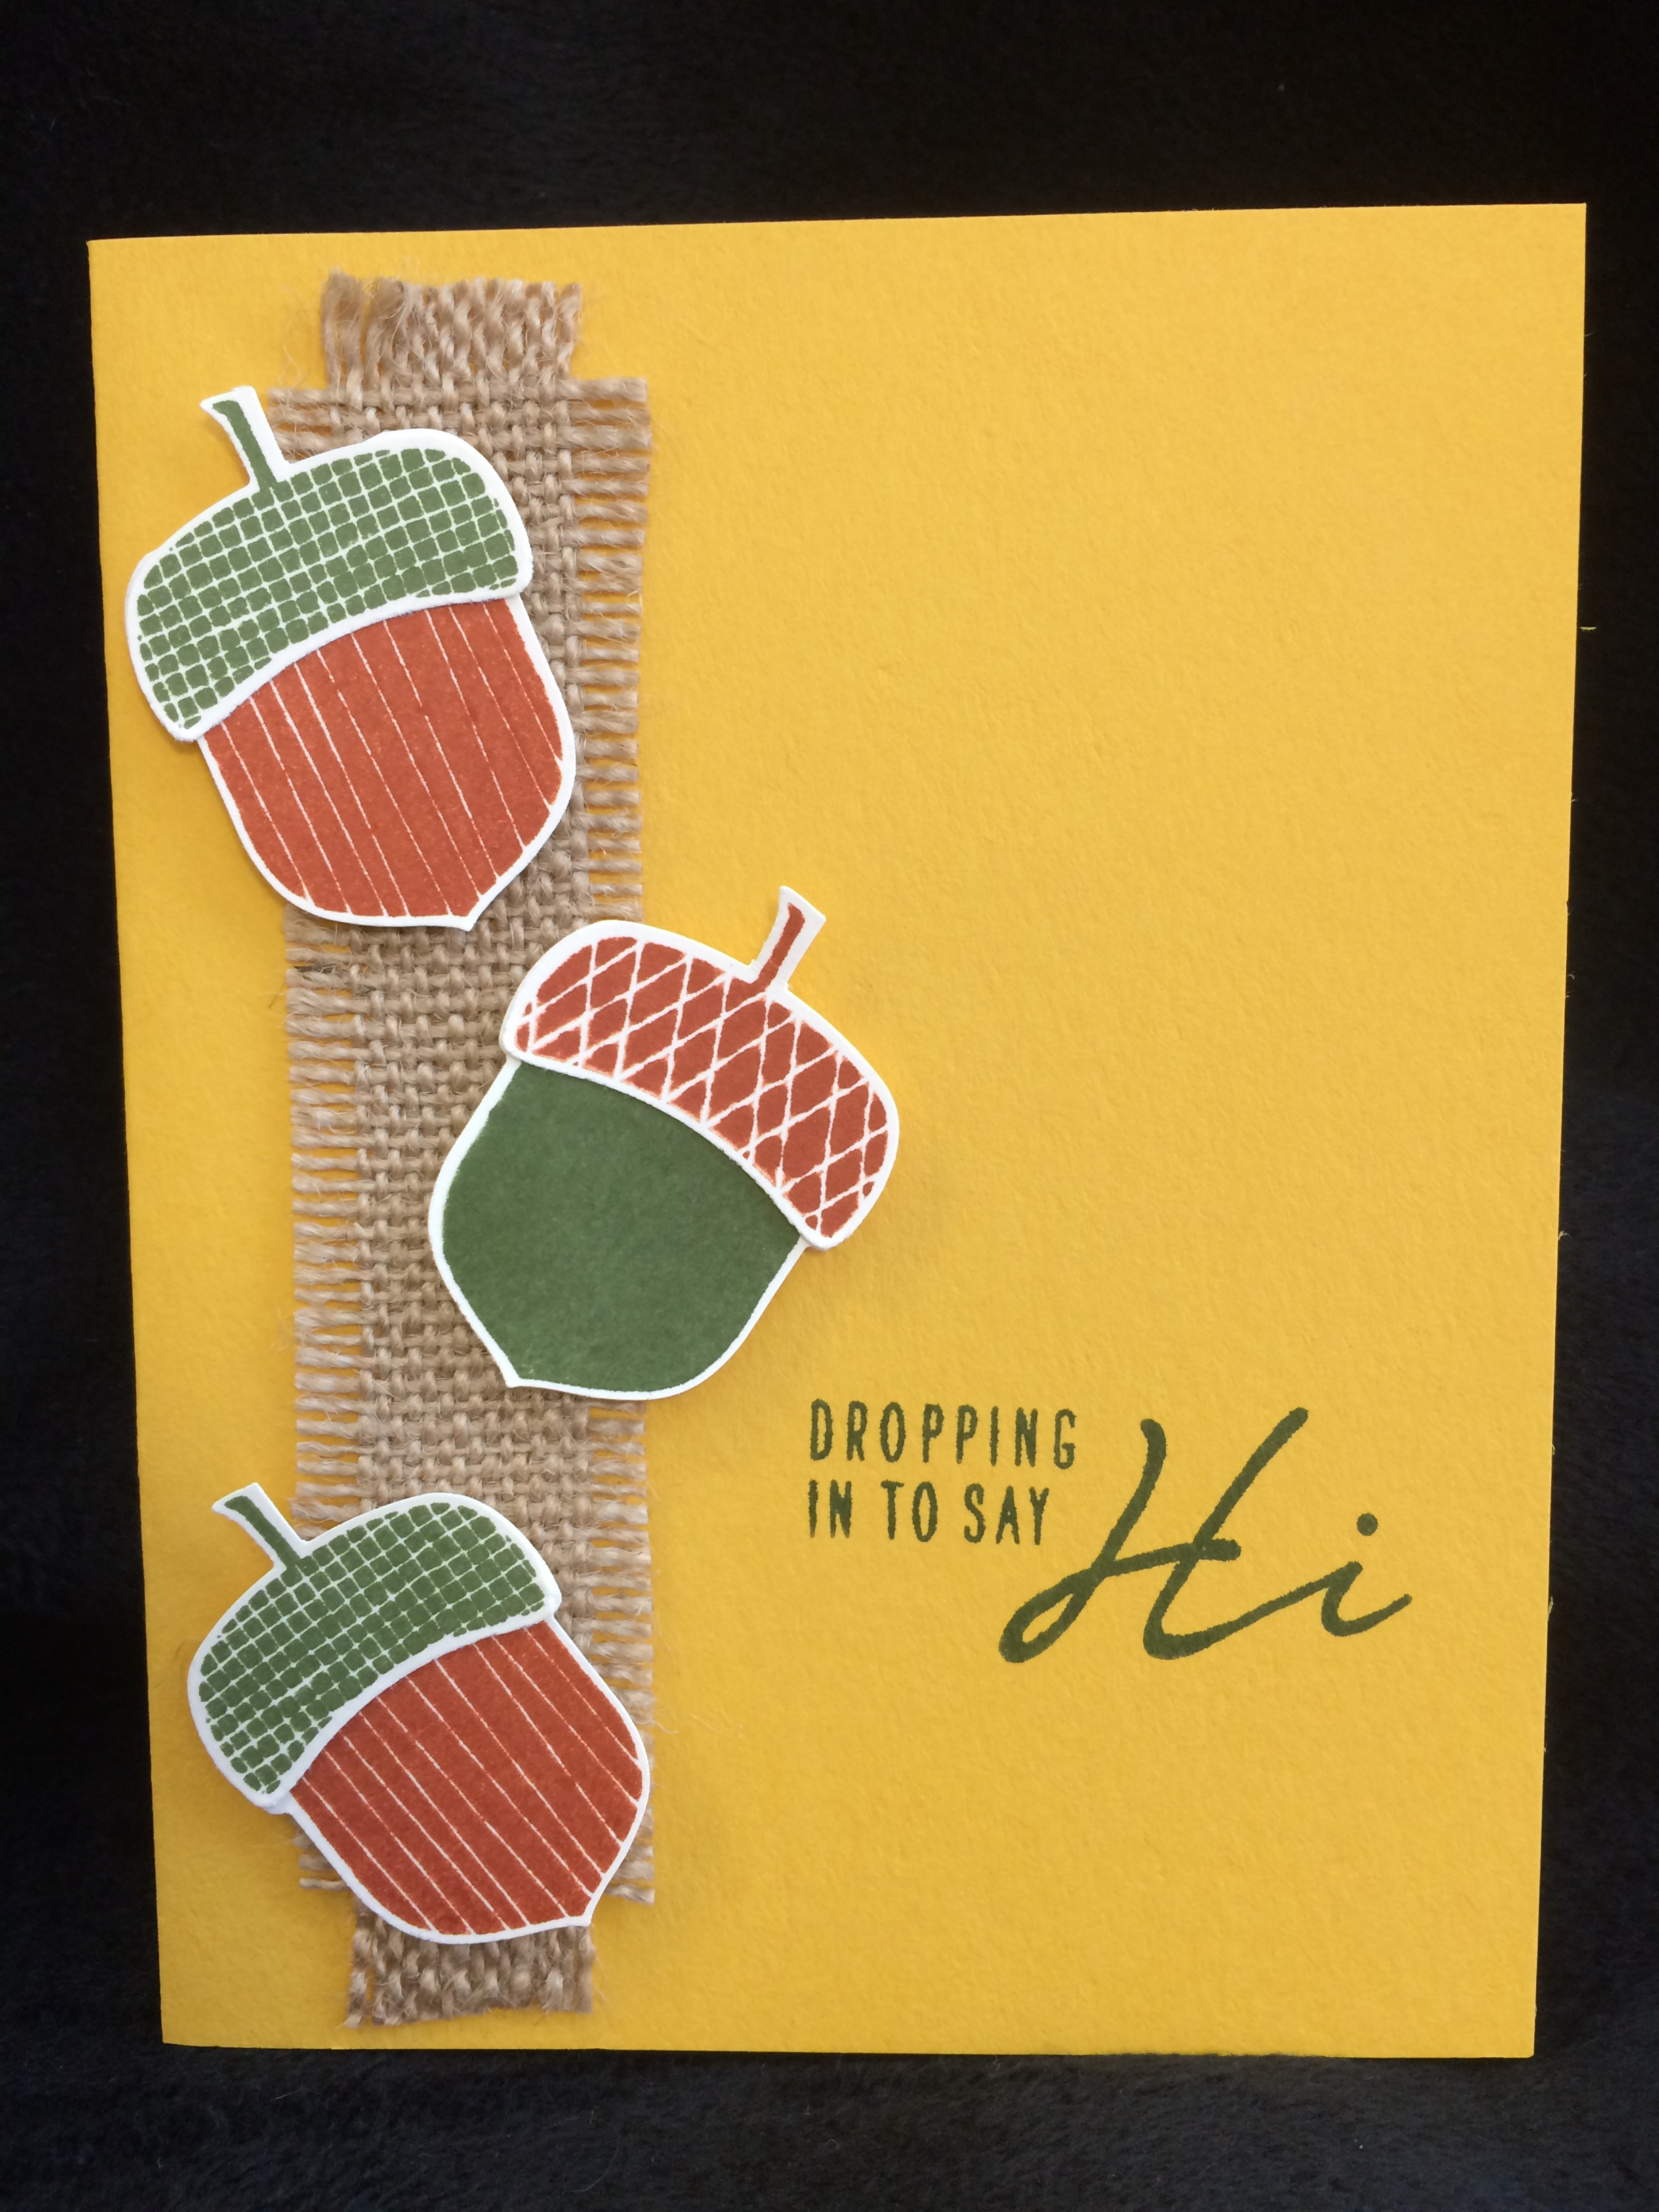
The Acorny Thank You Bundle (140841) was one I knew I had to have for my fall cards. I thought it was cute and love the bold images and of course it had great possibilities and since it has the coordinating Acorn Builder Punch. After all who can resist a punch?
Today’s card was made using the bundle and the acorns were quick and easy with my Acorny Punch Tip!
Want to learn more about making punching easier with this fun bundle? Why not check out my short video tutorial – Acorny Punch Tips?
So what do you think? This tip can be used with all your photopolymer sets and coordinating punches. And it’s so easy. I just keep my little template in the case. Check out my quick tip for storage of the punch templates and Stamp-a-ma-jig imaging sheets HERE. Easy, right? I love easy things that make stamping more fun!