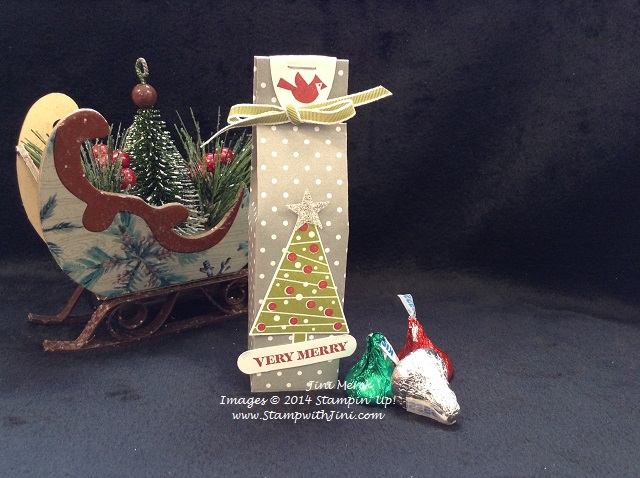
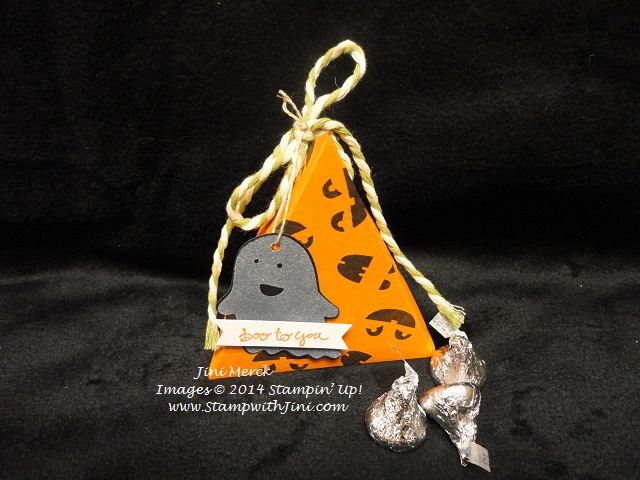
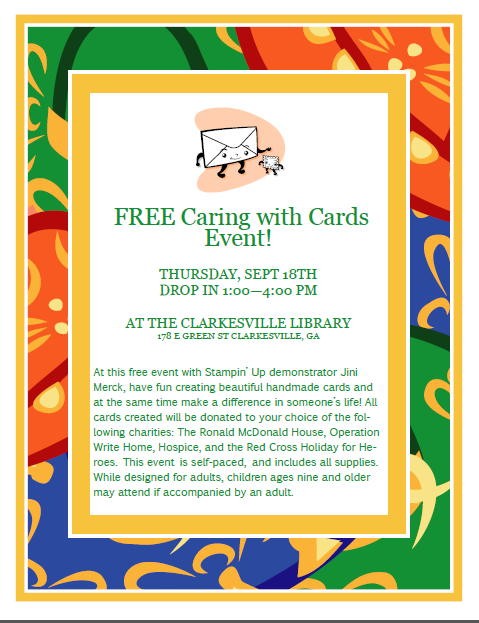
When I saw this latest Photopolymer stamp set at Leadership as a sneak peek I knew it was one that I definitely wanted. The fun font and wonderful sentiments were a must for my collection. And of course who can resist the feather that is included!
So when I received my set I immediately set to work on a special card and here is what I ended up with.
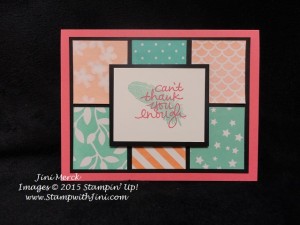
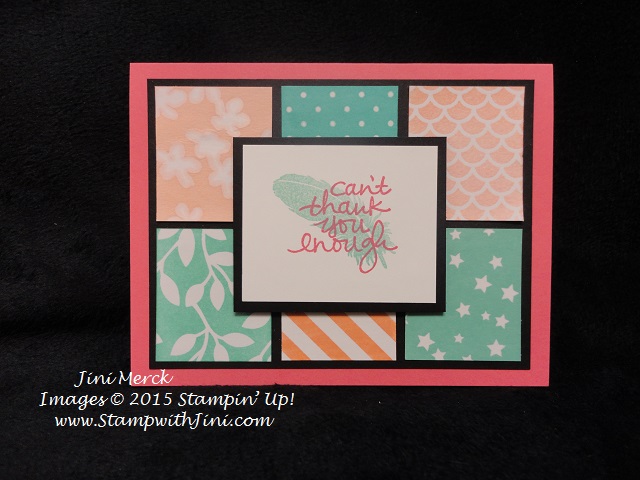
I designed this card for my Team meeting. I wanted to highlight the fantastic Irresistibly You Specialty Designer Series Paper that you can earn for FREE during Sale-a-bration with a qualifying purchase.
This paper has a glossy white pattern on it and is perfect for coloring using a variety of techniques – coloring reveals the pattern! And for this card we used 6 different coloring techniques! We did one square for each technique using different Coastal Cabana and Crisp Cantaloupe products.
So what do you think? Can you name all six ways to color this wonderful Specialty Designer Series Paper? Well, after you guess you can scroll down to the bottom of this post to see if you were right. (I’ve noted which product was used for each pattern in my supply list.)
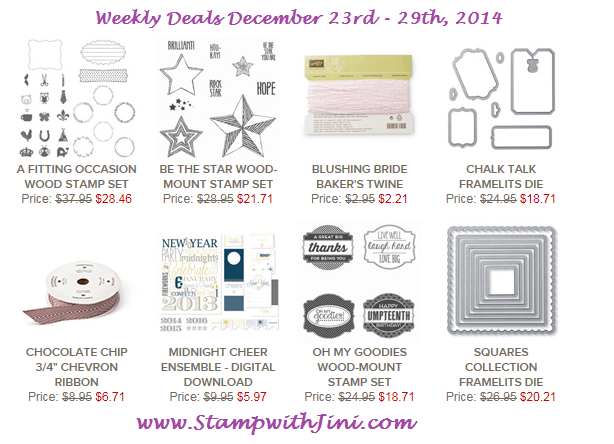
NEW Sale-a-bration Bonus Products being Offered on March 1st!
For the first time ever Stampin’ Up! is offering us 4 more choices for FREE products during the last month of Sale-a-bration. And you’re going to LOVE the NEW Choices!!!
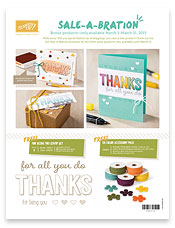
Click HERE to see the choices on a convenient printable flyer. There are two sides of products so make sure to click on the image to see both sides and all the goodies.
Remember these Bonus products are only available March 1 – 31st, 2015.
You can contact me to place your order now or you’re welcome to wait until March 1st and place an order in my Online Store.
Supplies:
Stamp Set: Lovely Amazing You (140594)
Inks: Coastal Cabana (131175), Crisp Cantaloupe (131176), Strawberry Slush Classic Ink (131178)
Paper: Irresistibly Yours Specialty Designer Series Paper (FREE Sale-a-bration item 138653), Strawberry Slush (131295), Basic Black (121045), and Whisper White card stock (100730)
Accessories: (stripes) 2013-2015 In Color Stampin’ Write Markers (131260), (flowers)Stampin’ Spritzers (126185), (dots) Coastal Cabana Stampin’ Blendabilities Markers (131000), (leaves) Stamping Sponges (101610), (scallops) Aqua Painters (103954), and (stars) Brayer (102395)
Click here to order your Stampin’ Up! Products online 24/7! (US only)
Hostess code TZK4PVVY
Click Here to learn more about using the Hostess Code
Weekly Deals (Special ends Monday, March 2nd, 2015 at 11:50 p.m. (MT)