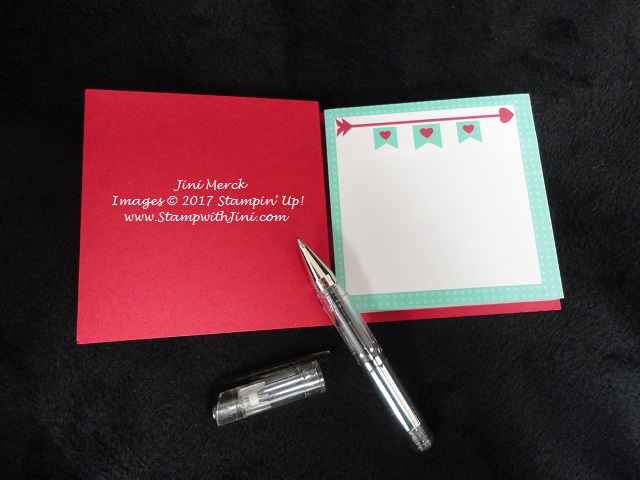
You know me, when I ran across the cutest post it note pad for Valentine’s Day I couldn’t resist making a little treat with it! And since it made me immediately think of the new Sealed with Love stamp set, that is what I grabbed during my recent Team Retreat to create with.
Here is what I came up with.
So what do you think? Cute?
And I love that this little post it note holder holds these cute little pens I found at Staples. I know you want to see how I made them, so here you go my latest tutorial.
Sealed with Love Post it Note & Pen Holder Video Tutorial
So what do you think? Quick and easy? I’ve given you the supply list below so you can make some too!
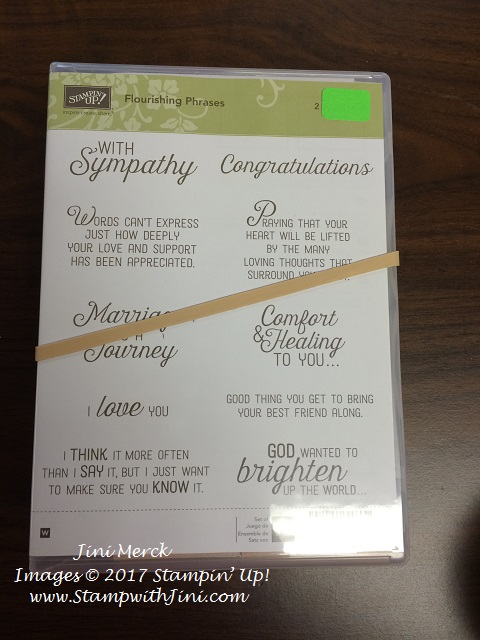
Do you have a hard time keeping those double case stamp sets together? Don’t like keeping track of the rubber band that come with double case sets? I know mine always get lost on in my crafting space.
We’ll if you want a quick and simple tip for keeping those cases together wait no more! My friend Lorraine shared this easy trick with me and I thought it was so great I wanted to share it with you right away! (Yes, I know – this is one of those videos I found cleaning up my computer. LOL!)
Check out my video tutorial below – it’s quick and easy!
How cool is that? All you need to get organized is some clear packing tape and your set!
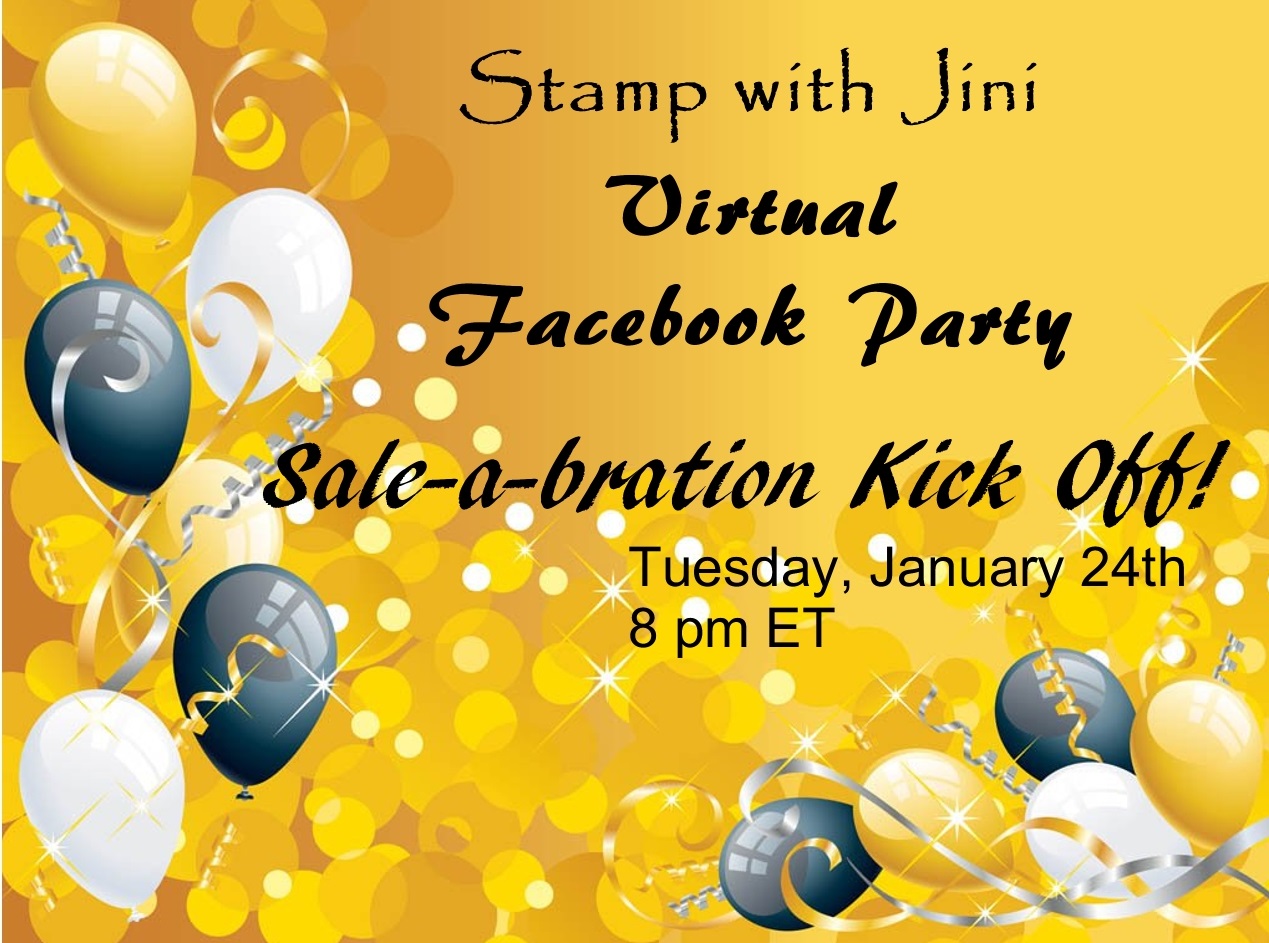
JOIN ME FOR AN EVENING OF FUN
Relax you can put on your p.j.s, grab a glass of wine and kick back with your tablet or what ever you stay connected with…..
Join me for a fun VIRTUAL Party to kick off Sale-a-bration 2017! Samples, inspiration, fun and prizes!
It’s easy, it’s fun and you know you’re already on facebook!
Do you ever loose things on your computer? Frustrating, right? Good news since I’ve been having some computer issues lately (I’m hoping I’ve got most of them solved now.) I have found a couple of things that I didn’t share with you earlier. Yikes!
Here is the first project that I did a video for. It’s a great little treat holder that holds a yummy Ferrero Rocher candy.
Want to see how it is made? Check out this quick video tutorial.
Ferrero Rocher Treat Holder
So what do you think? Why not leave me a comment and let me know?
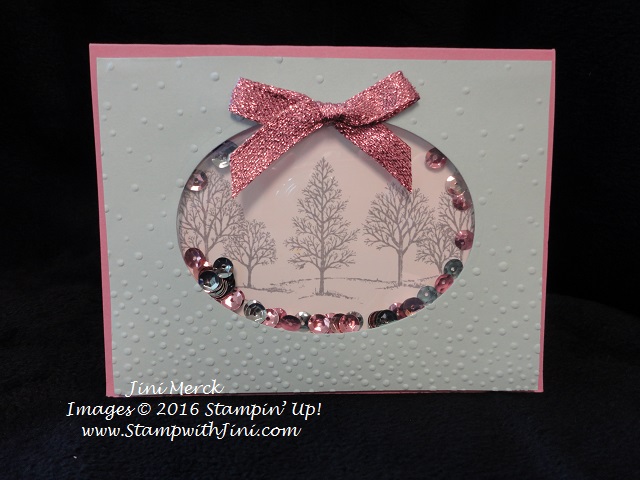
Don’t you love the combination of Sweet Sugarplum and Soft Sky used in the Fancy Frost Suite of products found on page 36 &37 of the Holiday Catalog? Well I do – these soft colors call out to me, but then to be honest I’ve loved all the products in this suite!
Want to see what I did with them?
I’ve created a shaker card – soooo much fun and so easy to do with the Foam Adhesive Strips (141825)!
And of course what did I fill the shaker card with? Our beautiful Fancy Frost Sequins (142519) of course! Added a cute little bow made of our our 3/8″ Glitter Ribbon Combo Pack and I’m ready for the holidays.
Want to see how I did the Shaker Frame? Check out this quick little video I made – How to Create Shaker Frames.
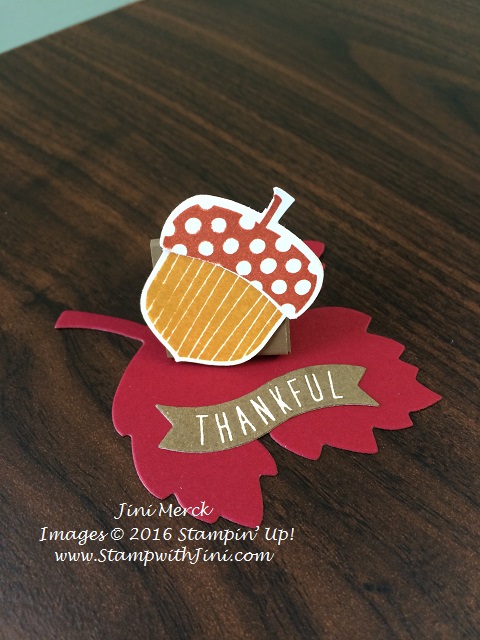
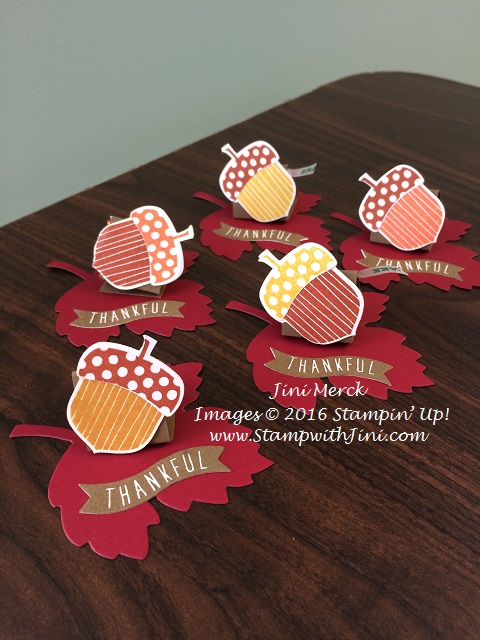
Want to dress up your Thanksgiving Day table with a little something special? Why not whip up some of these cute little table treats using the Acorny Thank You stamp set?
I’ve made a quick little video to share with you
Acorny Thank You Table Treat Video Tutorial
Warning: these little treats can be so much fun to make you won’t want to stop!
I love to make gifts and what could be more practical than a post it note holders – I don’t know about you, but I have a ton of these little pads laying around my work spaces at home. LOL! Who would have back in the 80’s thought these little pads would become so every day! Don’t you wish you had invented them? I digress – so any way without further adieu here it is
I really love the way these turned out – so much so I’m making them for the Bazaar I’m doing this Saturday. So why not stop by this Saturday at the Good Shepherd Lutheran Church Mission Bazaar in Gainesville and say hi? You can find more information about the event HERE on my Calendar of Events.
Want to see how they are made? I’ve made a little video tutorial for you not only showing how the holder is made but also how I created the wash of color on the focal point too!
Vintage Leaves Easel Post it Note Holder Video Tutorial
Caring with Cards & the Ronald McDonald House
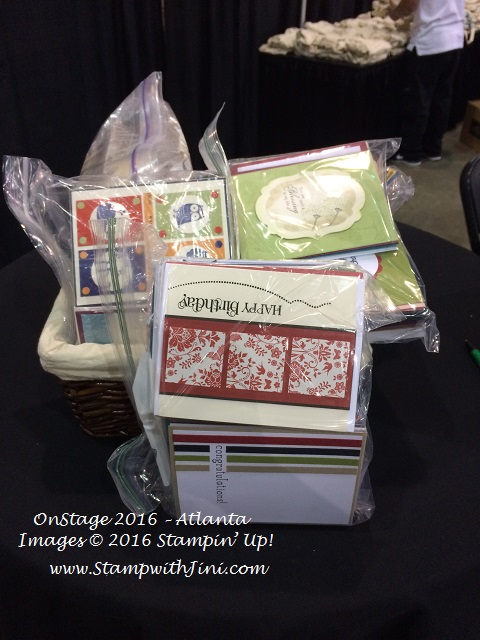
Last Saturday I was able to drop all those cards we’ve stamped together at my Caring with Cards events into the basket at the Atlanta On Stage event. Thanks to all those new and seasoned stampers who joined me in making a difference!
Almost 200 cards were stamped between April and the event. Wow!!! It was great to see the basket over flowing! These cards will be distributed to the Ronald McDonald Houses across the nation so that those families who are staying there can use them during their stay as a need arises.
Would you like to help make a difference? Why not join me at my next Caring with Cards event – it is free and all the cards we stamp together will be donated to the RMH and the Red Cross Holiday for Heroes programs!
How can you join in the fun? Just stop by the Clarkesville Library on November 15th between 2 and 3 pm. You can see all my events HERE on my Calendar of Events.
Wow – it’s already the second week in November – I’ve got so much to share with you!
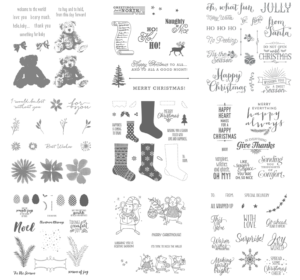
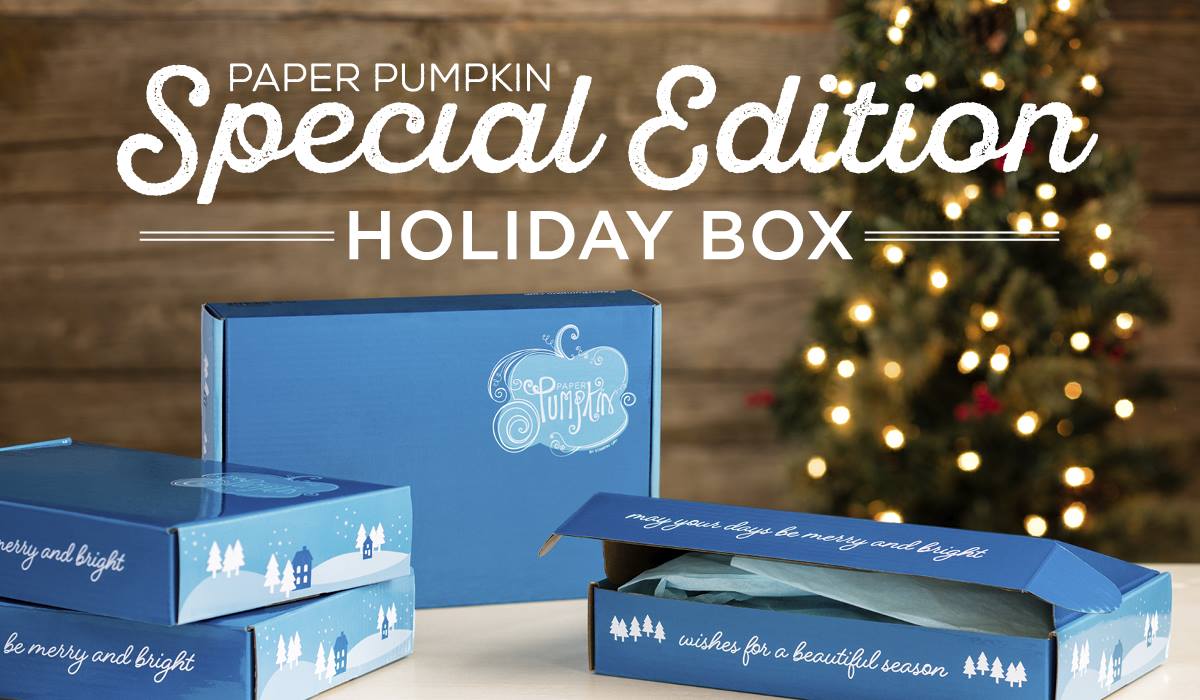
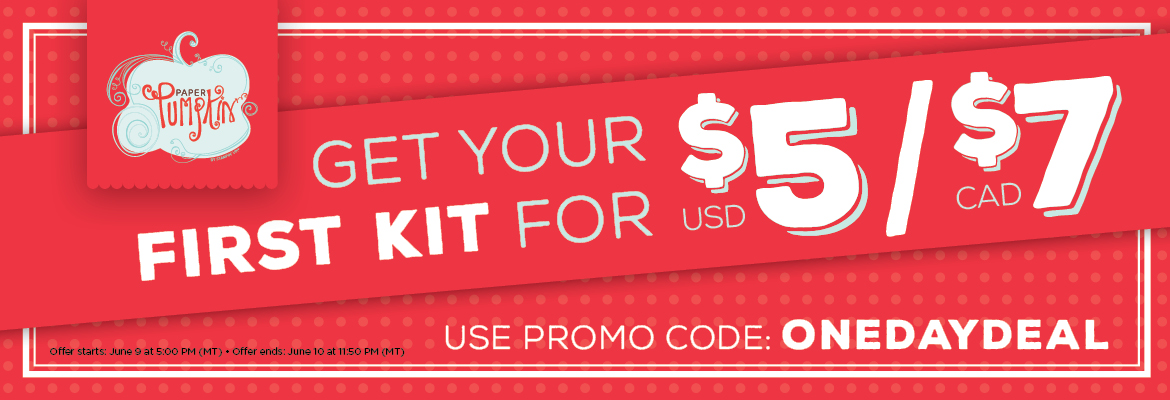
First, check out this sneak peek of our upcoming November Paper Pumpkin Kit!!!
Stampin’ Up! has given us a peek at the box! I love the blue and can you see the little snow scene? It is a hint of what’s inside.
If you haven’t already you’ll want to sign up in the next two days! Why? You have to have your account activated before the end of the day November 10th to receive this box!!!
Got questions? I’m here to help you can call me at 706 754-7124 or email me at [email protected]
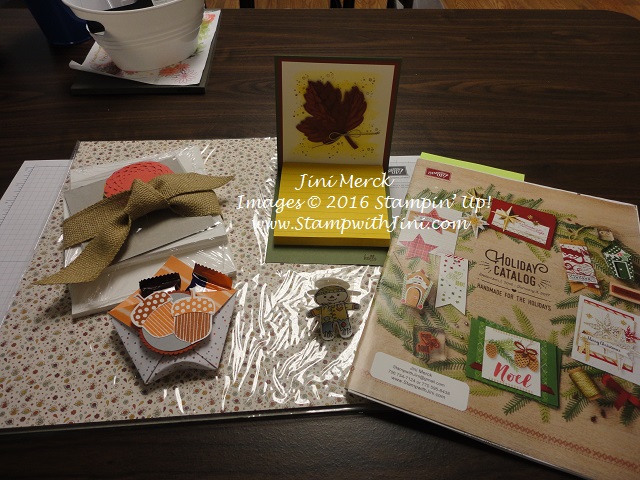
Next, I realized this weekend I hadn’t shared anything about the Fall Day Retreat and there were some cute items I made for it. And I wanted to make sure I shared this with you since I have some video tutorials to go with the projects! Anyhow, I love pampering each and everyone of you at these events! And I had a lot of fun making treats for the event to make it special – so to begin I’ll share with you the goodies that everyone received during their day of crafting.
Here is a photo of not only the items they received in their “goodie bags” but also the little treats throughout the day.
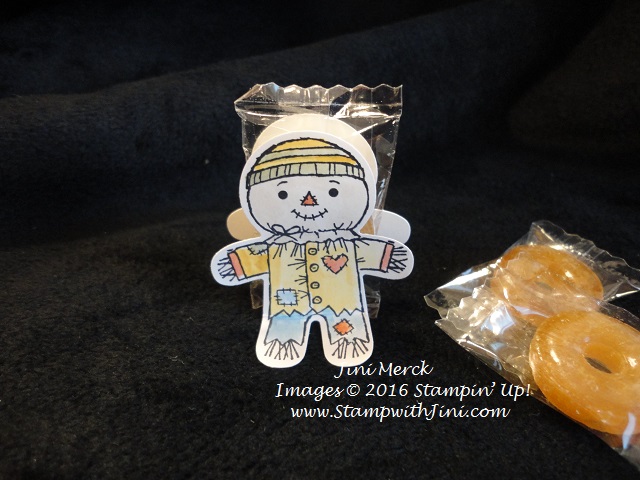
I’ll get to the video – But first, check out this cute little stand up guy!
I couldn’t resist this quick little treat and since I just love the Cookie Cutter Halloween Stamp Set (142252/142255) and it’s coordinating punch (140396) I couldn’t resist making this fall themed treat for everyone. I’ve put a little butter rum candy between the two images. Who wouldn’t love seeing this little guy at their place setting on Thanksgiving? Adorable, right? this little scarecrow just makes me smile.
And here is one of the little treats from the day – I call it my Acorny Treat Pouch! I find myself reaching for this fun fall set and it’s punch! Quick and easy and when you team it up with the fun fall paper from the Holiday Catalog – it makes a great treat!
Of course, the chocolate doesn’t hurt, right? LOL!
Why not check out this quick little video – they are so easy to make!
Acorny Thank You Treat Pouch Video Tutorial
I’ve got the complete supply list for you below. Leave a comment and let me know what you think.
Stop by tomorrow when I’ll share another video tutorial with you – and hopefully some of the photos from this past weekend’s Stampin’ Up! event too!
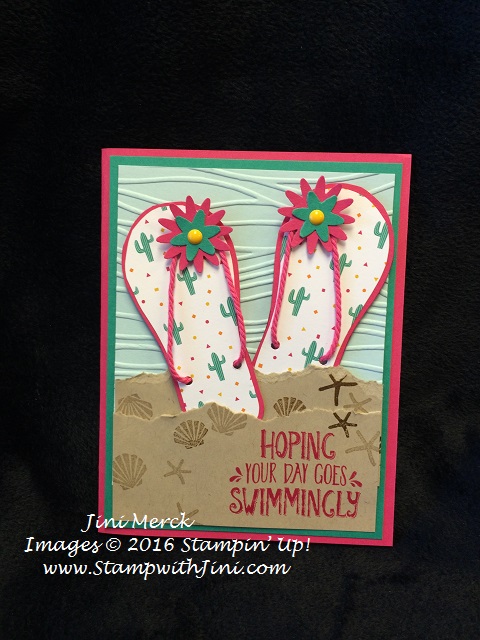
What says summer more than a new pair of flip flops? Today’s card uses our fun bold Designer Series Paper, Festive Birthday to create these fun cactus flip flops.
I’ve had several of you ask me how I created these when you saw my shoe box card HERE.
So I thought I’ve put together a video tutorial on how they are made. And I included some tips to make things easier.
Want the pattern? Well I’ve made one up just for you!
So, what kind of flip flops do you like? Plain, bright and colorful, or wild patterns? Why not leave me a comment and let me know.
What’s Happening Here?
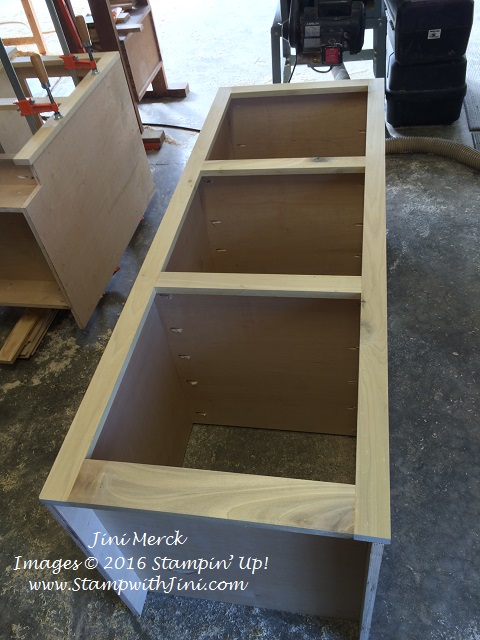
On a personal note I thought I’d share with you what is happening with all this wood my son, Johnathan and I brought home on June 20th. (Click HERE to see that post).
I’m excited to say my guys are making great progress on the project… my classroom!
Johnathan is always happy playing with his “toys” in the garage. (He built his garage cabinetry that you see in the background over his winter break.)
Over the weekend they finished the 12 x 12 paper storage unit.
and the base cabinet too! Wow that was fast!!!
I can’t tell you how excited I am to get painting! And you know how I dislike painting. LOL!!!
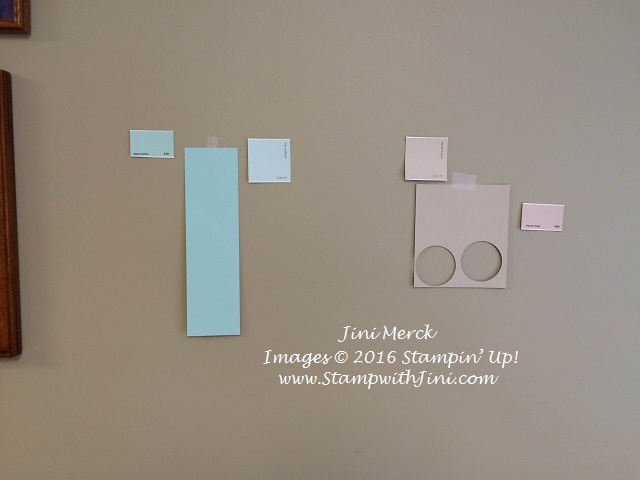
Right now, I’m trying to decide a new paint color for the classroom walls. After all, with this great cabinetry going in I need a new coat of paint, right?
I’ve got it narrowed down to two choices at this point.
A more bold one and a safe one. I’m trying to decide how crazy I want to be LOL!!! Pool Party or Sahara Sand ???? Hmmm…. what do you think? I’ve changed my mind so many times already, but these are the two I keep coming back to since I love the Island Indigo display item I already have.
Use Hostess Code 4JURAZXY and receive a FREE gift when you place a minimum order of $50
Click Here to learn more about using the Hostess Code If you order Online make sure your profile information is up to date and you’ve allowed me to contact you
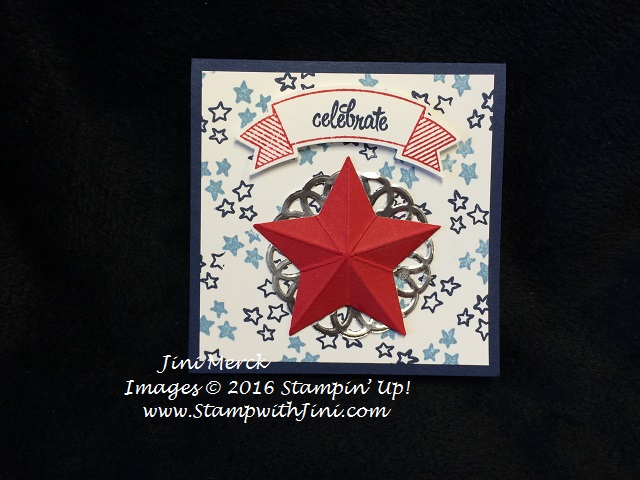
Yesterday I shared with you a patriotic card that I made during our shoe box swap at my team retreat.
I loved the pop up star Melanie shared with us. I knew just what I wanted to do with some cute little post it flags that I picked up earlier in the month after I made her card.
Check out what I came up with.
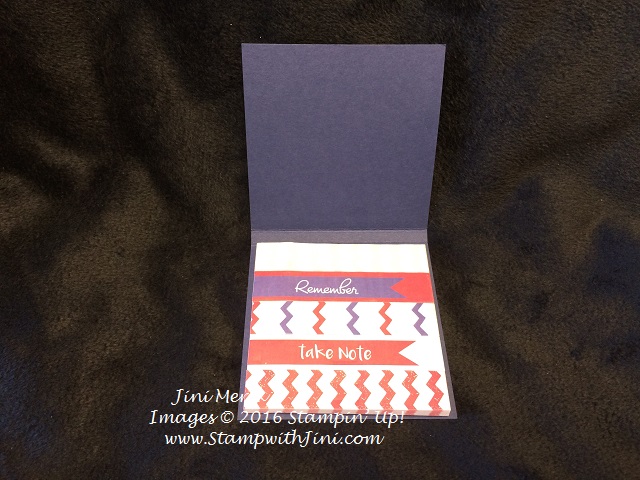
It was fun, quick and easy. Here is the inside
Told you the little flags were cute!
Check out this fast little video I filmed showing you how I made the Pop Up Star.
Inks: Real Red (126949), Night of Navy (126970), Marina Mist (126962), and Whisper White Card Stock (100730)
Paper: Real Red (102482) and Night of Navy (100867)
Accessories:Duet Banner Punch (*141483), Metallic Foil Doilies (138392), Star Framelit Dies (133723), Stampin’ Pierce Mat (126199), Bone Folder (102300), and Multipurpose Liquid Adhesive (110755)
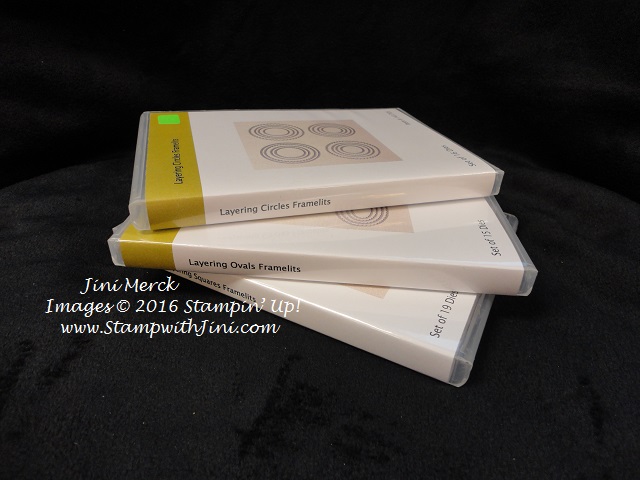
I love keeping my Framelit dies in easy to open clear mount cases and so I thought I’d share with you the new labels I created for the NEW 2016 Annual Catalog.
It’s always fun to freshen up my crafting space and these new inserts are colorful in addition to having the picture on the front so you know exactly where that framelit came from! (Something my old Framelit inserts didn’t have.)
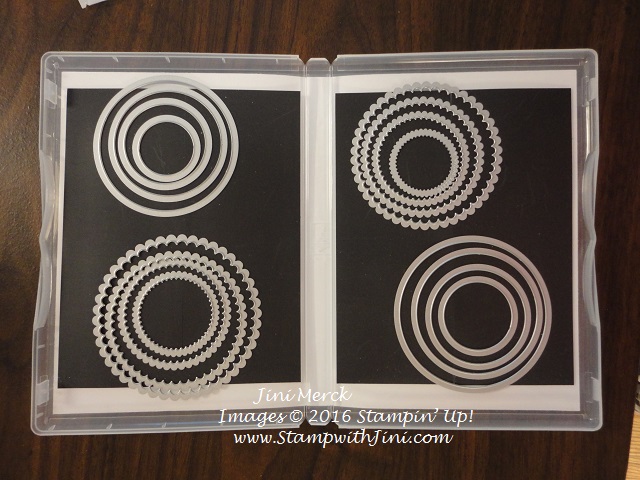
Here is what the case looks like on the inside.
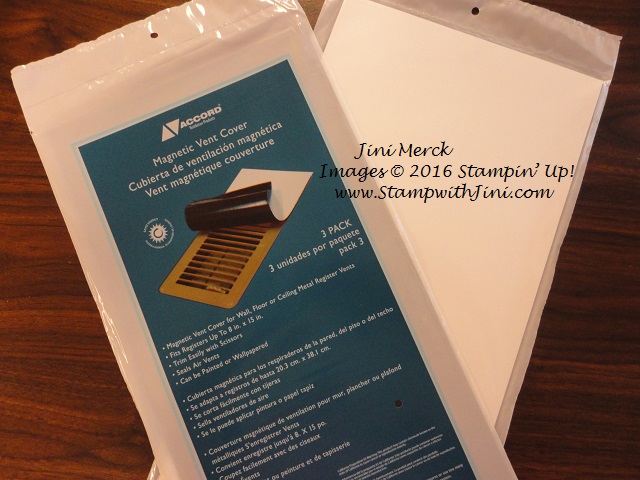
What’s that black sheet? Well believe it or not it is a Magnetic Vent Cover that I find in my local Building Supply big box store. They are inexpensive and work great for this.
I simply cut them with my trimmer and add a little of our Tear & Tape to the back and press. (They come in large 8 x 15 sheets so you can get several cases for your Framelits out of a package when you cut them to fit.) Perfect for holding those Framelits!
Want to get organized too? Well you’re in luck because today I’m sharing files for all the Framelits in the 2016 Annual Catalog that will fit into our Clear Mount cases (119105).
Check out this quick video I made showing you how to use the PDFs and cut them down.
Want to start? Order your Clear Mount Cases HERE. They come in groups of 4 and are perfect for organization of our Framelits in addition to other things too.
Then just print out the following files on Whisper White Card stock (100730) and your ready to go!
Here are the files for the 2016 Annual Catalog Framelits –
Let me know if you find any mistakes.I may have missed something so just let me know. LOL!
Update 6/21/2016: I’m working on some of the retired Framelits and will be posting them as I get them done. So why not leave me a comment and let me know if there are any retired Framelits you’d like inserts for. That way I can try to post those first.
If you have any problems creating your account or would prefer to call or email me I’ll be happy to help create your account for you.
Here is the fine print:
The price of the kit ($5 USD)
This offer is open to first-time subscribers only. Discount applies to one kit for June 2016. After the first month, the price for the subscription will return to $19.95 USD
Offer starts on Thursday, June 9 at 5:00 PM (MT) and ends Friday, June 10 at 11:50 PM (MT).
Available for month-to-month subscriptions, not prepaid subscriptions.