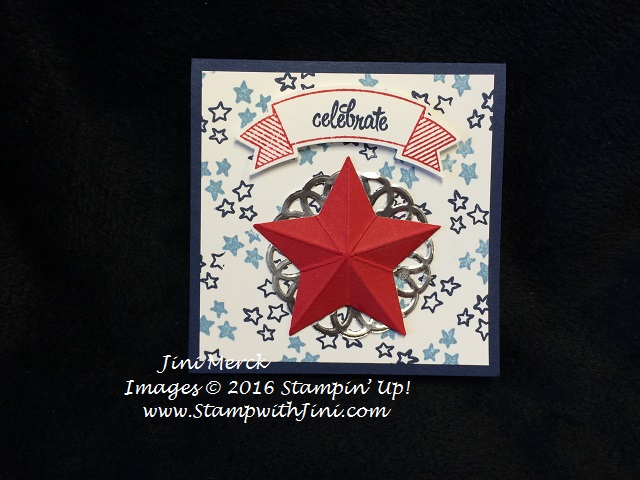
Yesterday I shared with you a patriotic card that I made during our shoe box swap at my team retreat.
I loved the pop up star Melanie shared with us. I knew just what I wanted to do with some cute little post it flags that I picked up earlier in the month after I made her card.
Check out what I came up with.
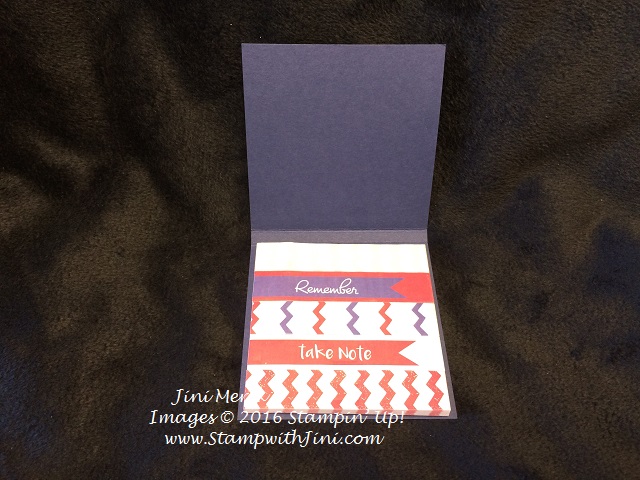
It was fun, quick and easy. Here is the inside
Told you the little flags were cute!
Check out this fast little video I filmed showing you how I made the Pop Up Star.
Inks: Real Red (126949), Night of Navy (126970), Marina Mist (126962), and Whisper White Card Stock (100730)
Paper: Real Red (102482) and Night of Navy (100867)
Accessories:Duet Banner Punch (*141483), Metallic Foil Doilies (138392), Star Framelit Dies (133723), Stampin’ Pierce Mat (126199), Bone Folder (102300), and Multipurpose Liquid Adhesive (110755)
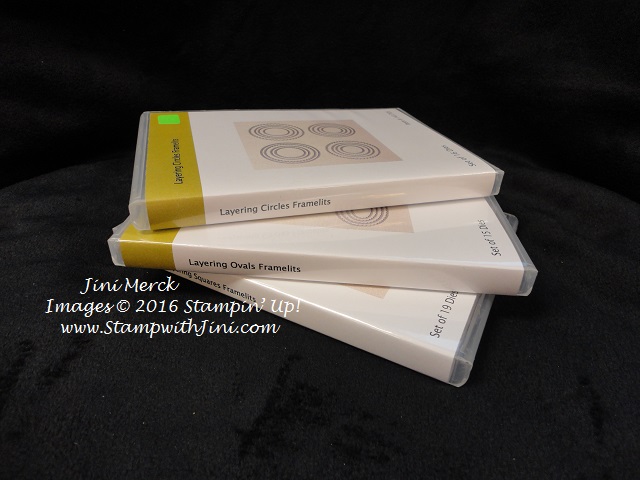
I love keeping my Framelit dies in easy to open clear mount cases and so I thought I’d share with you the new labels I created for the NEW 2016 Annual Catalog.
It’s always fun to freshen up my crafting space and these new inserts are colorful in addition to having the picture on the front so you know exactly where that framelit came from! (Something my old Framelit inserts didn’t have.)
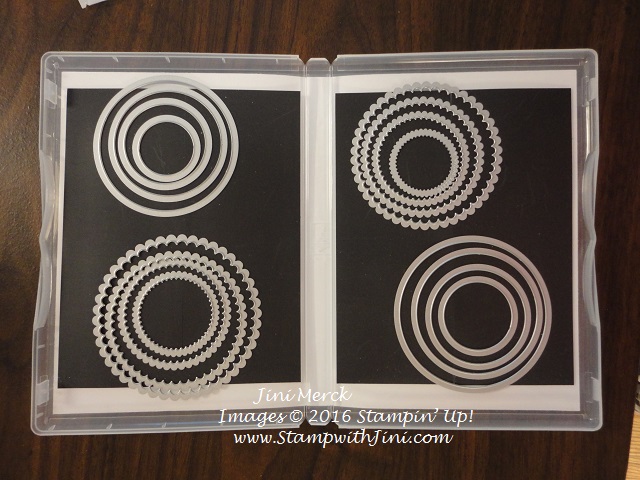
Here is what the case looks like on the inside.
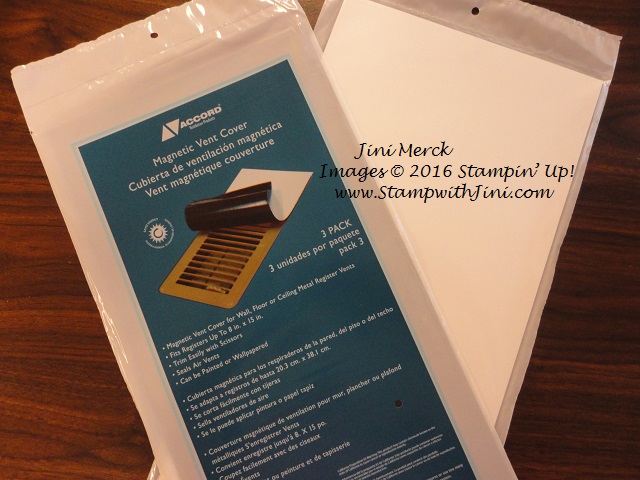
What’s that black sheet? Well believe it or not it is a Magnetic Vent Cover that I find in my local Building Supply big box store. They are inexpensive and work great for this.
I simply cut them with my trimmer and add a little of our Tear & Tape to the back and press. (They come in large 8 x 15 sheets so you can get several cases for your Framelits out of a package when you cut them to fit.) Perfect for holding those Framelits!
Want to get organized too? Well you’re in luck because today I’m sharing files for all the Framelits in the 2016 Annual Catalog that will fit into our Clear Mount cases (119105).
Check out this quick video I made showing you how to use the PDFs and cut them down.
Want to start? Order your Clear Mount Cases HERE. They come in groups of 4 and are perfect for organization of our Framelits in addition to other things too.
Then just print out the following files on Whisper White Card stock (100730) and your ready to go!
Here are the files for the 2016 Annual Catalog Framelits –
Let me know if you find any mistakes.I may have missed something so just let me know. LOL!
Update 6/21/2016: I’m working on some of the retired Framelits and will be posting them as I get them done. So why not leave me a comment and let me know if there are any retired Framelits you’d like inserts for. That way I can try to post those first.
If you have any problems creating your account or would prefer to call or email me I’ll be happy to help create your account for you.
Here is the fine print:
The price of the kit ($5 USD)
This offer is open to first-time subscribers only. Discount applies to one kit for June 2016. After the first month, the price for the subscription will return to $19.95 USD
Offer starts on Thursday, June 9 at 5:00 PM (MT) and ends Friday, June 10 at 11:50 PM (MT).
Available for month-to-month subscriptions, not prepaid subscriptions.
If you’ve ever thought about trying our Paper Pumpkin kits today is the day! This is a fantastic deal!!!
Starting today at 5 p.m. (MT) tonight through Friday night at 11:50 p.m. (MT) you can sign up for just $5. This offer is for new subscribers only.
Use promo code “ONEDAYDEAL”
Click HERE to sign up today and create your account
If you have any problems creating your account or would prefer to call or email me I’ll be happy to help create your account for you.
Here is the fine print:
The price of the kit ($5 USD)
This offer is open to first-time subscribers only. Discount applies to one kit for June 2016. After the first month, the price for the subscription will return to $19.95 USD
Offer starts on Thursday, June 9 at 5:00 PM (MT) and ends Friday, June 10 at 11:50 PM (MT).
Available for month-to-month subscriptions, not prepaid subscriptions.
Still not sure? While the promotion will no longer be available you can to my Paper Pumpkin Fun Event this Sunday and try creating some projects from the Paper Pumpkin kits?
Have you been watching the news the last few weeks and seen the horrible flooding in Texas? It seems they just can’t catch a break and the torrential rains and flooding is affecting a large portion of the state. The photos and news coverage is just heart breaking.
The Red Cross is already helping, but can always use donations to help those in affected and displaced by the floods.
Let’s help our neighbors to the west! Let’s help raise funds for the Red Cross with Paper Pumpkin!.
How can crafting help?
Until Friday, June 10th, I will make a donation for every Paper Pumpkin subscription that is purchased from me. (This offer is not endorsed by Stampin’ Up!, but personally offered through me).
(Already a subscriber? You can still purchase a prepaid subscription and make a difference! Simply add it to your existing account.)
What is Paper Pumpkin?
Paper Pumpkin is a monthly craft subscription service by Stampin’ Up!. A fun package of craft supplies is mailed to your door each month.
Each box contains all of the supplies to make the featured projects except scissors. These make great gifts! So why not give a prepaid subscription? My 11 year old niece loves it! These make wonderful gifts whether your 8 or 80! They make crafting on the go so easy too – so why not take one along with you?
Check out this video to see what last month’s Kit was all about?
Note: shipping is included in these prices (but not tax) and any orders over $150 qualify for Stampin’ Rewards! Make a difference and receive a bit of creative fun delivered right to your door every single month.
Please visit my online store to place your order. When I see your order using the Host Code DJ2RG4PZ I will automatically make the donation to Red Cross so we can help our neighbors in Texas. And isn’t it great you can add items from your wish list from the NEW 2016 Annual Catalog too!
Please use Host Code DJ2RG4PZ so I can make sure your donation is included. (If you order more than $150 in product please do not use this code or you will not receive your Stampin’ Rewards.)
Paper Pumpkin is a fun way to craft. Everything comes in the box ready for you to start stamping and who doesn’t love crafting when the prep work is done for you?
These kits are fun for anyone, experience stamper or new! Great for gifts, a little crafting time or even traveling since everything is in one little box! My 9 year old niece LOVES these kits!
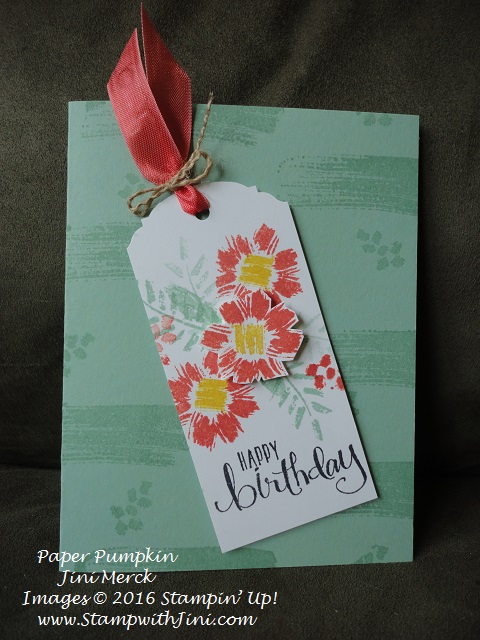
Check out this fun card I made with the FREE 18 piece All About Everything Stamp Set I received as a Thank You gift in April’s kit. I simply added supplies from my stash.
Bright and colorful and perfect for spring!
Want to see the April kit in action?
Refills for this fun wreath are available to purchase when you are a Paper Pumpkin subscriber.
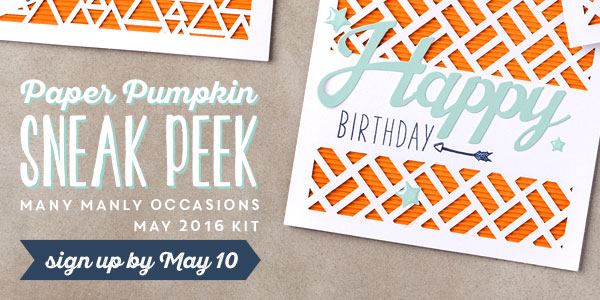
Want to see what is available in the May kit? Stampin’ Up! is giving us a Sneak Peek!!!
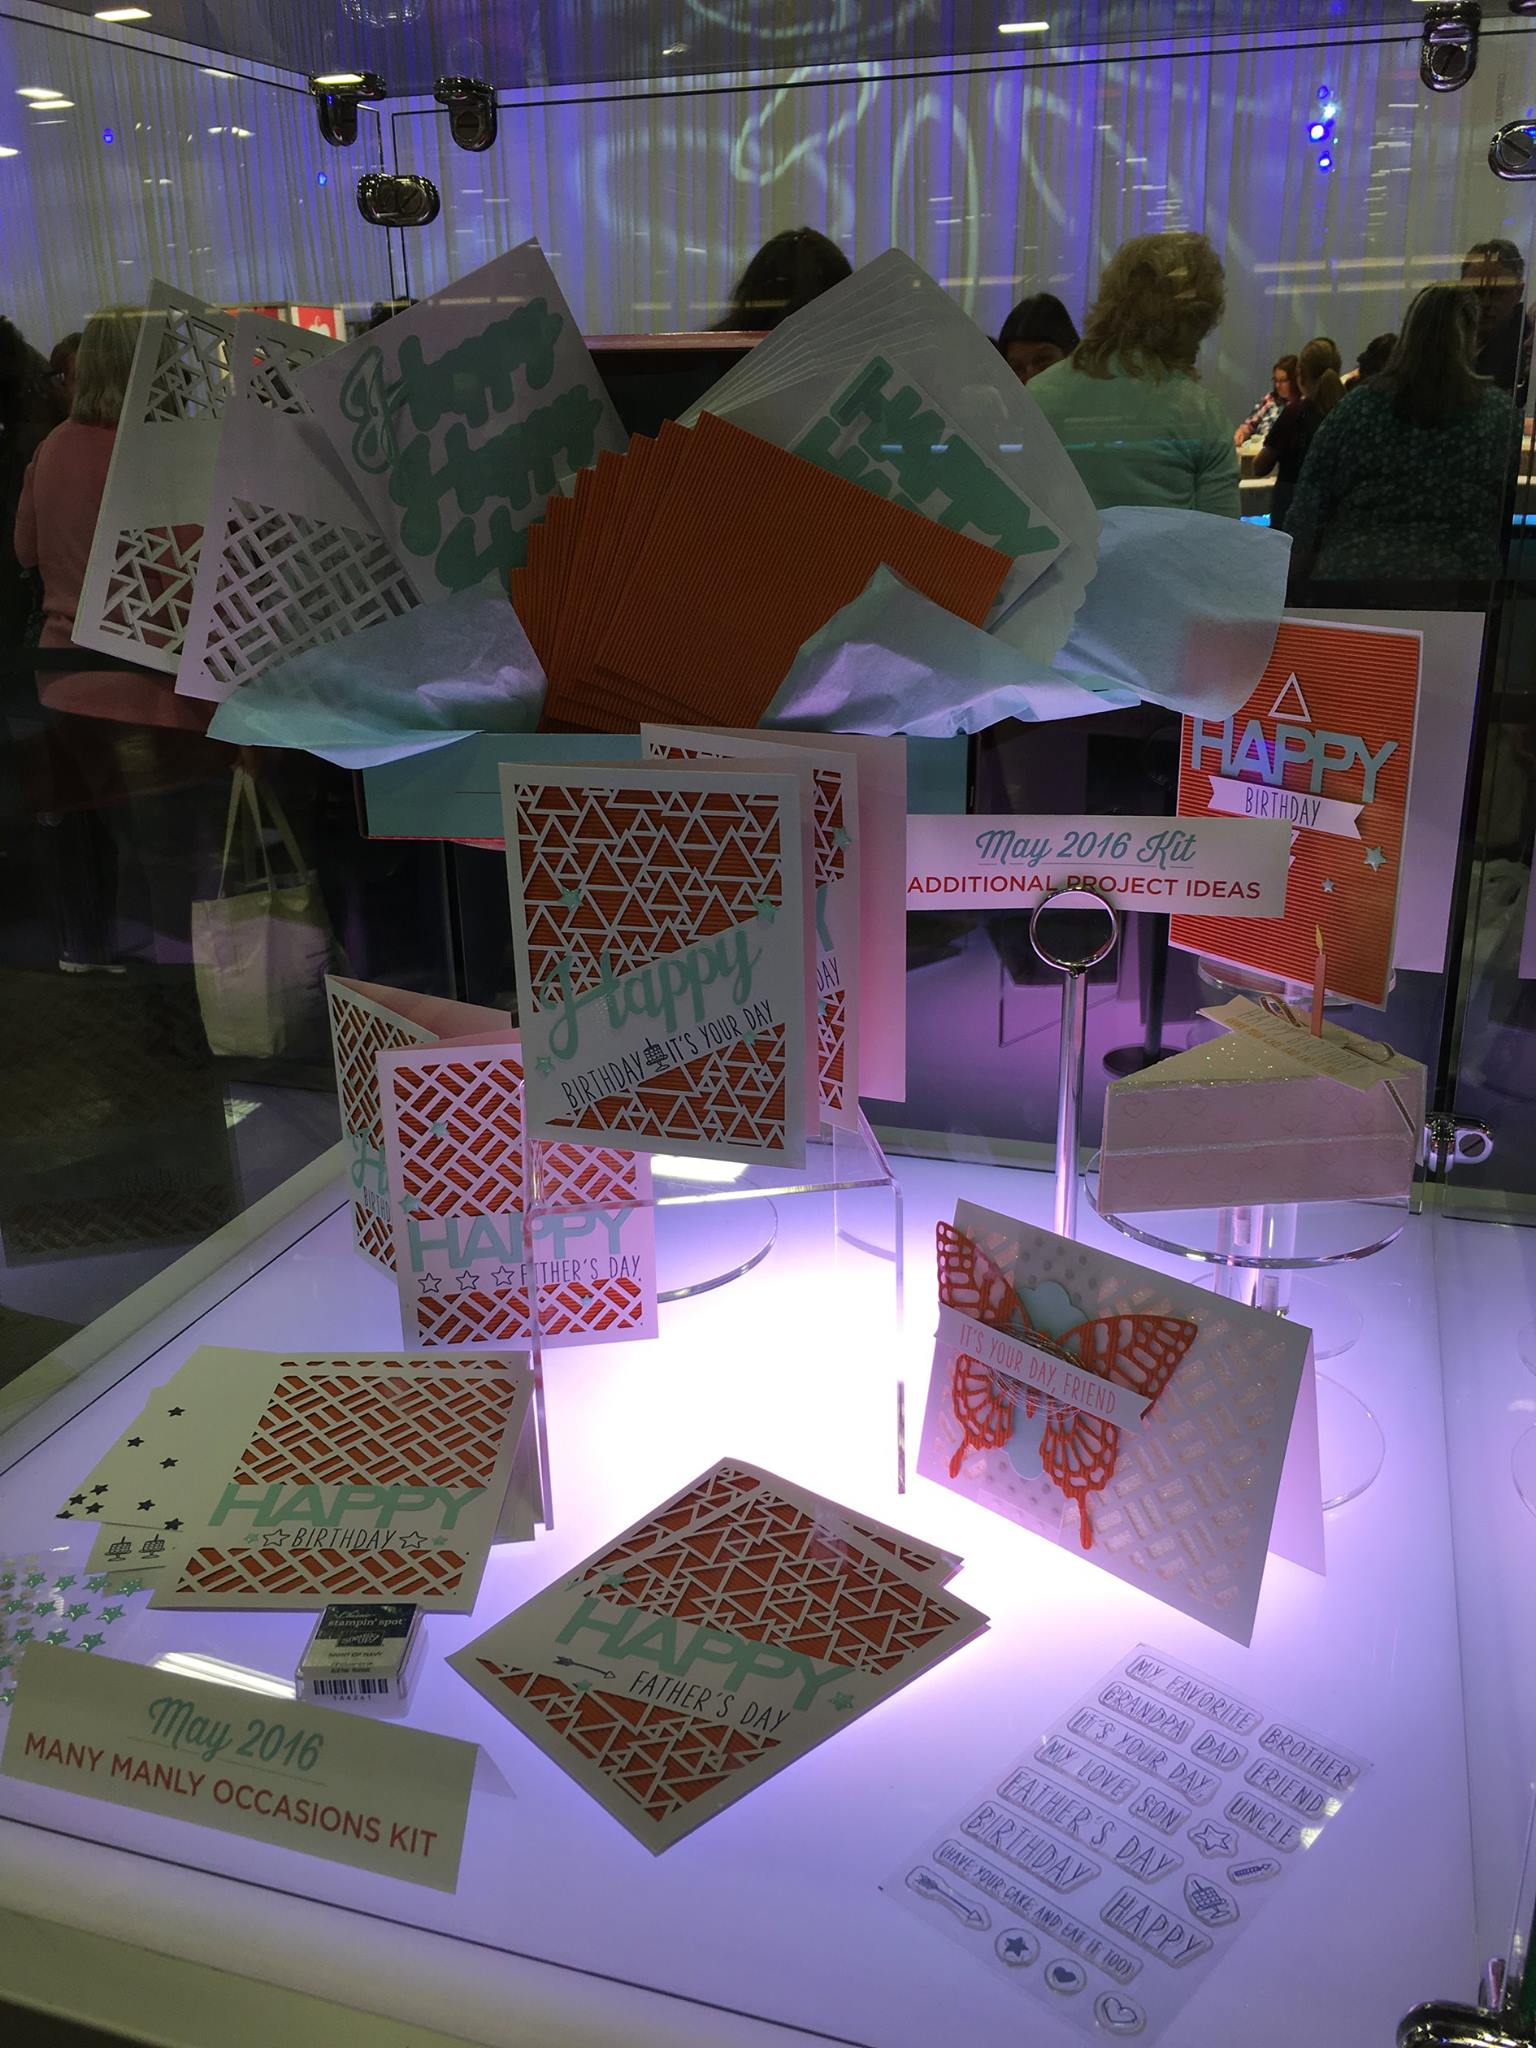
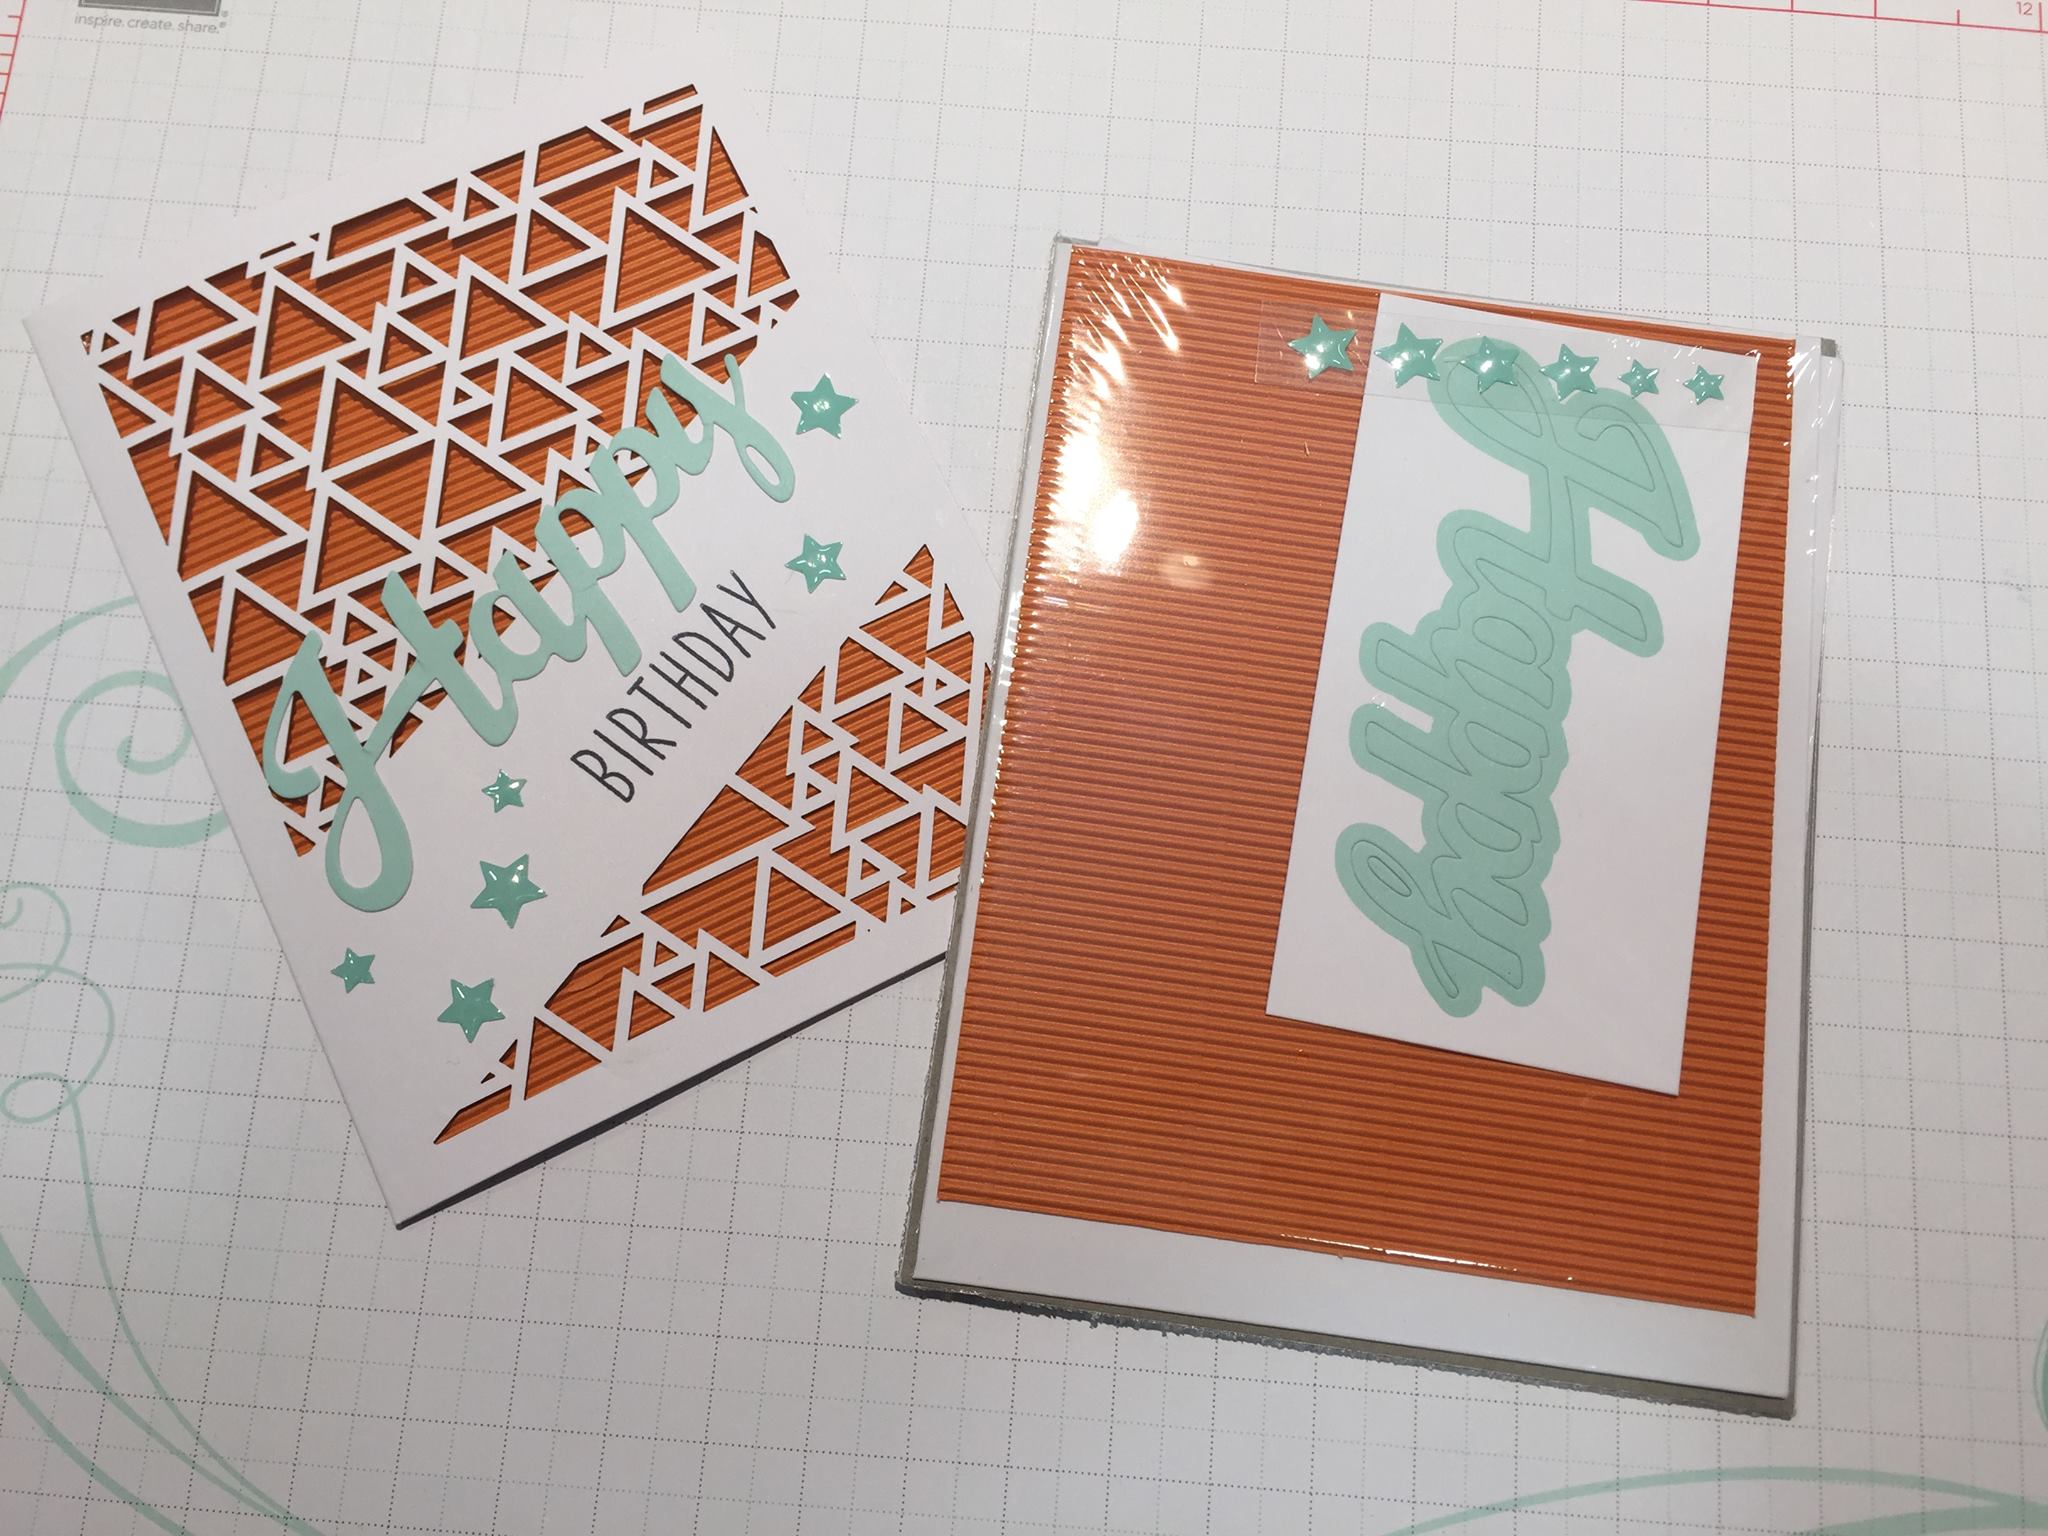
Sign up by May 10th and you’ll get this great set of cards! The Many Manly Occasions kit will include 8 laser-cut cards and envelopes and I know you’ll love it.
There are two ways to subscribe:
Buy a PrePaid Subscription (you can add this to any order if you’re wanting some of those yummy retirement list items.)
Either way your kit will be shipped to your door step around the 10th of the month!!! And you’ll receive something fun in your mail box (husband not included LOL!)
Here are some more peeks of the May kit from our recent OnStage in Salt Lake.
Got questions? I’m here to help.
Supplies:
Stamp Set: Paper Pumpkin All About Everything Stamp Set (FREE April GIFT)
Inks: Basic Black Archival Ink (140931), Calypso Coral (126983), Mint Macaron (138326) and Crushed Curry Classic Ink (131173)
Paper: Mint Macaron (138337) and Whisper White card stock (100730)
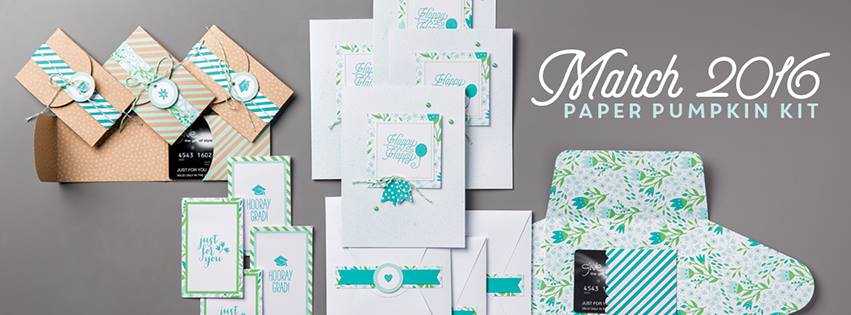
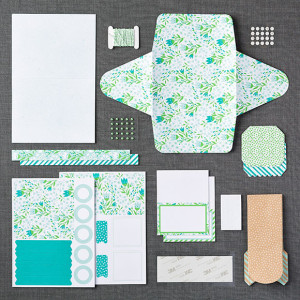
Have you seen the adorable Paper Pumpkin kit for March? It’s fantastic and packed full of wonderful projects that a perfect for spring and all those up coming gift card needs! These kits keep getting better and better!!!
Don’t you love these fresh colors for spring? Check out the video and see what the March Pocketful of Cheer kit is all about.
And great news as of today you can purchase refill kits so you can make even more of these wonderful projects! Why not check all the refill kits out here?
* Must be a current Paper Pumpkin subscriber to order this item.
Here’s the word from Stampin’ Up! – March is a big month for Paper Pumpkin–it’s our third birthday and we just shipped our ONE MILLIONTH kit! To celebrate, we are sending an exclusive stamp set called All about Everything in ALL of the April Paper Pumpkin kits. We’re keeping the artwork a surprise, but we are sure you’ll love EVERYTHING about it! Sign up by April 10 to get in on the fun.
So if you haven’t already checked it out and tried Paper Pumpkin why not give it a whirl? Right now is a great time to try it since they are on sale AND you can earn FREE Sale-a-bration items. They Make fantastic Gifts too!!!
Click on the buttons below to learn more about our PrePaid Subscription options that are on sale during the month of March.
Or Click HERE to learn more about Paper Pumpkin. Of course if you have any questions I’m here to help!
Have you noticed that you don’t send or receive birthday cards like you used to? Would you like to receive a handmade card from me this year? #imbringingbirthdaysback is a new initiative that Shannon West started to bring back sending birthday cards.
Shannon West is part of the Stampin’ Up! home office team. And in November at OnStage shared with us her families’ personal birthday tradition of celebrating with one big bash – which I just loved, so when she launched her #imbringingbirthdaysback last month I couldn’t resist joining in the fun and jumping on board, and now you can too! Since this was one of my New Years resolutions for 2016 any how I’m just expanding it a bit by including you!
Here is a quick video of Shannon explaining what #imbringingbirthdaysback is all about.
So, if you have noticed that Facebook has basically ruined birthdays too and want to work with me to change that, let’s do it together! Starting March 1st I’ll be sending birthday cards out to not only my Birthday Club members, but also the first 100 people who send me their birthdays!!!
Want to be one of those who receive a hand stamped birthday card from me? It’s simple just send an email to me at StampwithJini@gmail.com and give me the following information.
Name
Address
Date of birth
(I just need the month and day since we’re all 29. LOL! But you can include the year if you want to. US only)
(fine print: All info will be kept private and be used only for the purposes of sending you a birthday card)
I’m asking for yours – so here’s mine March 20th and my address is 2320 Dooley Road Clarkesville GA 30523 – just in case you wanted to know. 🙂
Oh, and if you’ve already celebrated your birthday this year, no worries I’ll be sending a full 12 months of cards out! So that’s it – email me your birthday and then just sit back and wait for your card to arrive in the mail!
I’m so excited to share this with you and let you join in the fun too that I’ve schedule a last minute event that allows everyone to make some fantastic cards, projects and receive a FREE stamp set too!!!
NEW #imbringingbirthdaysback Kick Off Event Scheduled
Want to join in the fun? Why not join me for this special event that will start off your birthday card making with a bang!
We’ll be stamping a stack of cards using the exclusive Sale-a-bration Party Pants stamp set and making two fun gift items too!
Wednesday, March 30th
10 am or 6 pm
Class Fee: $65
RSVP & prepay by Sunday, March 13th
Class fee includes your own Party Pants stamp set in wood or clear mount and supplies to create everything for the class. And great news you’ll have supplies left over to create lots of cards when you get home too!
So what are you waiting for? Let go spread the love! Let’s send good ol’ fashioned, handmade birthday cards via snail mail!
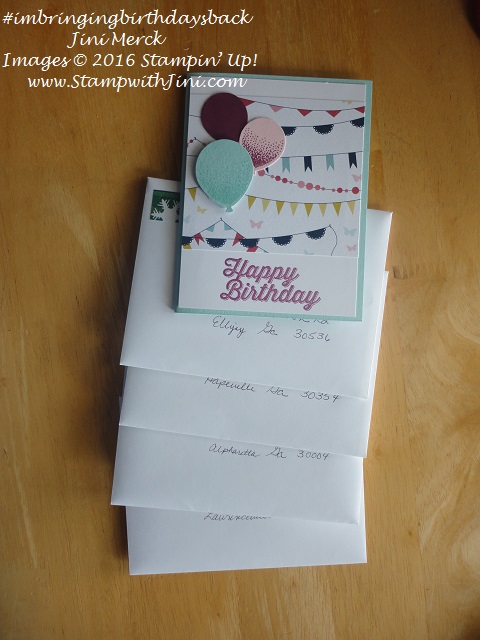
Here is my first batch of cards that I just sent out this week to family and friends. Only four this week but I’m looking forward for the number growing!
Are you ready to get away from it all? Dust off those winter time blues and get a taste of spring? Why not leave behind the kids, cooking, cleaning and laundry for the day? Or even a few hours? The choice is yours!
Join us for a full day of fellowship and fun. Bring whatever creative projects you would like to work on. You will have table space set up for the whole day– stamp, scrap, Project Life, Paper Pumpkin kits, jewelry, knitting, or whatever you’d like. The choice is yours!
Jini’s Classroom: Saturday, March 5th
What you get:
Craft time from Saturday 9 am to 9 pm
Your own 6 foot table
Make & Takes
Goody bag with Make & Take supplies and extras
Access to all of my non-consumables – Big Shot, dies, embossing folders, stamps, punches
Lunch & Dinner Saturday, plus snacks, water and coffee
Other fun surprises throughout the day
Use of a full kitchen, not that you will need it.
Cost: $59
Spots are LIMITED – I’m only opening this event up to 8 people. So reserve your spot today!
I love these new Botanical Builder Framelit Dies that are part of the Botanical Gardens Suite of products found on pages 26 & 27 of the Occasions Catalog. They are alot of fun to work with and the fact that they “pop out” to give the flowers a more 3d look is cool.
Isn’t it fun that the Botanical Gardens Designer Series Paper (140583) can be stamped on with the Botanical Blooms stamp set (140757)? Add more detail quickly and easily with the Photopolymer stamps to add even more color and texture to your paper like I did on this card. Can you see where I stamped?
And don’t forget to decorate the inside too!
Great news! When you purchase the Botanical Blooms Bundle you’ll get a FREE Sale-a-bration item too!!!
Botanical Bloom Wine Charm Video Tutorial
The other day I shared with you some cute little wine charms I made using the Botanical Blooms Bundle (140819) for my Team’s Winter Retreat. (You can click HERE to see that post.)
The charms were a hit with my team – so today I bring you a quick Video Tutorial for the wine charms.
**Please keep in mind while the Basic Black Archival Ink Pad is a permanent ink, but our Refills are water based. If you want this charm to be water proof you’ll need to spray a sealer on them or use permanent markers. While they are not water proof we had no problem with the charms when we used them repeatedly.
A New Catalog is a lot of fun – and of course when it’s Sale-a-bration, it’s even more fun! So to start the New Year off with a bang I held my NEW Catalog Sneak Peek Event on the 3rd of January – two days before the catalog launched! That meant that everyone who attended was able to play with some of the new products and see them before it went live! Whoo hoo! A great way to start off the New Year, right?
In today’s post I’m going to share with you some photos of the event. This first one is a picture of the classroom set up – to show you a bit of what greeted everyone who attended.
And this second one shows you what was at everyone’s spot.
Everyone who attended received a couple of special treats from me – and in today’s Video Tutorial I’ll show you how the little chocolate holder was made.
I call these Love Blossom Domed Treat Box – I’m so original, not with names – but well I called them this because they’re domed or treasure box shaped!
I used our new 6×6 paper stack, Love Blossoms since they were the perfect size! I didn’t even have to cut the paper!
Want to see a quick video tutorial on how to make them? Well, here you go. (Sorry about the froggy voice, I’m fighting winter allergies and just couldn’t wait any longer to share this with you.)
Domed Treat Box Video Tutorial:
A great project, huh? And it holds quite a bit so you can put almost any item you’d like inside. Of course, I wanted to pamper my guests with some Valentine chocolate, (before Larry found it!) so this was perfect.
And of course, our Honeycomb Happiness (Sale-a-bration 1412788/141291) is an item that you can earn FREE during Sale-a-bration. I love the images and thought the sentiment was perfect for this project!
I’ve given you a complete supply list for this project below. And I don’t know about you, but I find the Envelope Punch Board a fantastic addition to my stamping supplies and have been finding all kinds of things besides envelopes to make with it! If you haven’t already seen my Getting Started with the Envelope Punch Board Tutorial – why not check it out now?
NEW WEEKLY DEALS START TODAY!
Here are some projects made with the Envelope Paper – it’s not just for lining or creating envelopes as you can see.