Have you tried our Photopolymer stamps? Well if you haven’t yet, you should give them a try they are so easy to work with. They are really sticky, so just place them on your block and go. And Stampin’ Up! has stepped up our Photopolymer line by including them in the NEW 2014 Catalog. There are a lot of new sets too, yipppie!
And now not only can you find Another Thank You (136835) in the 2014 Catalog (available June 2nd), but they come in our Clear Mount Stamp Cases just like our other sets and have a wonderful new scent too – Chocolate! Gone is that chemical smell of Photopolymers. No airing out your sets – Yippie!
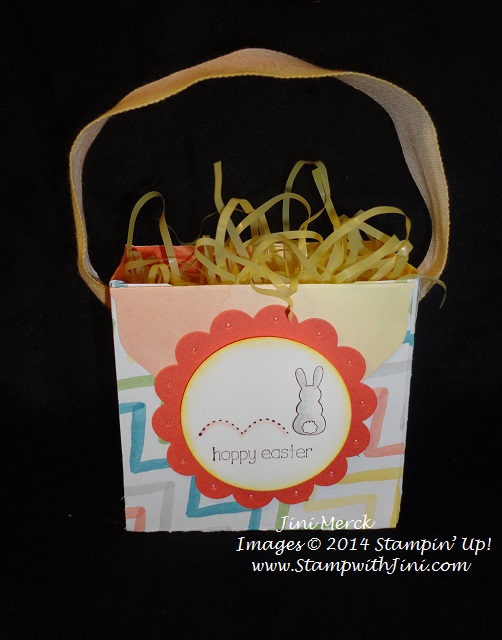
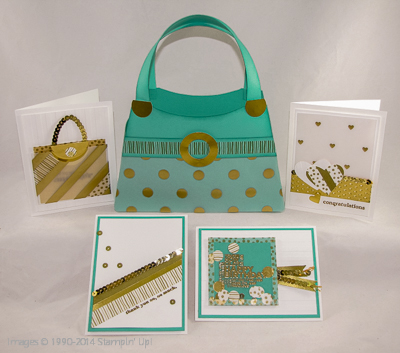
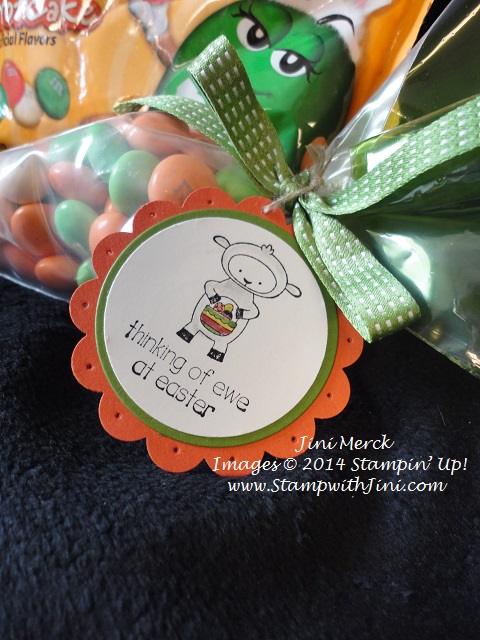
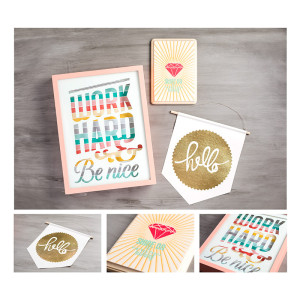
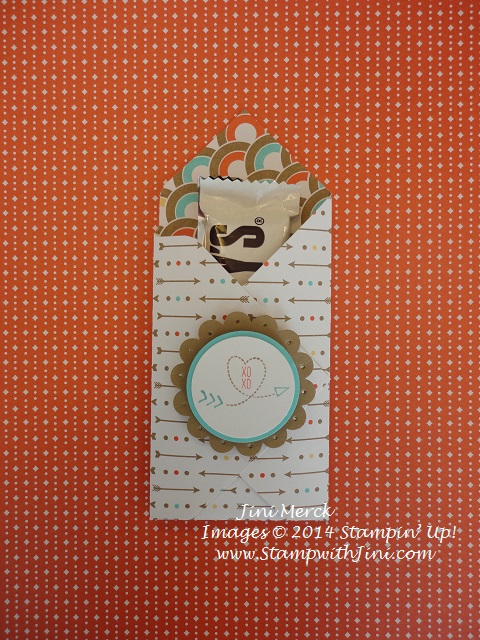
I showed you a gift that I gave for graduation the other day for one of the twins and today’s project is the gift set I made with Another Thank You for the other twin.
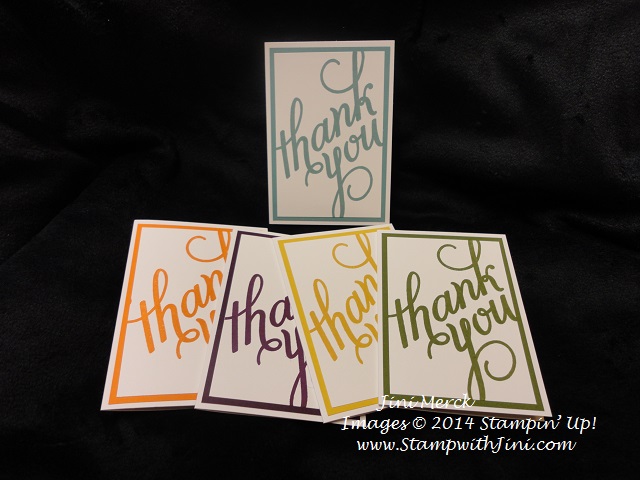
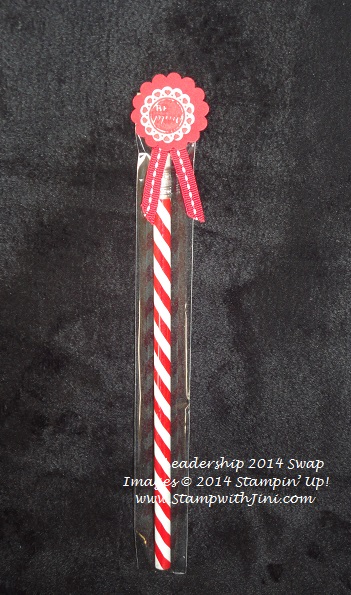
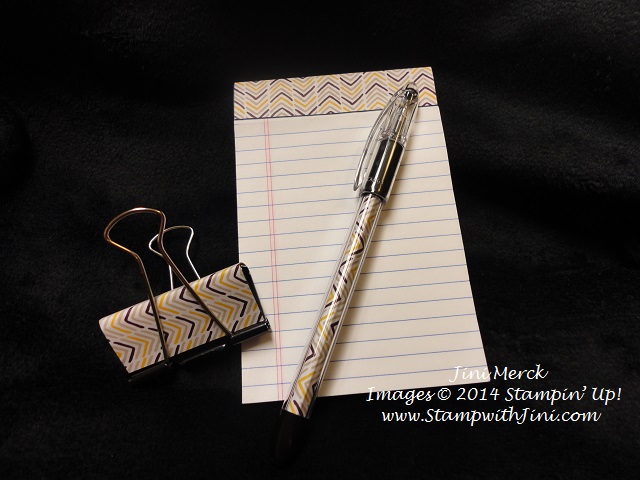
These note cards are also done in the NEW 2014-2016 In Colors that will be available on June 2nd. Along with a little note pad, pen, and clip using the yummy NEW Moonlight Designer Series Paper Stacks (133701).
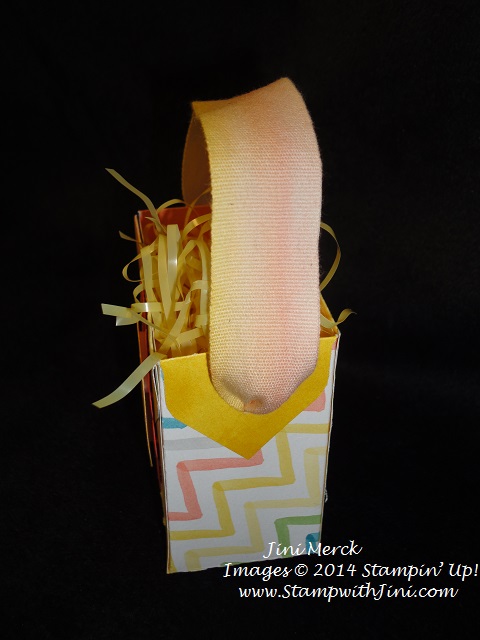
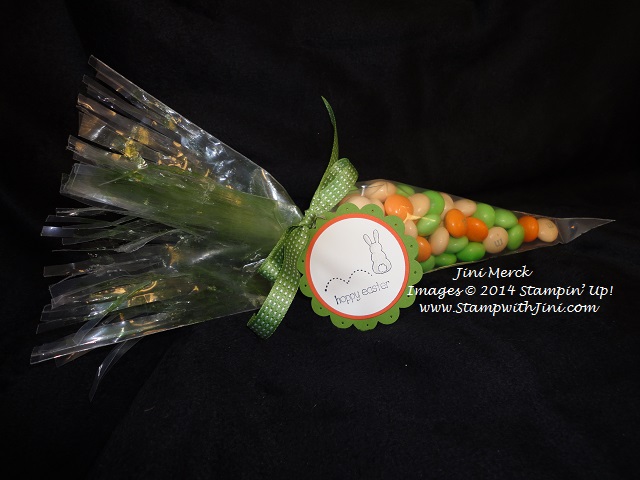
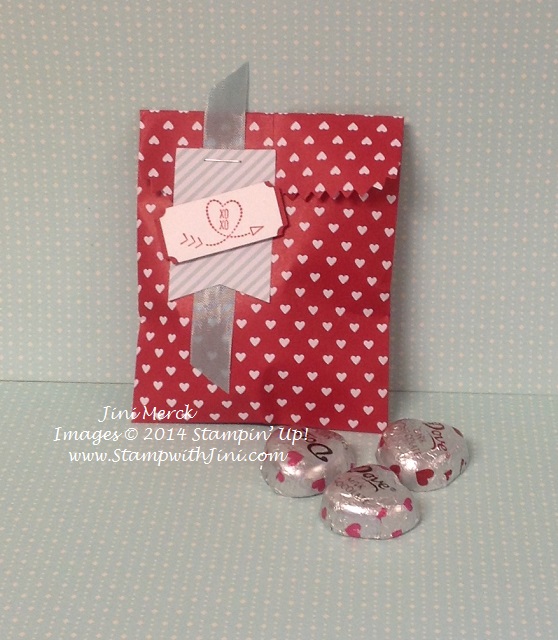
Although the gifts used a different stamp set I did end up packaging them the same way.
Would you believe this plastic bag is from some Playtex bras that my Aunt bought while she was visiting! LOL. Shhhh……Don’t tell the boys! Recycle and Reuse – think out of the box and you’ll be amazed what you can come up with. These little plastic bags were perfect for this set of note cards and stationary items.

Leave a comment and I’ll email you a PDF to make this great set of gift cards for FREE! It’s my way of saying thank you to you for following my blog!
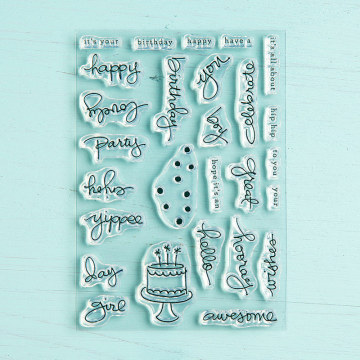
NEW Endless Birthday Wishes
You’re going to LOVE this new Photopolymer Stamp Set, Endless Birthday Wishes (137553)! And I think it won’t last long with all the great choices that this set allows you! The sentiments are done in a great font and are fun and trendy.
Check out some great projects and the flyer HERE
It’s another Giveaway!

Leave me a comment below and get your name entered in my Retirement Party Giveaway #2 for a spool of retiring ribbon! And everyone is a winner with my FREE Tutorial! Then watch for my YouTube post for Retirement Party Giveaway #3 tomorrow!!
Click here to order your Stampin’ Up! Products online 24/7! (US only)
Hostess code WXAUDJ3F
RETIREMENT ACCESSORY LIST (pdf)

RSVP today for Sunday! Retirement Party – FREE Event
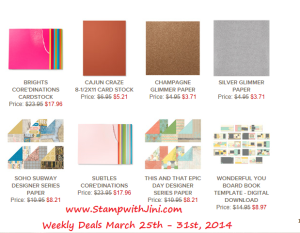
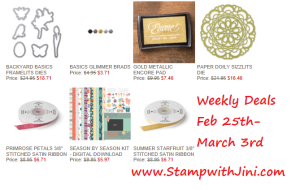
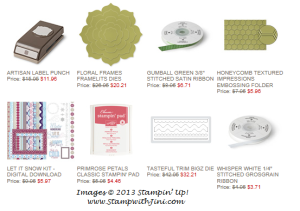
Weekly Deals (Special ends Monday, May 19th 2014 at 11:50 p.m. (MT)