
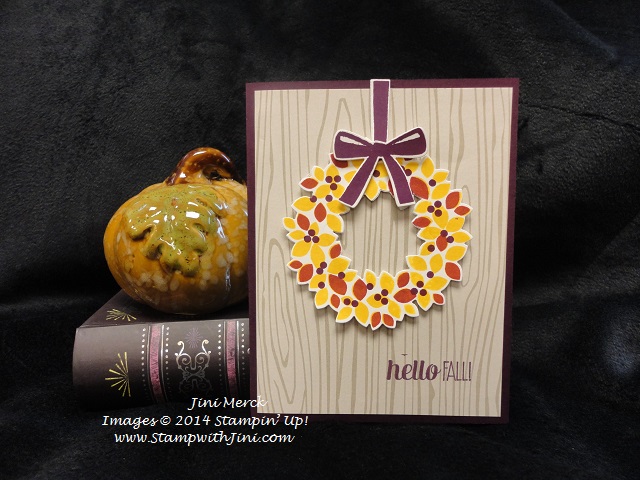
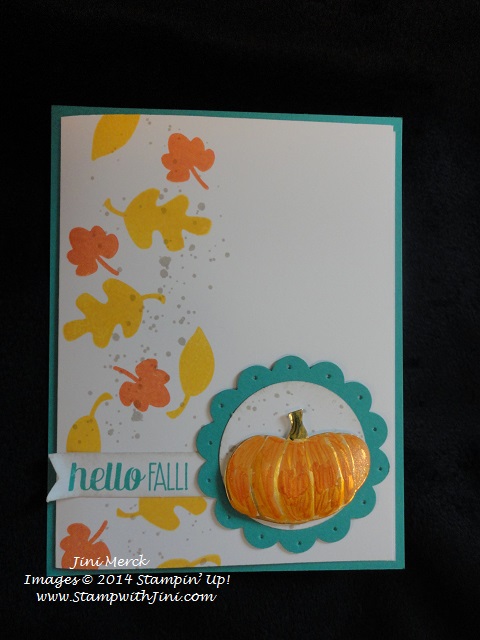
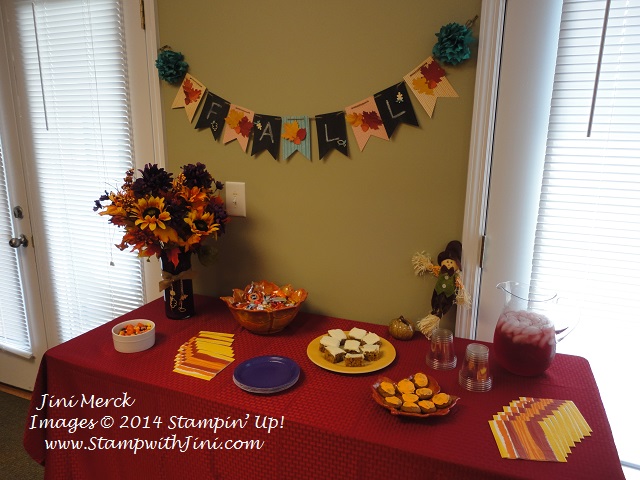
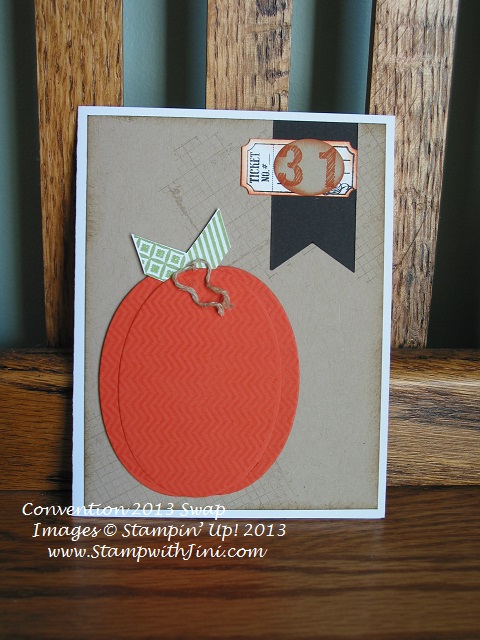
Did you know this past Saturday was World Card Making Day? Well it was, and so today I thought I’d show you one of the 12 cards we stamped on Saturday during my card making event. Everyone who attended was able to make 12 cards for all different kinds of occasions.

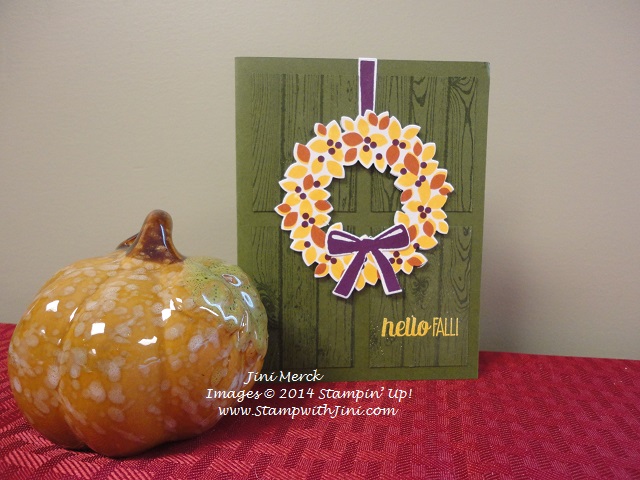
This card is made using the For All Things stamp set . I love the colors of fall and as I sit here looking out my window I can already see the Crushed Curry color showing up in the trees across the street. We’ve had a real cold snap here in North Georgia this past week so I’m sure there will be a lot more color soon and the leaf watchers will be heading for the mountains to enjoy the fall color.
Here is a picture from the World Card Making Day event on Saturday.

We had a lot of fun visiting while we stamped together. I’m so blessed to have such a great group of ladies!
Just a Few Hours Left!
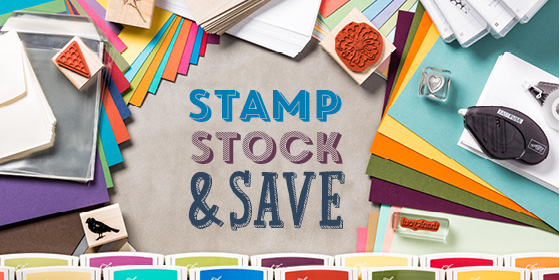
There is just a few hours left to take advantage of the Stamp, Stock & Save Promotion – Have you gotten the items you need?
Click HERE to see my printable PDF
If not give me a call by 6 p.m. tonight and I’ll add it to the order I’ll be sending in. If not you can stop by my online to place your order anytime before 11:50 p.m. (MT). And remember when you use my Hostess Code below you’ll get a free tutorial using the Wondrous Wreath stamp set!
Last Call for my Blend with Friends Class
Today is the deadline for this fun class. Contact me today to hold your spot.
Blend with Friends Class
Learn how to use the NEW Stampin’ Blendabilities Markers and Make Holiday Tags or Cards using the Santa Stache Stamp Set.
Tags or Cards – It’s your choice
Class Fee includes a package of Blendabilities and more!
Tuesday, October 21st at 6:30 p.m.
Thursday, October 23rd at 10 a.m.
Class Fee $38
Already have the Blendabilites Markers and Pad? Class Fee is just $18
I want it all option (includes class fee): Wood $70.25 or Clear $64.42
Sign up and pay by Monday, October 6th to reserve your spot And have items back in time for class
Class includes:Tuxedo Black Memento Pad, Cherry Cobbler Assortment Stampin’ Blendabilities Markers, Santa and Co. Designer Washi Tape, Natural & Old Olive Two-Tone Trim or Basic Rhinestones, Chalk Marker or Basic Black Stampin’ Write Marker
I Want it All option includes: (includes class fee and products)
Santa Stache Stamp Set and Mustache Framelits Die
Want to Make a Difference?
Why not stop by the Clarkesville Library on Wednesday, October 8th between 10 a.m. and Noon?
It’s FREE and You’ll get to make a card to donate to one of four great charities and make a difference in someone’s life!
Click HERE to see my complete Calendar of Events.
Supplies:
Stamp Set: For All Things (135152/135155)
Inks: Always Artichoke (126972), Crushed Curry (131173), and Cajun Craze Classic Ink(126965)
Paper: Crushed Curry (131158), Always Artichoke (105119), and Very Vanilla Card Stock (101650)
Accessories: Mossy Meadow Stitched Satin Ribbon (133670), Gold Metallic Baker’s Twine (132975), and Angled Tag Punch (133323)
Click here to order your Stampin’ Up! Products online 24/7! (US only)
Hostess code T4TV6CAB
Place an Online order with me and use my Hostess Code T4TV6CAB and I’ll send you a FREE Tutorial with instructions to create 4 fun projects using the Wonderful Wreath stamp set!
Weekly Deals (Special ends Monday, October 6th, 2014 at 11:50 p.m. (MT)
PAPER PUMPKIN Subscription – it’s fun in a box that’s delivered right to your mailbox each month!


")