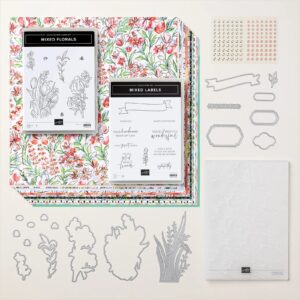
It’s Friday and I’ve got a bright cheerful card using the 2025-2027 In Colors and one of our Suites, the Floral Impressions Suite (Online Exclusive 165617).

This Suite is filled with wonderful sentiments and floral images and has some fun accessories too. And this Suite is part of our June BOGO promotion too.
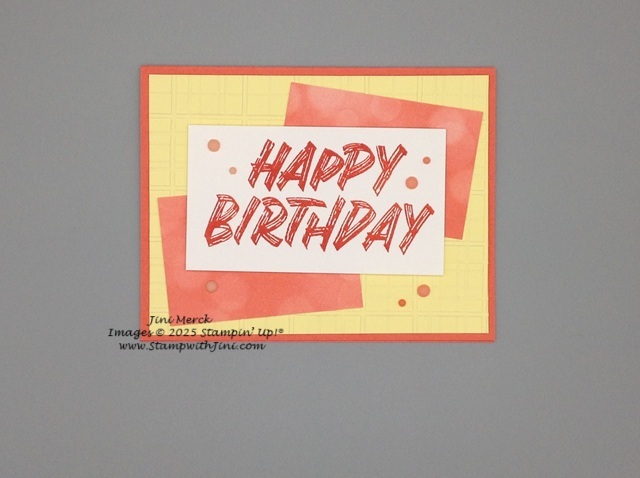
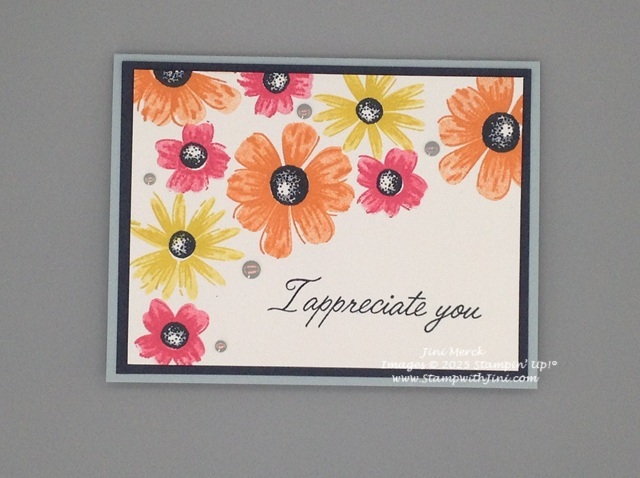
Here is the card I created with the just the Impressions Abloom stamp set (Online Exclusive 165605) as I couldn’t resist using the NEW In Colors. They are so bright and cheerful and work well together!
Do you ever do that? Love to use a new color and can’t wait to create? I find I do each time we have a new group of In Colors, they always inspire me.
Today I’ve got my weekly tutorial for you that includes a video and PDF.
And of course here is the PDF with links to the video, measurements, and a complete supply list.
Impressions Abloom Appreciation Card Tutorial PDF

And don’t forget during June we have our Suite Sale happening. It’s not just for full Suites the products in the Suites also are BOGO 50%. And no worries if you already placed an order in June, did you know you can use those Stampin’ Rewards on this order? Yep, Sale and redeeming Rewards – it’s a great deal that will save you even more! Got to love that, right?
Enjoy!

CLICK HERE to order your Stampin’ Up! products Online 24/7! (US only)
Shop at my Online Store and receive a FREE Gift from me; my 2025 In Color Note Card & Gift Box Class Tutorial that includes videos & a PDF