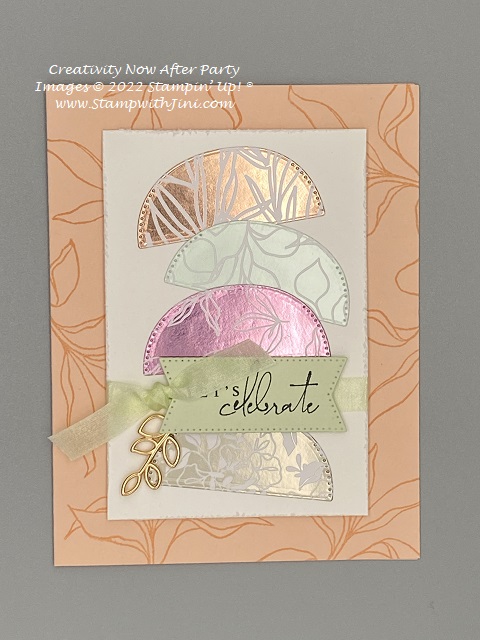
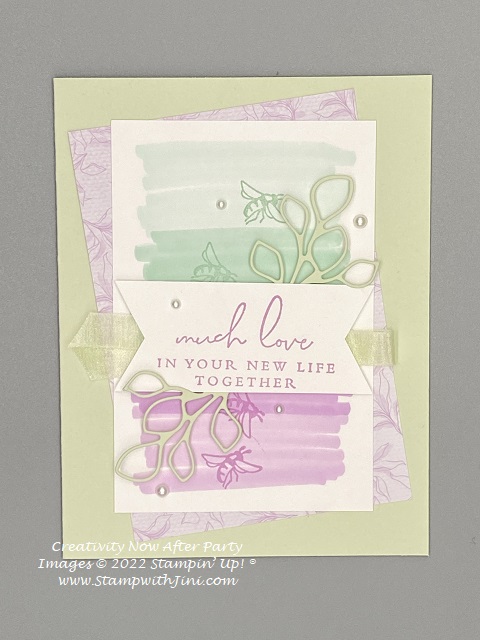
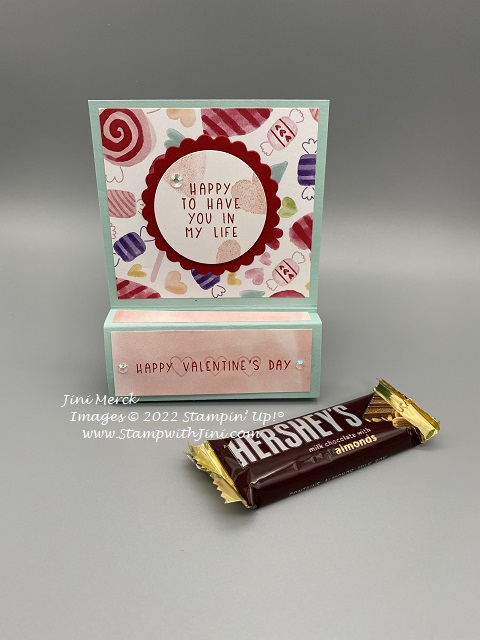
Today’s card is the final card I will be sharing with you from the fun demonstrator event Creativity Now. I hope that you have been enjoying the previous 3 card tutorials that I shared with you, if you missed them last week be sure to check them out.
This final card uses the lovely papers as a highlight along with a bit of heat embossing to add interest.
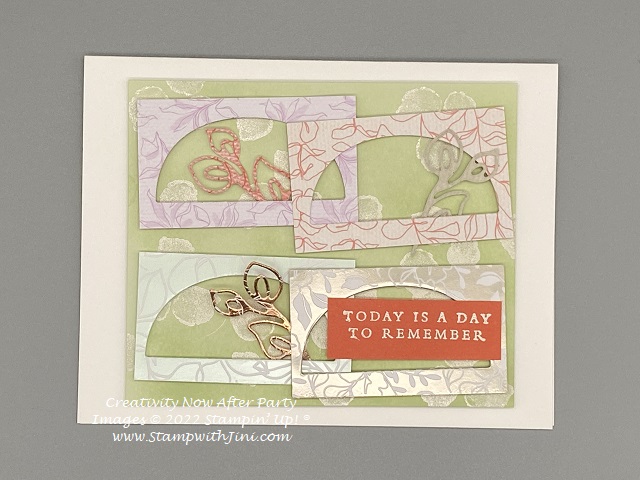
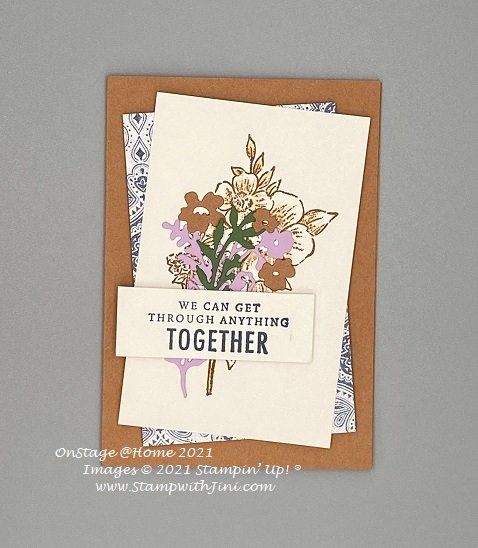
I also love the fact it uses the negative pieces from Card #3 to add interest. With these beautiful papers I know you’ll not want to waste any. So why not check out the video and see how this lovely card was created?
Splendid Day – Card #2 Video Tutorial
Splendid Day – Card #4 PDF
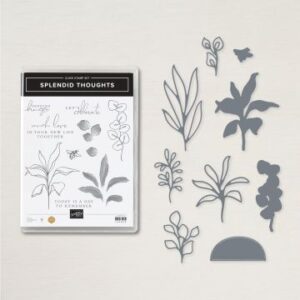
I think you’ll truly enjoy the Splendid Day Suite of Products (159681) as much as I do
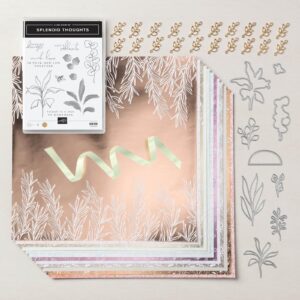
and with it’s all occasions sentiments you’ll be reaching for it again and again. You’ll find this Suite in our July – December Mini Catalog along with holiday goodies too. And did you know during August when you purchase this Suite you’ll also get to choose a FREE Sale-a-bration product of your choice? Whoo hoo! in addition when you use my host code you’ll receive a free gift from me too. So why not stop by my Online Store and shop your the items on your wish list?
Click here to order your Stampin’ Up! Products online 24/7! (US only)
Shop at my Online Store and use Host Code RYF6UY3E and receive a FREE Gift
Click Here to learn more about using the Hostess Code If you order Online make sure your profile information is up to date and you’ve allowed me to send you your free gift.
If your Online order is $150 or more make sure not to use the host code so that you can take advantage of the Host Benefits yourself – No worries, I’ll still send you your free gift. It’s my way of saying thank you for choosing me as your demonstrator!
Sign up HERE for my FREE Newsletter and Class Schedule or Get my Blog Posts delivered right to your inbox HERE and receive my FREE Cup of Tea Note Card Class