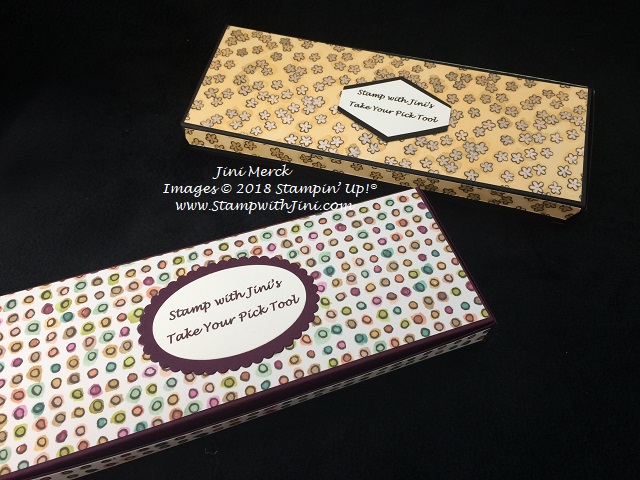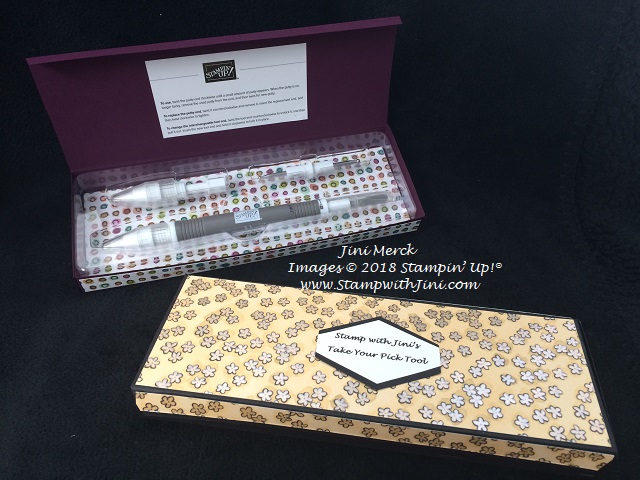
Take Your Pick Tool Box Tutorial

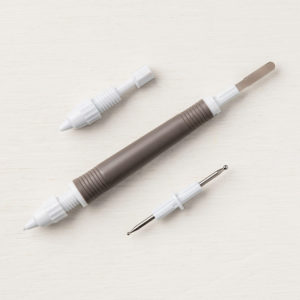
Have you seen the Take Your Pick Tool in the Holiday catalog on page 30? I’m so excited about this tool with all it’s features. I’m using it all the time!

Not only can you pick up small items with the Putty end, you have a spatula so you can  pick up adhered card stock layers, a paper piercer and stylus. As usual Stampin’ Up! has done it again – creating a high quality tool to make our paper crafting easier. What could be better?

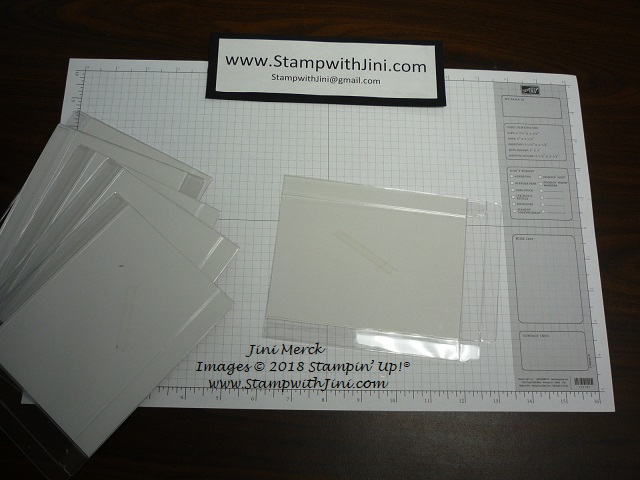
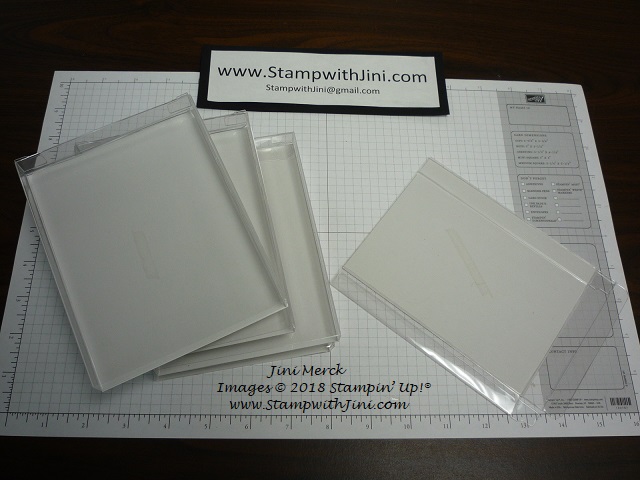
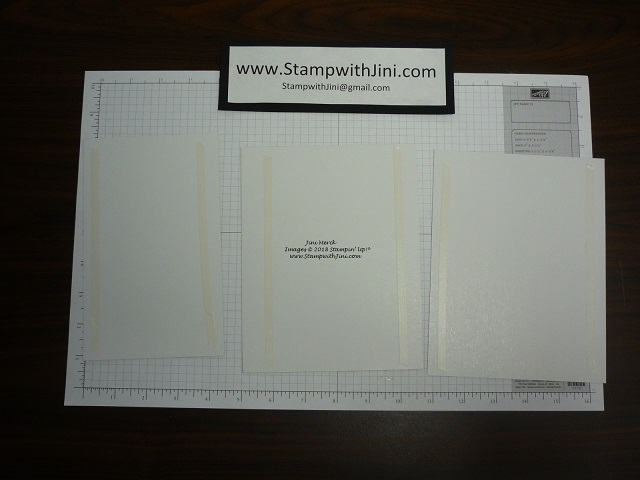
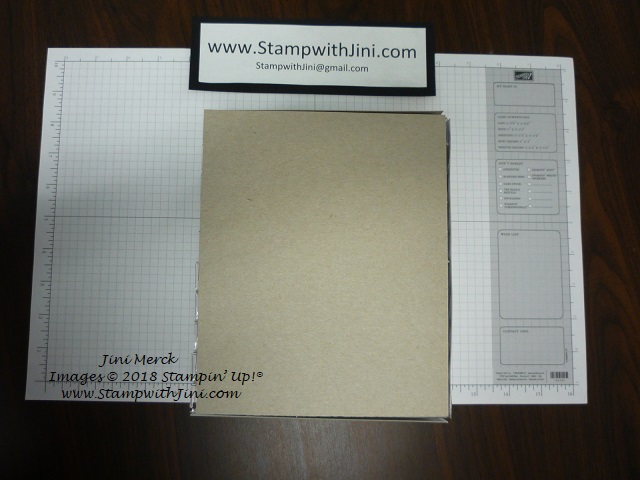
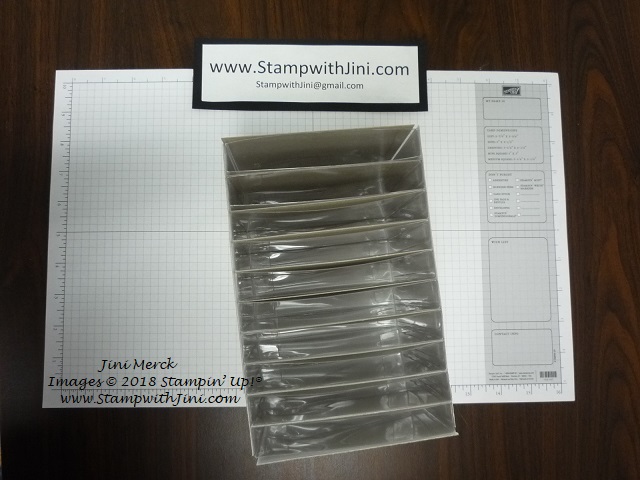
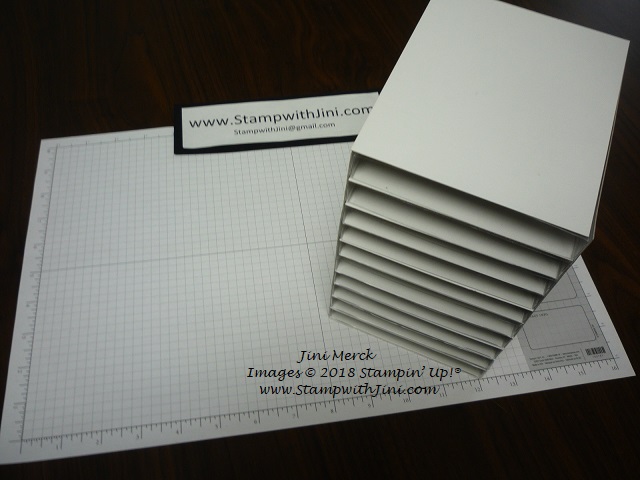
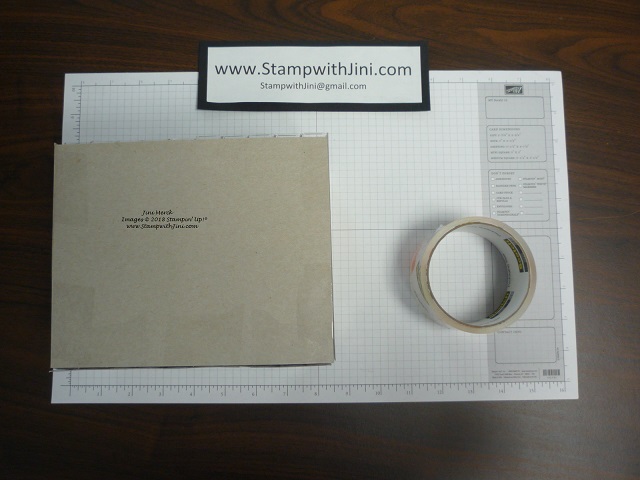
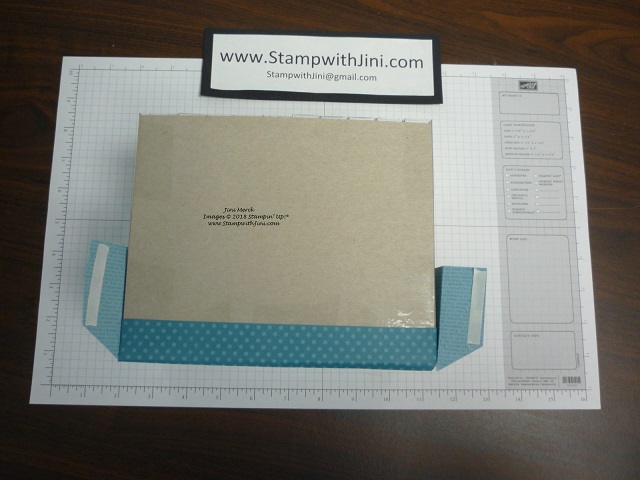
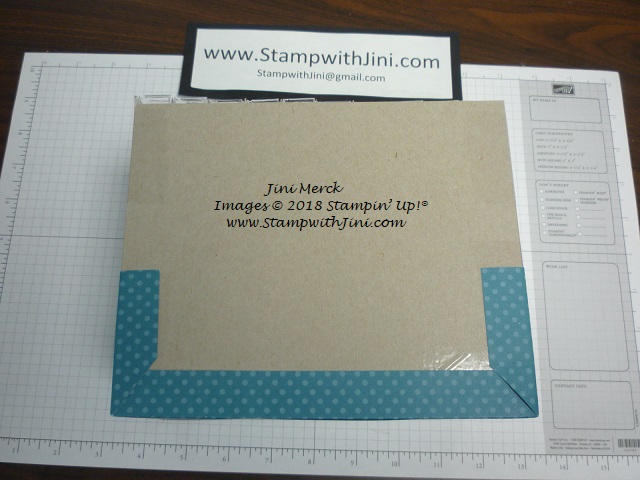
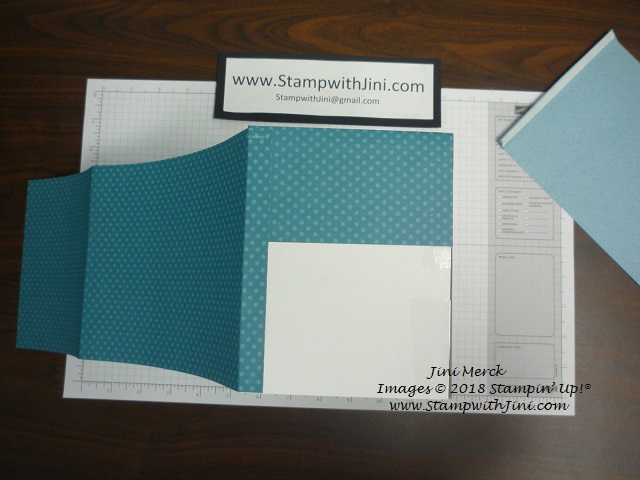
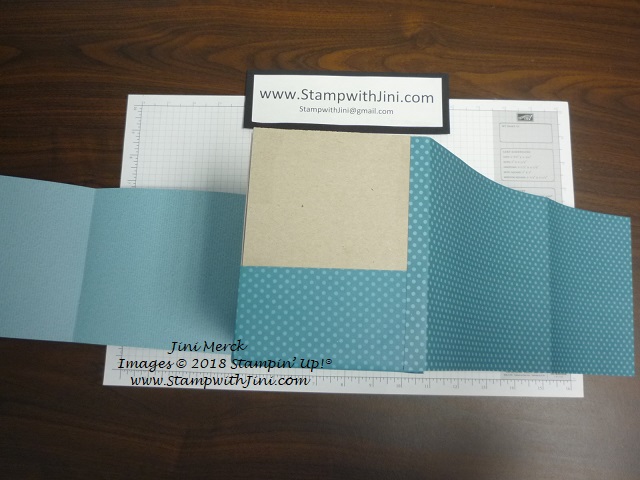
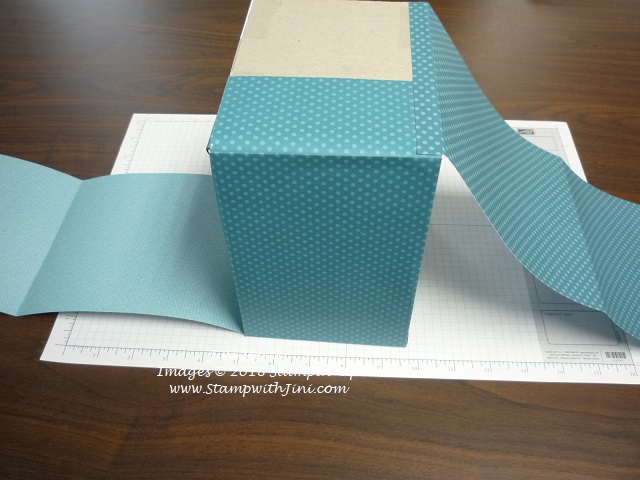
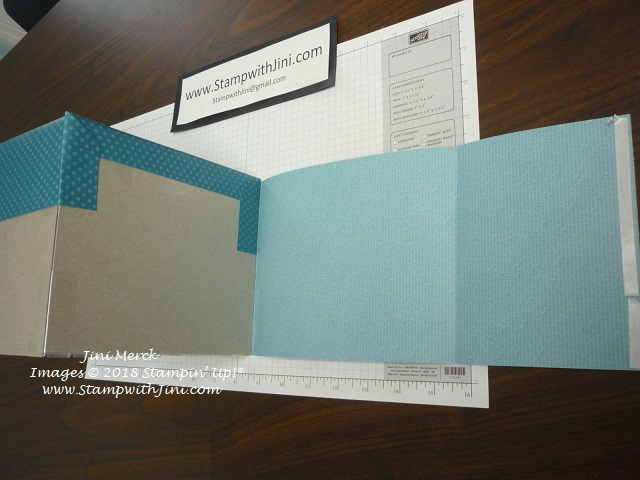
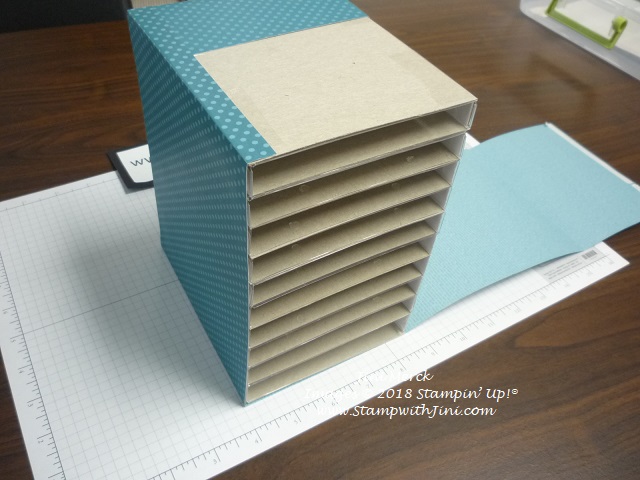
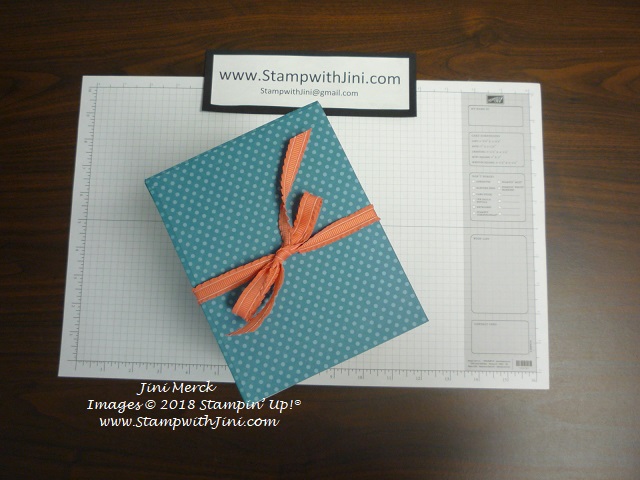
A lovely box to hold it and keep everything together of course. I went looking for a way to keep all the pieces together and here is what I came up with.

These boxes are easy to make and will keep everything together for you in one place. I really like the way my first box turned out, so much so I decided to add a magnetic flap to it – so you’ve got two options when making your own.

Here is a video tutorial for you, the PDF so you can print your own Take Your Pick Tool label and a PDF tutorial with the complete supply list.

Take Your Pick Tool Box Tutorial –

And I’ve given you cutting measurements in the PF for both the magnetic flap I’ve shown you and the non magnetic flap. Making it easy to create the version you’d like for your space.

Take Your Pick Tool Box Tutorial PDF

Printable Take Your Pick Tool Label PDF

The printable label is in both Blackberry Bliss and Basic Black so you can choose. And there are two sizes too for the Layering Ovals Framelits Dies or Tailored Tag Punch. Simply print on Whisper White card stock.

Enjoy!

Supplies: 

Paper: Share What You Love Designer Series Paper (146926), Basic Black (121045) and Whisper White Card stock (100730)

Accessories: Take Your Pick Tool (144107), Simply Scored Scoring Tool (122334), Paper Snips (103579), and Tailored Tag Punch (145667)


Click here to order your Stampin’ Up! Products online 24/7! (US only)

Shop at my Online Store and use Host Code FZ3P6HGN


Click Here to learn more about using the Hostess Code If you order Online make sure your profile information is up to date and you’ve allowed me to contact you

Sign up for my FREE Newsletter My Newsletters include stamping tips, tutorials, ideas and Classes!

Dashing Deer Easel Card & the Holiday Catalog Kick Off

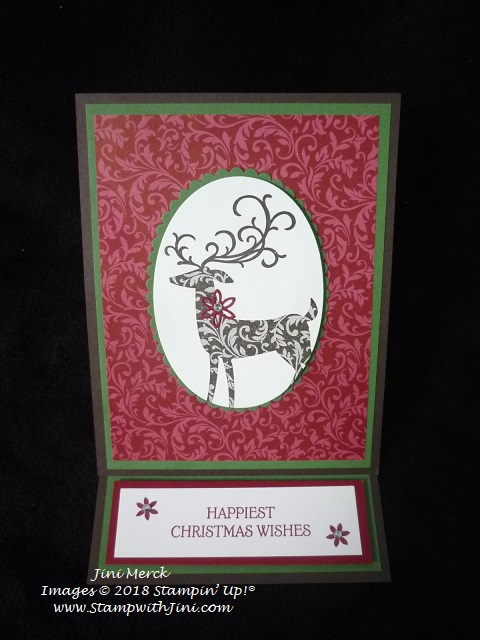
Today’s card is the final project  we made during my Holiday Catalog Kick Off and it is a fancy fold. I love the fact that we can create 3d cards using just ink and card stock! For me it’s one of the things that make paper crafting so much fun!

The Dashing Deer Bundle of products coordinates with this month’s Host Special – the Dashing Along Designer Series Paper which is perfect for projects like this since it contains multiple sheets of the same patterns. The images in this set are lovely, but when teamed up with the coordinating Detailed Deer Thinlits Dies your options are endless.

This card uses a fancy fold called the Easel Fold and I’ve whipped up a quick tutorial show how this quick and easy fold is created for you along with a printable PDF.

How to Create an Easel Card Video Tutorial

After watching the video do you want to make one too?

Well you’re in luck since I’ve created a PDF for you with step by step instructions to create this card along with a complete supply list too.

Dashing Deer Holiday Catalog Kick Off Easel Card Tutorial PDF

Easel Card Tutorial PDF

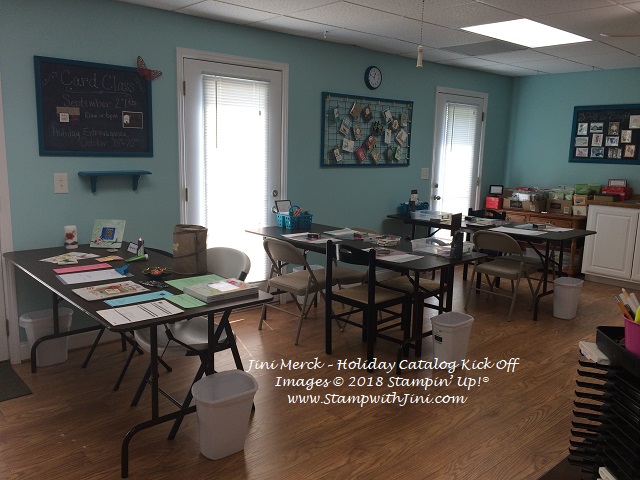
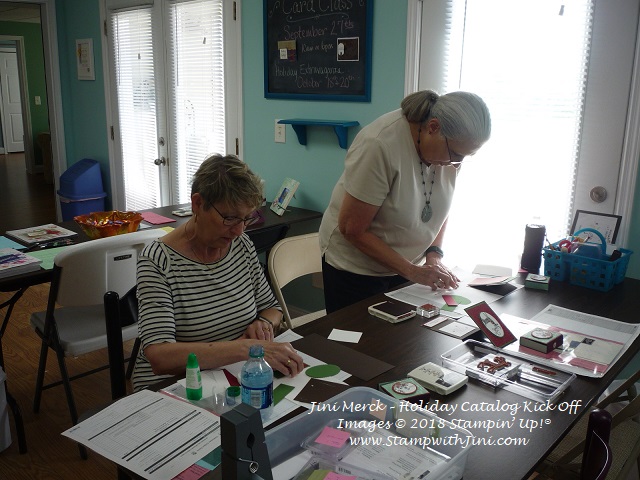
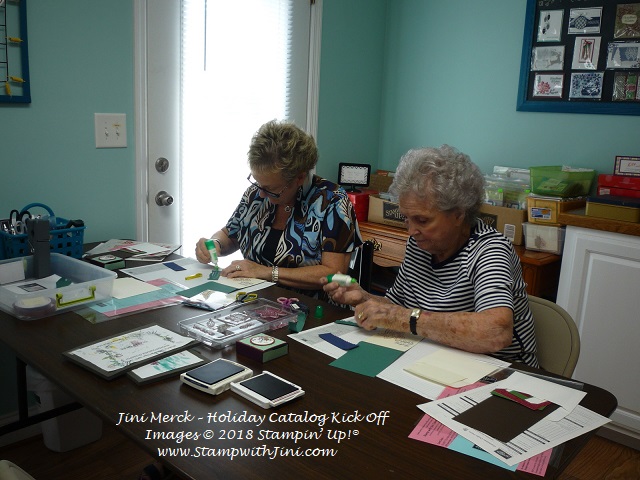
And today I thought I’d share some photos from the event with you.

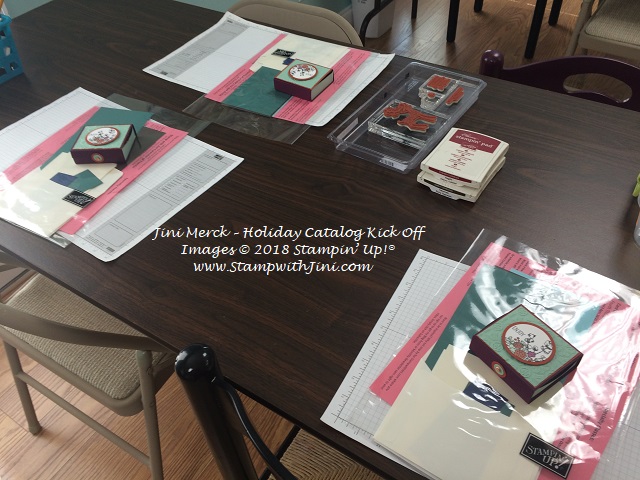
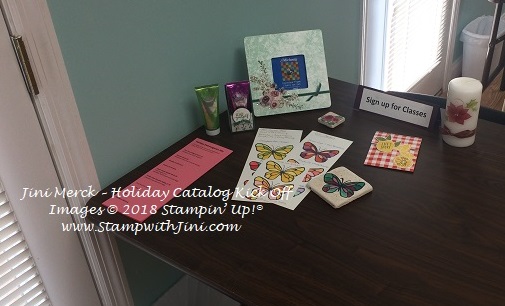
Of course there was lots to see since we had a table with all the Designer Series Papers and some of the products you could touch and feel.

A table where you could see my upcoming Holiday Extravaganza Gifts & More projects. I’ll be sending out more information about this class room – make sure you are on my Newsletter List HERE so you can get all the details.

And of course some stamping fun!

Want to see more photos including my display boards with tons of cards? Why not stop by my Stamp with Jini’s facebook page and check it out? And while your there why not like my page so you’ll see projects & more that I share on facebook?

Enjoy! And if you love this card you’ll want to be sure to stop back next week when I’ll be sharing more cards made with this bundle!

Supplies:

Stamp Set: Dashing Deer (*147731/147728)

Inks: Early Espresso (147114) and Cherry Cobbler Classic Ink (147083)

Paper: Dashing Along Designer Series Paper (September Host Special), Early Espresso (119686), Garden Green (102584), and Whisper White Card stock (100730)

Accessories: Detailed Deer Thinlits Dies (*147915), Layering Ovals Thinlits Dies (141706), Simply Scored Scoring Tool (122334), and Clear Rhinestones (144220)

*Dashing Deer bundle (149934/149935)


Click here to order your Stampin’ Up! Products online 24/7! (US only)

Shop at my Online Store and use Host Code FZ3P6HGN

 Click Here to learn more about using the Hostess Code If you order Online make sure your profile information is up to date and you’ve allowed me to contact you

Sign up for my FREE Newsletter My Newsletters include stamping tips, tutorials, ideas and Classes!

Sign up HERE for my FREE Newsletter or Get my Blog Posts delivered right to your inbox HERE

How Do You Get a 2018 Holiday Catalog?

Don’t have a Demonstrator? Email me at StampwithJini@gmail.com include your name, address, and phone number and I’ll be happy to mail you one.

Spooky Treats

It’s almost fall and that means Halloween is right around the corner – If you love Halloween you’ll want to check out this fun card using the Spooky Treats & Winter Woods stamp sets from the Holiday Catalog.

This card uses simple sponging and masking to create a wonderfully spooky fall night!

How is it done? First you’ll create a mask using one of the Layering Circle Framelits Dies and a sticky note. Place the sticky note where you’d like it on your Whisper White card stock. Then sponge starting with the lightest color Crushed Curry in a circular motion to begin building the layers of color. Add some Pumpkin Pie and then finish with Blackberry Bliss. Remove the mask and you’re ready to finish stamping.

Yep, it’s that easy. Each time you’ll get a little different look based on your sponging which makes it a lot of fun.

And if you love this punch you’ll love this tip that Sara shared with us yesterday.

The Spooky Bat Punch (148014) cuts out the bats from the Toil & Trouble Designer Series Paper (147531) bat images! How cool is that?

You’re going to LOVE all the fantastic products in the Holiday Catalog! Why not come to my Holiday Catalog Kick Off and check them out? But hurry and RSVP by the end of the day September 12th so I’ll have enough goodies for everyone!

Can’t come? or don’t live local and want a catalog? If you don’t have a demonstrator why not email me at StampwithJini@gmail.com your name, address and phone number and I’ll be happy to mail one to you!

Love this card? Then you’ll want to stop back by tomorrow when I’ll be sharing some more wonderful cards from a swap I recently hosted.

Supplies: 

Stamp Set: Spooky Treats (147719/147716) and Winter Woods (147658/147661)

Inks: Memento Tuxedo Black Ink (132708),  Blackberry Bliss (147092), Pumpkin Pie (147086), and Crushed Curry Classic Ink (147087)

Paper: Basic Black (121045), Blackberry Bliss (133675), and Whisper White Card stock (100730)

Accessories: Black 3/8″ Glittered Organdy Ribbon (147897), Spooky Bats Punch (148014), Layering Circle Framelits Dies (141705), Stampin’ Sponges (141337), and Clear Rhinestones (144220)

Click here to order your Stampin’ Up! Products online 24/7! (US only)

Shop at my Online Store and use Host Code 7GTJDB3N

Click Here to learn more about using the Hostess Code If you order Online make sure your profile information is up to date and you’ve allowed me to contact you
 

Sign up HERE for my FREE Newsletter or Get my Blog Posts delivered right to your inbox HERE

Darling Label Punch Box Thank You

We’ve got a fantastic Tin available so I couldn’t resist getting one of these for myself.

Gorgeous right? and this tin contains ink, a clear block, stamps and even a punch! Got to love punches. At least I do, especially the ease of creating multiples or on the go! Keep the tin or fill it and give it as a gift. The choice is yours.

Today’s card was inspired by one that Stampin’ Up! did in training for us in our quarterly magazine.

I love the soft feel of this card that I’ll be sending out for this month’s Thank You to those that order.

Want to make some too? Here is a FREE Tutorial for the card.

Darling Label Thank You Card Tutorial PDF

(I’ll include a complete supply list below for you.)

And as I worked with the set I thought it would be nice to have a storage case for the stamp set too, since I’d like to put mine on my shelf with the other stamp sets – so I created a Standard Stamp Case Insert for it too.

Darling Label Punch Box Case Insert PDF

Simply print it off trim and slide into one of our Standard Stamp Cases (119105). If you like this, you’ll want to check out my Organizational items from the Current Catalogs and more. Simply click on the Organizational Category.

Happy stamping!

Supplies: 

Stamp Set: Darling Label Punch Box (146855)

Inks: Powder Pink (147147) and Soft Suede Classic Ink (147115)

Paper: Petal Pink (146985), Soft Suede (115318), Vellum (101856), and Very Vanilla Card stock (101650)

Accessories: Gold Mini Sequin Trim (144128), 2″ Circle Punch (133782) and Paper Snips (103579)


Click here to order your Stampin’ Up! Products online 24/7! (US only)

Shop at my Online Store and use Host Code 7GTJDB3N

Click Here to learn more about using the Hostess Code If you order Online make sure your profile information is up to date and you’ve allowed me to contact you

Sign up for my FREE Newsletter My Newsletters include stamping tips, tutorials, ideas and Classes!


Why not come see the NEW Holiday Catalog Products?


Merry Christmas to All Tutorial & More

Well as you can see I didn’t get to post this yesterday afternoon like I had hoped, but the good news is I can share it with you today and even more!

Last month my team enjoyed a shoe box swap and so today I thought I’d share some of them with you. This first card uses the Merry Christmas to All stamp set (147702). This set is filled with wonderful sentiments and has a coordinating Thinlits set, Merry Christmas (147912).

I love the warm country feel of the Festive Farmhouse Suite that was used to highlight this set. How about you? And good news I thought you might enjoy making this card too so I’ve whipped up a quick tutorial that includes the complete supply list for you!

Merry Christmas to All Card PDF

And here is another fun card using the Fun Santa’s Workshop Suite of products.

I feel in LOVE with the Santa’s Workshop Specialty Designer Series Paper (147809) with its flocking! It’s so much fun and you can use the Santa’s Signpost Framelits Dies (147809) to cut out the images! How fun is that?

And how about another tutorial with a full supply list for you? I couldn’t resist. lol

Signs of Santa Card PDF

And this final card uses the Nature Sings stamp set (143653/144406) and the Pretty Pines Thinlits Dies (141851) from the Annual Catalog.

Beautiful.

Today’s cards are all part of a shoe box swap that we did at the Blue Mountain Stampers Weekend Getaway in August. This getaway is a time for my team to gather and spend the weekend together. We spend the time laughing, sharing and of course stamping with the new products from the Holiday Catalog PreOrder. It’s a lot of fun and I can’t believe we’ve already been doing this for 6 years now! I love these retreats and spending the time with my team – each and every member is such a blessing to me and we’ve become friends over the years.

Does this sound like fun to you? Love the new products? Do you have a big wish list? As I am sure you can guess, being the first to see a new catalog or any of our new catalogs is a very exciting AND a  huge perk of being a Demonstrator – after all who wouldn’t want to be first? Right?  Add the fact that you’ll receive a discount on all these products and you can’t loose! If you feel this is a good time to join Stampin’ Up! and my team, the Blue Mountain Stampers, you too can be first too!

What are the Blue Mountain Stampers?

That’s the name of our stamping community. I enjoy welcoming new members to our group. We’re from all over. If you’re considering joining Stampin’ Up!, you may have questions about how I would support you as part of my team. I do offer a variety of ways to learn, grow and to have FUN as a Blue Mountain Stamper!

  • Exclusive Team Resource Page – videos, PDFs and more
  • Exclusive Face book Group – A great way to share and connect with other team members and share
  • Monthly Creative Challenges
  • Swapping Opportunities
  • Team Retreats
  • Meetings – both local and online/virtual
  • Monthly Crafting Day
  • Recognition & Incentives
  • Training available for workshops, clubs, classes and more!
  • Additional support and business coaching available

We have a very active group that share and answer each other’s questions on our Exclusive face book group.  If you’re looking for fun, a place to grow and share with others…You’ll fit right in!

Hobbyists are welcome!

  • Did you know?  90% of my Blue Mountain Stampers’ are Happy Shoppers – purchasing for themselves, (along with their family and friends.)  That’s right…you can just get a discount on products you love!
  • We welcome the hobbyist who’s looking to be a “happy shopper” (and save money), as well as those of you that want to build a business (and make money).
  • Everyone is welcome after all there’s room for both and everyone in between.

And there is NO Obligation when you purchase your starter kit – Join the Blue Mountain Stampers and see what it’s all about!


Click here to order your Stampin’ Up! Products online 24/7! (US only)

Shop at my Online Store and use Host Code 7GTJDB3N

Click Here to learn more about using the Hostess Code If you order Online make sure your profile information is up to date and you’ve allowed me to contact you

Sign up for my FREE Newsletter My Newsletters include stamping tips, tutorials, ideas and Classes!

Sign up HERE for my FREE Newsletter or Get my Blog Posts delivered right to your inbox HERE

#imbringingbirthdaysback with Abstract Impressions

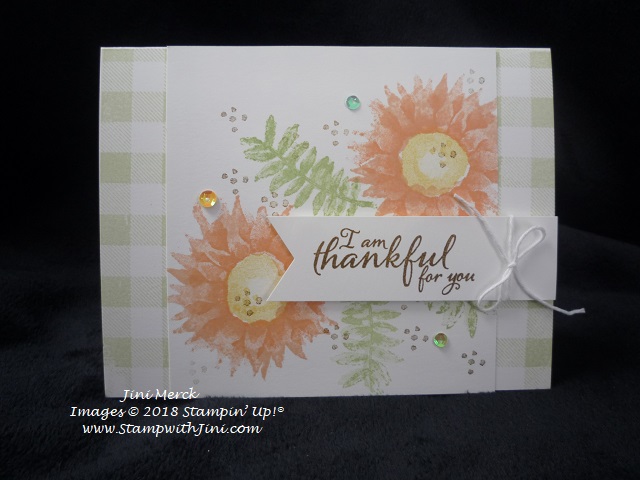
I’m loving the new shades of purple that we have to choose from – of course I’m bias since purple is one of my favorite childhood colors. LOL! So I couldn’t help reaching for it to stamp today’s card that is going out to everyone who has a September birthday.

I’ve got my stack all ready to go

If you’d like a birthday card from me too. Why not email me at StampwithJini@gmail.com your name, address, phone number and of course birthday. Since we’re all 29 no need to include the year, that is unless you want to 🙂

I’ve also whipped up a quick tutorial for you so you can make some too. Why not check it out?

Abstract Impressions Birthday Card Tutorial PDF

I’ve included the complete supply list below for you. Enjoy!

Supplies: 

Stamp Set: Abstract Impressions (147513) and Detailed with Love (146603/146606)

Inks: Highland Heather (147103), Gorgeous Grape (147099), Pear Pizzazz (147104) and Mossy Meadow Classic Ink (147111)

Paper: Highland Heather (146986) and Whisper White Card stock (100730)

Accessories: Layering Ovals Framelits Dies (141706) and Garden Trellis Embossing Folder (143741)

Click here to order your Stampin’ Up! Products online 24/7! (US only)

Shop at my Online Store and use Host Code 7GTJDB3N

Click Here to learn more about using the Hostess Code If you order Online make sure your profile information is up to date and you’ve allowed me to contact you
Sign up for my FREE Newsletter My Newsletters include stamping tips, tutorials, ideas and Classes!

Waterfront Thank You Card Tutorial

Yesterday I found this tutorial that I was working on to share with you that got buried on my desk after my husband’s accident earlier this month. So today I thought I’d share it with you – never too late, right?

I stamped this card to send out as my Thank You last month. It uses one of my favorite sets, Waterfront. It’s got tons of images that can be combined for all kinds of cards!

And without further adieu here is the tutorial too.

Waterfront Thank You Card Tutorial PDF

Enjoy!

Supplies: 

Stamp Set: Waterfront (146386) and Eastern Beauty (143675)

Inks: Rich Razzleberry (147091), Bermuda Bay (147096), Crumb Cake (147116), Crushed Curry (147087), Flirty Flamingo (147052), and Call Me Clover Classic Ink (147139)

Paper: Flirty Flamingo (141416), Rich Razzleberry (115316), and Whisper White card stock (100730)

Accessories: 2018-2020 In Color Stampin’ Write Markers (147159) and Blender Pens (102845)

Click here to order your Stampin’ Up! Products online 24/7! (US only)

Shop at my Online Store and use Host Code 7GTJDB3N

Click Here to learn more about using the Hostess Code If you order Online make sure your profile information is up to date and you’ve allowed me to contact you
Sign up for my FREE Newsletter My Newsletters include stamping tips, tutorials, ideas and Classes!


August Specials

August Thank You’s & Tutorials

This month’s Thank You’s use a fun new technique using the Stampartaus called Circular Stamping. It’s a lot of fun to do and you can create this fun technique with just a few steps. Check out this card that I created for my stamping friends.

I love the bright and cheerful Mango Medley teamed up here with Berry Burst – how can it not make you smile?

Good news I’ve created a quick tutorial for you so you can make some too.

All Things Thanks Circular Stamping Card Tutorial PDF

I’ve also done a quick video tutorial for you to show how I created the template you need to create for this project.

How to Create a 3″ Circular Stamping Template Video Tutorial

Along with this video to show you how I stamp with the template to create this technique.

Circular Stamping with the Stamparatus Video Tutorial

So much fun, right? Loving it and can’t wait to try it with some other sets too!

Got Ink?

Why not refresh your pallet of colors with a new ink pad? We’ve got some great new colors such as the Mango Melody used for today’s project.

Stop back by tomorrow when I’ll be sharing some more cards with you along with an organizational item too.

On a personal note I know that my posts have been more inconsistent than normal – we’ve had some family emergencies this summer, the latest being a major car accident that my husband was in. It was quite a scare, but thankfully he is ok and on the mend. I’m hoping things will be back to normal by the end of this week. Thanks for understanding.

Supplies: 

Stamp Set: Happy Birthday Gorgeous (143662) and All Things Thanks (143089/143097)

Inks: Memento Tuxedo Black Ink (132708/133456), Mango Melody Classic Ink (147093), and Berry Burst Classic Ink (147143)

Paper: Whisper White Card stock (101730), Basic Black Card stock (121045), Mango Melody Card stock (146989), Berry Burst card Stock (144243),  and Window Sheets (142314)

Accessories: Stamparatus (146276), Subtle Embossing Folder (143706), and Solid Basic Black Baker’s Twine (141682)


Click here to order your Stampin’ Up! Products online 24/7! (US only)

Shop at my Online Store and use Host Code AFMUMHHT

Click Here to learn more about using the Hostess Code If you order Online make sure your profile information is up to date and you’ve allowed me to contact you
Sign up for my FREE Newsletter My Newsletters include stamping tips, tutorials, ideas and Classes!

Detailed with Love Note Card Tutorial

Today’s project uses the Delightfully Laser-Cut Specialty Paper and the coordinating note cards. This paper is to die for with its intricately cut designs and it’s perfectly sized to go with the note cards. So making your projects is quick and easy!

And it’s Whisper White on one side and Very Vanilla on the other making it perfect for any project. Check out this lovely little note card we made at OnStage using these products.

If you love this look and would like to make some of your own too. I’ve created a tutorial for you.

Detailed with Love Note Card Tutorial PDF

I’ve also included the supply list for you below.

Enjoy!

Supplies: 

Stamp Set: Detailed with Love (*146603/146606)

Inks: Mint Macaron Classic Ink (147106)

Paper: Delightfully Detailed Note Cards & Envelopes (146911), Delightfully Detailed Laser-Cut Specialty Paper (146907), Grapefruit Grove Card stock (146972), and Very Vanilla Card stock (101650)

Accessories: Detailed Trio Punch (*146320), 5/8″ Whisper White Polka Dot Tulle Ribbon (146912), Faceted Dots (146910), and Banner Duet Punch (138292)

*Detailed with Love Bundle (148327/148328)


Click here to order your Stampin’ Up! Products online 24/7! (US only)

Shop at my Online Store and use Host Code J4YKW2KG, place a qualifying order of $50 and you’ll receive a FREE Gift from me

Click Here to learn more about using the Hostess Code If you order Online make sure your profile information is up to date and you’ve allowed me to contact you
Love What You Do Tutorial

Today’s card uses the Love What you do suite of products. I really love the pearlized look that the Share What You Love Specialty Designer Series Paper has to it and with the heavier weight it’s great for 3d projects too.

Can you see the the Colored Doily? I’m loving the Colored Doilies (146935) that are found on page 192 of the Annual Catalog. Done in 4 colors they give you lots of fun colors to choose from and make me think of my Grandma too. She was an avid crocheter and always working on something back in my childhood many moons ago!

Here is a tutorial for you

Love What You Do Card Tutorial PDF

Why not make some of your own? Then stop back by tomorrow when I’ll be sharing another tutorial with you using our yummy laser cut paper.


Get Paper Pumpkin at 50% Off with our Blooming Savings Promotion

With the Blooming Summer Savings & 50% OFF It’s a great time to try our Paper Pumpkin Kits! They are great for any age and make wonderful gifts too!

Blooming Savings details:

  • NEW subscribers qualify for the 50% discount and must use the code BLOOM0818 at paperpumpkin.com by August 10, 2018 at 11:50 PM (MT).
  • The discount cannot be applied to prepaid codes.
  • The 50% discount only applies to the new subscriber’s (email) first kit shipped. After that, the price for each month’s kit will return to the regular price of $19.95

Learn What Paper Pumpkin is all about CLICK HERE

When you join not only will receive a great kit in the mail each month, but you’ll also receive my Paper Pumpkin Perks and join me for my Paper Pumpkin Craft Time each month for free!

If you are having problems getting your subscription started please contact me. I’m happy to help! stampwithjini@gmail.com or 706 754-7124

Supplies: 

Stamp Set: Love What You Do (148042)

Inks: Memento Tuxedo Black Ink Pad (132708) and Mint Macaron Classic Ink (147106)

Paper: Share What You Love Specialty Designer Series paper (146926), Vellum (101856), Mint Macaron (138337), and Whisper White card stock (100730)

Accessories: Share What You Love Artisan Pearls (146927), Colored Doilies (146935), Rich Razzleberry 1/4″ Velvet Ribbon (147016), and 3/4″ Circle Punch (119873)


Click here to order your Stampin’ Up! Products online 24/7! (US only)

Shop at my Online Store and use Host Code J4YKW2KG, place a qualifying order of $50 and you’ll receive a FREE Gift from me

Click Here to learn more about using the Hostess Code If you order Online make sure your profile information is up to date and you’ve allowed me to contact you
Sign up for my FREE Newsletter My Newsletters include stamping tips, tutorials, ideas and updates on what is happening with me!