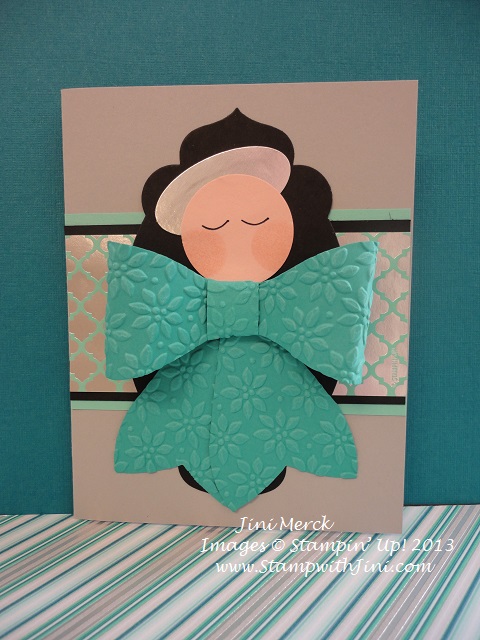
Gift Bow Angel Video Tutorial

Today’s project uses the Gift Bow Bigz L Die in an untraditional way – instead of a bow I’m using it to create an angel. When I saw this little darling I just knew I had to make my own version.

Gift Bow Angel

This sweet angel was so easy to make and I really love the way our Winter Frost Specialty Paper and Silver Foil Sheets add that special touch to make it shine.

Want to know how I made my Gift Bow Angel? Check out my latest video tutorial.

Want to learn more about stamping? Why not sign up for my FREE Newsletter and Class Information. (Just look for the sign up box above on the right or click HERE). Sign up and get a FREE Pinwheel Tutorial just for joining. Then you’ll get my FREE emails with great information on what is going on with Stamp with Jini along with helpful hints and tips.

Supplies:

Inks: Blushing Bride (131172)

Paper: Silver Foil Sheets (132178), Winter Frost Specialty Designer Series Paper (132341), Blushing Bride (131198), Basic Black (121045), Smoky Slate (131202), Bermuda Bay (131197), and Coastal Cabana Card Stock (131297)

Accessories: Basic Black Stampin’ Write Marker (100082), 1 3/8″ Circle Punch (119860), Large Oval Punch (119855), Big Shot (113439), Gift Bow Bigz Die (129977), Apothecary Accent Framelits (127003), Petals a Plenty Embossing Folder (116824), Glue Dots (103683), Multipurpose Liquid Glue (110755), Bone Folder (102300), Sponge Dauber (102892)

Click here to order your Stampin’ Up! Products online 24/7! (US only)

Hostess code UHRUCJ9X

Weekly Deals (Special ends December 9, 2013 at 11:50 p.m. (MT)

Festive Flurry Ornament Kit (while supplies last)

Bubble Gift Bow Tutorial

I’ve been having the best time making all kinds of bows with the Gift Bow Bigz L Die that is available in the holiday catalog (page 37) and I’ve been finding all kinds of things to do with it.

Bubble Bow (2)

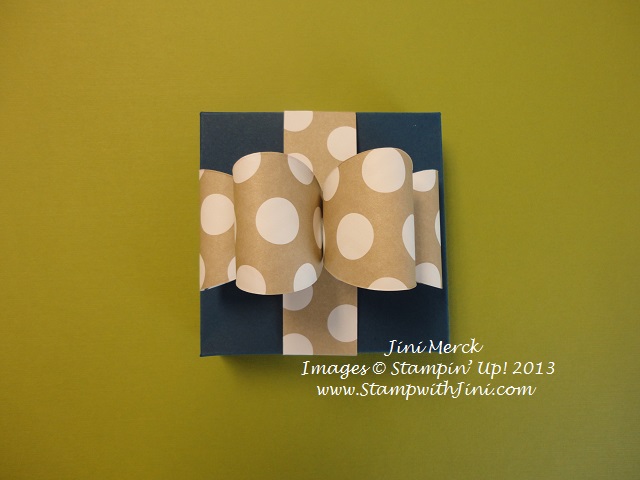
So today’s video tutorial shows you how to make what I call a Bubble Gift Bow.

I love the combination of the Season of Style Designer Series Paper and Midnight Muse Card Stock used for this project and since this bow is quick and easy to make and you can make a lot of them from one piece of Designer Series Paper too! So go ahead and decorate all your holiday packages!

Bubble Bow & Frosted Finishes Embellishments

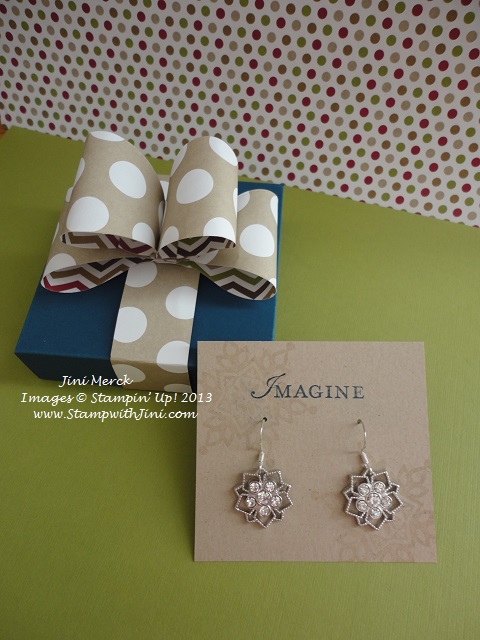
This little box is one that I use all the time and it’s so easy to make when you use your Simply Scored Scoring Tool and Diagonal Plate. (Shhhh…. don’t tell my daughter, but I made this little box to hold a special pair of earrings I made using our Frosted Finishes Embellishments.) If you’d like to see how I made this box you can CLICK HERE to see my Spring Sampler Treat Box Video Tutorial.

Supplies:

Stamps: Loving Thoughts (128436/125845) and Festive Flurry (131778/131781)

Ink: Midnight Muse (126860) and VersaMark Pad (102283)

Paper:  Season of Style Designer Series Paper (132340), and Midnight Muse (126843), and Crumb Cake Card Stock (120953)

Accessories: Big Shot (113439), Gift Bow Bigz L Die (129977), Glue Dots (103683), Bone Folder (102300), Frosted Finishes Embellishments (132150), Simply Scored Scoring Tool (122334) and Diagonal Plate (125586)

Click here to order your Stampin’ Up! Products online 24/7! (US only)

Hostess code UHRUCJ9X

Cyber Monday – 24 Hour Sale

     Cyber Monday image - small image                  

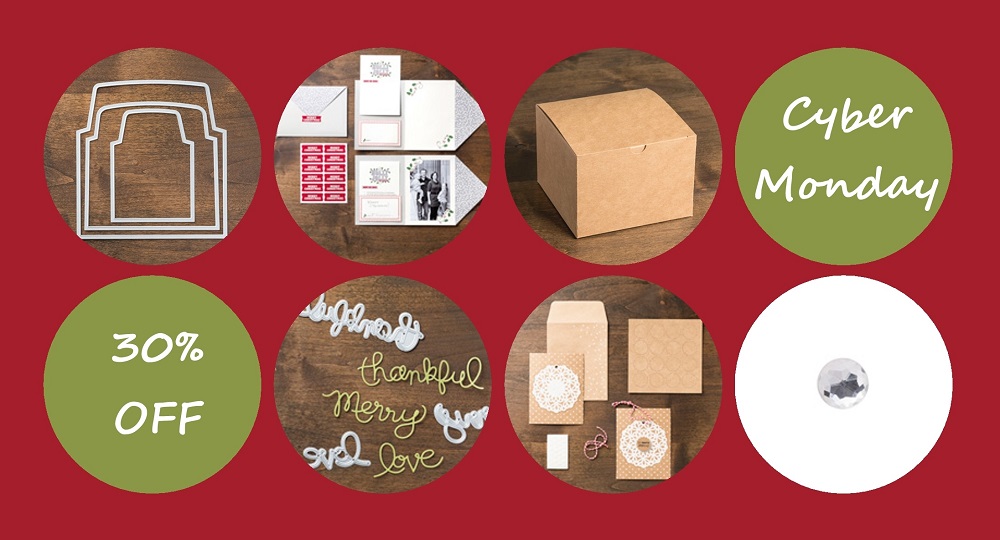
Whoo hoo! Cyber Monday starts today.  You’ll want to check these special deals along with all the other items in our Weekly and Holiday Sale before the 24 hours is over. Sale ends Monday, Decmeber 2nd at 11:50 (MT)

Envelope Liners Framelits Dies (item 132172)
Expressions Thinlits Dies (item 132171)
Holly Jolly Greetings Simply Sent (item 132159)
Snowflake Season Simply Sent  (item 132176)
Large Rhinestone Basic Jewels (item 129324)
Extra-Large Gift Box (item 132147)

Place an order for any item/items, (not just sale items) with me using Hostess Code UHRUCJ9X  and I’ll give you a special Holiday Grab Bag FREE. It’s my way of saying thank you.

Here are the details:

Place an order for $30 in product and get a Holiday Grab Bag valued at $5

Place an order for $50 in product and get a Holiday Grab Bag valued at $15

Place an order for $75 in product and get a Holiday Grab Bag valued at $25

(The Holiday Grab Bag Offer is only available through me and while supplies last.)

Click here to order your Stampin’ Up! Products online 24/7! (US only)

Hostess code UHRUCJ9X

Holiday Sale (Runs Through December 2nd at 11:50 p.m. (MT)

Holiday Sale Flyer PDF

Weekly Deals (Special ends December 2, 2013 at 11:50 p.m. (MT)

Festive Flurry Ornament Kit (while supplies last)

Need Gift Ideas Image

Color Me Christmas Treat Box Tutorial

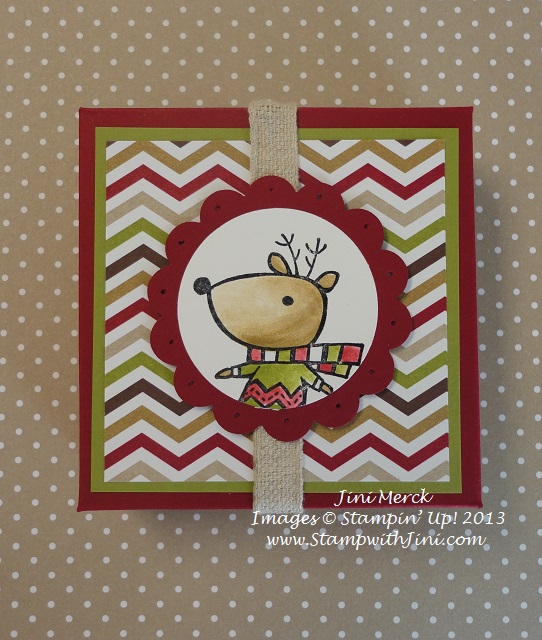
I like to make little treats for each of my family members for the holidays. So here is my latest “pillow gift” that I made for the family using the Color Me Christmas stamp set. Each Treat Box is filled with a chocolate for them to enjoy Christmas morning.

Color Me Christmas Treat Box   (2)

You can check out my earlier video Spring Sampler Treat Box Video Tutorial below to see how the basic box was made.

I used a piece of our 7/16″ Trim to create the band that keeps the box closed and hid the seam with my image.

Want a complete and printable PDF tutorial?  Click HERE for my Color Me Christmas Treat Box Tutorial.

Click here to order your Stampin’ Up! Products online 24/7! (US only)

Hostess code AJZK6FWH

Holiday Sale (Runs Through December 2nd at 11:50 p.m. (MT)

Holiday Sale Flyer PDF

Weekly Deals (Special ends December 2, 2013 at 11:50 p.m. (MT)

My Digital Studio 30% Off Sale (Sale ends November 30, 2013 at 11:50 p.m. (MT)

Festive Flurry Ornament Kit (while supplies last)

Lots of Thanks File Folder Card

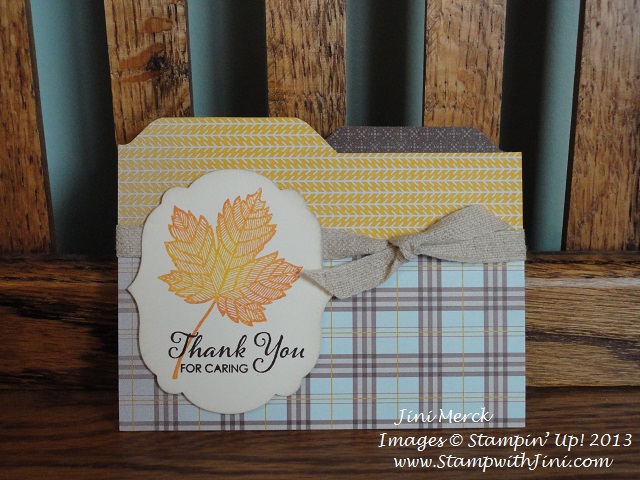
Last week I shared with you how much fun it is to use the Envelope Punch Board to make a file folder card. Well today I’m going to share another card I created using the Envelope Punch Board. This one is a double tab file folder card I made using the Lots of Thanks Stamp Set and the Magnificent Maple single stamp that you can find in the Holiday Catalog.

File Folder Card #2

This card also uses the Sweater Weather Designer Series Paper – if you haven’t already gotten some for yourself there is still time. I think you’ll love working with these patterns and colors just as much as I do. The Sweater Weather Designer Series Paper is  great for masculine cards along with all your fall and winter cards that you’ll be making. You’ve seen me use it on other cards that you can find in some of my earlier posts.

I really liked the way this card turned out and it seems so did my friends during our Stamp Diva meeting. So today I thought I would share a video I made for you on how to create this card – I’ve called it File Folder Card #2.

An original title right? Well this title, while not terribly original, gives you a hint that there are more File Folder Card Video Tutorials to come each containing a different style – LOL. So watch for the next one soon.

Supplies:

Stamp Set: Lots of Thanks (129687/129690) and Magnificent Maple (131868)

Inks: Tangerine Tango (126946), Crushed Curry (131173), Chocolate Chip (126979), and Sahara Sand (126976)

Paper:  Sweater Weather Designer Series Paper (132184), Crushed Curry (131199) and Very Vanilla Card Stock (101650)

Accessories: Envelope Punch Board (133774), Stampin’ Trimmer (126889), Multipurpose Liquid Glue (110755), 7/16” Natural Trim (129287) 

Click here to order your Stampin’ Up! Products online 24/7! (US only)

Use Hostess Code AJZK6FWH when placing your order and your name will be entered into my Mystery Hostess Drawing. This Hostess Code AJZK6FWH will be good through Monday, November 25th.

Today’s Weekly Deals!

Weekly Deals Banner Image

Check out these great weekly Deals being offered at a discount.

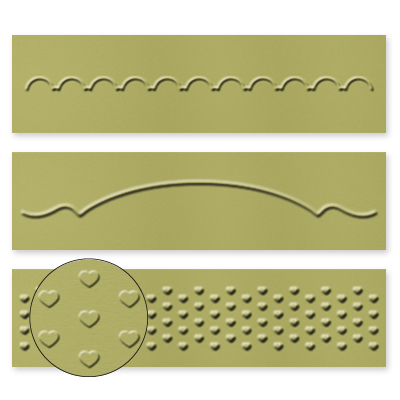
Adorning Accents Textured Embossing Folder #125601

Adorning Accents Textured Embossing Folder

Autumn Accents Die #127812

Autumn Accents Die

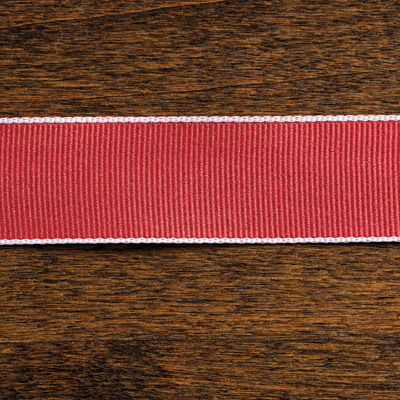
Cherry Cobbler Grosgrain Ribbon #132135

Cherry Cobbler Grosgrain Ribbon

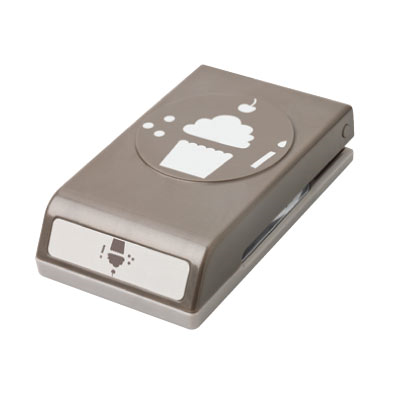
Build a Cupcake Punch #121807

Cupcake Punch

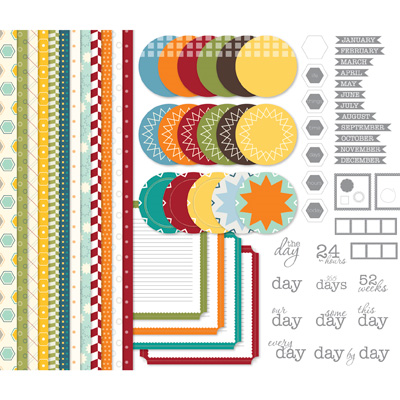
Day in the Life Kit MDS Download #128876

Day in the Life MDS

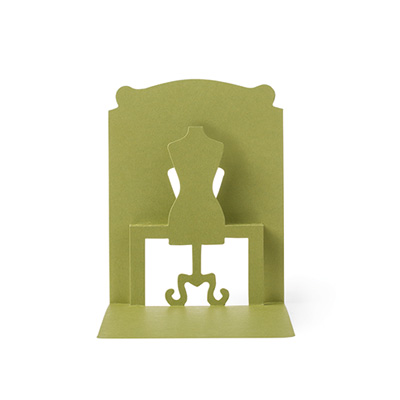
Dress Form Pop N Cuts Die #130100

Dress Form Pop Up Die

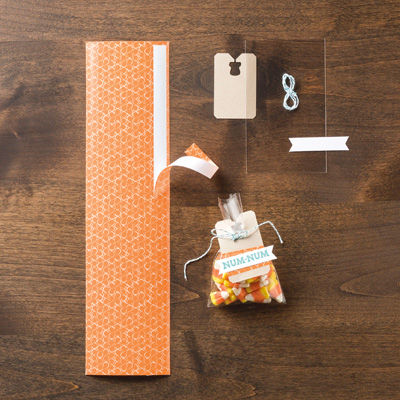
Simply Created Goodie Gear Pumpkin Pie #132792

Simply Created Goody Gear Pumpkin Pie

Rhinestones Large #129324

Rhinestones Large

Click here to order your Stampin’ Up! Products online 24/7! (US only)

Hostess Code AJZK6FWH

My Digital Studio 30% Off Sale

Frankenstein Post it Note Holder

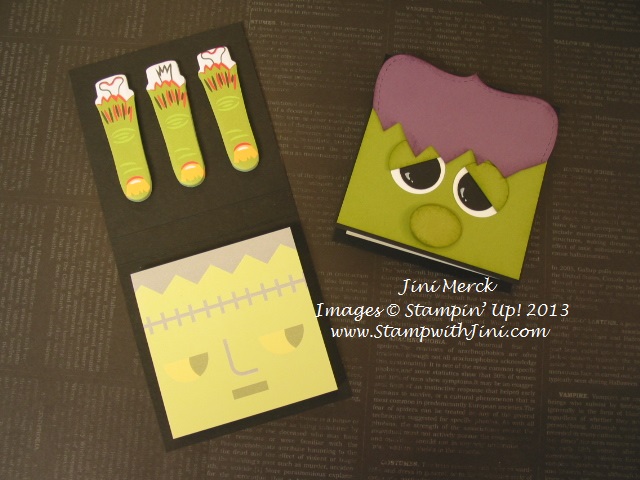
Well I’m back after a short break with family, and I’ve got a great project and video tutorial to share with you, my Frankenstein Post it Note Holder.
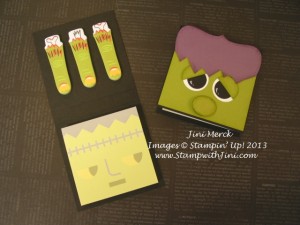
Frankenstein Post it Note Holder

I think this Frankenstein Post it Note Holder  really turned out too stinking cute. And I’m happy to say that my daughter and suitemate seemed tickled with their little Halloween surprise – Kaitlin especially loved the page post it notes and thought they were pretty creepy. LOL.

You’ll want to keep reading after the Frankenstein Post it Note Holder supply list below, since there have been a lot of things going on while I haven’t posted the last few days. And for those of you who haven’t kept up with me on facebook I wanted to make sure you had all the up to date Stampin’ Up! news.

Supplies:

Inks: Old Olive (126953) and Perfect Plum (126963)

Paper: Old Olive (100702), Perfect Plum (101889), Whisper White (100730), and Basic Black (121045)

Accessories: Small Oval Punch (120908), ¾” Circle Punch (119873), 1″ Circle Punch (119868), White Stampin’ Chalk Marker (132133), Top Note Die (113463), Stampin’ Sponges (101610), and post it notes from your local store

Click here to order your Stampin’ Up! Products online 24/7! (US only)
Mystery Hostess Code

Use Mystery Hostess Code RUG6FXNY when placing your order and your name will be entered into my Mystery Hostess Drawing. This Mystery Hostess Code RUG6FXNY will be good through Saturday, November 2nd. The number of hostess will depend on the total sales and I’ll be drawing a hostess for every $150 in sales.

New Weekly Deals

Weekly Deals Banner Image

These deals start Tuesdays and end on Monday – if you haven’t already checked out this week’s deals why not click HERE.

 Join for $25 – only 3 days left

Join for 25 image

When you join today, you can choose from our Weekly Deals or any other current product for your starter kit!

Ends: Monday, October 21st, 2013

The specially priced starter kit includes:

  • $26.95 worth of Stampin’ Up! product (must be more than $25, but not more than $26.95 before tax)
  • Free Shipping (you only pay sales tax!)

Business Pack, includes:

  • A box of annual catalogs, pack of Holiday Catalogs, Getting Started DVD, Starter Kit Business Pack (order form, customer postcards, etc.
  • Two FREE months of the Demonstrator Business Web Site (DBWS)
  • You’ll receive 30% instant income on your first order of $150 or more and be eligible for hostess benefits (when placed in the first 45 days after joining)

AND – First Workshop Perk:

  • When you place your first workshop order of $150 or more within 30 days of your start date, you can
  • Choose any stamp set from the 2013-2014 Annual Catalog (redeemable with your first demonstrator order in December) This perk is only for those of you who sign up between now and October 21st – don’t miss out on this opportunity!

When you join with me, you’ll get to be part of my team, The Blue Mountain Stampers and all the perks…

Click HERE to find out more and join before the October 21st deadline.

Got questions? Contact me at StampwithJini@gmail.com

New Improvements to the Online Store!

Have you been to my Online Store lately? If so you may have noticed a few new improvements designed to make your online shopping experience better.

Guest Checkout:  You no longer have to commit to creating an account. You can now check out as a guest. You’ll still be required to select a demonstrator, but you’ll be able to decide whether or not to pass on your contact information to me or not.  But if you do choose to select passing your information on to me – I’ll happily mail you a 2013-2014 Annual Catalog FREE of charge!

NEW Shopping Bag Features!

  • Now you can easily save your shopping bags contents!
  • When you add items to your bag, you can choose to go directly to the bag or continue shopping.
  • You’ll see a progress bar to guide you through the ordering process
  • More images to enjoy – Additional product images are bigger and easier to view
  • Enhanced sorting – You can sort merchandise based on newest or oldest. A real plus when shopping for the latest My Digital Studio downloads!

New Photopolymer Stamp Set
Endless Wishes Photopolymer banner image

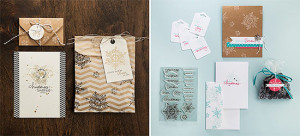
The Endless Wishes Photopolymer Stamp set  (133455) is now available and contains 19 great stamps. Only available in Photopolymer this set is just $13.95 and a must have for this holiday season. So if you haven’t tried our Photopolymer Stamps yet – what are you waiting for?
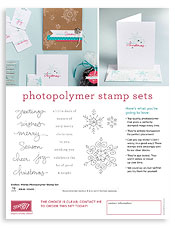
Endless Wishes Photopolymer Stamp Set flyer image

Click HERE for a PDF flyer with all the details and images

 5 NEW Digital Downloads!
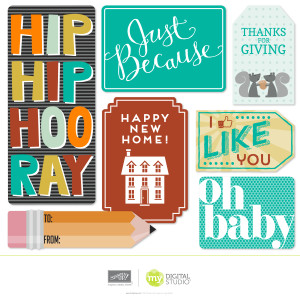
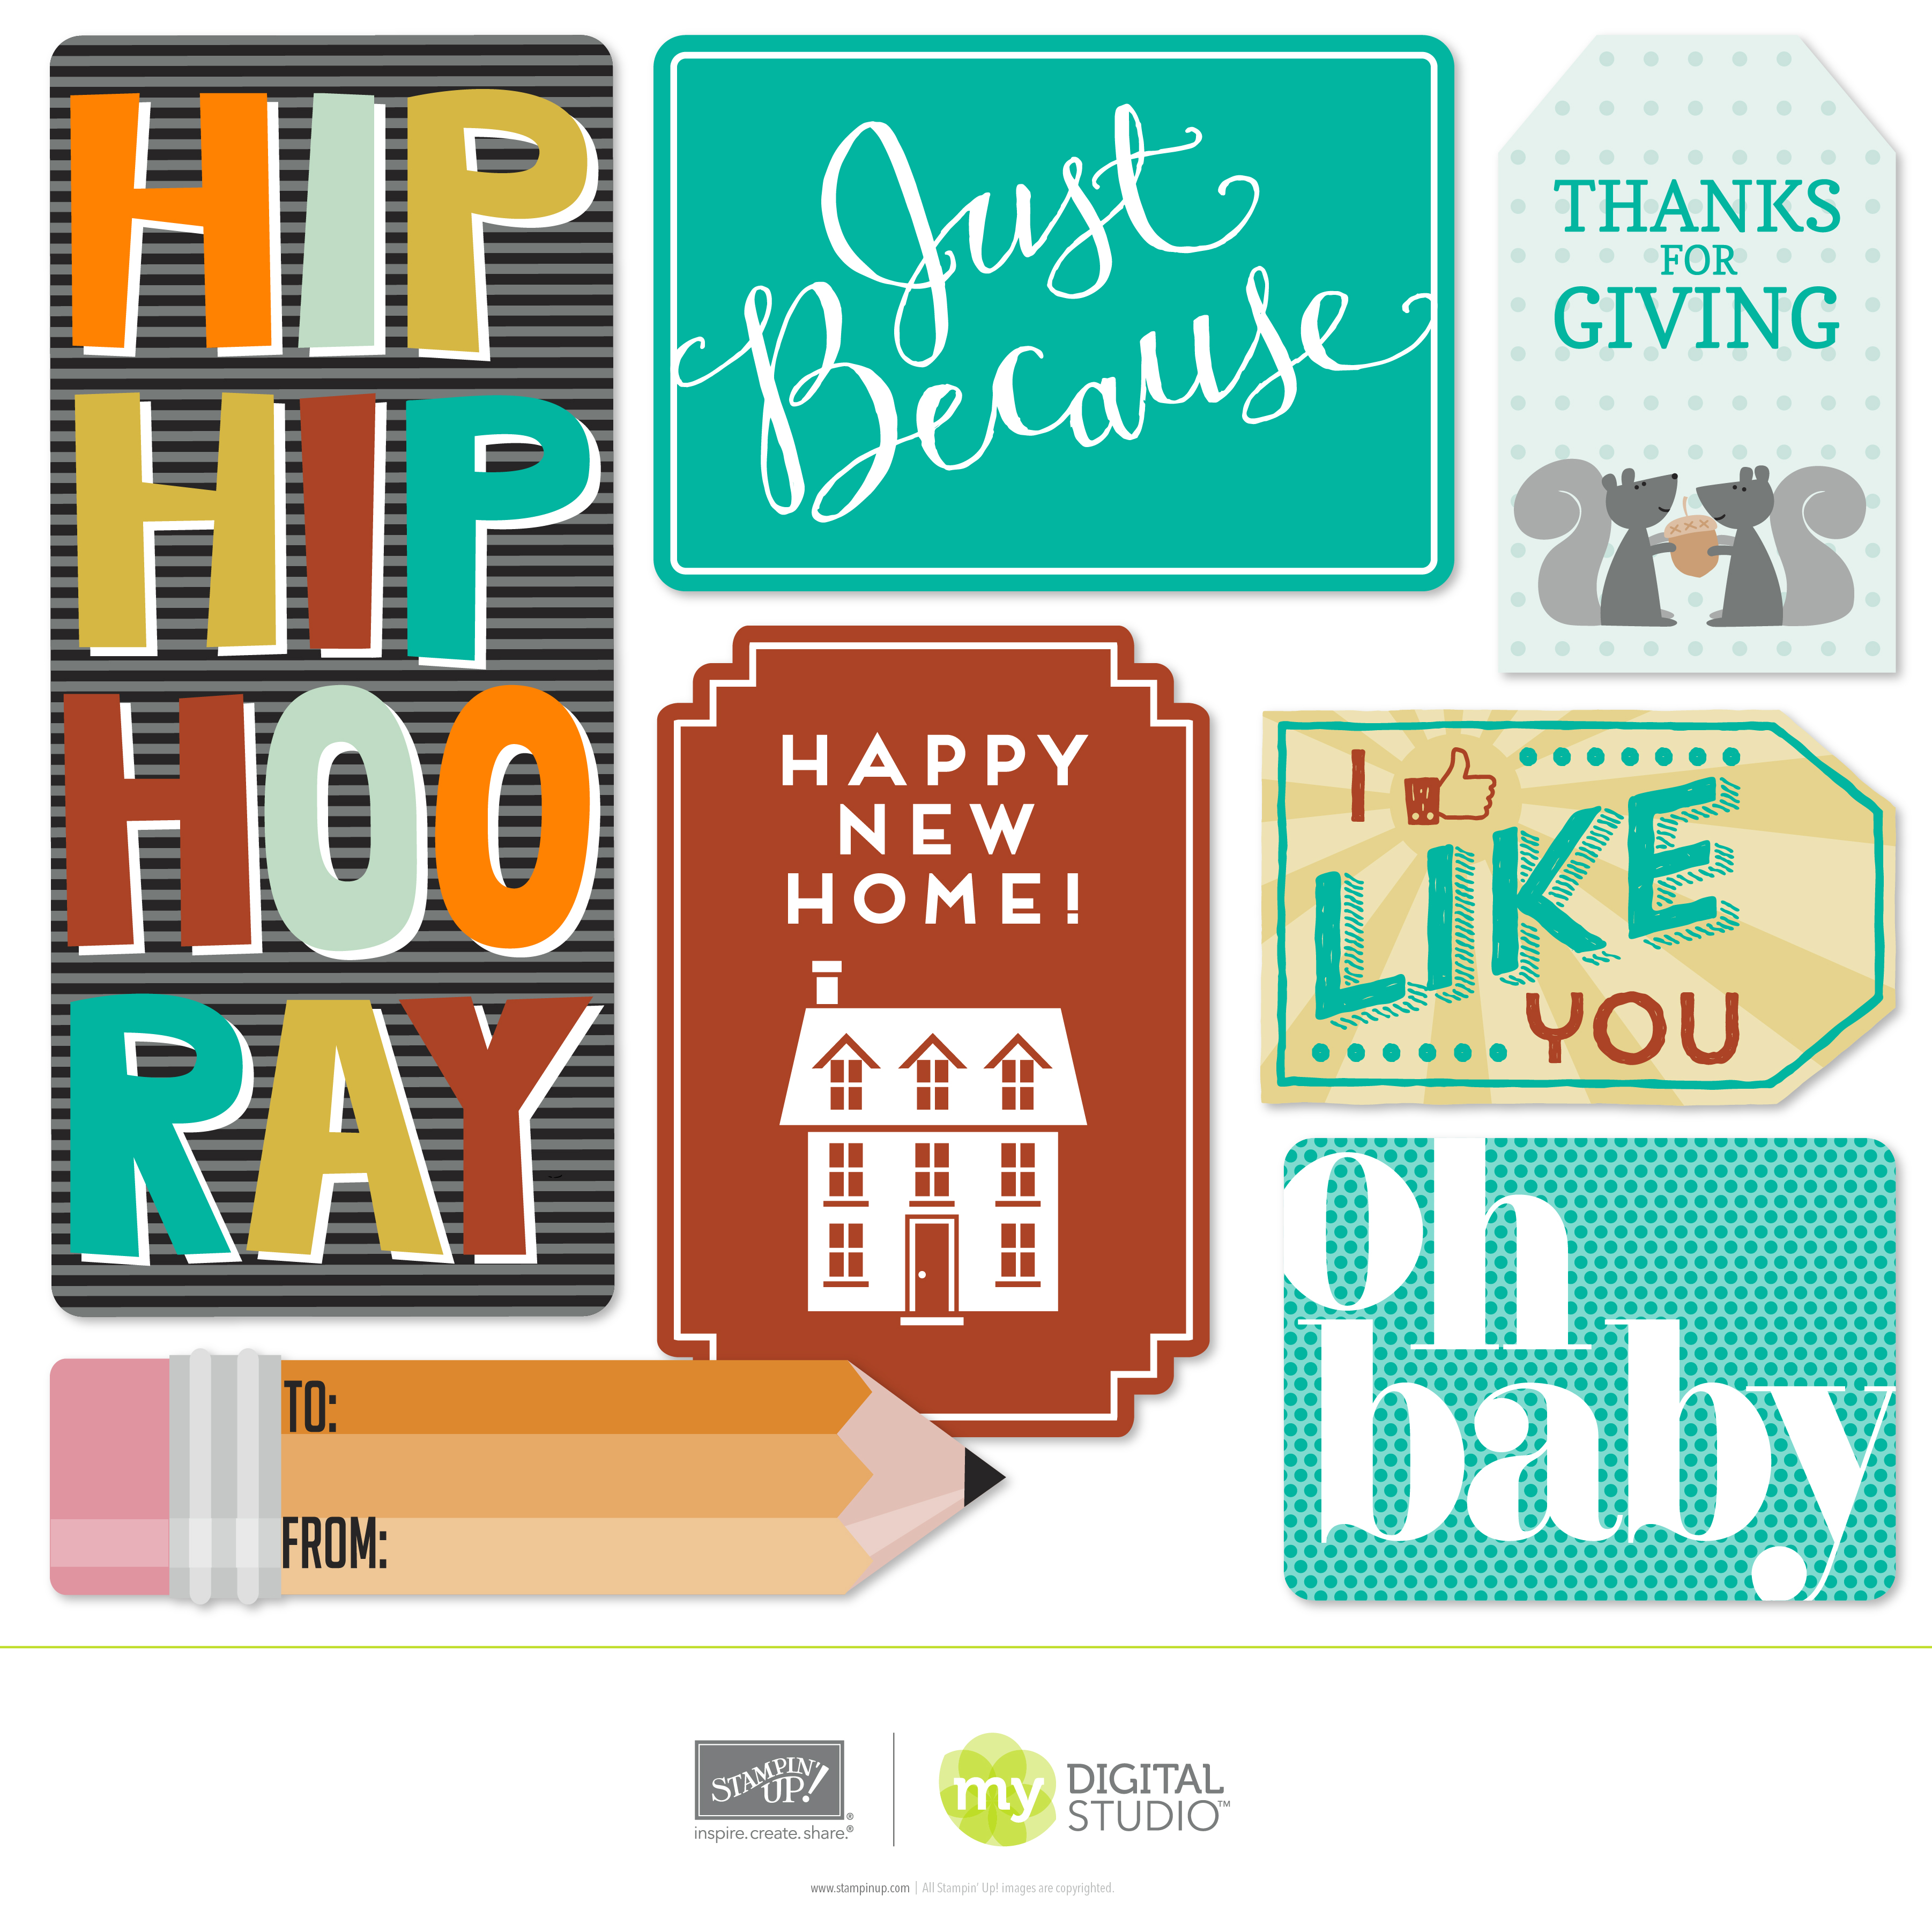
MDS Hooray for Tags Designer template

You’re going to love this week’s new additions – Click HERE to see them all

Click here to order your Stampin’ Up! Products online 24/7! (US only)
 

Magnificent Maple Extended Flip Card

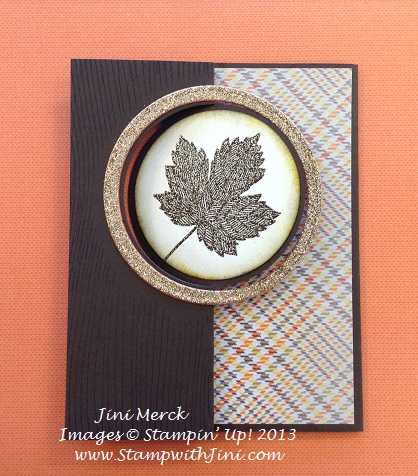
This past week a very special childhood friend of mine celebrated his 81st birthday and I wanted to make him a card he’d flip over – so I made this Magnificent Maple Extended Flip Card for him using our new Circle Card Thinlits Die and the Magnificent Maple single stamp from the Holiday Catalog.

Extended Flip Card front

I thought it would be fun to use the Circle Card Thinlits Die since it makes flip or swing cards so easy to make. And I couldn’t resist adding a bit of “bling” to make it extra special, since Dick has been like a second father to me over the years and always makes me smile. I love getting together with him and hearing his latest joke or funny story. I’m sorry to say it just doesn’t happen frequent enough now a days.

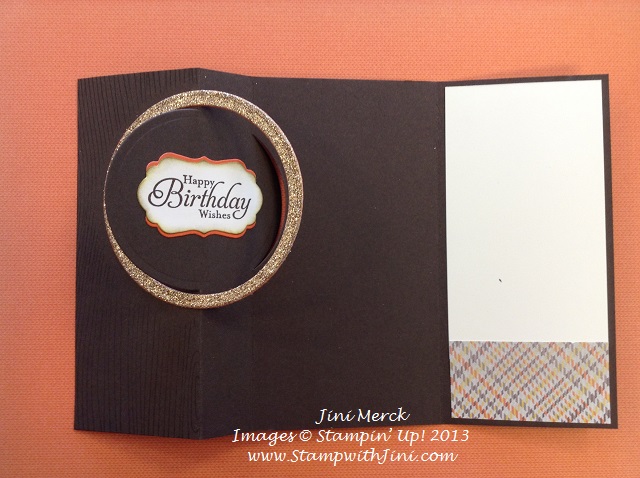
Extended Flip Card Open (1)

Because I wanted to have a little more room to sign this card I created this extended flip card. Want to know how I did it? I made a quick video to show you how – How to Make an Extended Flip Card.

And while I was at it I made a quick tutorial to show you how I created the extended flip card too. Hope you enjoy it!

Magnificent Maple Extended Flip Card Tutorial (PDF)

I think you’ll find these cards so much fun to make you’ll want both the Card Thinlits Dies. After all who can resist the Circle Card or Label Card Thinlits Dies and all the extra pieces they come with?

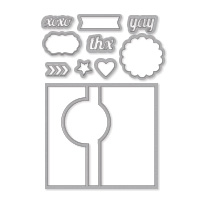
Circle Card Thinlits Die (133480)

Circle Card Thinlits Die image

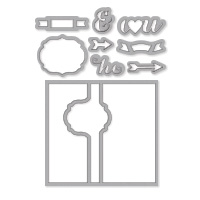
Label Card Thinlits Die (133479)

Label Card Thinlits Die image

Supplies:

Stamp Set: Magnificent Maple (131868), Woodgrain Background (128763/127808), and Simply Sketched (Hostess Set 129669/129672)

Ink: VersaMark (102283), Early Espresso (126974), and Crushed Curry Classic Ink (131173)

Cardstock: Sweater Weather Designer Series Paper (132184), Champagne Glimmer Paper (127885), Early Espresso (119686), Very Vanilla (101650), and Tangerine Tango Card Stock (111349)

Accessories: Circle Card Thinlits Die (133480), Circle Collection Framelits (130911), Early Espresso Embossing Powder (128980), Gold & Silver Stampin’ Glitter (132205), Heat Tool (129053), 2 ½” Circle Punch (120906), and Stampin’ Sponges (101610)

Click here to order your Stampin’ Up! Products online 24/7! (US only)
Mystery Hostess Code

Use Mystery Hostess Code 64XT62GT when placing your order and your name will be entered into my Mystery Hostess Drawing. This Mystery Hostess Code 64XT62GT will be good through Saturday, October 5th. The number of hostess will depend on the total sales and I’ll be drawing a hostess for every $150 in sales.

Click Here to learn more about using the Hostess Code

Holiday Catalog Premiere Party

Christmas Open House Banner Rescheduled

Click HERE to see my flyer with all the details

Want to learn more about stamping? Why not sign up for my FREE Newsletter and Class Information. (Just look for the sign up box above on the right or click HERE). Sign up and get a FREE Pinwheel Tutorial just for joining. Then you’ll get my FREE emails with great information on what is going on with Stamp with Jini along with helpful hints and tips.

Modern Medley Colored Cork Board

Great news – my videos are back. After a break due to camera problems I think I’ve finally got it figured out. So here is my latest project that I’ve been wanting to share with you.

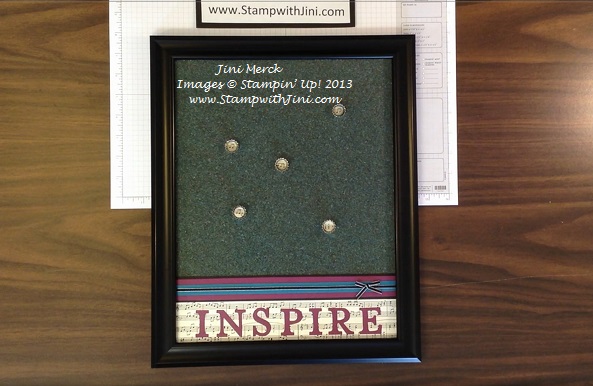
adding color to corkboards-001

I created this Colored Cork Board as part of my daughter’s message center for above her dorm room desk. When I started this project I figured I’d just use the cork board as it was but then I really wasn’t happy with the look – so after a little experimenting I came up with this technique for Adding Color to Cork Boards. It’s a lot of fun – so why not check it?

I finished up my Modern Medley Cork Board by decorating it and then added some push pins to hang things with. I made these push pins using some of our Modern Medley Designer Series Paper that I added to our little Bottle Caps (from the Spring Catalog) that I had laying around my studio. Then I just topped the Designer Series Paper with a little of our Crystal Effects allowed them to dry and Voila’ – A cork board that I’m my daughter is tickled with.

Here is a close up of the focal point.

Cork Board closeup

Do you like it? Why not leave me a comment and let me know what you think of my latest video and camera. I’m happy with it and still have some learning to do, but I think it has a little better sound quality. How about you?

If you like this project – Why not sign up for my monthly Newsletter where you’ll get tips and projects monthly delivered directly to your inbox along with my class event schedule. Or you can sign up for my Blog News and get my blog posts delivered right in your email as soon as they post. Want to get both? That’s great – just sign up for both. It’s free so why not? Click HERE to sign up today and get a FREE Pinwheel Tutorial!

Want to see the coordinating Dry Erase Board I made click here. Then  check back next week when I’ll be showing you all the finished projects in her dorm.

Supplies:

Paper: Modern Medley Designer Series Paper (126926), Island Indigo (122923), Rich Razzleberry (115316) and Basic Black Card Stock (121045)

Accessories: Island Indigo Classic Ink Refill (122932), Stampin’ Spritzer (126185), Big Shot (113439), Typeset Alphabet Bigz Dies (127553), Frame and Cork Board

Click here to order your Stampin’ Up! Products online 24/7! (US only)
Use Mystery Hostess Code WSCBPMPF when placing your order and your name will be entered into my Mystery Hostess Drawing. This Mystery Hostess Code WSCBPMPF will be good through Saturday, September 14th. The number of hostess will depend on the total sales and I’ll be drawing a hostess for every $150 in sales.

Click Here to learn more about using the Hostess Code

Holiday Catalog Premiere Party

Holiday Catalog Premiere Party Banner

Click HERE to see my flyer with all the details

NEW Items Added to Clearance Rack

Clearance Rack

Great news – lots of new items have been added to the Clearance Rack as of yesterday. Shop today and get some wonderful deals on some great items. If you are a Big Shot lover there are even some don’t want to miss dies available!

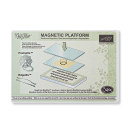
Magnetic Platform Now Available to Order

magnetic platform

Magnetic Platform Item #130658

The new Magnetic Platform for the Big Shot is finally available again. Whoo hoo! All backorders have been filled at this time and the order number has been turned back on. So why not order yours today along with your Clearance Rack items?

Click here to order your Stampin’ Up! Products online 24/7! (US only)
Creating Clouds with Stampin’ Spritzers Video Tutorial

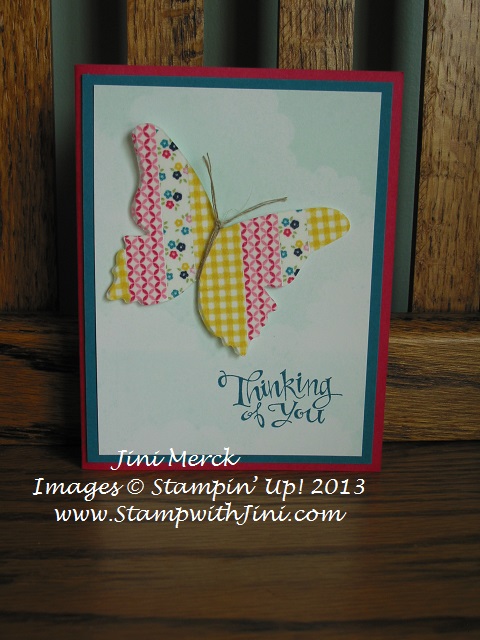
Wow, has it already been a couple of days since I shared with you? Today’s card was so much fun creating that I wanted to share it and a the Creating Clouds with Stampin’ Spritzers video I made with you before time slipped away again from me today – lol.

This card is one of my favorites that I’ve made recently since it uses one of my favorite products – the Stampin’ Spritzer (item 126185). I just have so much fun with these things I don’t want to stamp once I start.

Sassy Salutations Creating Clouds Video

Check out my video Creating Clouds with Stampin’ Spritzers  to see how I did it.

Supplies:

Stamp Set: Sassy Salutations (item 132070/126707)

Inks: Island Indigo

Paper: Mellon Mambo, Island Indigo and Whisper White

Accessories: 2 3/8″ Scallop Circle Punch (item 118874), 1 3/4″ Scallop Circle Punch,  1 1/4″ Scallop Circle Punch, Stampin’ Spritzer (item 126185), Pool Party Refill (item ) and Coastal Cabana Refill (item ), Gingham Garden Designer Washi Tape (item 129314), Linen Thread (item 104199), and Beautiful Butterflies Die (item 114507)

Click here to order your Stampin’ Up! Products online 24/7! (US only)
Buy 3 Get 1 FREE!

  July DSP promotion                     

For a limited time when you buy 3 packs of Designer Series Paper you can get one for FREE! Promotion ends July 31st

By the Tide Tutorial

I fell in love with our Stampin’ Spritzers when they came out last summer. Have you had a chance to use them yet? If not you’ll want to check out this great project today using the By the Tide stamp set (item 129117/129120) from the Spring Catalog that uses our Stampin’ Spritzers.

By the Tide card

Stampin’ Spritzer  (item 126185) are inexpensive and soo much fun to use! And Stampin’ Spritzers just seemed like a perfect way to create a wonderful background for these water images. Watch my video to see how I created this card.

Although this project uses two of the colors that are currently on our Color Refresh Retirement List (River Rock and Not Quite Navy) there is still time to get yours. (Remember that when colors retired they tend to go quickly so don’t wait too long to place your order.)

Want a FREE PDF Tutorial with all the instructions and supplies used to make this card? Just click on the link below to get your printable Free PDF Tutorial now.

By the Tide – Fun with Stampin’ Spritzer Tutorial PDF

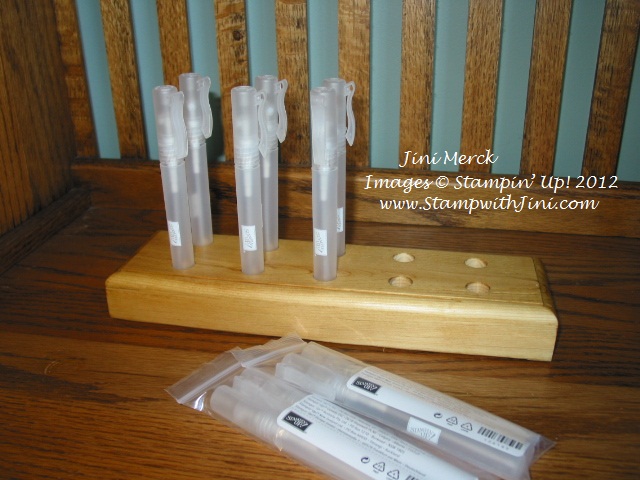
Did your eye spy the great Color Spritzer Stand that my son made for me? I love mine – it keeps everything so organized and easy to find. If you’d like one too click HERE to see more information.

color spritzer


Click here to order your Stampin’ Up! Products online 24/7! (US only)
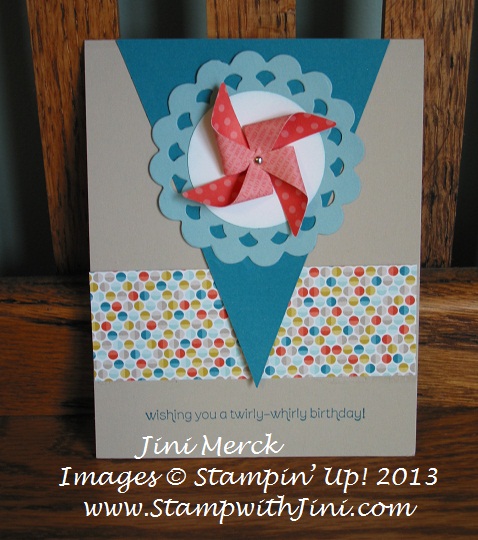
Pinwheel Wishes Tutorial

Have you ever wondered what happens at one of my monthly Blue Mountain Stampers’ Meetings? Well I thought I would share with you one of the projects we made during my February TEAM meeting.

Pinwheel Wishes Card

I’ve had several of you ask me if I knew any tricks on how to make these cute little pinwheels using our NEW Pinwheel Sizzlits Die from the Spring Catalog. They are sooo stinking cute, but they are small so they can be a challenge to put together if you don’t know a few tricks.

Since I made about 100 of them for my Leadership swaps in January I had plenty of time to try out different methods of putting them together. Today I thought I’d share with you what method worked best for me so I put together a Tips for Quick & Easy Pinwheels Video Tutorial to show you what I learned.

Want to make one of your own Pinwheel Wishes card? Well you can, just click Here for a FREE PDF TUTORIAL with measurements and directions just for you. I hope you have as much fun making these cute little Pinwheels as I did.

Have you ever thought of becoming a Demonstrator? Want to join the fun and become part of my TEAM? Sale-a-bration is a great time to join since we have a special promotion going on right now. Why not click HERE to learn more about becoming a Demonstrator and becoming part of my Blue Mountain Stampers’ Team. Warning – the fun is contagious! Let me know if you have any questions (stampwithjini@gmail.com) or would like answers to any questions you may have.

Don’t want to become a demonstrator? That’s ok you can join in all the fun during Sale-a-bration by hosting a party of your own! Or why not stop by for my FREE event Sale-a-bration Saturday on March 2nd! Click HERE to see my Calendar of Events for more information. Contact me today and we’ll find what works for you best.

Click here to order your Stampin’ Up! Products online 24/7! (US only)