Team Time with my peeps is always one of the best parts of the month – we have such fun together sharing and stamping together. Yesterday, we held our monthly Team Meeting, so today I thought I’d share with you some of the wonderful projects that I’ve received during swaps from my team members.
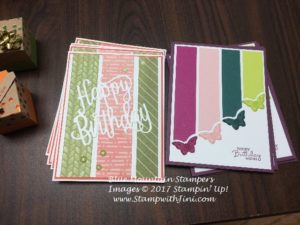
This first card Deborah made using the Colorful Seasons Bundle (145348) of products.
And this card was made using the Mabel Me Pretty Bundle (145304/145305)
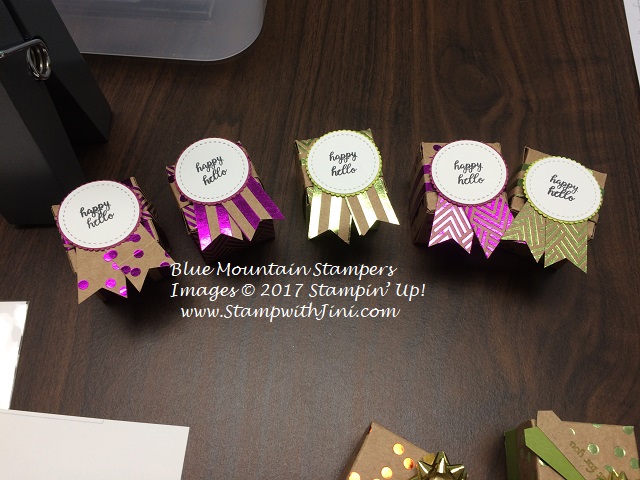
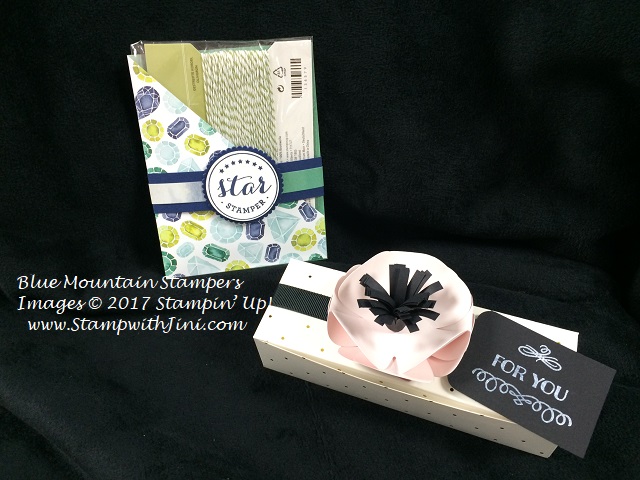
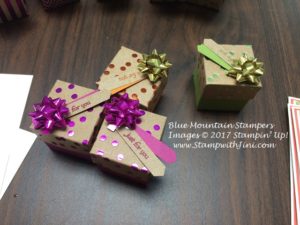
A couple of cute little boxes using the Foil Frenzy Specialty Designer Series Paper (144125)
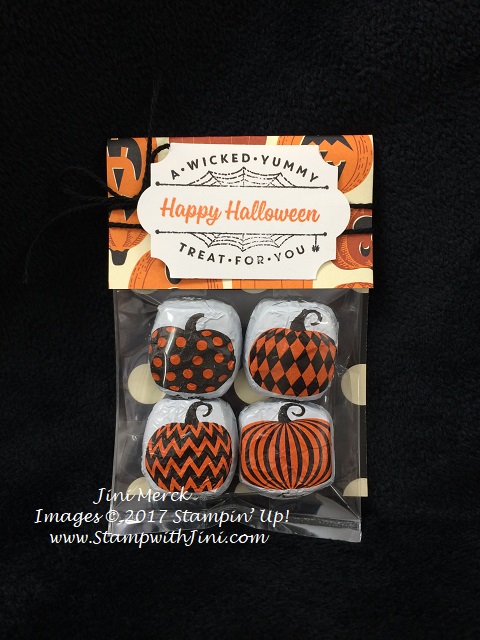
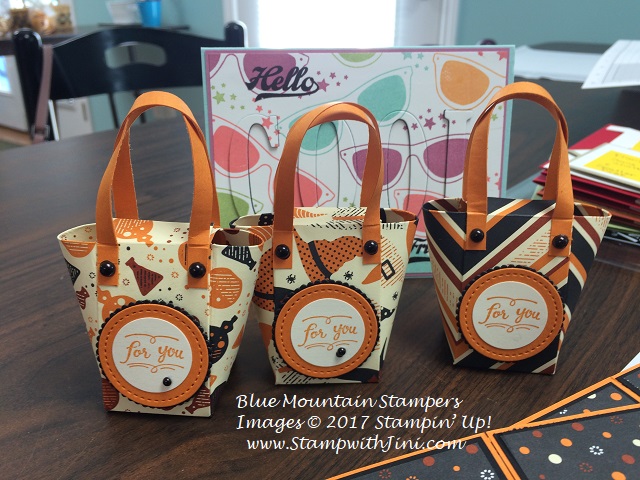
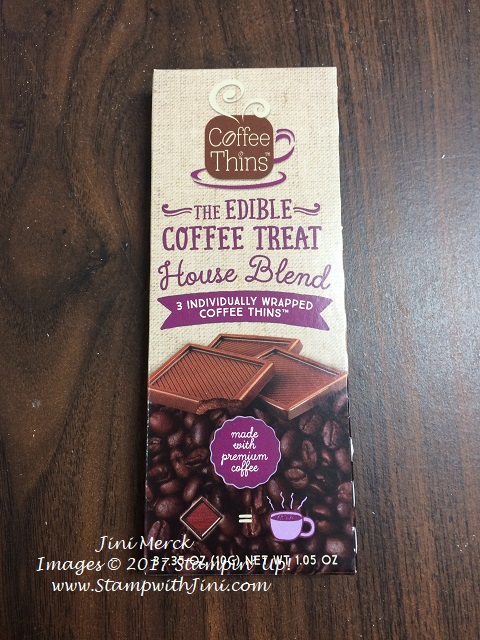
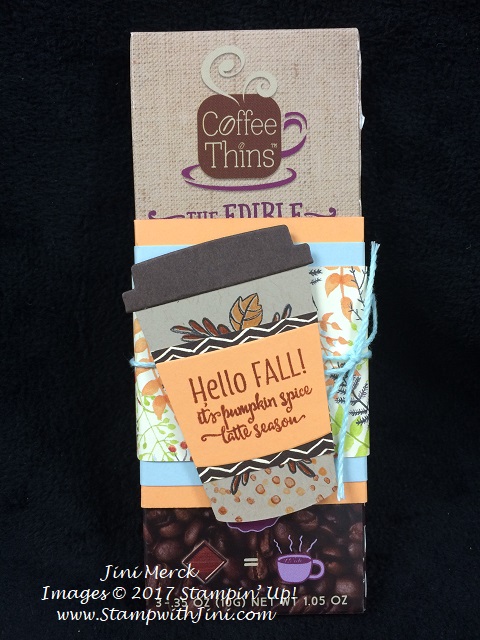
And a bag using the Spooky Night Designer Series Paper (144610) and the Wood Words Stamp (143925/143928) set currently on sale during our World Card Making Day promotion.

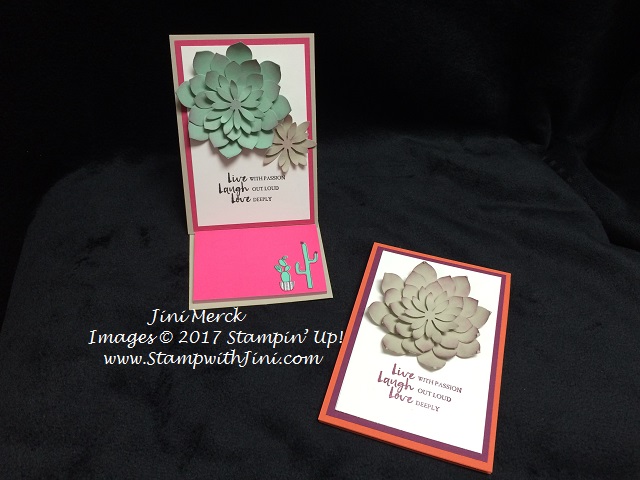
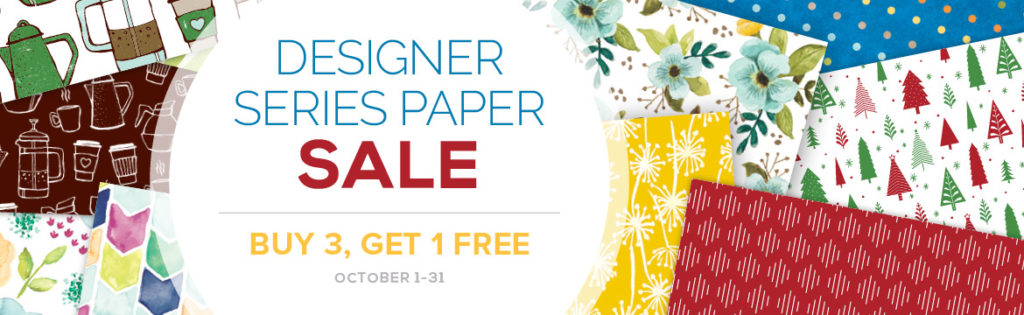
And I love how our Multipurpose Adhesive sheets (144106) make this Birthday Thinlits Die (143700) so easy to use! This card has a soft watercolor feel to it since it was teamed up with our Delightful Daisy Designer Series Paper (144137) that is part of our Buy 3 Get 1 FREE Designer Series Paper promotion.
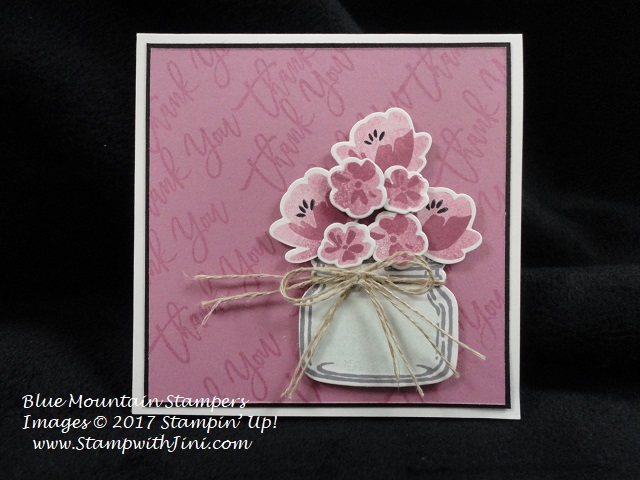
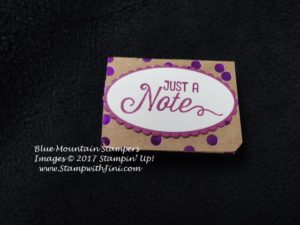
This little square card was made using the Jar of Love (141587) and coordinating Everyday Jars Framelits Dies (141490) Isn’t it adorable?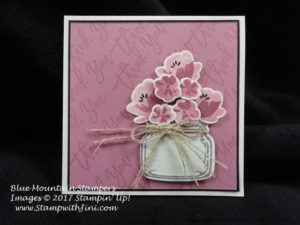
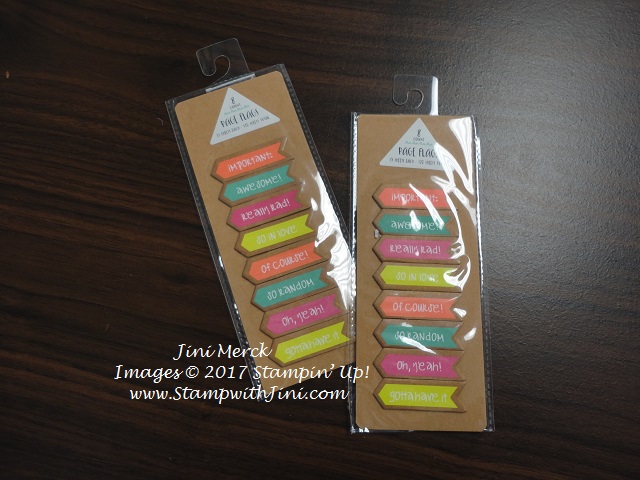
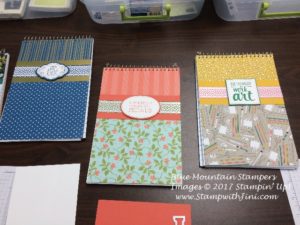
Love Designer Series paper? How about decorating some note pads like Cindy did? I couldn’t pick a favorite – how about you? You can get your favorites this month during our Buy 3 Get 1 Free Designer Series paper promotion.
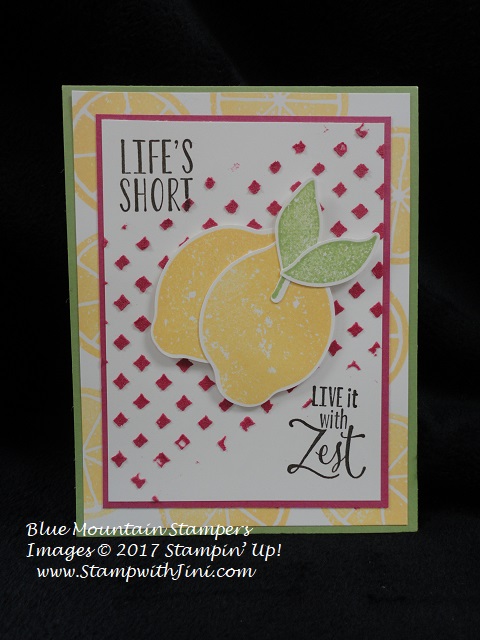
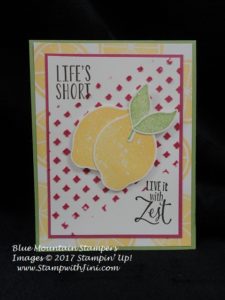
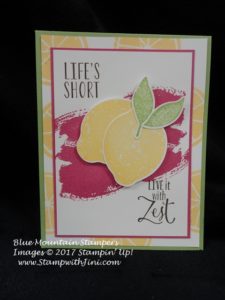
And here is the Lemon Zest stamp set (143805/142808) – we got to play with the Embossing Paste (141979) and even added color to it with a Rose Red reinker. How cool is that?
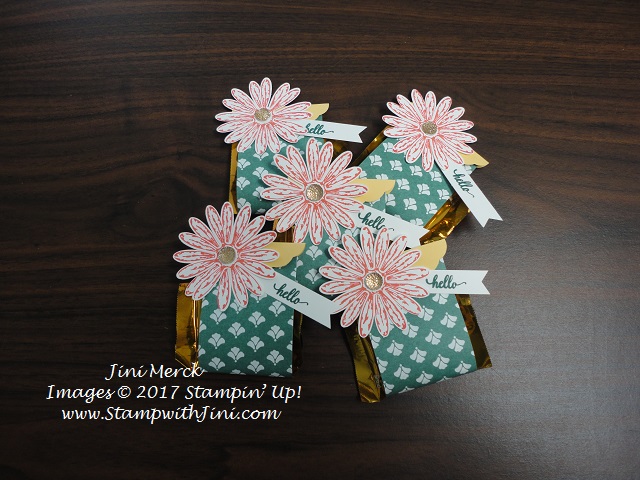
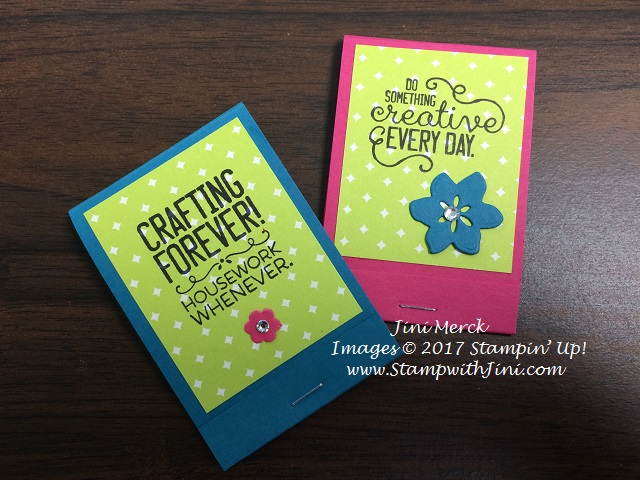
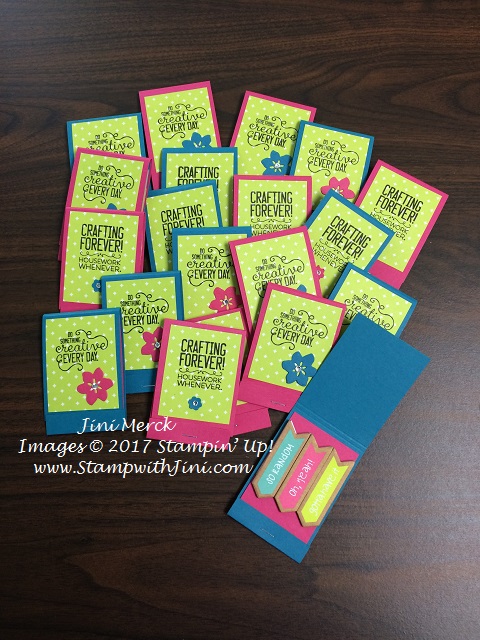
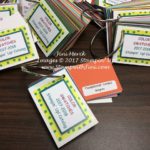
And finally here is a cute little post it note holder that Cindy made for everyone at the Peak Princess event using the Foil Frenzy Specialty Designer Series Paper (144125). This stuff is great for a project like this since it is a bit heavier weight kraft paper.
Whew! Lot’s of great projects and inspiration shared – right?
Celebrating with Peak Princess Day
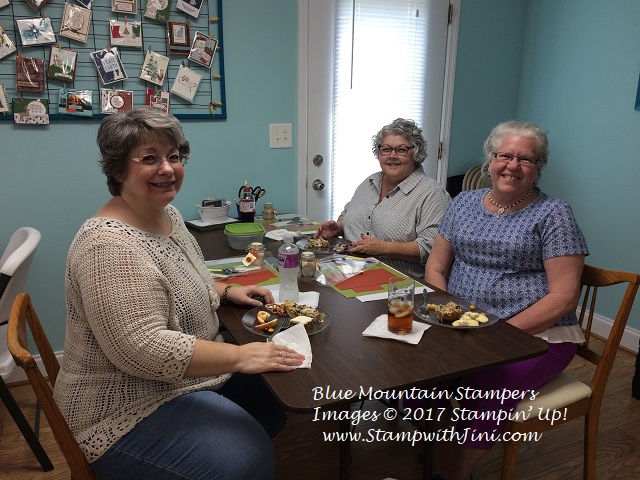
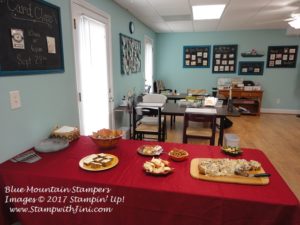
We also had a special event last month – it’s a day of pampering that I do twice a year, I call it my Peak Princess event – after all we are Blue Mountain Stampers. LOL! We had our largest group qualify this time – 8 in total.
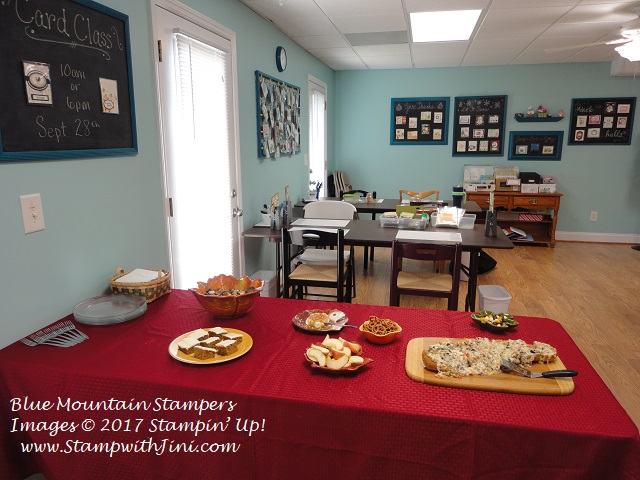
I love to make special appetizers and treats for everyone to enjoy. So we always begin these events with some time enjoying some goodies and sharing.
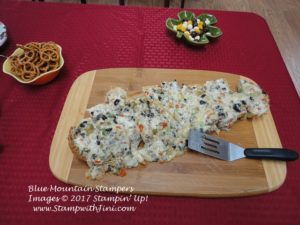
And this time the Olive Bread was a huge hit! So I thought I’d share the recipe with you too. It’s really yummy – my guys were tickled they got some too! (Just a tip cut the bread evenly so the cheese doesn’t melt and slide down one side. This half was not the prettiest, but oh so good!)
Olive Cheese Bread
1 loaf French Bread
About 25 Mezzetta © Spanish Queen Pimento Stuffed Olives
6 oz. can of Black Olives, drained
2 stalks Green Onions (scallions)
1 stock Butter, room temperature
1/2 c. Mayonnaise
3 c. Monterey Jack Cheese, grated
Roughly chop both black olives and pimiento stuffed olives. Slice green onions into thin pieces. Combine butter mayonnaise, cheese, olives and green onions in a mixing bowl. Stir together until thoroughly combined.
Spread mixture thickly onto French bread that has been sliced lengthwise. Bake at 325 degrees for 25 to 30 minutes or until cheese is melted and browning.
Mixture can also be made in advanced and refrigerated for up to 2 days.
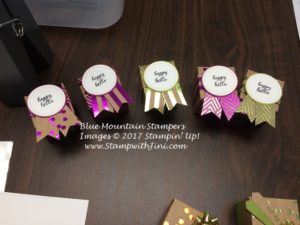
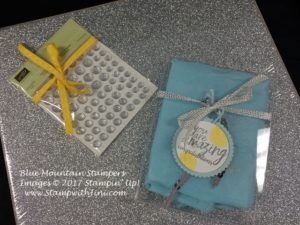
We also get to celebrate and recognize achievements with team gifts.

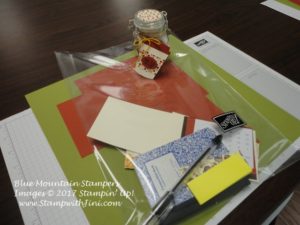
And we make projects too so everyone had a make ‘n take packet ready for them – after all we love stamping together!
Would you like to have a group of friends that share your passion for paper crafting? Would you like a discount on your favorite products? Why not become a Blue Mountain Stamper and be a Happy Shopper too! Click HERE to learn what being a Blue Mountain Stamper is all about.

Whoo Hoo! Coming Soon Stampin’ Blends Markers
Stampin’ Blends are artist-quality alcohol markers in 12 exclusive Stampin’ Up! colors. I’ve am sooo looking forward to getting my hands on these new alcohol markers! Right now…Demonstrators get to purchase them during an early-release!
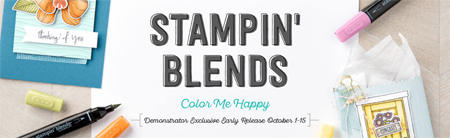
HOW DO YOU GET YOURS NOW?
- The Customer launch date has not been announced yet.
- So if you’re someone who wants them now, why not join my team, The Blue Mountain Stampers?
- You will be able to get the 26 Markers NOW (including the Color Lifter, Bronze and Ivory Markers), when you choose the Stampin’ Blends to your Starter Kit for just $99 (choose a total of up to $125 of products), plus free shipping (for another 10% savings)! That’s a fantastic deal!!!
- NOTE: Only available to demonstrators during the early release period of October 1-15. It’s easy to become a happy shopper and be a Demonstrator!!!
Still have a questions? Feel free to call or email me me. I’d love to have you join in the fun and become a Blue Mountain Stamper!

Click here to order your Stampin’ Up! Products online 24/7! (US only)
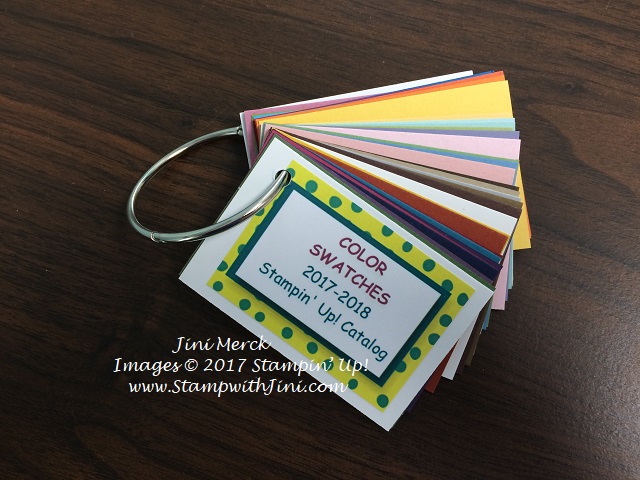
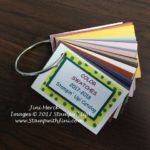
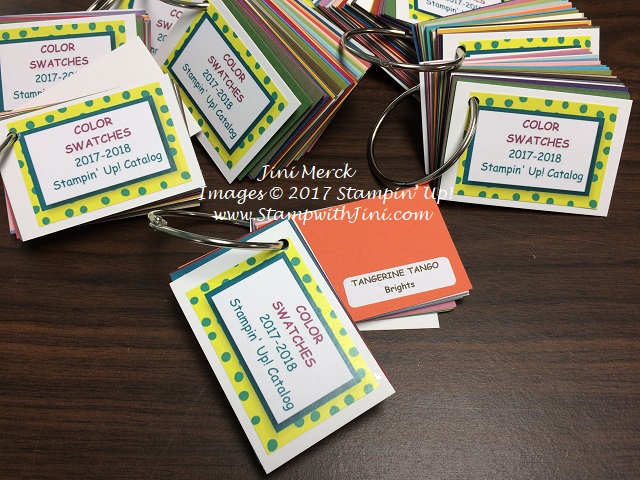
Shop at my Online Store and use Hostess Code RDZGJVPC during October and receive a free gift from me with a qualifying order of $50 or more in product! You’ll receive my 2017 Color Ring with a swatch of all 50 current colors all on a convenient ring!
Click Here to learn more about using the Hostess Code If you order Online make sure your profile information is up to date and you’ve allowed me to contact you so I can mail you your FREE gift!
Save
Save
Save
Save
Save
Save
Save
Save
Save
Save
Save
Save
Save
Save
Save
Save
Save
Save
Save
Save
Save
Save
Save