
I made this cute little treat box using the Spring Sampler Stamp Set (item 125510/125512). I knew when I saw this set in the Spring Catalog I just had to have it – it’s so me. I could picture making quick and easy treats for all kinds of occasions.
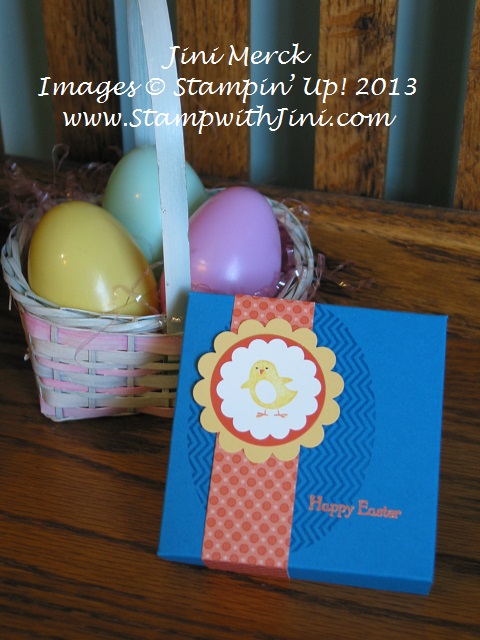 I think the images in the Spring Sampler Stamp Set are just too cute! How about you?
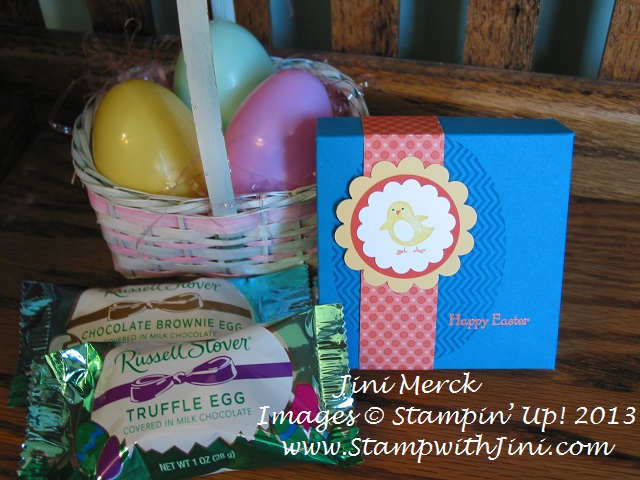
Here is the Treat Box we made as a project during my March Blue Mountain Stampers meeting. We had a lot of fun thinking of different things (mostly chocolate) that we could put in the box. This time we filled them with these yummy eggs (They come in all kinds of flavors and remind me of those I got as a child.) Shhh… don’t tell my family. They’ll be finding theirs in their rooms Easter morning. I think my hubby will love the cookie dough egg I picked out for him!
We had so much fun making these quick and easy Treat boxes I thought you’d enjoy making them too for your friends and family. So why not check out my new video below – Spring Sampler Treat Box.
You can Click HERE to print or download your copy of my
FREE Spring Sampler Treat Box Tutorial PDF
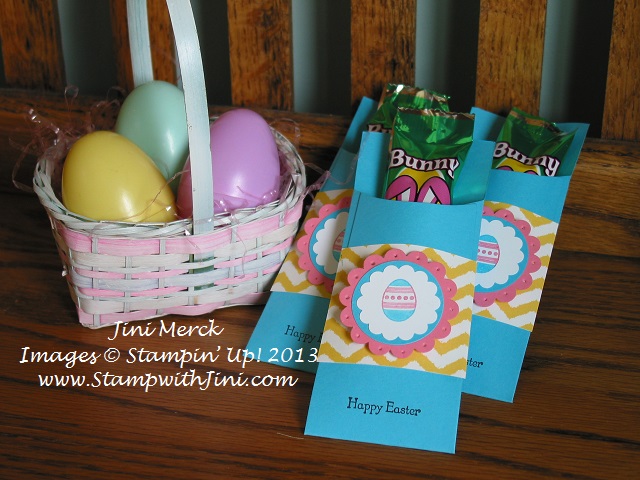
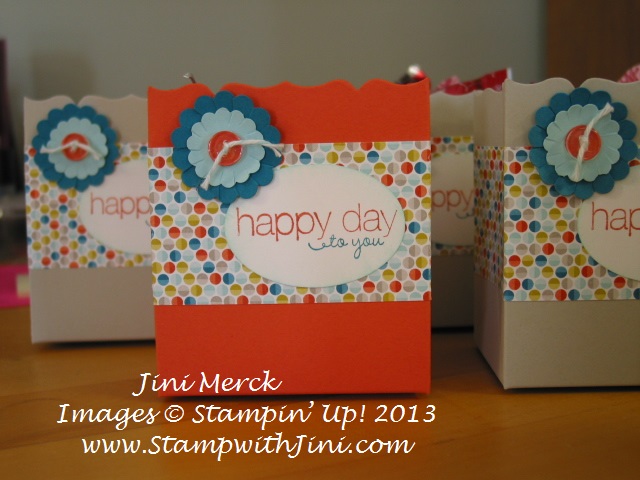
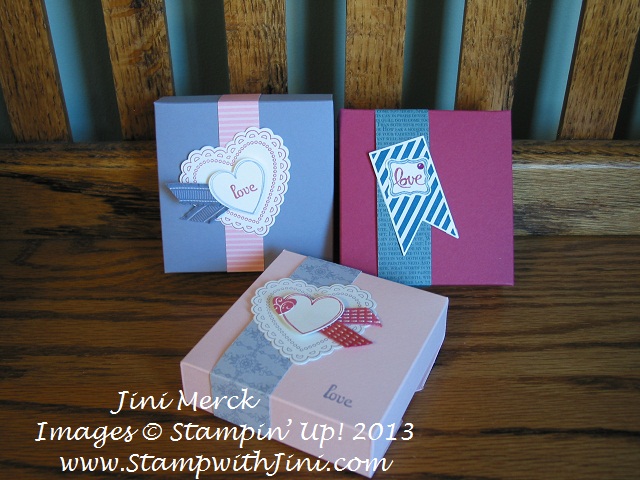
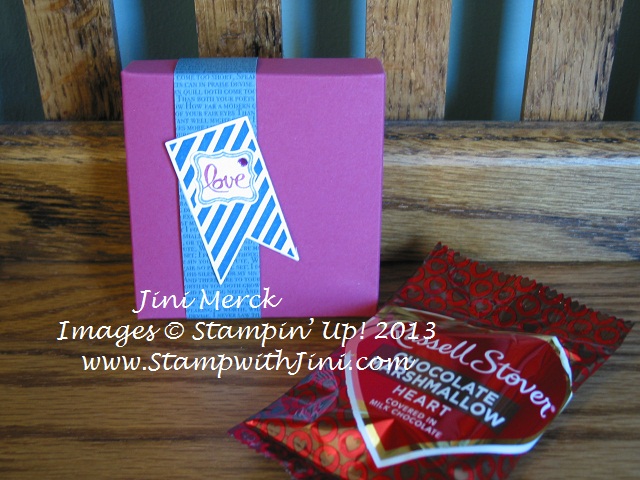
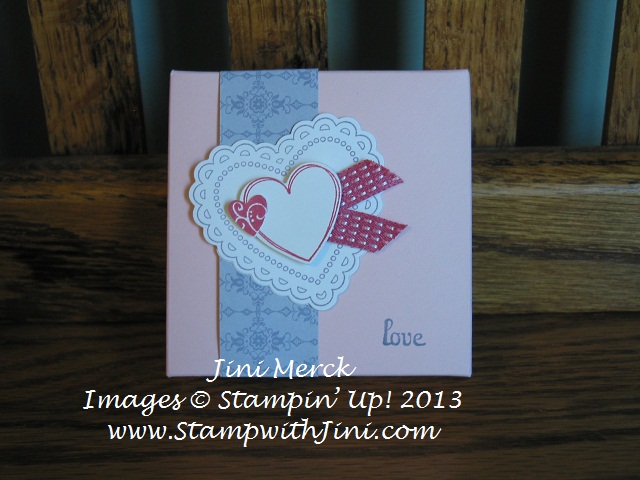
Want to see my Valentine Treat Boxes? Click HERE to see my earlier post. You can also click HERE to see the treats I made using the Spring Sampler set recently using the Petite Pocket Die.
Leave me a comment and let me know if you are enjoying my videos and tutorials. Would you like to see them more than every other week? Maybe once a week would be better? I’d love to hear what you think.
Click here to order your Stampin’ Up! Products online 24/7! (US only)


")

")
