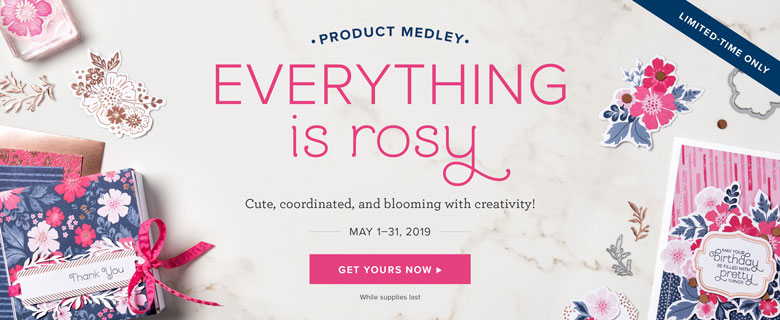
Stampin’ Up! is introducing a new kind of product today called a Product Medley and the response on this has been amazing! This exclusive, limited-time collection of coordinating, petal-packed products has everything you need to let your creativity bloom.
This special offering is available only through the month of May, and only while supplies last. Order yours today, since I have a feeling it won’t last long at all.
What is included in this Product Medley?
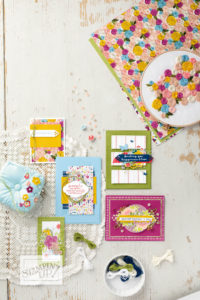
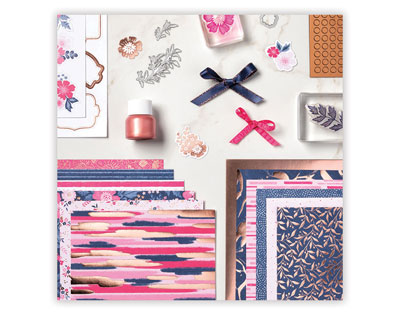
The Everything Is Rosy Product Medley includes these exclusive products:
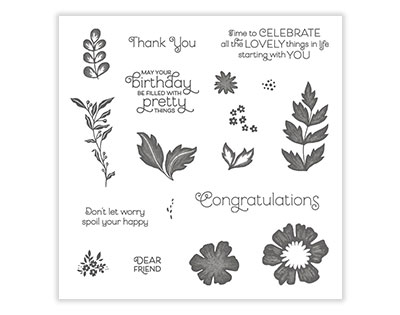
- Everything Is Rosy Photopolymer Stamp Set—18 stamps; suggested blocks: a, b, c,
- Everything Is Rosy Dies—10 dies; largest die 2-7/8″ x 1″ (7.3 x 2.5 cm)
- 6″ x 6″ (15.2 x 15.2 CM) Designer Series Paper Stack—48 sheets; 8 each of 6 double-sided designs
- 6″ x 6″ (15.2 x 15.2 CM) rose gold foil paper—8 sheets
- Printed die cuts—2 sheets
- Rose gold die cuts—4 sheets; 2 each of 2 designs
- Rose gold adhesive backed mirror embellishments—60 embellishments; 1/4″ (6.4 mm)
- Melon Mambo 1/4″ (6.4 mm) Ruched Ribbon—10 yards (9.1 m)
- Night of Navy/Rose Gold 3/8″ (1 cm) Metallic –Edge Ribbon—10 yards (9.1 m)
- Rose Gold Shimmer Paint—1/2 oz. (15 ml)
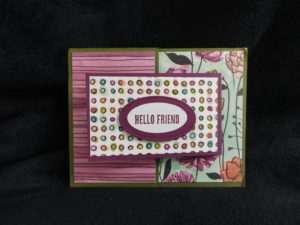
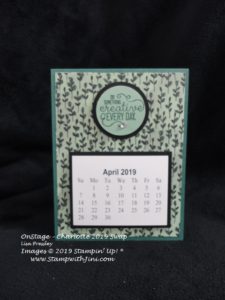
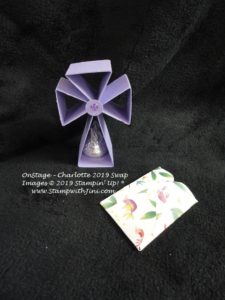
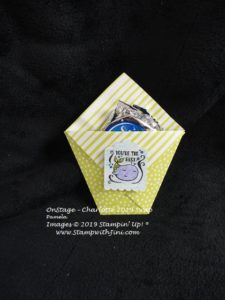
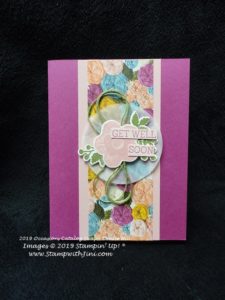
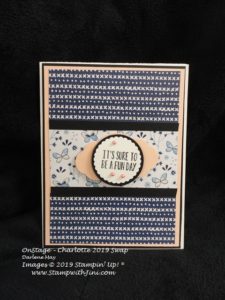
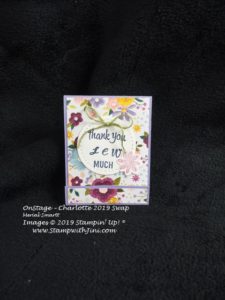
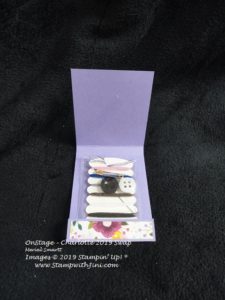
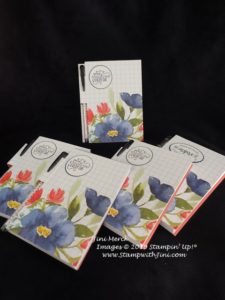
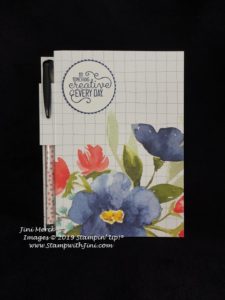
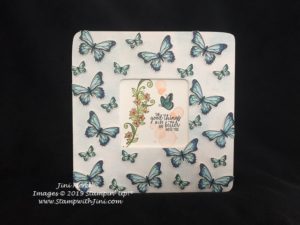
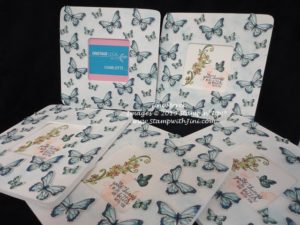
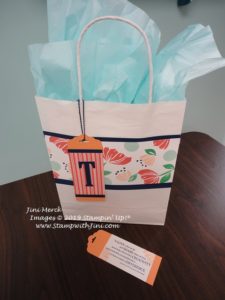
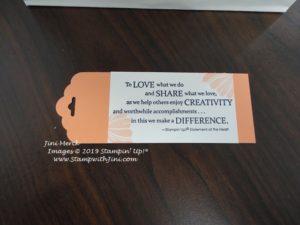
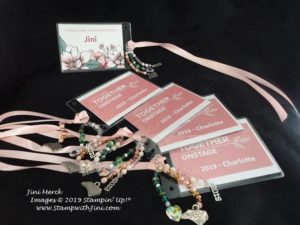
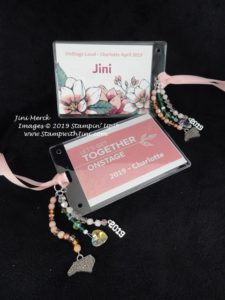
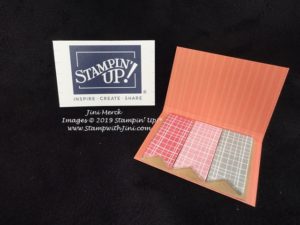
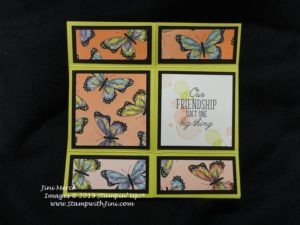
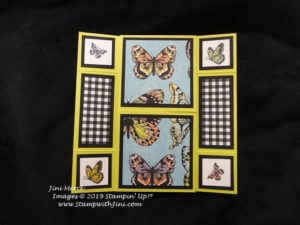
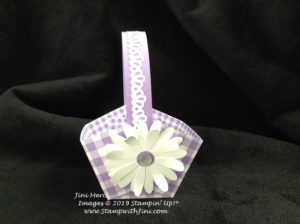
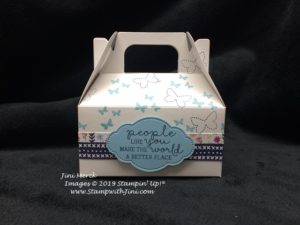
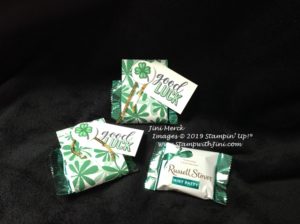
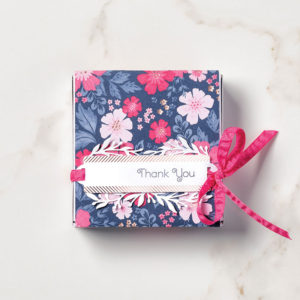
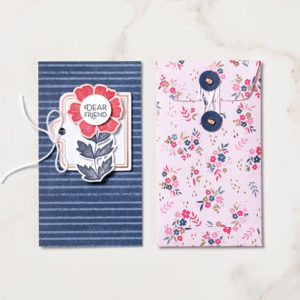
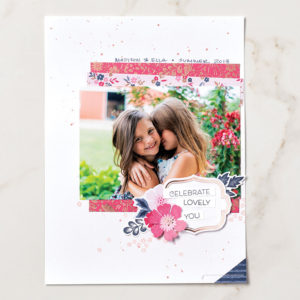
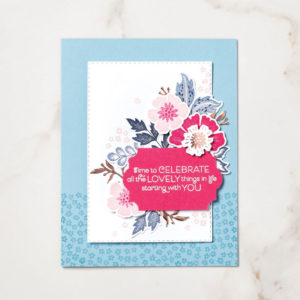
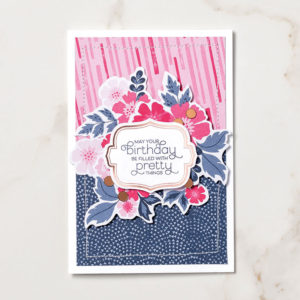
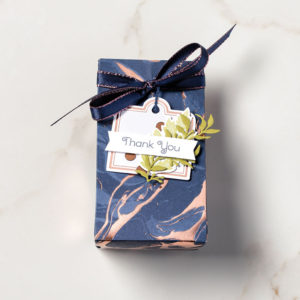
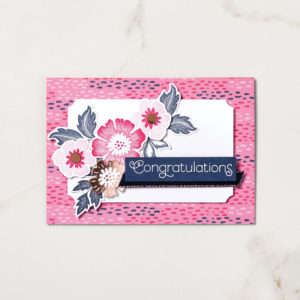
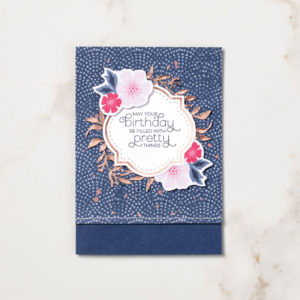
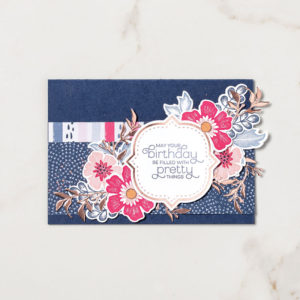
And here are some wonderful projects made using the Everything is Rosy Product Medley.


Here is a quick video for you so you can see the medley – photos just don’t do it justice!
Here’s the fine print:
Sales Period: May 1–31, 2019
- The Everything Is Rosy Product Medley will be available for purchase until May 31, 2019—or while supplies last.
- No order limits apply to the Everything Is Rosy Product Medley during the sales period.
- The Everything Is Rosy Product Medley is eligible for Stampin’ Rewards with qualifying orders.
- The Everything Is Rosy Product Medley may be added to a Starter Kit.
Here is a PDF if you want to print a copy
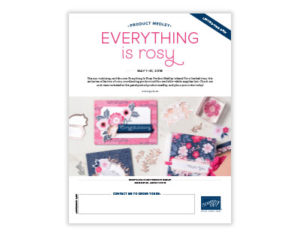
Everything is Rosy Product Medley Item # 150059 $80
Why not Order yours today?

Click here to order your Stampin’ Up! Products online 24/7! (US only)
Shop at my Online Store and use Host Code GXJ4CGDM
Click Here to learn more about using the Hostess Code If you order Online make sure your profile information is up to date and you’ve allowed me to contact you (If you chose no contact in the past you’ll need to call 1-800-Stamp Up to have them change your profile for you.)
The Annual Catalog is right around the corner and I won’t be able to mail you one if you have chosen no contact.
Sign up for my FREE Newsletter My Newsletters include stamping tips, tutorials, ideas and Classes!