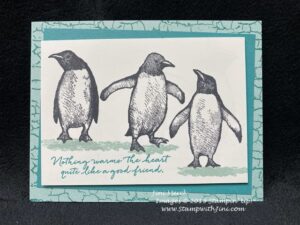
It’s time for another card tutorial! I created this little card for my Team Winter Retreat Shoe Box Swap a couple of weeks ago and set it aside to share with you.

Unfortunately, it got buried on my desk. I tend to set things in a safe place so that I can find them later. And then well, can’t. lol, Do you ever have that problem? Well you’re in luck since today I found the card and I’m sharing this project along with some of the other Shoe Box Swaps that I made too.
Here is a quick video tutorial for you and the PDF with a complete supply list.
Little Ladybug Card Video Tutorial
.
Little Ladybug Card Video Tutorial PDF
Enjoy! And don’t forget if you love this set as much as I do you can earn it for free! It’s a special host gift during Sale-a-bration. Contact me today so you can get yours!
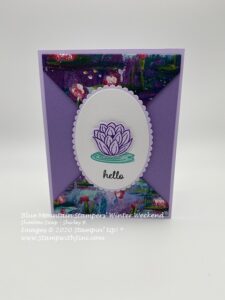
And here are some of the fun Shoe Box Swaps that I made during the Winter Weekend Retreat. This first card uses three of our lovely Sale-a-bration items the Lily Impressions Designer Series Paper (152284) and the Lovely Lily Pad stamp set (152288) with their coordinating Lily Pad Dies (152315)
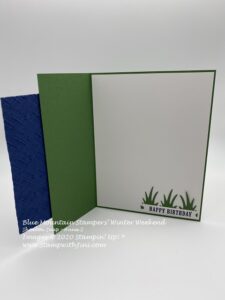
This next card uses one of our great masculine choices from the Mini Catalog, Clubhouse (151583) This stamp set is part of our Country Club Suite of Products (153930)
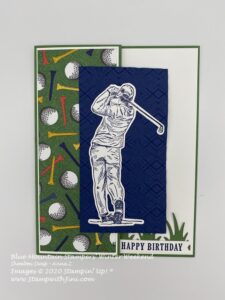
I love how the little tufts of grass and sentiment are placed on the inside panel.
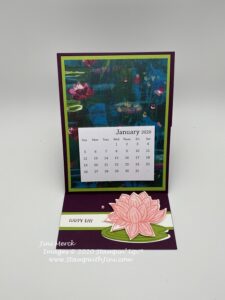
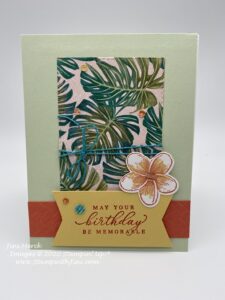
And how about this next card uses products from the Tropical Oasis Suite (153941)? They’ve been teamed up with the free Sale-a-bration Metallic Baker’s Twine & Sequin Pack (152314) that you can earn when you purchase the Timeless Tropical Bundle (153811).
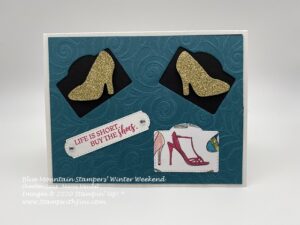
And a fun card uses our Best Dressed Suite (153926), after all who doesn’t love shoes?
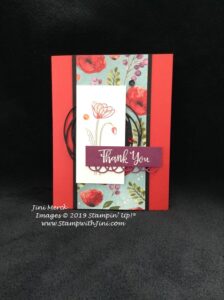
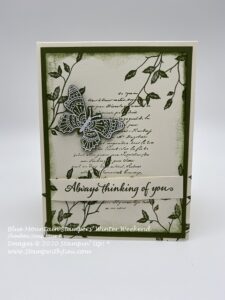
And finally this vintage feeling card uses the Very Versailles (149275) and Butterfly Gala (148580) stamp sets found in the Annual Catalog.
Whew. There was a lot of stamping going on during our 8th Annual Winter Weekend Retreat. It’s hard to believe I’ve been holding this event for my team for 8 years already! The time has flown by with a lot of sharing and laughter.
If this sounds like fun to you why not learn more about my team HERE. We love welcoming new stampers. Sale-a-bration is a great time to join with the extra stamp set of your choice, along with the Mini Trimmer and Designer Series Paper Sampler! Feel free to contact me if you have any questions.
Supplies:
Stamp Set: Little Ladybug (Sale-a-bration Bonus Host set 152384)
Inks: Memento Tuxedo Black Ink (132708), Poppy Parade (147275), Smoky Slate (145058) and So Saffron Stampin’ Blends Combo Pack (149557)
Paper: Brights Collection Designer Series Paper (149613), Poppy Parade (119793), So Saffron (105118), and Whisper White Card stock (100730)
Accessories: Starburst Punch (143717) and Layering Circle Dies (141705)