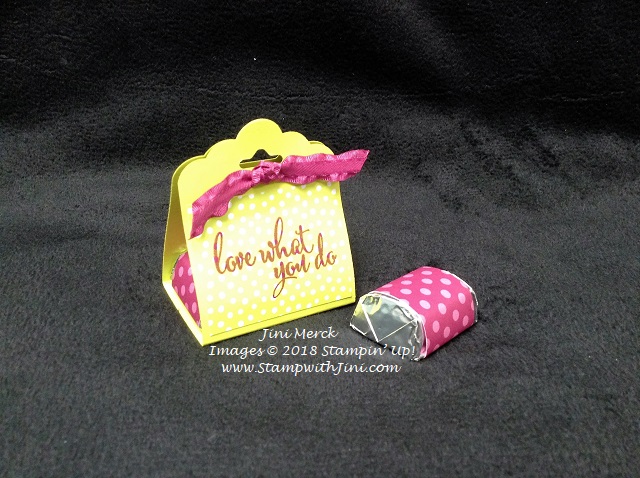
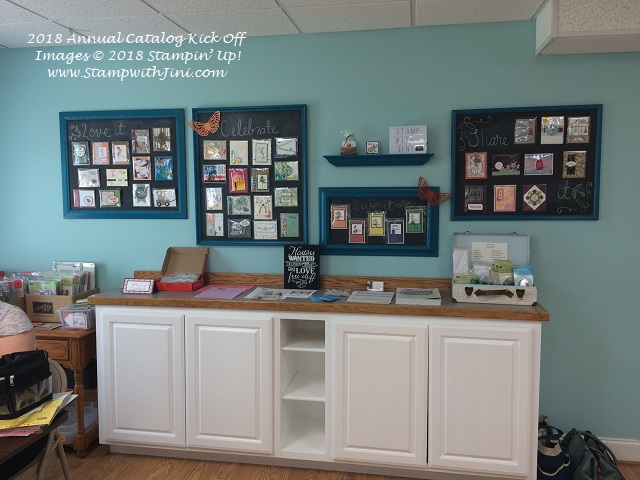
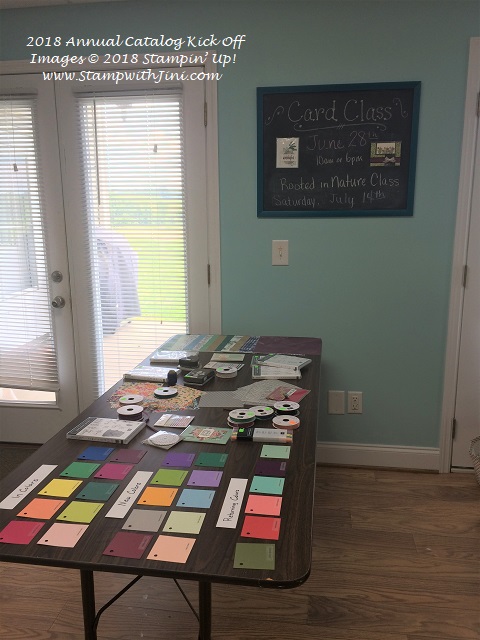
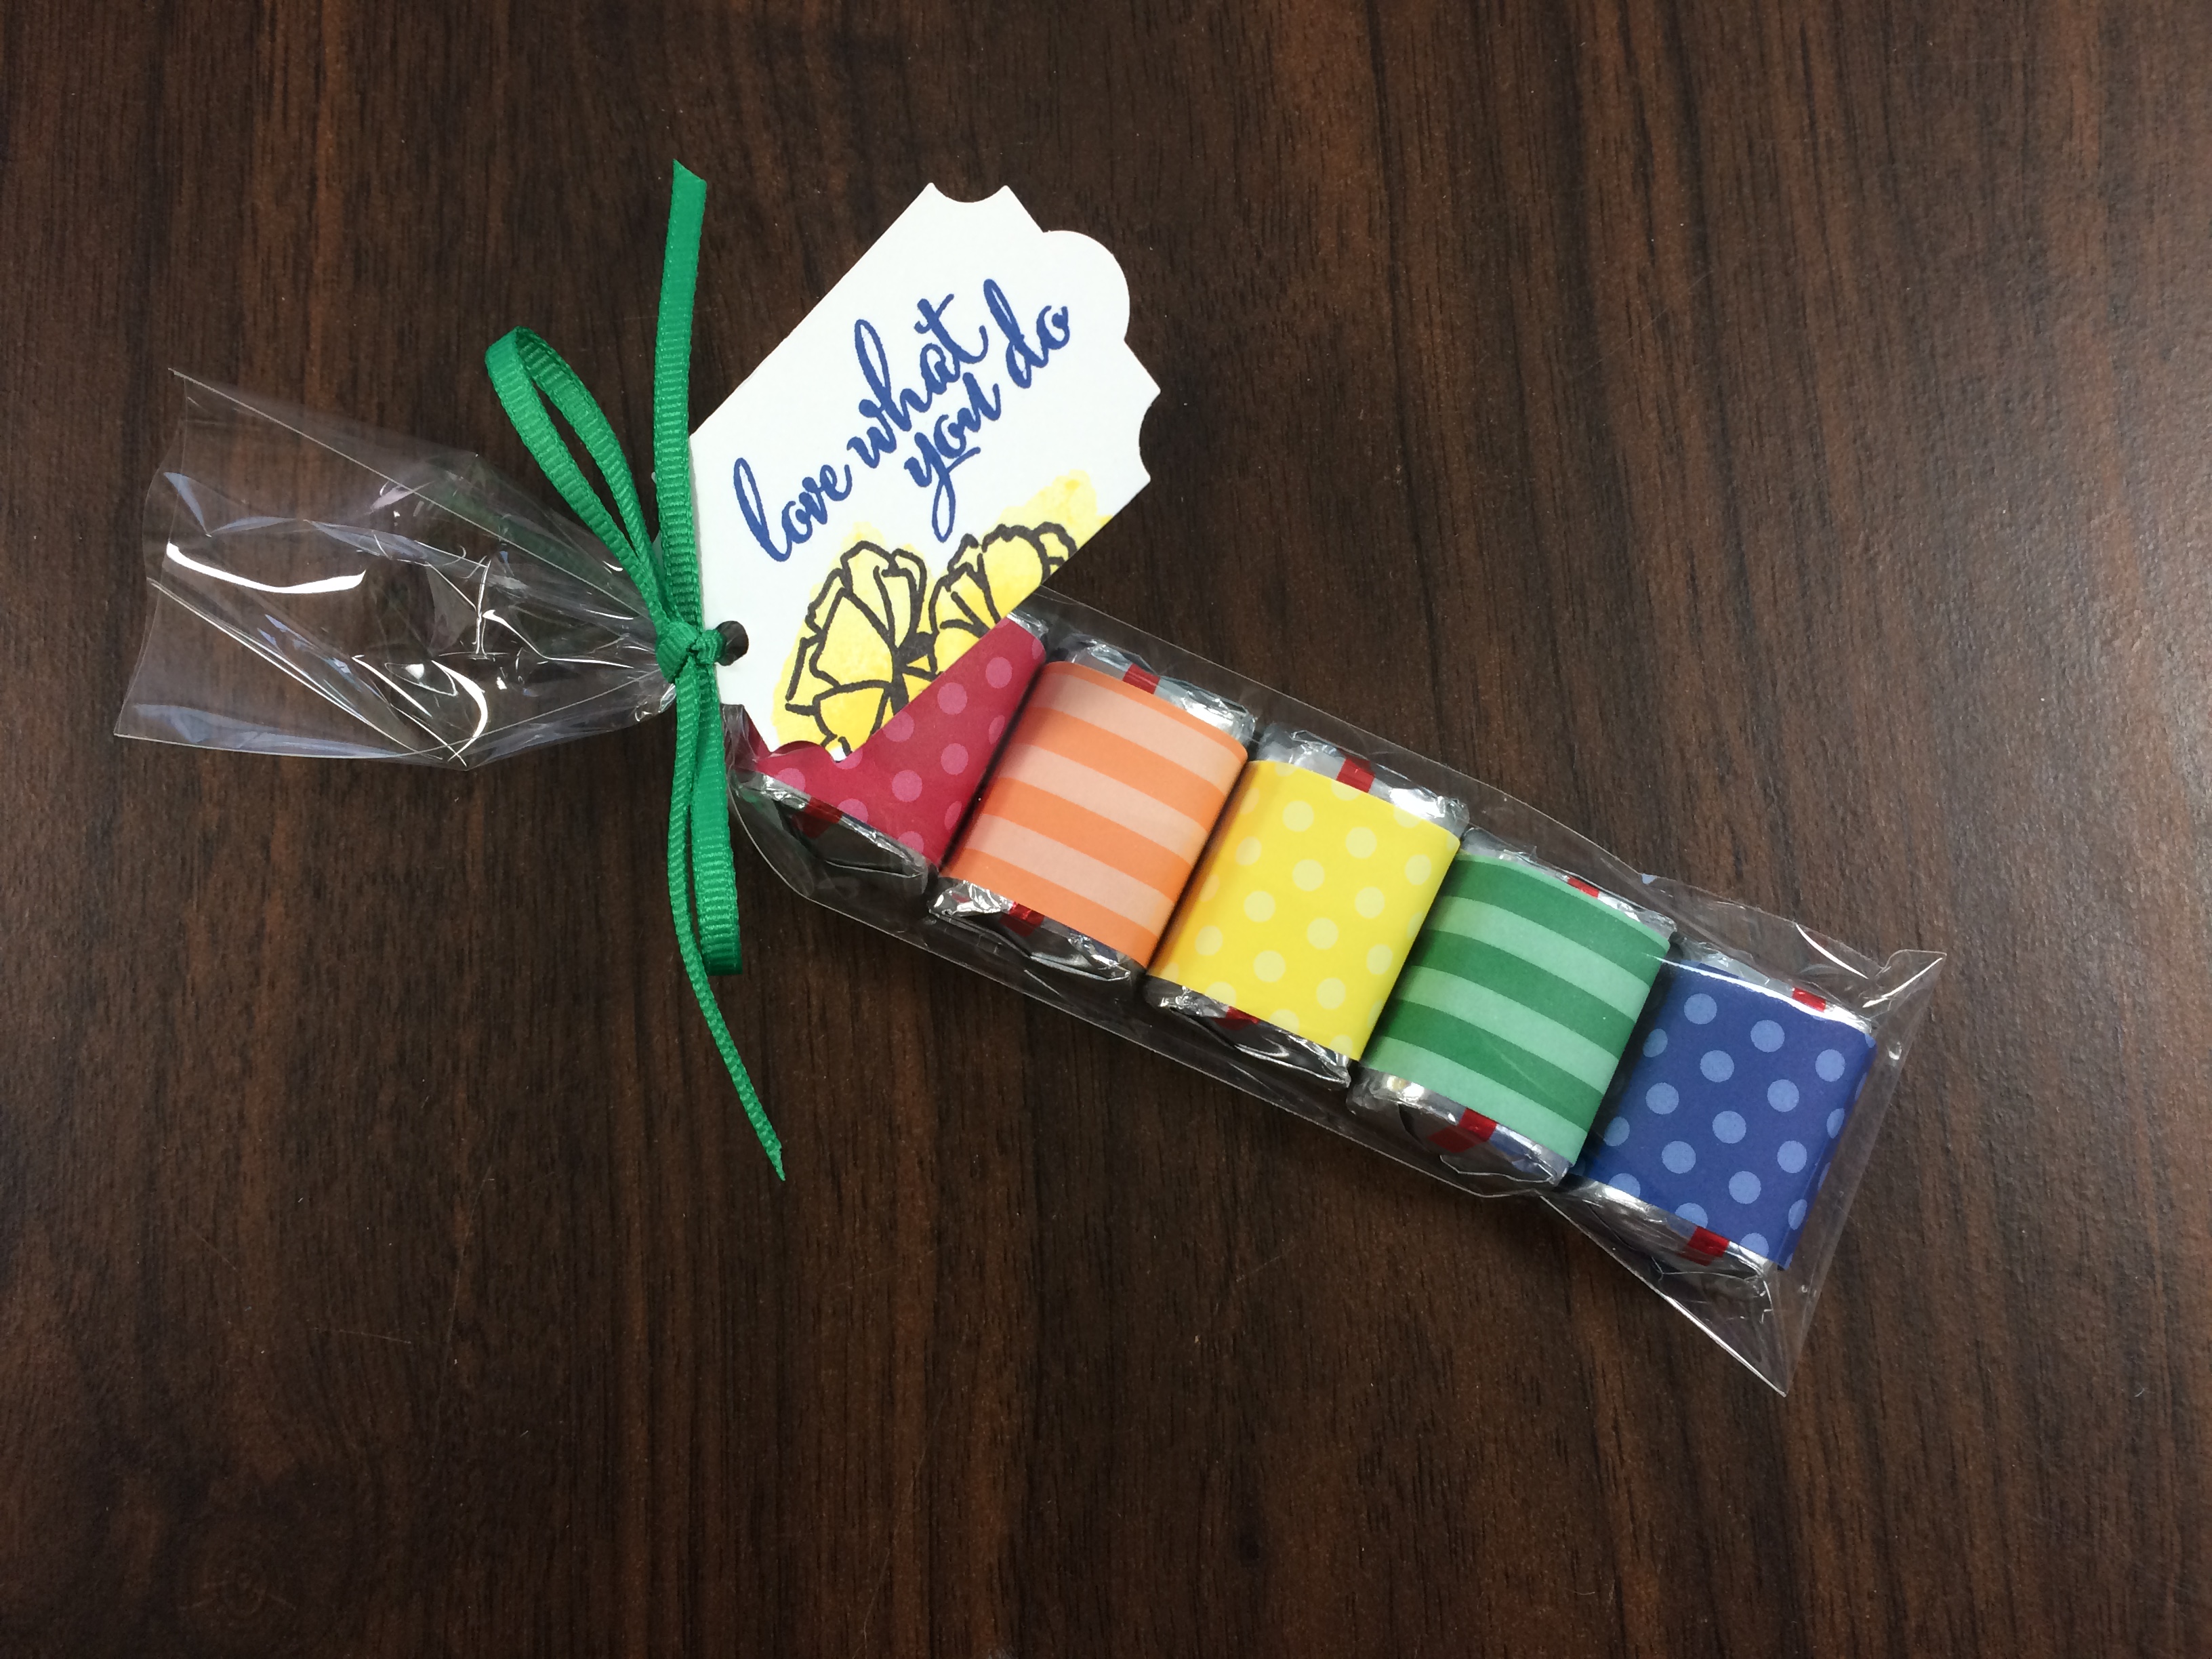
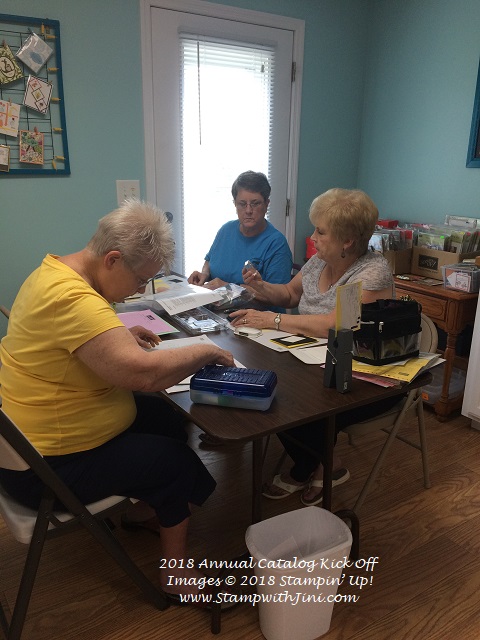
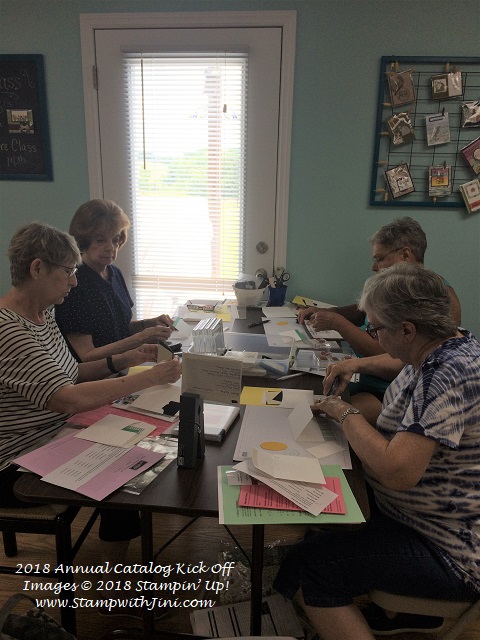
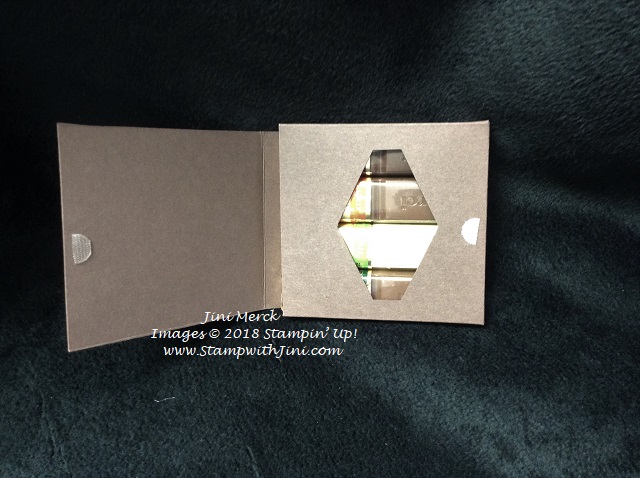
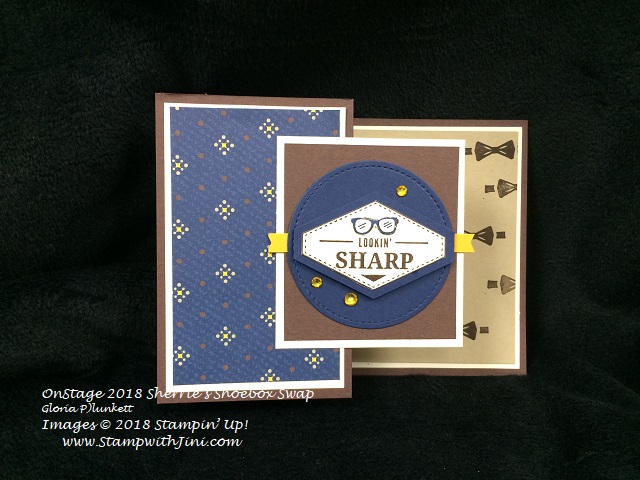
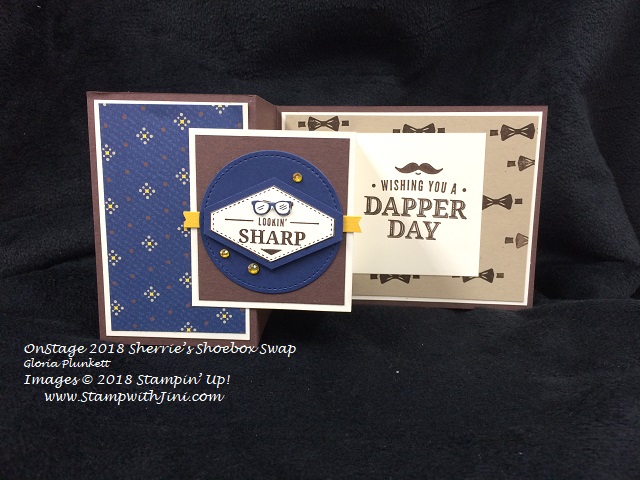
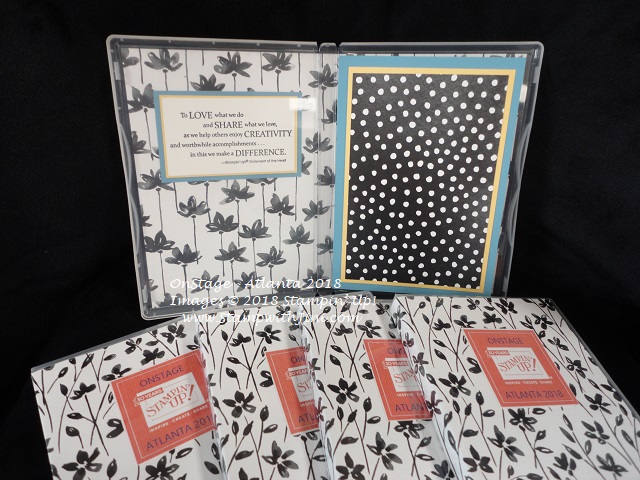
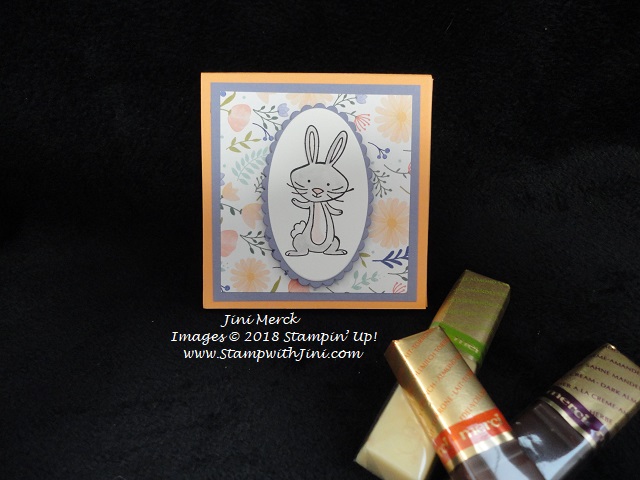
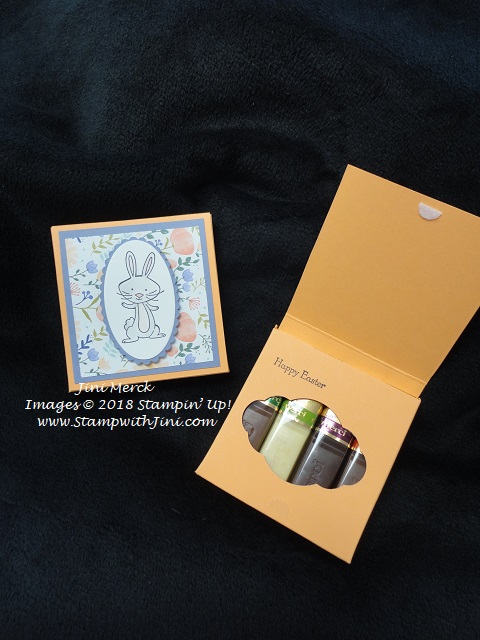
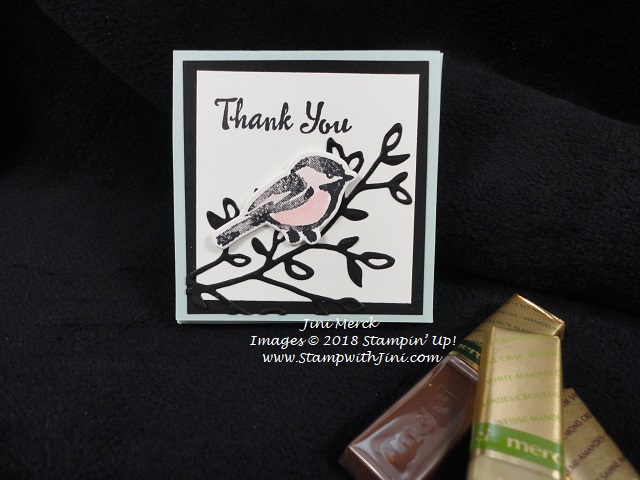
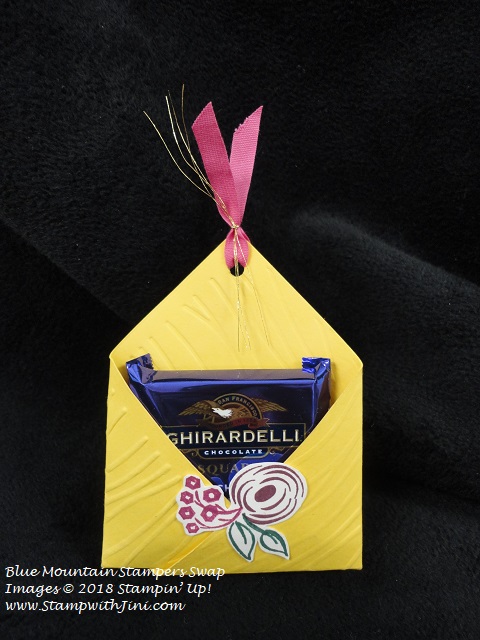
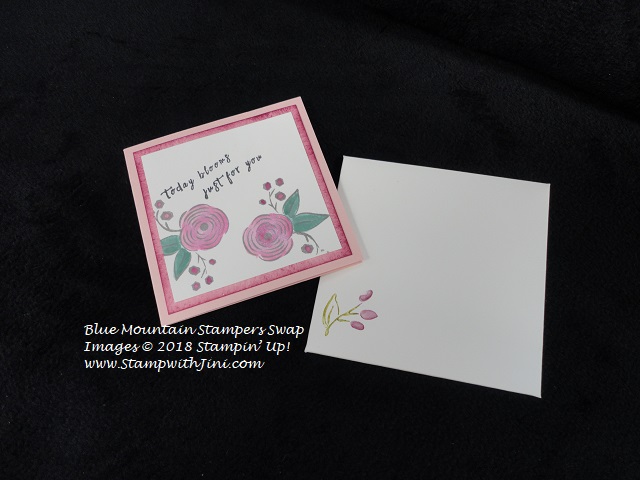
Today’s project was one that I made for my Holiday Catalog Kick Off this past Saturday. It’s a great little box and it folds flat which makes it a lot of fun and super when you need to travel with something.
It uses the Country Home stamp set a fast becoming a favorite of mine and who can resist the Tile Tin Dynamic Embossing Folder – so perfect for a vintage feel.
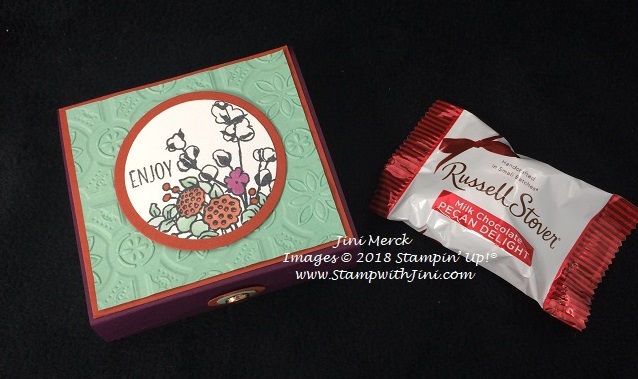
I found these yummy little Russell Stover Pecan Delights as treats to go inside. I think the wrapper looks like Cajun Craze, how about you?
I’ve made a video tutorial for you so you can make some too. Why not take a few minutes and check it out?
Country Home Folding Box Tutorial –
And how about a printable version? It includes a complete supply list and instructions to go with the video.
Country Home Folding Box Tutorial PDF
Enjoy! And why not stop back by tomorrow when I’ll be sharing another tutorial with you using the Falling for Leaves stamp set.
NEW Items Added to the Clearance Rack
![]()
New items have been added to the Clearance Rack today – so why not check them out? If you love Fast Fuse you’ll be excited to know that there is a limited supply available too!
Supplies:
Stamp Set: Country Home (147678)
Inks: Memento Tuxedo Black Ink Pad (132708)
Paper: Blackberry Bliss (133675), Mint Macaron (138337), Cajun Craze (119684), and Whisper White Card stock (100730)
Accessories: Tin Tile Dynamic Embossing Folder (147906), Metallic Brads (146929), Cajun Craze (147931), Blackberry Bliss Light (147909), Mint Macaron Stampin’ Blends Combo Pack (147283)

Click here to order your Stampin’ Up! Products online 24/7! (US only)
Shop at my Online Store and use Host Code FZ3P6HGN
Click Here to learn more about using the Hostess Code If you order Online make sure your profile information is up to date and you’ve allowed me to contact you
Sign up for my FREE Newsletter My Newsletters include stamping tips, tutorials, ideas and Classes!
Sign up HERE for my FREE Newsletter or Get my Blog Posts delivered right to your inbox HERE
How Do You Get a 2018 Holiday Catalog?
Don’t have a Demonstrator? Email me at StampwithJini@gmail.com include your name, address, and phone number and I’ll be happy to mail you one.