
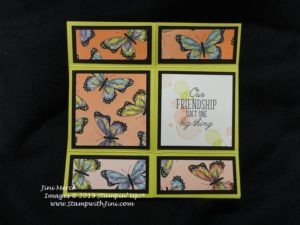
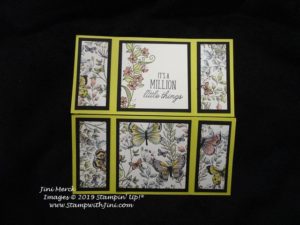
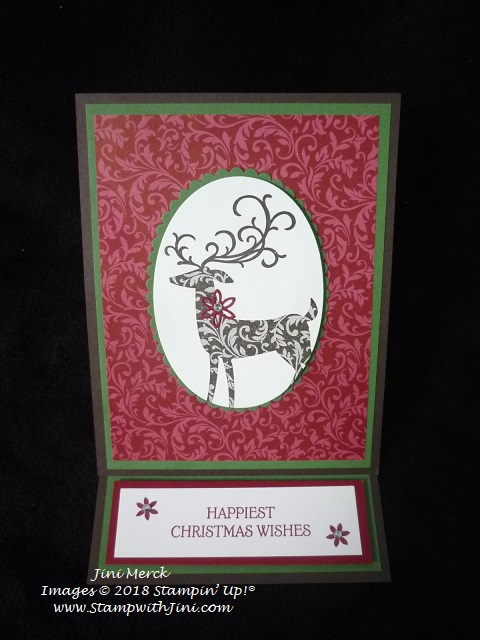
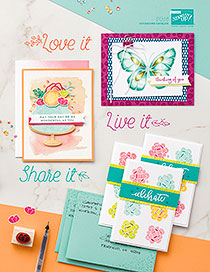
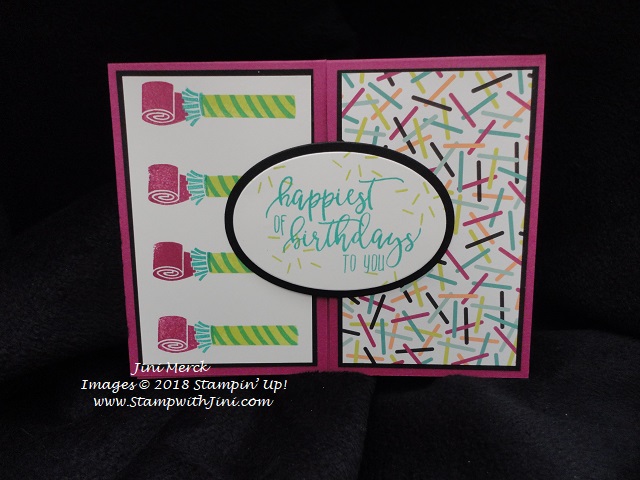
Today’s card is a fancy fold. This past month one of my team mates, Sue shared the way you can make this card with the rest of us. I couldn’t resist giving it a try with the Beauty Abounds stamp set and our lovely Botanical Butterfly Designer Series Paper that you can earn for FREE this month.
Here is what I came up with. There are 4 sides to this card so you have Never Ending options. LOL!
You can earn this Sale-a-bration product when you place a minimum purchase for the supplies I used to make this card, or for that matter and purchases. How great is that?
Here we go
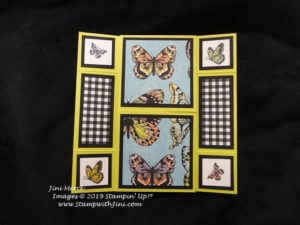
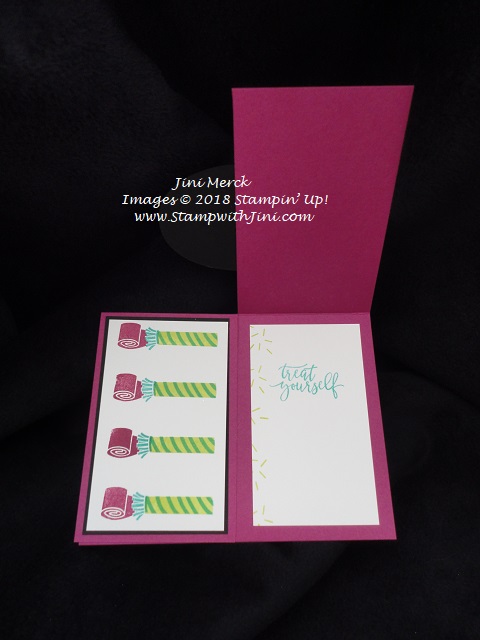
Side one:
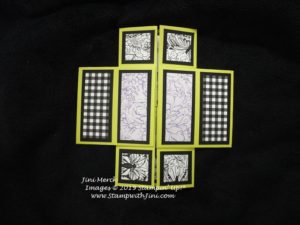
two:
three:
and four – which contains the final sentiment piece.
This card is sure to impress!
Want to see how I made it now? I’ve tweaked a few things that Sue showed us since I found it easier for me to put it together this way. So here is my video tutorial for you.
So why not give it a try?
Beauty Abounds Never Ending Card Video Tutorial
Beauty Abounds Never Ending Card Tutorial PDF
This card can seem pretty complex until you break it down one side at a time – and of course the more you “work it” by opening all four sides in order the easier it gets, since the card will kind of have a “memory” of its movement.
And it’s a special sized card, so it won’t fit in a standard envelope; so you can make your own envelope for it using the Botanical Butterfly Designer Series Paper and the Envelope Punch Board (133774). Making it extra special for that special person who receives it!
Just a tip: For a more complicated card like this I like to keep a “pattern” that I’ve made with scratch paper or card stock with the directions – so the next time I want to make one I have a reference to look at too.
Enjoy!
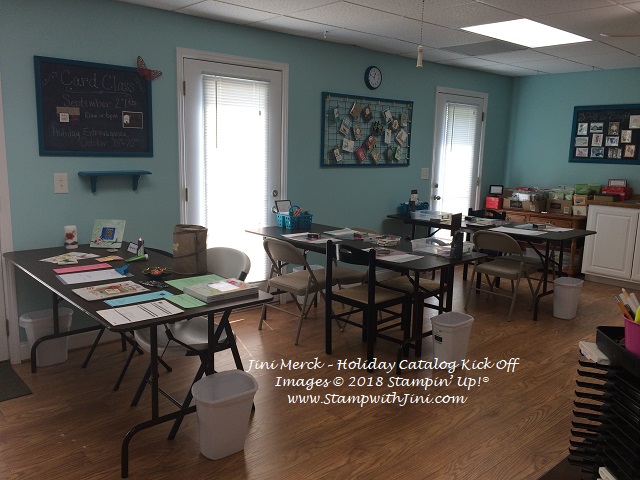
And stop back by tomorrow when I’ll be sharing some of the wonderful projects my team members brought to the March meeting to share.
Supplies:
Stamp Set: Beauty Abounds (148726)
Inks: Memento Tuxedo Black Ink (132708/133456), Lemon Lime Twist (147145/144092), and Grapefruit Grove Classic Ink (147142/147181), Daffodil Delight Light (144586), Highland Heather Light (146881), Calypso Coral Light (144042), and Granny Apple Green Stampin’ Blends Combo Pack (147274), and Color Lifter (144608)
Paper: Botanical Butterfly Designer Series Paper (Sale-a-bration 149622), Lemon Lime Twist (144245), Basic Black (100082), and Whisper White Card stock (100730)
Accessories: Simply Scored Scoring Tool (122334)
Click here to order your Stampin’ Up! Products online 24/7! (US only)
Shop at my Online Store and use Host Code 44SNJGKN
Click Here to learn more about using the Hostess Code If you order Online make sure your profile information is up to date and you’ve allowed me to contact you (If you chose no contact in the past you’ll need to call 1-800-Stamp Up to have them change your profile for you.)
The Annual Catalog is right around the corner and I won’t be able to mail you one if you have chosen no contact.


")
")
")
")
")
")
")
")
")
")
")
")
")
")

