
My daughter loves the zoo and always has. When traveling she tries to visit the local zoo or one on the way to her destination. So when I saw the Silly Safari Bundle (165260) in the 2025 Annual Catalog I just knew it was one I had to have!
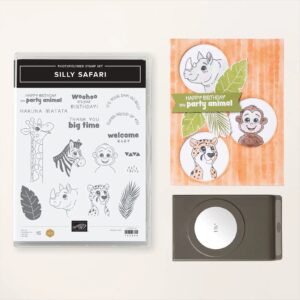
So for today’s card I’ve used one of my Card Sketches and the sweet little leopard image.
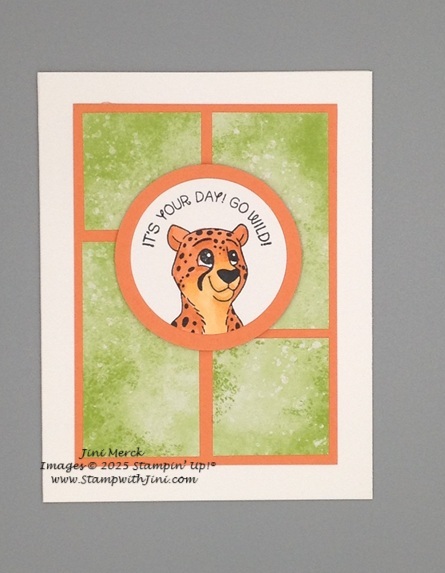
I’ve used my Stampin’ Blends to color him so that I’ve got a bold cheerful look as I teamed up the image with one of the NEW patterns found in the Brights Designer Series Paper Assortment (165301).
Here is a quick video tutorial showing how I created this card along with the PDF which contains a complete supply list, link, measurements and more.
Silly Safari Go Wild Card Tutorial PDF
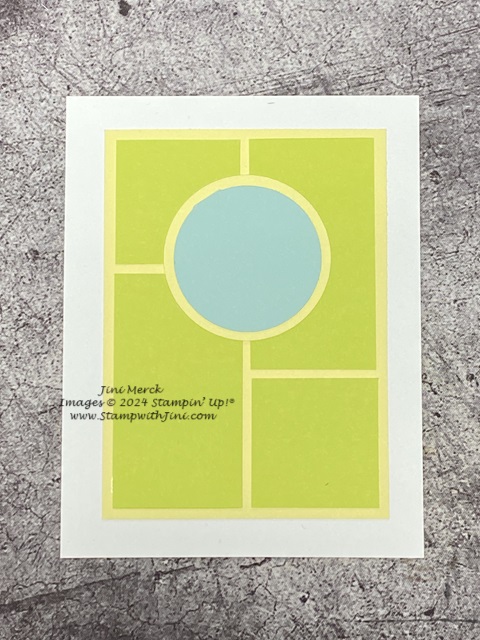
And as I mentioned I’ve used a Card Sketch for this project. I’ve been giving you a PDF so you can create one too and use it as a design tool too.
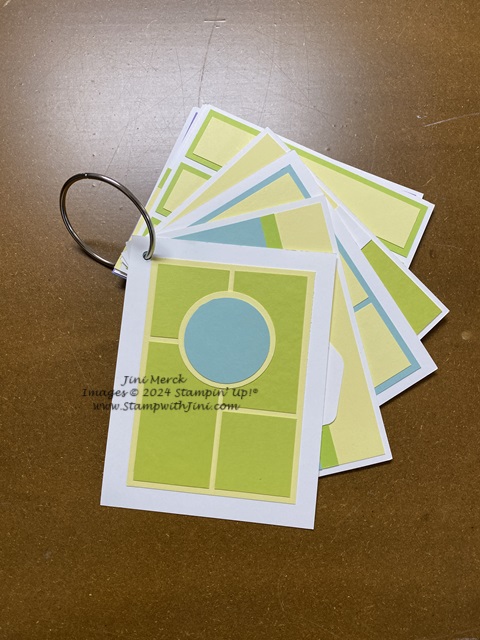
Put it on a ring or place it in my little crate that I shared with you HERE the choice is yours!
And when you create the different Card Sketches you’ll also be using color combinations to inspire you! How fun is that?
Card Sketch #1
Check out my other Sketches that I’ve been sharing with you by searching for Card Sketches or looking at the category Sketches here on my blog.
Card Sketch #1 PDF
Enjoy!

CLICK HERE to order your Stampin’ Up! products Online 24/7! (US only)
Shop at my Online Store and receive a FREE Gift from me; my 2025 In Color Note Card & Gift Box Class Tutorial that includes videos & a PDF


